Photography is a hobby for some, a part-time venture for many, and a career for others. There are things that some photographers wish they knew in the beginning, before even picking up a camera and creating their first photo. Some wish they knew the easier way around doing things to get the same result. Here are 10 starter tips to help give you a jump-start as you begin your journey into the world of photography.
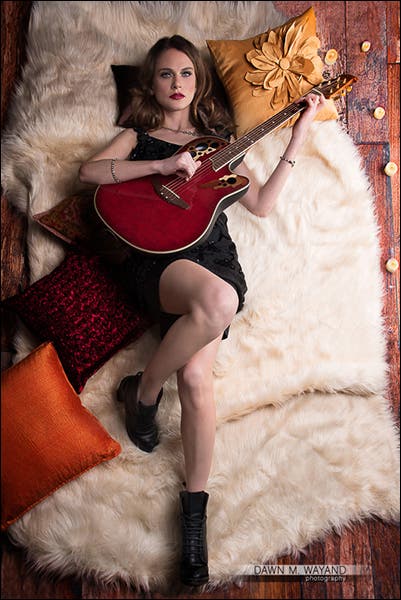
Model: Daria Komarkova
1. Always Shoot RAW.
I learned the hard way after several trips around the world and 20,000 images later that the best way to shoot is RAW. Why? Shooting RAW records the most data. This allows you to do as much nondestructive editing as you wish. When you shoot only in JPEG, every time you open a file, make adjustments and re-save the image – you lose quality. If you shoot an image under or overexposed, it’s much easier to fix this if the image is in RAW than if it were in JPEG format.
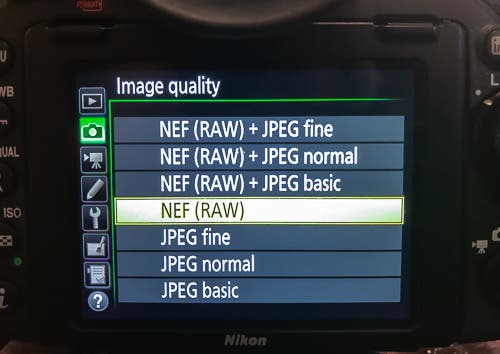
Switch your camera mode to RAW format before you begin shooting.
One of the best photo editing programs out there for importing, organizing, keywording, editing and sharing your images from RAW is Adobe Lightroom 6. We always teach our students to do as much as you can possibly do in Lightroom (because it’s so much easier!) and then make any fine adjustments in Adobe Photoshop, if needed. The Adobe Lightroom and Photoshop Creative Cloud 12-Month Subscription Photography Plan goes for $119 at Adorama. You’ll always be current with your software version if you go the subscription route.
2. Don’t Delete Images In-Camera Based on Your LCD Monitor.
Another common mistake photographers sometimes make is to delete images in-camera based on reviewing it on the back of that 3.5” LCD monitor. It’s really better to invest in a few extra memory cards than to erase potentially good images by mistake. Keep all of your images until you can get to a larger monitor to review your images in detail.
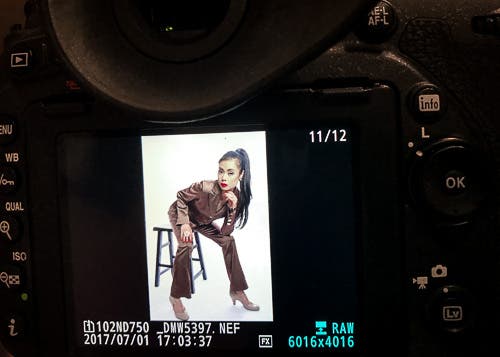
Your LCD monitor is small. Invest in additional memory cards and wait to review images on a larger screen.
To make sure you do get the shot in the outdoors however, I recommend the Hoodman Compact Hoodloupe Optical Viewfinder. When you are shooting in bright conditions, this not only puts a nice tunnel vision between your eye and the LCD monitor when reviewing an image, but you can magnify the details by a slight twist of the middle piece. In a studio? Invest in a Tether Tools Starter Tethering Kit. I am so glad I did because it has saved me hours of reviewing too many images that could have been reduced by seeing what needed adjusting as I go along. This one piece cord connects your camera to your computer or laptop where you can review your images as you are shooting them. The Jerkstopper for both the camera and computer each help keep the cord where is belongs preventing disconnect.
3. Get Quality Gear and Equipment.
Photography can get really expensive – just ask any professional. It’s better to wait and invest in a quality piece of gear or equipment than to buy something that will fall apart within months because it was so inexpensive and not made to last. This is really key with cameras, lenses, light stands and tripods. Buy the camera you want rather than what you can afford. When you buy the camera you want, you are more likely to use it. As far as lenses, a low-quality piece of glass in front of a high-end camera will not make the best image. Invest in at least one high-quality lens before you begin buying a bunch of accessories you’ll probably never need or use. For more on good camera and lens choices, check out my article, Building the Home Studio Part 1: Space and Essential Shooting Gear.
Quality light stands and tripods are also really important. They what are supporting your $500+ camera, lens and/or light setup. Buying something low quality because it was less expensive is a recipe for disaster. Check out my article, Tripods: Choosing the Right Support for Your Investment, for more on choosing the right tripod and my other article, Building the Home Studio Part 2: Continuous Lights and Light Stands, for more on light stands.
4. Vary Your Shooting Orientation and Angles.
My mentor once taught me, “If you want to make your images better than 80% of the other photographers out there – change your perspective.” He was absolutely right.

“Bug’s eye” view of tulips.
Get on the ground and try shooting from the ground up. Get up on a ledge or ladder and shoot down.
Shot from the top of a ladder.
Try shooting every subject/scene both horizontally and vertically – or even shoot from the hip. You never know what might end up being really interesting.
5. Learn To Understand and See Light.
Light is the most important element of photography, so it’s important to understand and be able to see and work with it. I’ve had numerous student assistants who struggle with using a collapsible reflector in that they cannot see the light bounced from a light source onto the subject using one. It’s good to practice with a collapsible reflector as you can use these for so many photography subjects, be it people or flowers. I own a variety of shapes and sizes of collapsible reflectors, selecting from those what is the best for a particular situation. My favorites are the Lastolite LR3696 8-in-1 Tri Flip Reflector Kit and for a larger reflector, I use the Westcott 40” 5-in-1 Collapsible Reflector w/ Case.

Learn light. This is a 2-light setup a spotlight in the front with a rim light in the back.
Model/Actress: Celeste Smith
For studio work, the best way to learn how to light something is to get a continuous light and try placing it in various positions around your subject. A continuous light will produce a what-you-see-is-what-you-get result before you click the shutter so you already know what the end result will be. I’m in love with the Fiilex P360EX Variable Color LED Light as you can control the color of the light for a more natural look.
6. Try Different Genres of Photography.
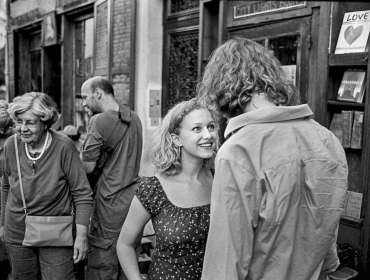
Don’t get stuck in one area of photography. It took me 12 years to venture out from travel and street photography into shooting people for portraits, headshots, and fashion.
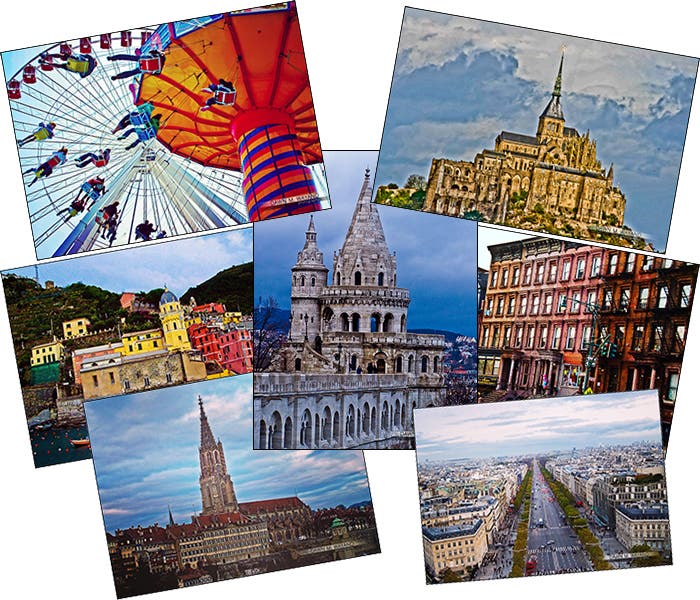
A sample of some of my travel work.
It’s not that I fell out of love or got bored with travel and street photography. I just hadn’t discovered yet that I also had a love for and was very good at shooting people too.
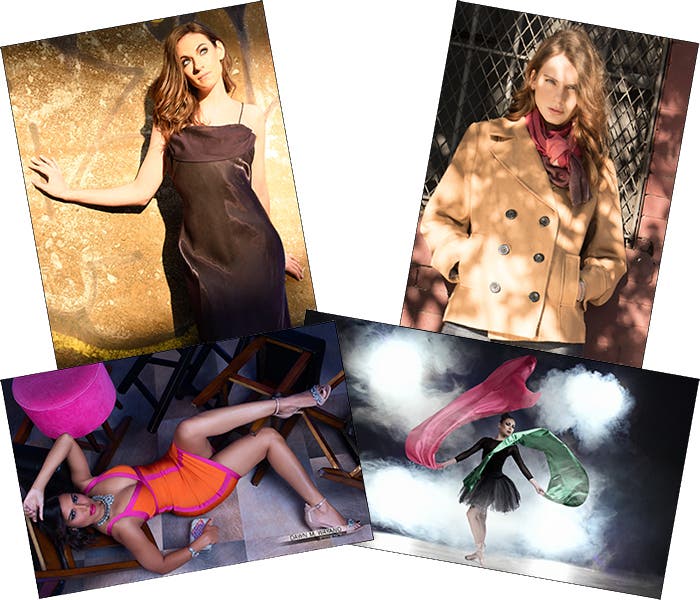
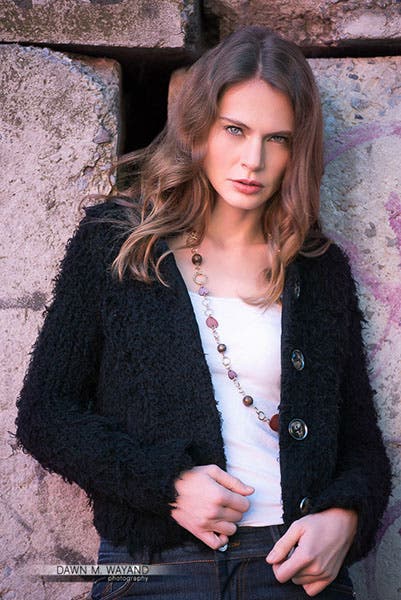
A few samples of my portrait/fashion work.
Models clockwise from top-left: Katie Buell, Daria Komarkova, Shoko Fujita and Karen Ramos.
After trying as many different genres of photography as you can, then narrow down your specialty for a career based on what you are good at and what you enjoy.
7. Develop a Workflow and Stick To It.
Setting up a consistent workflow for your photography is very important to do from the start because it gets really difficult (but not impossible!) to start implementing one 20,000 images into your portfolio.
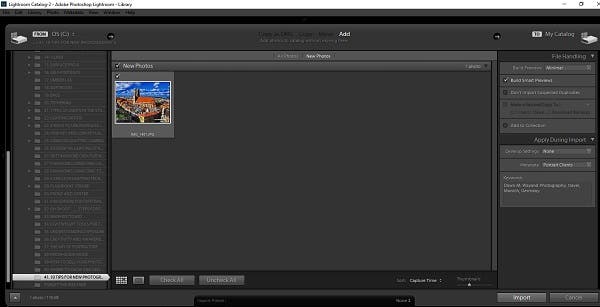
Import screen in Adobe Lightroom.
The instructors of my group, NYC Digital Photography Workshops and I generally recommend Adobe Lightroom as a great way to set up a consistent, accurate and streamlined workflow. You can check out my article, Photography Workflow and Digital Asset Management (D.A.M.) for more on workflow.
8. Charge For Your Work.
Unless you are collaborating with models and hair and makeup artists on a creative project, or for practice – charge for your work and charge what you are worth. This makes your photography more rewarding is some ways, plus it helps to cover the cost of your equipment and time. It’s also important to note that photography is a full-time career for some, so keep in mind that there will be more full-time freelance working photographers out there struggling to make ends meet if they are competing with photographers working for very little or for free.
9. Look for Opportunities to Show and Sell Your Work.
Another rewarding thing about photography is sharing it with the world. Look for opportunities to show and sell your work through exhibitions, art fairs, etc. I wrote two articles on exhibiting that are great reads if you are interested in going this route: Selling Your Photography and Where to Show and Sell Your Photography.

Showing your work is a very rewarding part of photography.
Both articles are excerpts from my upcoming book to be released in the upcoming months called, Exhibitions, Marketing, Promotion and Publicity.
10. Always Continue Learning Your Craft.
As photographers, we can never know everything about photography. It is a constant learning process as technology changes…and technique changes, as we discover more interesting ways to make an image. It’s really important to continue learning and honing your craft whether it’s studying the masters, doing photo walks, taking group or private workshops, having your portfolio critiqued or reading books and articles like these.
Photography is an amazing, rewarding journey – allowing you to capture memories and points in time, subjects of interest and/or scenes in our lives. It’s a wonderful outlet for many and it’s a beautiful creative process that is growing with interest for anyone who embraces their sense of sight. It’s only up to you to bring a unique twist to your work to share and capture viewer’s attention.