Looking to get creative with Photoshop?
Fine art photographer Brooke Shaden is known for her highly stylized and dreamlike images, and fans of her work are often at a loss as to how she creates such surreal and evocative self-portraits. One word: compositing.
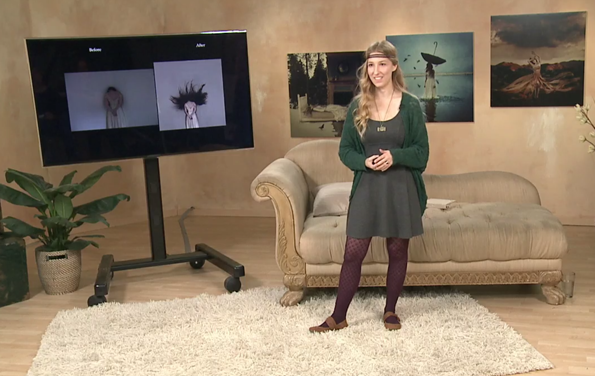
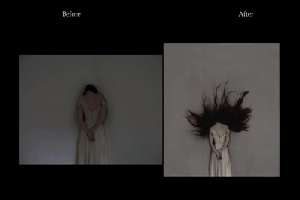
Layering images in Photoshop lets you piece together the best elements of each image to tell one cohesive and fantastical story, and in her creativeLIVE Fine Art Photography class, Brooke shared a few compositing tips and tricks up her sleeves that will make the process a lot easier.
1. Be Strategic About Your Main Shot
Your main shot is the foundation of the image you’re building, and should have as many of your final elements incorporated into it as possible. What you can’t include in your main shot, you’ll incorporate with additional layers. Maybe you want birds in your photo but they were absent on the day of the shoot? Just take separate shots of the birds, and then layer them onto your main image. Compositing is ultimately taking the elements of your story and letting them build upon each other into one integrated piece.
2. Shoot a Blank Shot
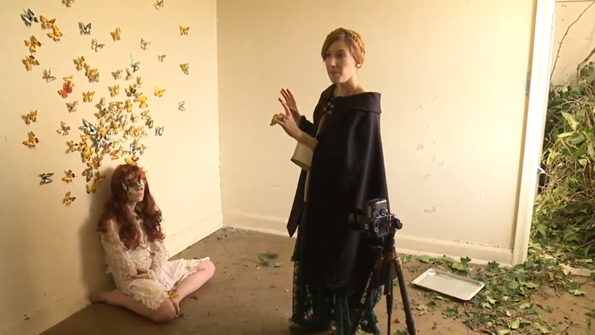
After you’ve finished with your main shot, remove the model and snap a few photos of just the background. Whether it’s a wall, a landscape, or body of water, you want a stand-alone image without the subject of your photo. This way, you can easily remove unwanted elements from the final image in the Photoshop Layers Panel. For example, when you erase an unwanted tree branch from the main shot, the background from the blank shot shows through.
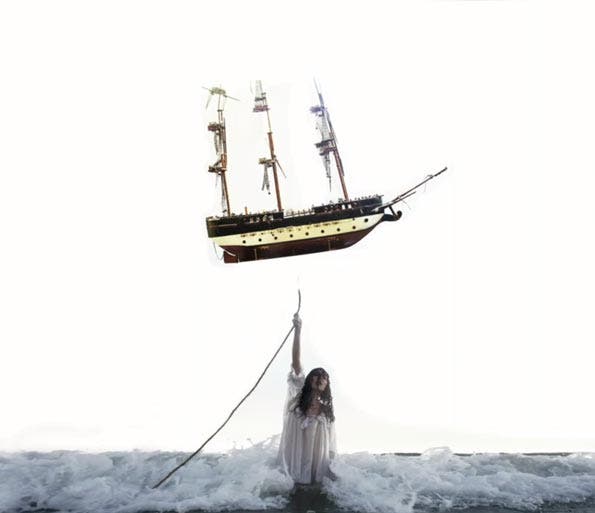
3. Expand the Frame
Expanded frames are a hallmark of Brooke’s work — and they’re super easy! Simply take extra shots all around the frame of your main image, which you can then stitch together in order to get the appearance of a wide angle. So, why not just move the camera back and crop in? Expanding the frame not only allows you to print at a larger scale, you’ll get great depth of field with the appearance of a wide lens.
4. Use a Tripod
Hand-held photos are great, but not so much for compositing. If you consistently use a tripod, your photo won’t shift, you won’t lose your angle, and you won’t lose your focus –– all of which are extremely important when adding layers! After all, you don’t want your blank shot to be at a different angle from your main shot. Even a few inches can throw things off, and your images won’t match up.
5. Maintain Consistency
Using a tripod will help keep your camera steady for consistent framing, but you also need to think about lighting. If the light ends up hitting your model’s face from two different sides because you shot at two different times of day, the final image won’t look believable. So, what kind of light is best to use? Brooke prefers natural diffused light (try right before or after sunset), which is easier to manipulate in post.
6. Make The Image Believable
Brooke’s photographs might be completely other-wordly, but she stays true to the rules of the world she’s creating. Composited images should still make sense to the viewer –– for example, if the wind is blowing your model’s hair, it should also be blowing her dress!
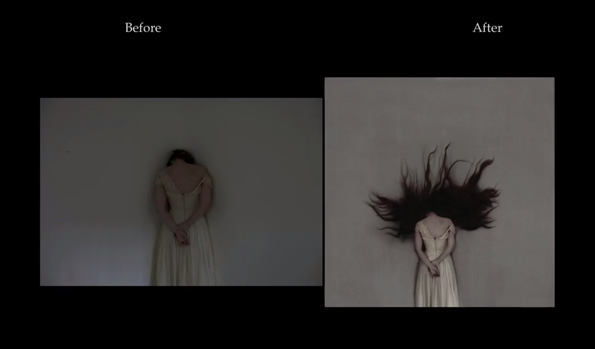
7. Lock Your Focus
For your image to maintain consistency, your focus should remain the same between composited images. But, how do you keep the same focus on different shots? Brooke starts her shoot in auto, finds her focus, and then switches to manual and locks down the focus so it can’t change.
