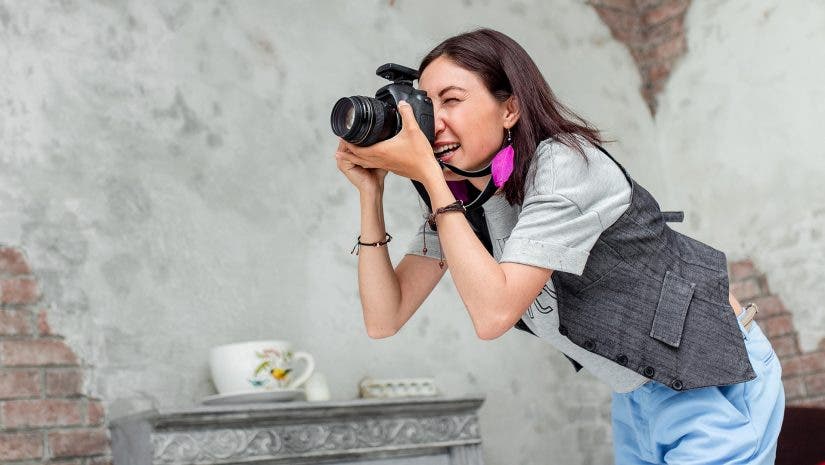

So you’ve finally bought your first ever DSLR. Congratulations! You’re now ready to step up your photography game. Although getting a DSLR won’t instantly turn you into a professional photographer, there are ways to maximize its use so that you can take better pictures with it.
How to make the most out of your DSLR camera:
1. Read the user’s manual of your DSLR.
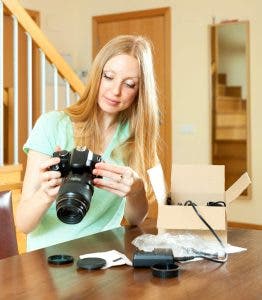
Image Source: Shutterstock
Read the user’s manual that comes with your camera upon purchase. Out of sheer excitement, new DSLR owners usually skip this part of the package and shoot with their camera right away, not realizing the wealth of information contained in it. From the manual, you’ll learn what each button on your device is for so that you can maximize all its features.
If you bought a secondhand DSLR without a manual, you can download it online (usually in PDF format) on the manufacturer’s website. You can also view tutorials on YouTube.
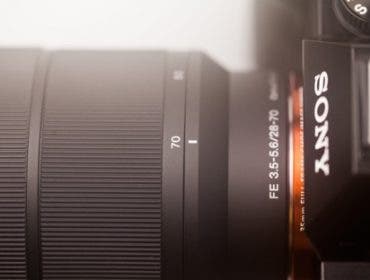
2. Learn how to use your kit lens properly.
Many people forego the kit lens in favor of supposedly better lenses like a macro or a telephoto. But if you’re just starting out with DSLR photography, the kit lens has enough features to help you explore the different lens shooting modes.
For starters, it allows getting as close as possible to the subject. It also enables you to blur the background a bit to heighten the focus on your subject. You can also use your kit lens to take photos of distant scenes and subjects, as well as those that require moderately wide-angled shots.
So before you set your kit lens aside, practice using it until you’ve figured out your preferences when it comes to lens features.
3. Experiment with your DSLR’s manual settings.
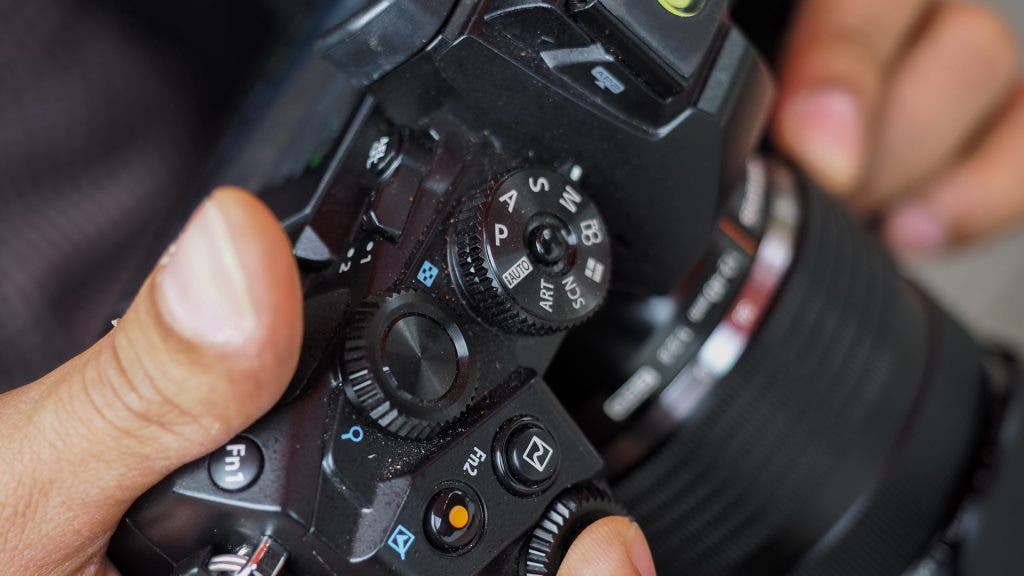
Image Source: Shutterstock
It may be tempting to just make do with your camera’s various preset shooting modes or shoot in Auto mode so that you won’t have to adjust the settings. But tweaking the aperture (AV) and shutter speed (TV) can significantly improve the quality of your photos.
For sharper and clearer photos, you can also tweak your camera’s white balance, ISO, and exposure. You’ll be surprised at the difference it makes.
Types of DSLR camera settings for different situations:
| Setting | How-to | Recommended for |
| Focus Tracking | 1.Select AF-C mode.
2.Half-press the shutter release button and keep the focus points on the subject until it is in focus. |
Shooting moving objects |
| Exposure Compensation | 1.Know your DSLR’s exposure modes.
2.Hold down the +/- button on the camera body. 3.Use the rear input dial to set the amount of exposure compensation needed, depending on how dark or light the scene you’re shooting. Try setting the dial to + or -1 to see how your photo will turn out. |
Shooting in extremely bright places and low-light situations |
| Histogram Display | Master your histogram. | Capturing the maximum amount of detail in the tones of your images |
| Burst mode | 1. Set your DSLR in continuous drive mode.
2. Take several short bursts at the height of the action. It’s not just a case of keeping your finger on the shutter release and hoping you’ll get the shot. |
Action photography |
| Vibration/Shake Reduction
(Note: May be limited to selected Nikon and Pentax DSLR cameras and lenses. Check with your user’s manual first if your camera has this feature.) |
Flip the VR switch on the lens to activate it. Or if the shake reduction switch is located on the camera body, turn that on instead. | Shooting without a tripod |
4. Save your camera settings.
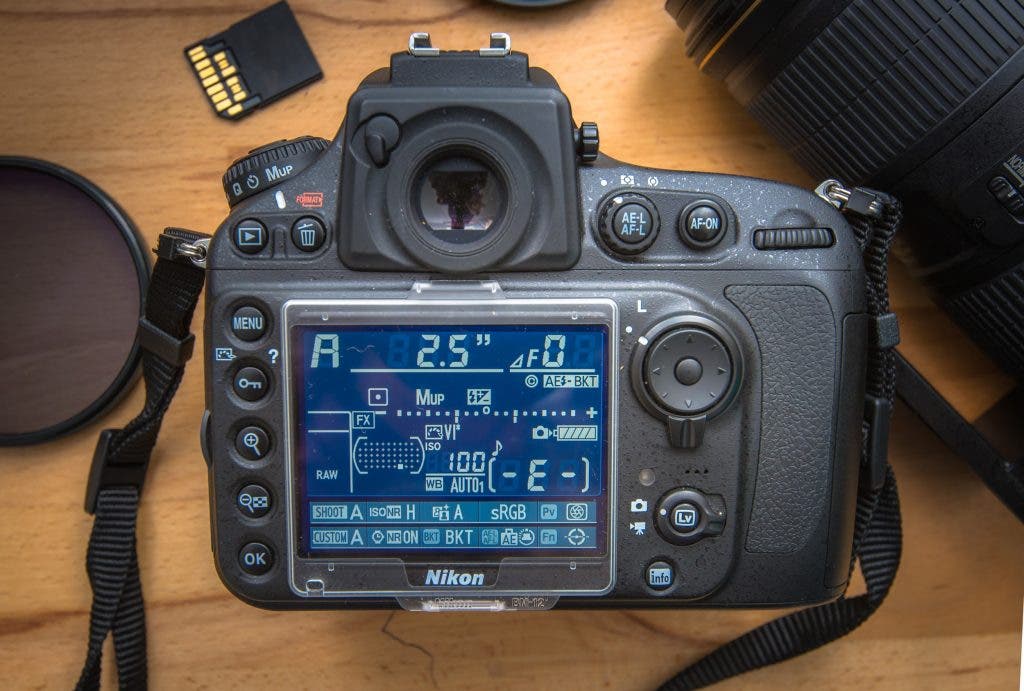
Image Source: Shutterstock
If you’re using a Nikon DSLR, take advantage of its My Menu feature. Figure out the settings that work best for you, and save them so that you can load them again next time. To do this, toggle to the right to highlight the Save/Load settings button, and then toggle again to go to Save. Doing so will store your preferred settings on your memory card, allowing you to skip a few steps each time you prepare to shoot.
To retrieve your saved settings, just repeat the steps and go to Load settings.
5. Shoot in RAW.
Shooting in RAW allows you to retrieve more information from your photos during post-processing. Photos in RAW format can be edited effortlessly, particularly their white balance and exposure.
6. Use a faster memory card.
A fast memory card can boost your camera’s processing time and burst shooting capability. To know the speed of your card, check its class. The higher the card’s class number is, the faster it is.
7. Get a spare battery.
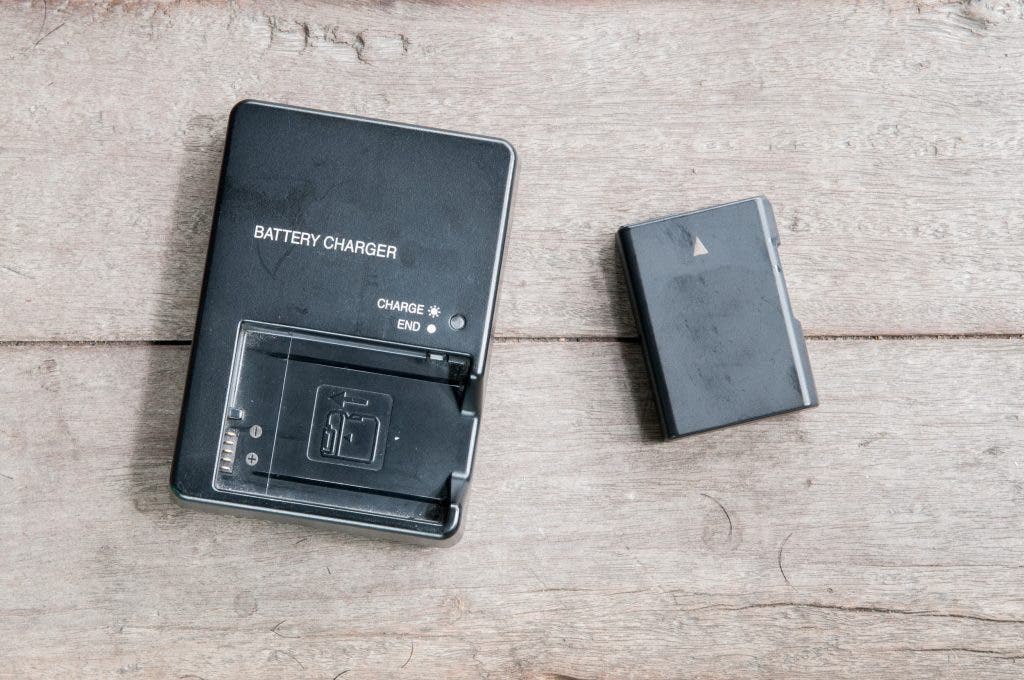
Image Source: Shutterstock
For shoots that last for hours, having two batteries in rotation will not only maximize your shooting time at a particular place, but it will also lengthen your other battery’s lifespan and allow it to rest every now and then.
8. Use a flash diffuser.

Image Source: Shutterstock
Using a flash diffuser is one way to use your DSLR’s built-in flash without getting those harsh shadows. If you’re on a tight budget, you can use white tissue as an improvised diffuser instead.
And the most important tip of all: practice, practice, practice! We can’t stress this enough. Many people give up on their DSLRs way too early in the process. Follow the tips above and use your DSLR as often as you can. Get a feel of it in your hands. Master the controls. Soon, you’ll get more comfortable with your camera and more confident about your photography skills.