Sure, we have several sharpening options in the digital darkroom, but why not start with the sharpest possible image? Let’s look at different ways to get your images to look sharp.
 I photographed this young woman in Vietnam using daylight fill-in flash. As you can see, the strong, direct light helped to create a sharp picture.
 The quality of a lens can also affect the sharpness of a picture. I took this picture in Bangkok with my Canon 100-400mm IS lens. It’s super sharp, as this photograph illustrates.
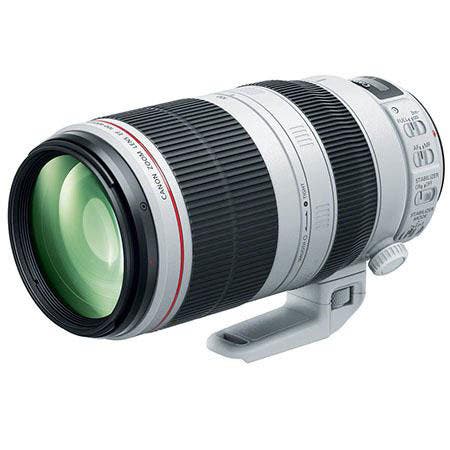
The image stabilization feature (which greatly reduces the effects of camera shake) lets the user hand hold the camera at relatively slow shutter speeds – much slower than would be possible with non-IS lenses. For example, at the 400mm setting on a non-IS lens, the slowest recommended hand-held shutter speed is 1/400th of a second (actually 1/500th of a second because that is the n higher shutter speed on most cameras). That recommendation comes from the basic rule: to avoid camera shake and blur in pictures, don’t use a shutter speed slower than one over the focal length of the lens.
 Teleconverters can affect the sharpness of a picture. With some manufacturers, 2x teleconverters are not as sharp as 1.4x teleconverters. I took this picture of a Jaguar with a Canon 1.4x teleconverter on my Canon 100-200mm lens set to 200mm on my Canon EOS 1D digital SLR. Before adding the teleconverter, the effective focal length of the lens was already 130-260mmm (due to the 1.3x image multiplication factor caused by the digital image sensor being smaller than a 35mm film frame). Therefore, the 1.4x teleconverter changed the effective focal length of the lens to 182-364mm. The subject is very sharp in this picture for several reasons: I focused carefully on the subject’s eyes, the high quality of the 100-200mm lens and the teleconverter produces an sharp picture.
 Grain in film, and noise in a digital image, can affect how sharp a picture looks. The higher the ISO film speed or ISO digital setting, the more grain or digital noise appears in the pictures. The nighttime picture of the car, taken in Cuba with the ISO set at 800, shows some grain. The daytime picture of the car, taken in Cuba with the ISO set at 100, shows almost no grain.
 The detail in a subject also affects how sharp a picture will look. This shot of a man, photographed in a temple in Vietnam, has lots of detail because the man’s face and beard have good detail.
 The quality of a filter can make the difference between a sharp and soft picture, too. Use a good (usually more expensive) filter, and it will not affect picture sharpness. Buy a cheap filter, and your pictures may look soft. For this picture of a lighthouse in Maine, I used a very expensive polarizing filter on my lens to darken the sky. Polarizing filters attenuate light that passes through them at certain angles. In doing so, they can (but not always) darken a blue sky and reduce reflections on water and glass and even reduce atmospheric haze.
 Many digital cameras offer an in-camera sharpening option, found in the camera’s menu, as illustrated here with a menu shot from the Canon Digital Rebel. Its boosting of the sharpness and contrast will make a picture look sharper, but I actually don’t recommend in-camera sharpening. Why? Because if you over sharpen an image, especially one with a wide contrast range, you’ll have a hard time – if not an impossible time – getting the picture to look “normal” later in the digital darkroom.
Rick Sammon is the author of The Complete Guide to Digital Photography, published by W.W. Norton. He also recently completed the interactive CD, Photoshop for the Outdoor and Travel Photographer, distributed by Software Cinema. For information, see www.ricksammon.com