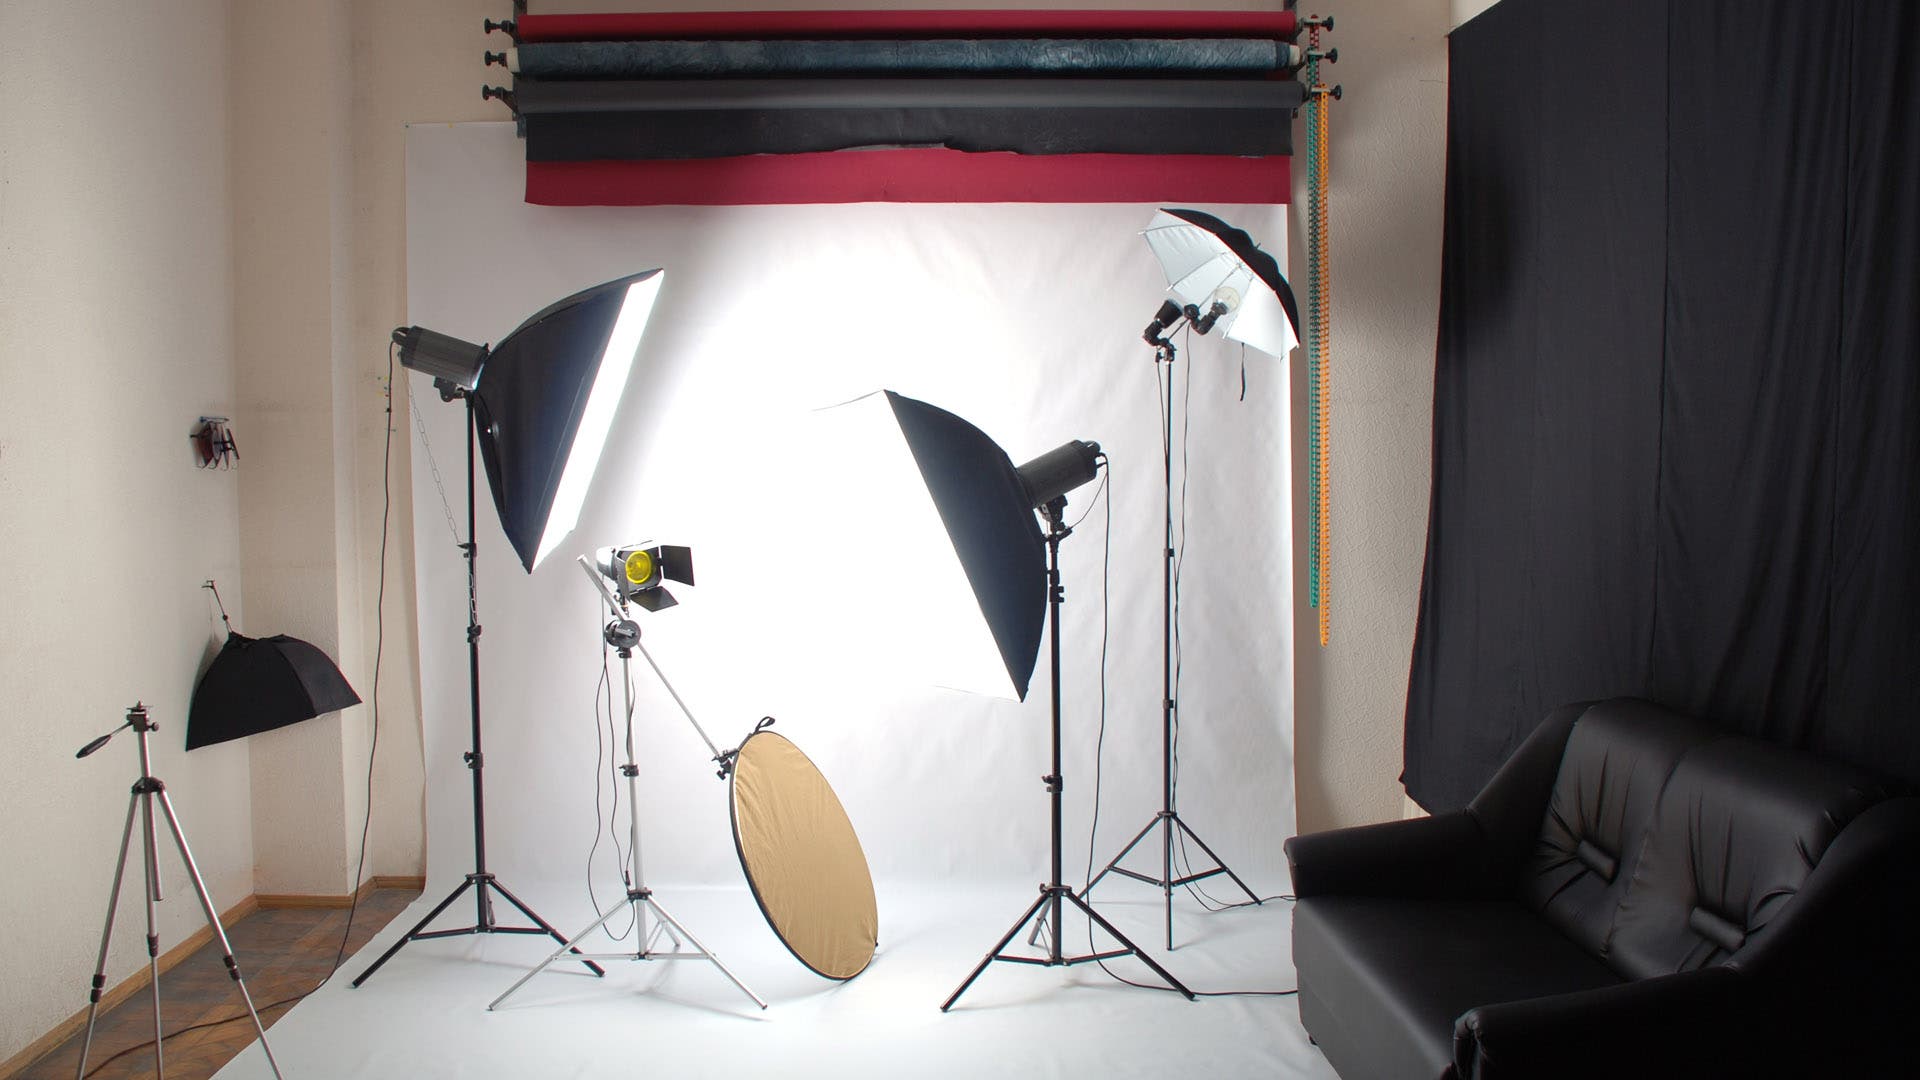
Commercial studio space or home studio space? I’ve worked in both and while it’s nice to have a separate dedicated studio space, working in a home studio space has a lot of perks. For me, it’s been a smarter and economical way to build up the gear and equipment I need for shooting in a studio and on location using my home studio as a base while avoiding the cost of expensive commercial studio space in the city. If you can get a good grasp on organizing and separating your living quarters from your business quarters in the same space, not only do you have a convenient workspace, but a nice tax write-off too! If you are interested in more perks of working in a home studio and how to get yourself organized – especially with space limitations – read on!
Benefits of Working at Home
Beyond the fact that you can just roll out of bed to shoot, or in my case, occasionally shoot in my slippers, working in a home studio environment has a lot of exceptional benefits.
A Short Commute to Work. As I mentioned before, working in a home studio means you can roll out of bed, make your coffee and start setting up for the day – because your studio is just in the next room.
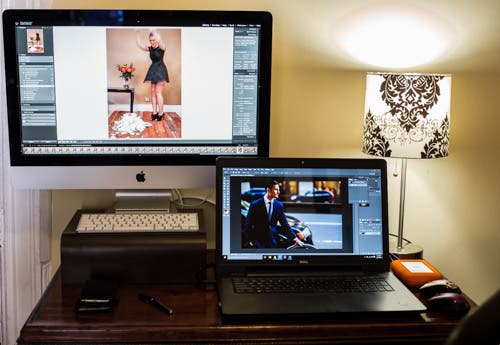
Good Technology Options. When you don’t own a studio space and are just renting for the day, lugging around a big monitor for tethering is not really ideal. For me, working in my home studio vs. working in a location studio is the difference of my tethering to a big screen 27” iMac in my home studio vs. tethering to a small screen 17” laptop on location. You can read more about tethering in my article: Preview While You Shoot: The What, Why, When, Who and How on Tethered Shooting.
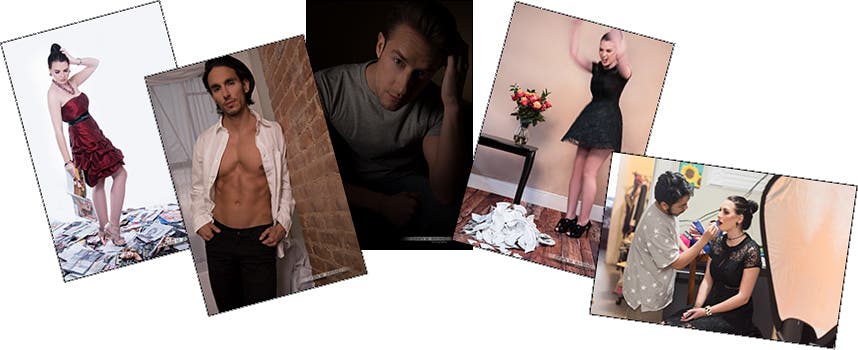
Background Options. In addition to the white or colored seamless paper or muslin choices as your background options in most typical commercial space studios, you have the option of using various rooms of your home as a variety for backgrounds in your indoor shoots. I generally use the studio area of my apartment for creative installations and some catalog/lookbook-type shots, but I have also used my living room/office for portraits and headshots and a combination of all of my rooms including my bedroom and the indoor stairwell outside of my front door for fashion and boudoir shoots. You can keep a variety of regular supplies and props (like different colors of sheets, throws and toss pillows for boudoir) to alter the appearance of your space each time, or, buy, use and sell props to create an entirely new set each time your shoot.
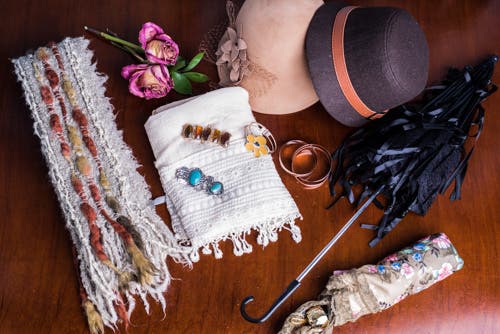
Access to More Props. Ever get ready to shoot only to need a dark red scarf that could put the finishing touch on a client’s wardrobe and make the image – a scarf you actually own and have at home? I’m a bit of a practical person and do not keep many useless things laying around my apartment. When I look around my apartment, everything becomes a potential prop.
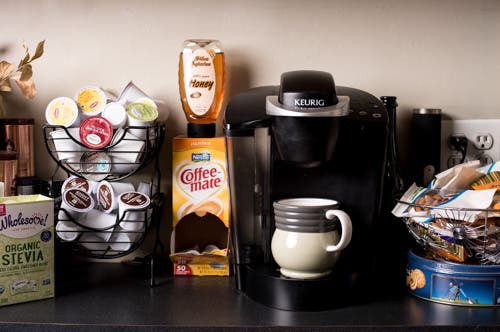
Comfort. Many people tend to be more relaxed at home. Relaxation can aid in creativity and as photographers, we have to be creative. See where I’m going here? While this can benefit your creativity, this is not all to be gained here. When you invite a client into your personal space, it provides an opportunity for them to get to know their photographer and to make some sort of connection between themselves and you. A connection is generally what all photographers strive for with their subjects as it can help a subject relax in front of a lens, which leads to a more natural, candid image. As a bonus, you are also able to offer a better refreshment to selection to your client and crew, such as coffee/tea and hot/cold snacks as you have the appliances available at home to make that happen.
You might wonder with all that I’ve mentioned on technology, backgrounds, props plus comfort, how do you actually fit all of it into a home studio space? This is where good organization comes in handy.
Organization
The key to good organization in a home studio is making sure everything has a place the studio space. Creating a good system of organization and implementation of that system can also benefit your production time so that you avoid spending time looking for misplaced or lost gear.
How to Store Gear and Equipment
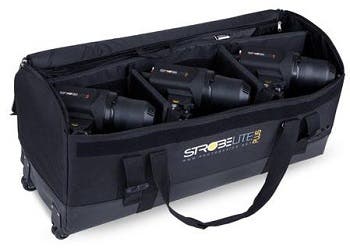
The same holds true for lights, tripods, light stands and whatnot. Keeping your gear stored in bags, cases and pouches not only preserves the gear but it makes it that much quicker to get on the go with your gear for any location shoots when it’s already packed. I go into great detail on storage and travel solutions for your gear in my recent article: Bags, Cases and Pouches: Picking a Means for Carrying and Storing Your Gear.
One of the big things for me is trying not to lose my camera and flash batteries as well as loose memory cards. I use ThinkTank Wallets to keep them all in one place. These help keep me organized for anywhere I shoot.
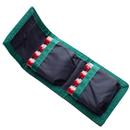
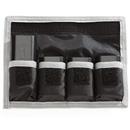
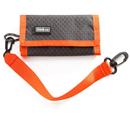
The ThinkTank DSLR Battery Holder, ThinkTank AA Battery Holder and the
ThinkTank SD Pixel Pocket Rocket (they make CF wallets too…)
Where to Store Your Gear
So your bags are packed and everything is protected or maybe you do not want to pack everything into bags. Where do you put it all? (Especially if you are a gear and prop junkie like me?)
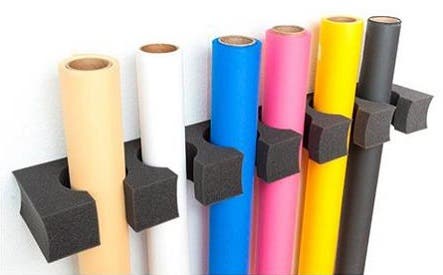
- Up on Your Walls. You can build or install shelves and/or wall racks to help get gear and props off of your much needed floor space. Savage makes a rack called The Paperclip which helps you to organize and store your seamless paper upright and to avoid unsituated heavy 9-foot tubes of seamless paper from falling down and hurting someone.
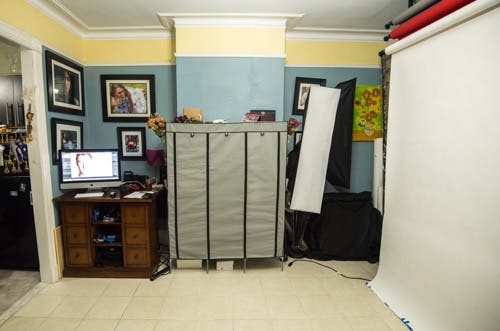
- Behind Your Seamless. Behind my seamless, you can get lost. It’s an entirely different world back there! If you are using autopoles and if you have a a small space allotment, move your autopoles at least two (2) feet out from the wall. This makes for a great place to store bags and cases, folding furniture, props – even a supply of water bottles for your guests! I keep things I use more often than others toward the sides for easy access. If I need to access anything behind the middle of the seamless, I raise my seamless paper up using the chains of my Manfrotto 2961D Autopole Background Set and viola – instant access!
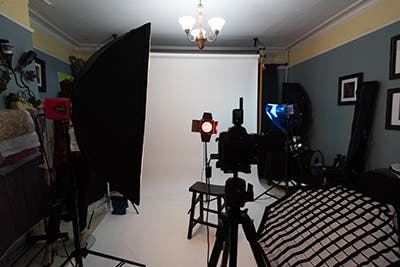
- Along the Walls or in Nooks of Your Shooting Space. I have a little bit of a larger space for a home studio room at 11’ x 12’ which includes two small nooks in one of the walls. When you are desperate for space, you’ll find it, or, you’ll make it. I generally line the side walls of my shooting space with my larger equipment and furniture. I have a little 4-foot area on the left side of my side walls where it protrudes, creating a small 1.5’ depth nook on each side measuring about 4-6 feet each. I have a large storage workstation table in the left nook that protrudes out about three feet from the formal wall, but does not interfere with my shooting space or maximum needed seamless length. In the right nook, I keep my seamless papers, some double-use furniture and most of my modifiers on a custom modifier stand.
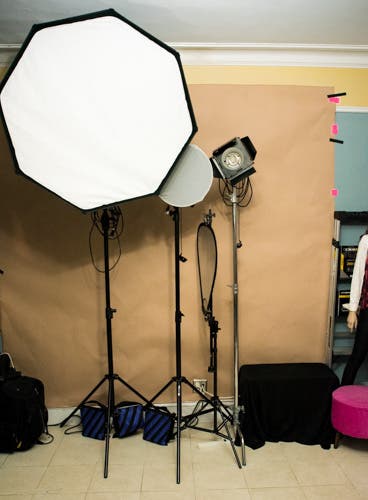
- Raise It Up High. For quicker access, I leave my light stands up with my lights and most used modifiers still on them. Since I have 10-foot ceilings, I raise my light with modifier up, almost to the ceiling, to get it out of the way, but still having it conveniently available without having to reassemble my lighting every time I want to use it. If you do this, be sure that the light and modifier hang over a leg and that the back two legs have sandbags to prevent the now taller stand from tipping over.
- In Another Room. If you have multiple rooms in your home, you may consider storing some gear and/or props in another room. I actually store a closet full of wardrobe and accessories for my models in my bedroom, since that is where they change. During a shoot, some things get temporarily shifted into other rooms of my apartment to give me more space in the room where I am shooting. I move it back after the shoot or after shooting in that particular set.
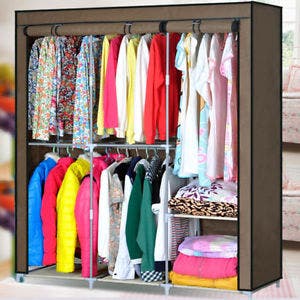
- In a (Portable) Closet. You may have an available closet where you can store gear and props. I live in NYC where most closets are the size of shoeboxes and you only get one per bedroom (definitely no room for anything but my own clothes and products!) A solution that works for me are portable closets. These are generally between $25-70 on eBay or in your local department store. I have two. One in my studio for props, wardrobe accessories, jewelry and some special wardrobe pieces. I have another in my bedroom where I keep most of the model wardrobe with a small hanging space where my subjects or models can hang their own clothes.
Double-Use Items
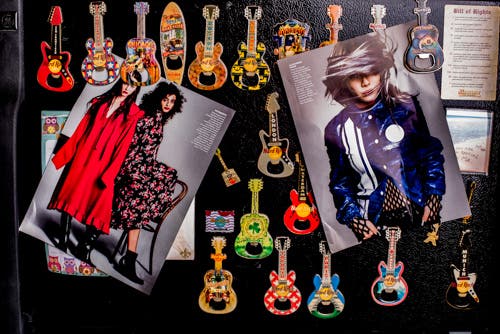
I am a practical person. You have to be when you are short on space. When I purchase anything these days, I make sure that I can find more than one use for it. I’m not much of a collector of knick-knacks. Those that I do have take up no room or also have a practical use (ie. I collect Hard Rock Cafe magnets from places I have traveled to all over the world. Why magnets? Well, because they stick onto a flat surface like my refrigerator and do not take up space, the hold things like notes I might have – even a mood board, and they have a practical double use as bottle openers.
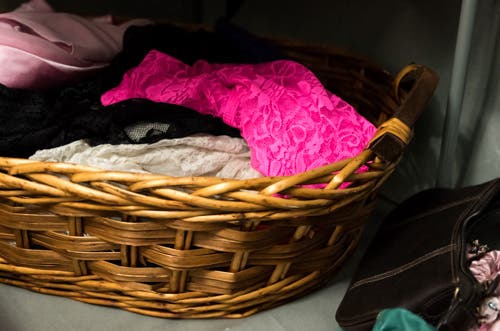
- Baskets are great tools for organizing smaller sized items you wish to store. I keep our lingerie stash for boudoir shoots in a basket inside one of my wardrobe closets. Baskets can also double as visual props. I have an apple crate basket that works well as a set prop at times.
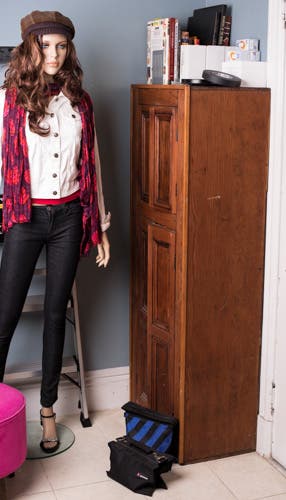
- You may not have a spare or portable closet, but you might have a cupboard that you can store gear and props in. I also paint and I have a tall wooden cupboard that I store my drawing/painting supplies in, which creates more room elsewhere for my gear. I use the top of that cupboard to store my spare strobe bulbs and assorted types of batteries, gaffer, duct and painters tape, etc.
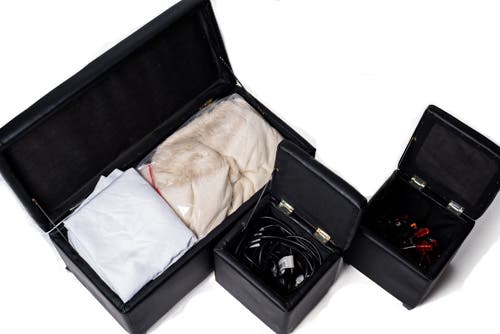
- Other Storage Furniture. I have a few ottomans that I use not only as modeling stools, but also open up to store my extension cords and surge protectors, clamps and a fur throw and long tablecloths inside. In my bedroom, I have a wicker storage chest that stores my spare technical equipment like a location laptop, more extension cords and surge protectors, etc.
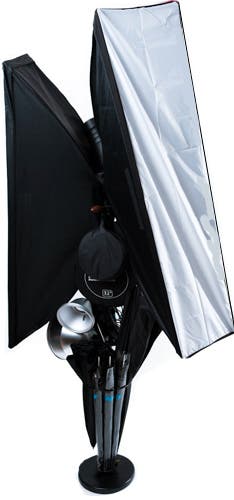
- Get Creative. When I first started out in studio photography, I had issues of losing modifiers when I needed them the most. I’d find them later, of course, when it was too late. I eventually came up with a brilliant idea of using a cool shaped intricate coat stand as a modifier organizer. I hang long throw and short reflectors, collapsible reflectors, honeycomb grids, a snoot and softboxes not in use on the spokes of the curved coat stand. Then I place my gold, silver, white and parabolic umbrellas in the built-in umbrella caddy on the bottom. Now all of my modifiers are all in one place!
I find that labeling things and labeling the space where they should go helps to keep me putting things back where they belong after a shoot. I sometimes keep my gear stored in dedicated bags, cases and pouches and then labeling each. Each of my lens cases are labeled with the specs of the lens contained inside as well as the specs of the filters/hood that each lens requires. This makes it easy for me or my assistants to retrieve the lens or filters I need without searching through every lens case or filter pouch I own looking for a particular lens or filter.
Bringing It Home…
Working in a home studio environment has many great advantages such as additional background and prop choices, not to mention the fact that you can roll out of bed and already be at work! It also allows you to give the client a better picture of who you are on a personal level, which in turn, may help them to connect with you over common interests during a shoot – something we need while we are shooting for better images. While the convenience is a nice perk, you are also combining your living and work space so organization is key. While there are many great ready-made organizational tools out there, sometimes you just have to get creative to make it work when you are short on space. Feel free to share your ideas and implementation for organization and space saving techniques that work for you. I’d love to hear them plus they may spark new ideas for others to help everyone get their home studio organized.
