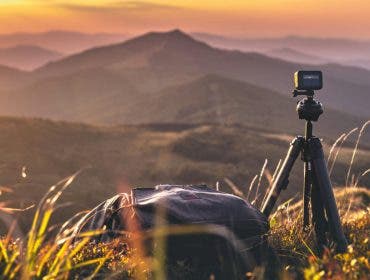
Drone shots are impressive and dramatic and enrich your videos with one-of-a-kind perspectives. The footage becomes cinematic and takes the viewer on an aerial journey. Your subject may be anything, from a vast landscape to city life, architecture, events, and sports. However, drone shots have become very popular, and are sometimes overused or poorly used. For good videos, you must use the right amount of drone footage alternating with regular footage, maneuver the camera smoothly, and learn a broad range of drone moves. Not every drone shot fits any subject or story. Here are the most common types of drone moves and when to use them.
Zooming Moves
Zooming moves resemble lens zoom. Instead of changing the lens’ focal length, you change the camera-subject distance by flying the drone towards or away from the subject. However, unlike the standard zooming, the drone can follow any trajectory, go around objects, and fly down and up, before stabilizing on the subject. This type of drone moves fits any theme, including the subject, and goes best at the beginning or end of a video or movie scene.
For close-ups, find a good position and angle for the drone and use the camera’s zoom to reveal the subject’s details. However, make sure that the camera is up to it so you don’t lose image quality when zooming. If not, moving in closer to the drone is better.
Push-In
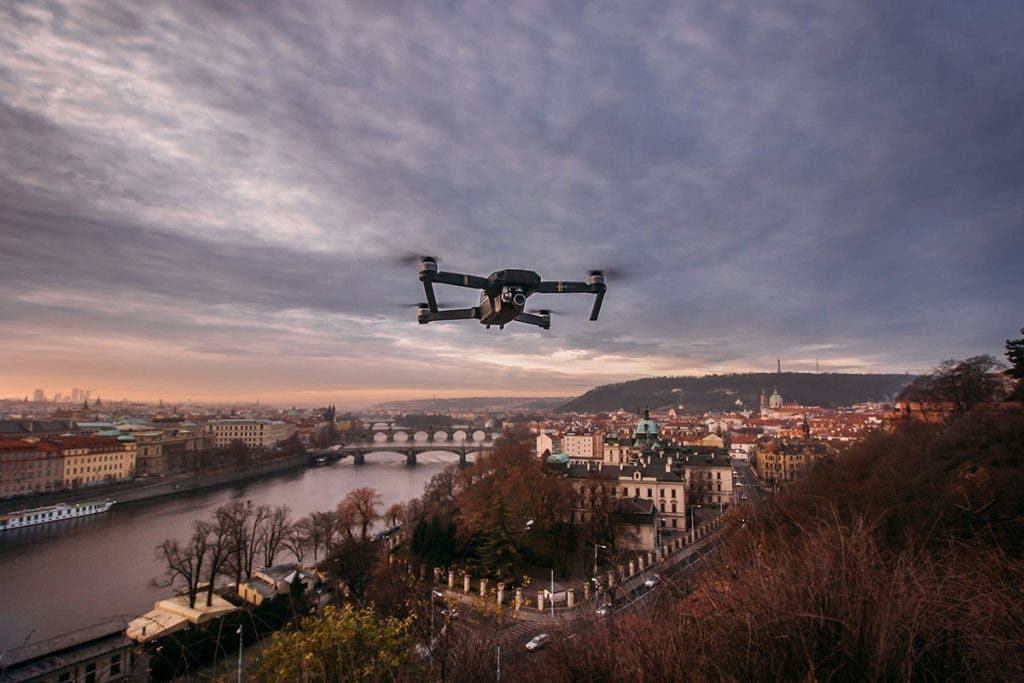
A push-in sequence starts with an establishing wide shot and transitions slowly and smoothly toward the subject (i.e., zooming in). It’s a good introductory shot for the start of the video. Before flying the drone, decide the start and end shots and desired trajectory. Moving the camera downward at high speed and using a complex trajectory with obstacles, will give you an effect that is more dynamic and adventurous. Now, if you decide to move it slowly and smoothly, it will result in a more natural and welcoming effect.
Pull-Away
A pull-away sequence starts with the subject as the focal point and transitions away from it (i.e., zooming out). It’s a good closing shot for the end of the video or a story chapter (e.g., the action moves to a different location or further in time). Often, the pull-away move provides a resolution and removes the viewer from the scene.
However, you can find it used as an introductory shot when the filmmaker decides to start the film with a meaningful detail (e.g., a small house) and then put it in perspective. (e.g., on a deserted island in the middle of the ocean).
Tracking Moves
Tracking moves use the drone to follow a subject in motion. The drone flies at the same speed the subject moves and keeps the subject in focus throughout the shot. Often, the camera-subject distance doesn’t change. However, you can create more artistic effects by changing the drone’s speed. For example, you can slow down the drone and let the subject disappear into the horizon or stop the drone and let the subject pass by the camera and exit the frame.
Follow Tracking
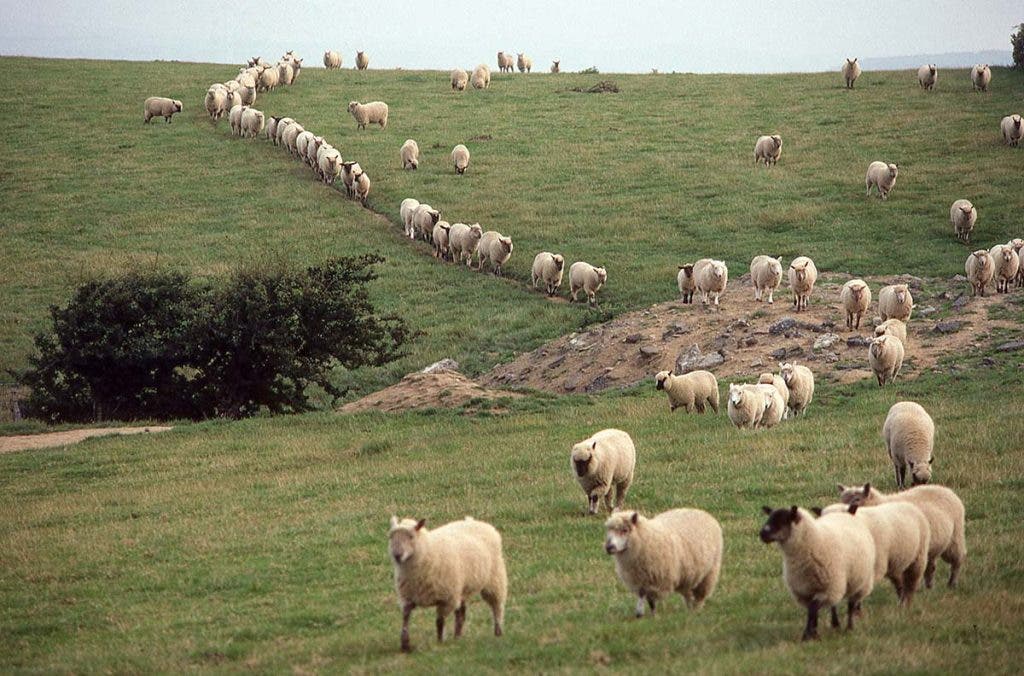
Follow tracking is the drone move in which the camera follows behind the subject. Position the drone slightly higher than the subject and keep a safe distance especially when you can’t precisely estimate the subject’s speed or behavior (e.g., cars in traffic). Maintaining a constant camera-subject distance and a fixed camera angle for longer shots.
Lead Tracking
Lead tracking is the drone move in which the camera is in front of the subject. Like follow tracking, the drone is slightly higher than the subject, facing downwards, and at a safe constant distance. The drone flies backward, so ensure you keep an eye on what happens both in front of and behind the drone.
Lateral Tracking
Lateral tracking is the drone move in which the camera films the subject from their side, moving at the same pace as them. You may want to position the drone close enough so that nothing comes in front of the camera or, on the contrary, farther away so you can capture trees, fences, etc. passing in front of the camera. Having objects passing through the foreground creates more dynamic shots.
Panning Moves
Panning moves are similar to regular camera movements performed using a tripod and refer to rotating the drone horizontally or vertically. The purpose of panning moves is to present a subject or scene in detail and reveal more about the location. However, you can also fly the drone horizontally or vertically, covering a larger area.
Horizontal Panning
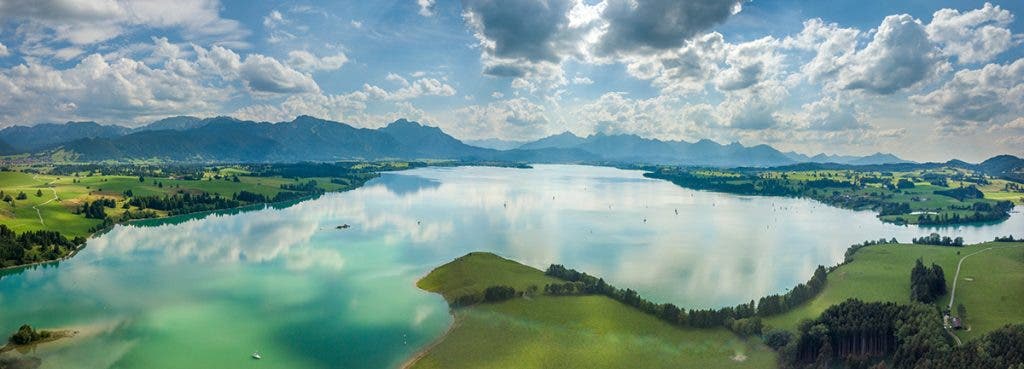
In horizontal panning, the drone rotates or flies from left to right or vice versa, capturing a wide scene. The effect is panoramic and looks amazing when filming landscapes and cityscapes. You may also want to use panning when moving from one subject to another like when filming an interview.
To increase the effect, distance the drone, plus the scene, and use wide-angle lenses.
Vertical Panning
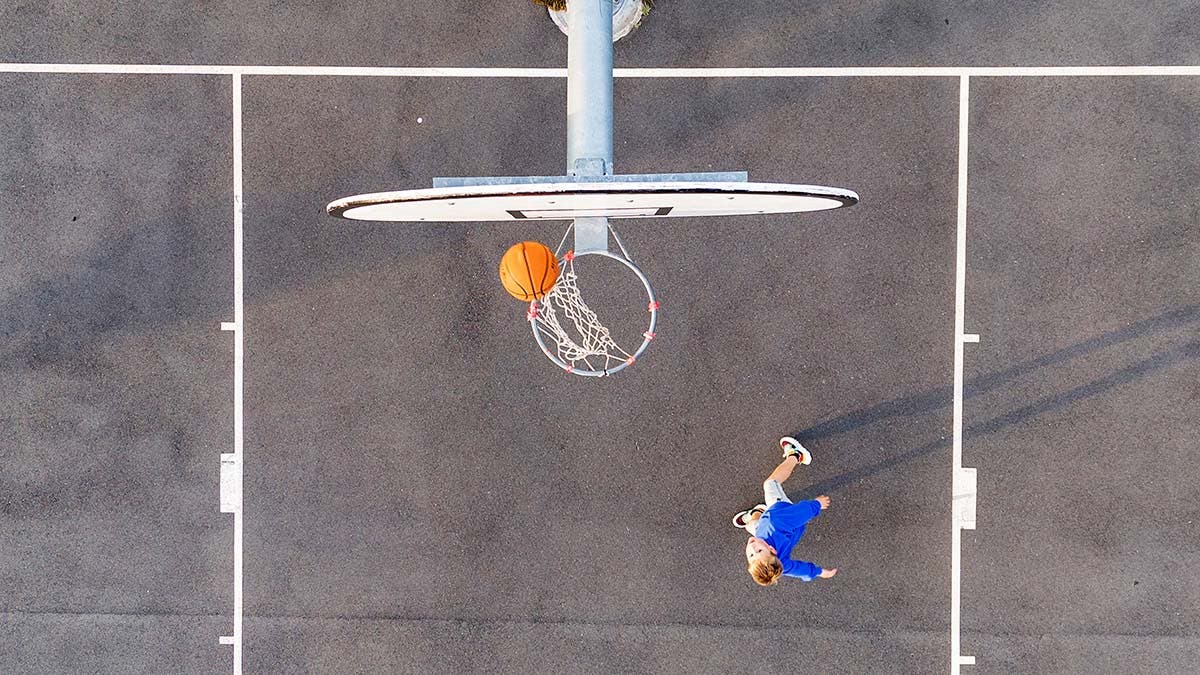
In vertical panning, the drone rotates or flies from down to up or vice versa, capturing a tall subject. The flying up and down vertically is sometimes called the pedestal move. You may want to use vertical panning to emphasize height, such as when filming a statue, tower, skyscraper, or other tall objects. The pedestal move is also helpful for an establishing sequence that starts above the clouds and comes down to ground level. For example, you may want to start from a bird’s eye view (i.e., the drone is high in the sky with the camera pointing directly perpendicular toward the ground) and fly the drone straight down.
Revealing Moves
Revealing moves reveal the subject gradually and more interestingly than a direct shot. Usually, a revealing move starts from a shot in which the subject isn’t visible and ends with the subject in plain sight. Like zooming moves, these are ideal sequences for beginning and ending a video.
Tilt-up
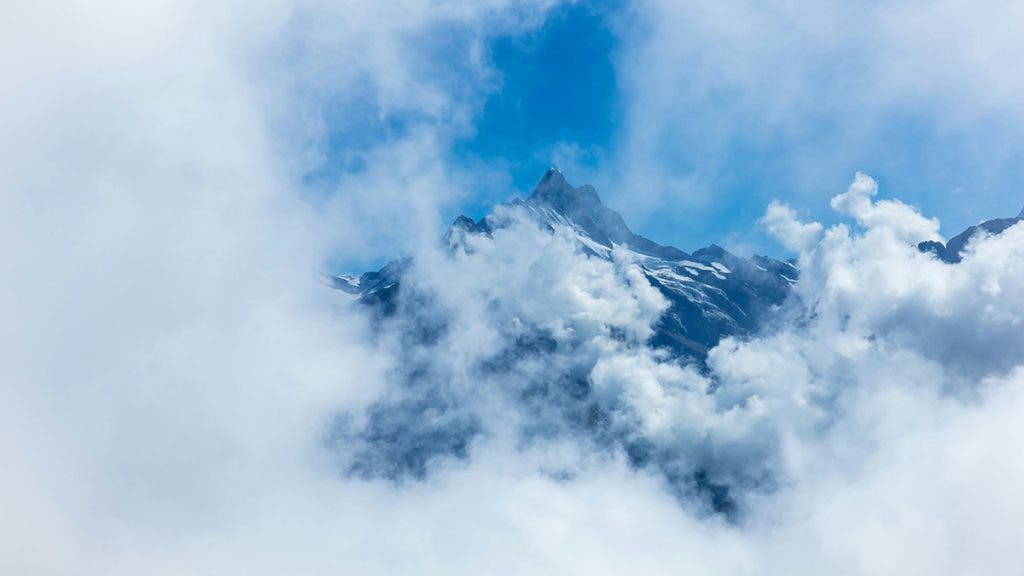
Tilt-up means flying the drone very close to the ground with the camera facing downward and slowly uplifting the camera to reveal the subject. It works best when you have a large uniform area before arriving at the subject, such as a body of water or field.
Rising
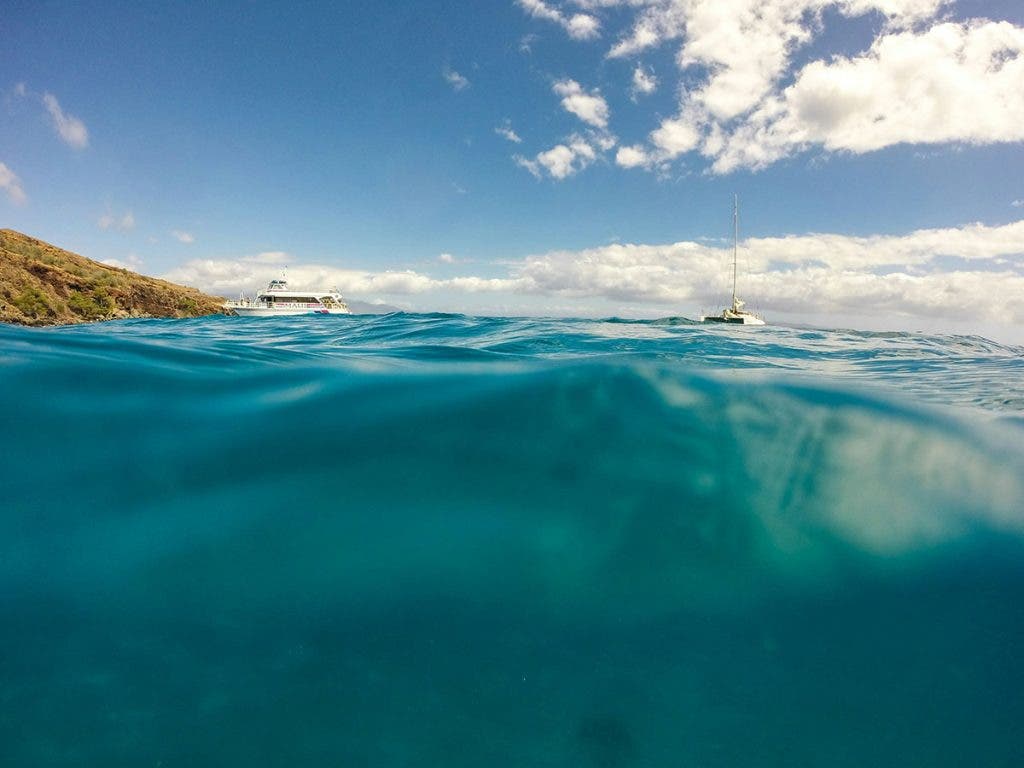
Rising is similar to tilt-up but instead of tilting the camera to capture the subject, you move the drone upwards while flying forward. It helps capture wide views, such as landscapes, mountains, and towns, whereas tilt-up is suited for smaller subjects, such as buildings, trees, and even people.
Flyover
Flyover means flying the drone high above a separate subject, such as a boat, car, or house. Like all revealing moves, flyover starts with empty space (e.g., the sky, the sea, a field) and ends with the subject in focus. The camera faces upwards to capture the background and tilts down to capture the subject.
Unveiling
Unveiling means flying the drone behind a foreground object before revealing the subject in the background. For example, you can hover the drone behind a tower before moving it to reveal a spectacular view or start the sequence with the drone blocked by a house before moving it to reveal a family scene in the backyard.
Rotating Moves
Rotating moves are impressive and make the subject stand out like no other. You can see them in movies and commercials. Although the drone may move up and down, the main movement is a 360-degree rotation around the subject. As a result, the subject stands still while the background moves.
Parallax
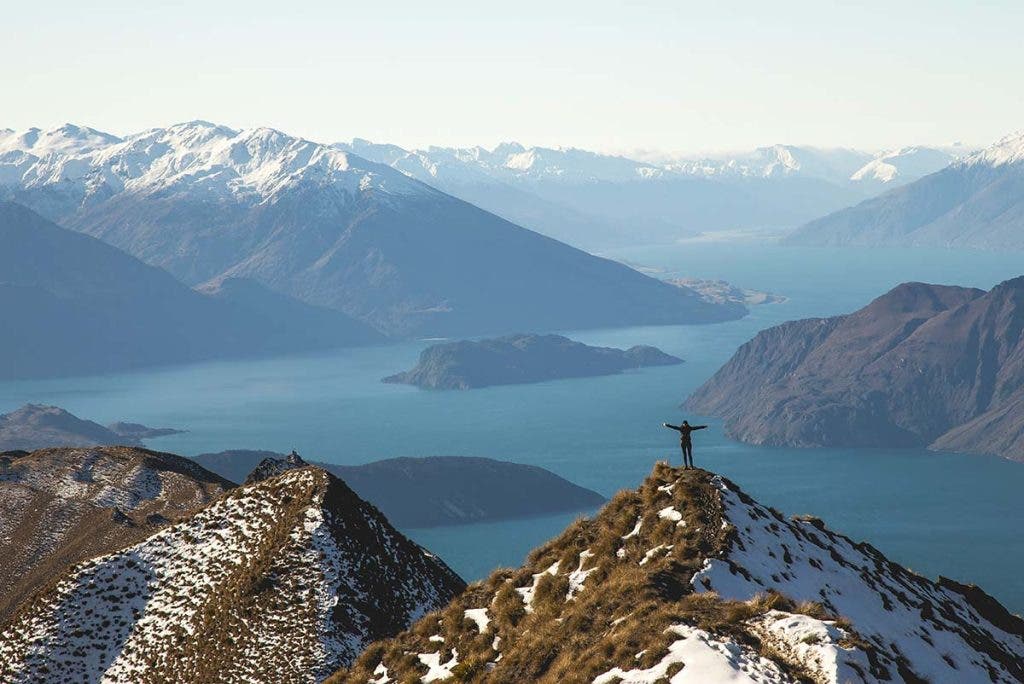
For the parallax move, you fly the drone around a static subject while maintaining its height. It’s a circular movement that puts the subject in perspective and reveals the space around it. The parallax move is a favorite of solo travelers and hikers because it puts them in perspective. It’s also called a point of interest shot. Many drones, such as DJI Mini 4 Pro, have automatic modes with subject-tracking capabilities that make this move very easy.
Helix
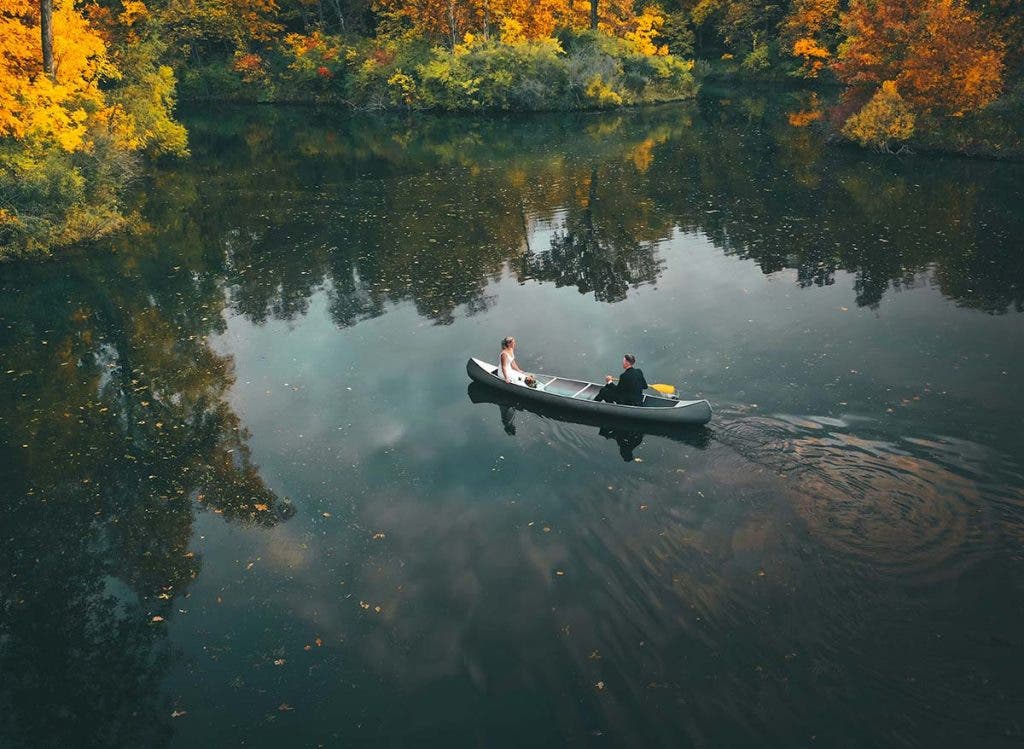
The helix move adds a spiral effect. The drone rotates 360 degrees around the subject while moving up or down. When it moves down, the subject zooms in, filling the frame. It’s the shot you want for introducing a football game, for example. When it moves up, the subject zooms out, creating the ideal closing scene for an event such as a wedding. It creates that “they lived happily ever after effect”.
Conclusion
Using drones provides unexpected perspectives and transitions that improve your videos. You may want to use them whenever you shoot in a vast space, creating a meaningful background. Drone moves also help you add a temporal dimension, introduce the viewers to the narrative, create thoughtful closings, and produce diverse footage. Make sure you master drone flying, choose the best location and time of the day, and create a shot list. Avoid visual repetition and also overuse of drone moves. Your video needs balance and harmony regarding the framing and the way you put the frames together, transitions, and visual effects.
