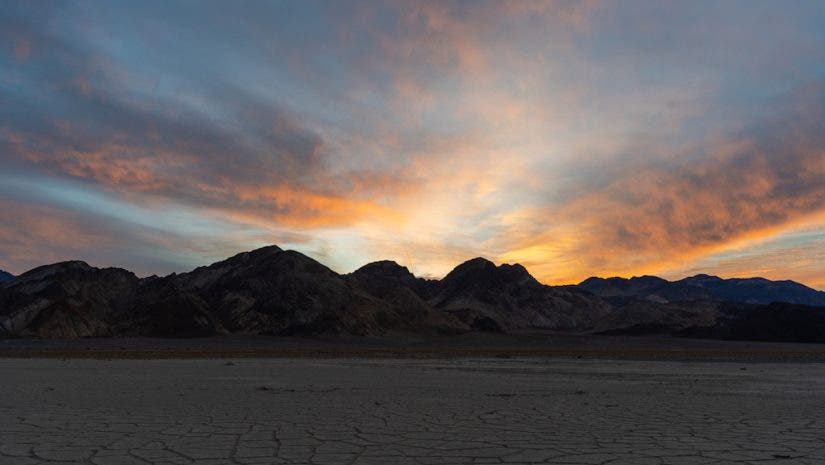
If you’ve been shooting photos for long, you may be aware of a technique called focal length blending, or perspective blending. While the ethics of using this technique may be hotly debated, it is undoubtedly a way to make your wide-angle compositions more intriguing.
What is Focal Length Blending?
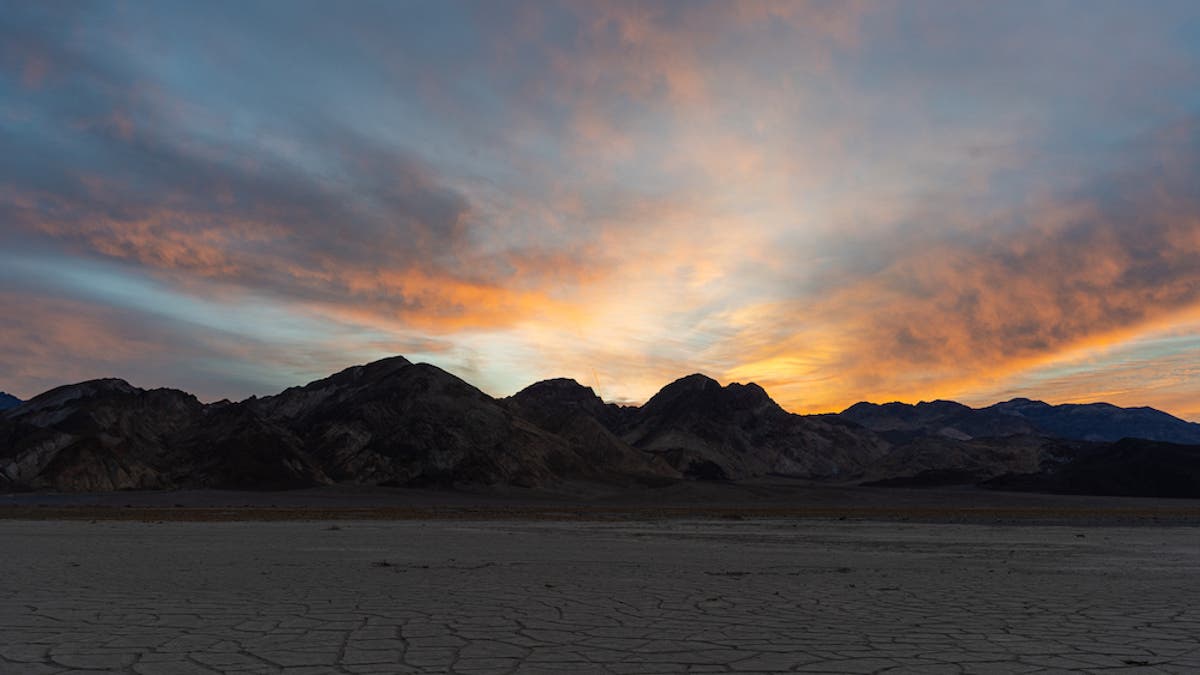
Focal length blending involves combining multiple photos taken at different focal lengths. Generally, this looks like combining a wide-angle photo of the foreground with a more zoomed shot of the background. To make things easier, these two photos are usually shot at the same time. Although, in some circumstances, photos from different times can be blended together. In this blog post, you’ll learn exactly how to do a focal length blending of your own from photos shot at the same time and place.
We’ve also covered the basics of focal length in a previous article, if you need a refresher.
Step 1
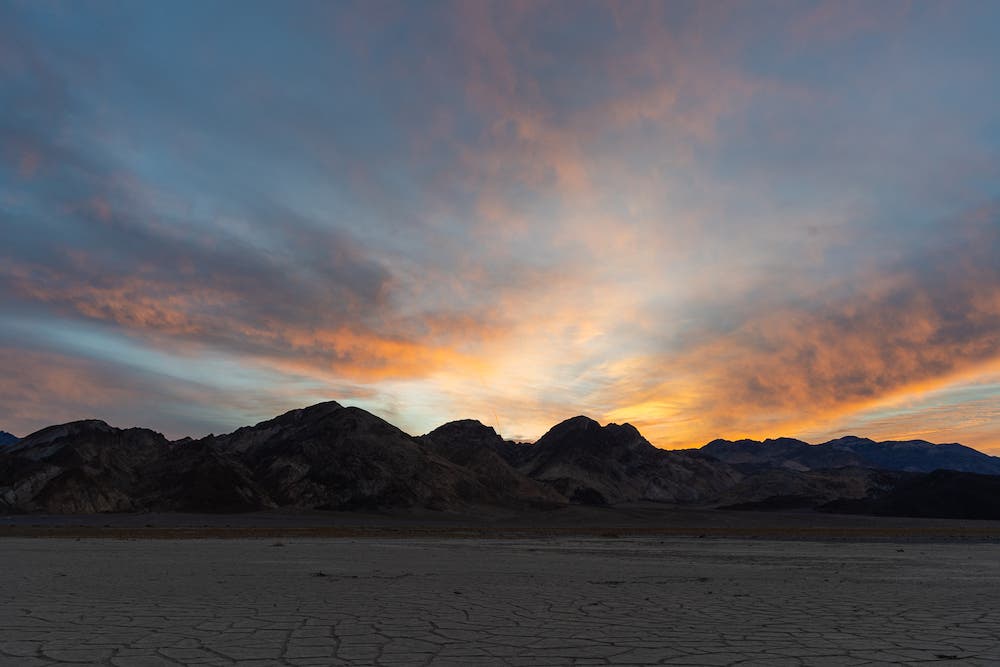
Capture the two images in the field one after the other, without changing camera settings. This will make it much easier to blend the two images. Don’t change the focal length too much or else it won’t look realistic. I find that taking an image with a wide-angle lens (14mm-20mm) of the foreground to combine with a background image taken slightly zoomed in lens (25mm-35mm) works really well.
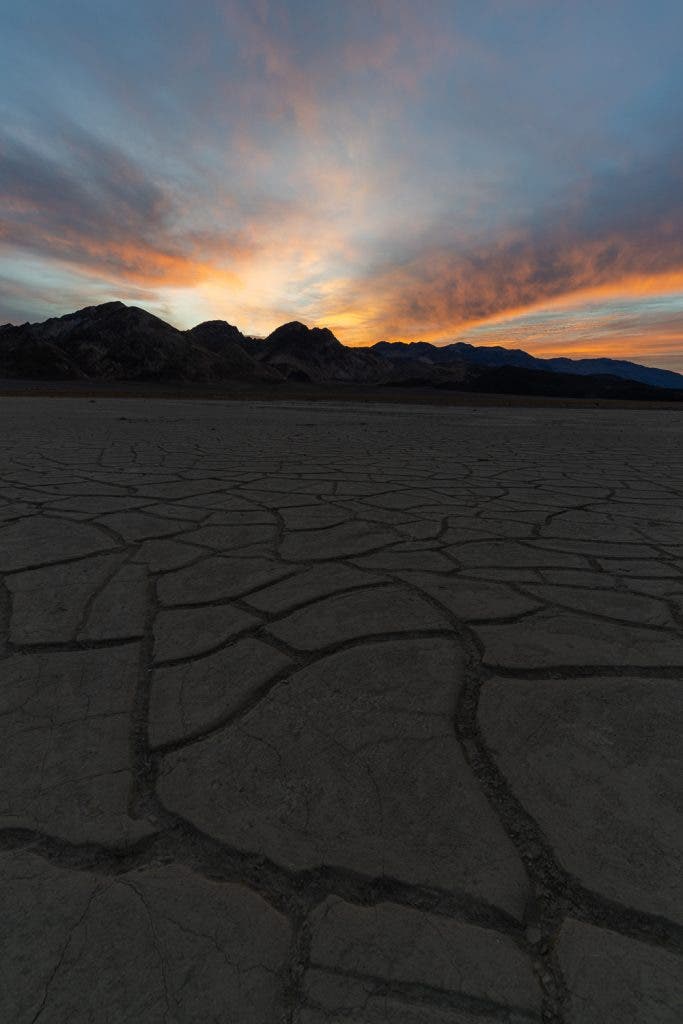
Step 2
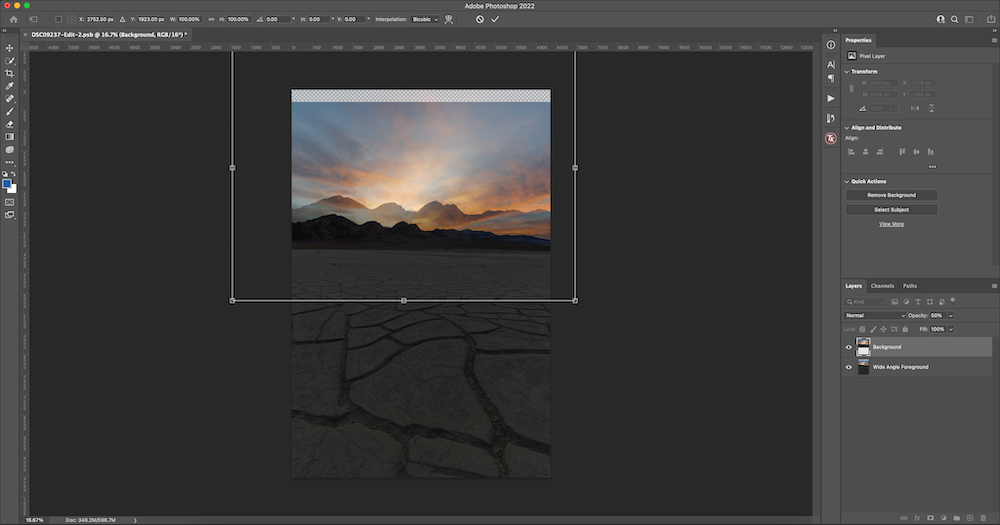
Upload the photos to your computer, and open the files in Photoshop. Once in Photoshop, you need to align the two layers. In this example, I am going to put the wide-angle foreground image below the background image in the layers panel. Then, lower the opacity of the background image to 50%, and align it on top of the wide angle image so that the subject, or whatever you’ll be blending in, lines up.
Step 3
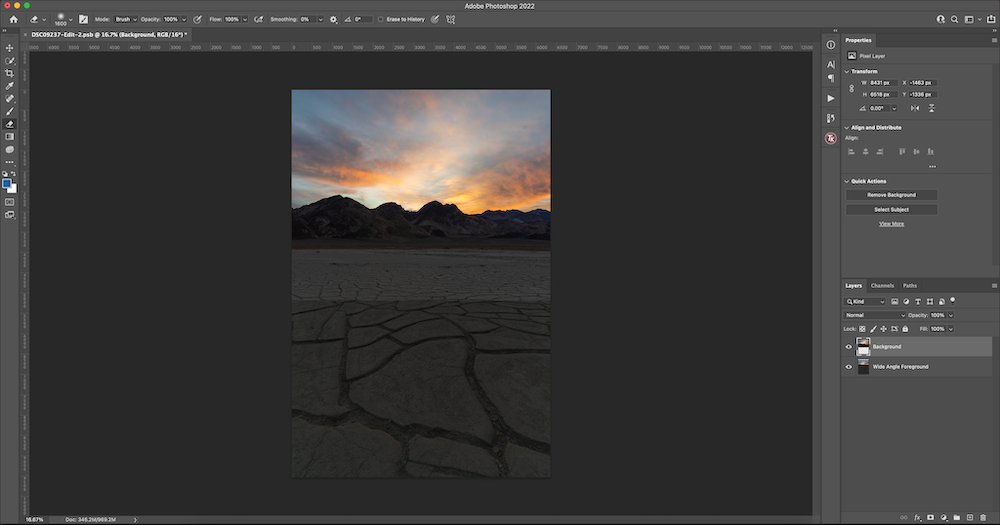
Hit enter/return to lock in your adjustment. Bring up the opacity of the background layer to 100%.
Step 4
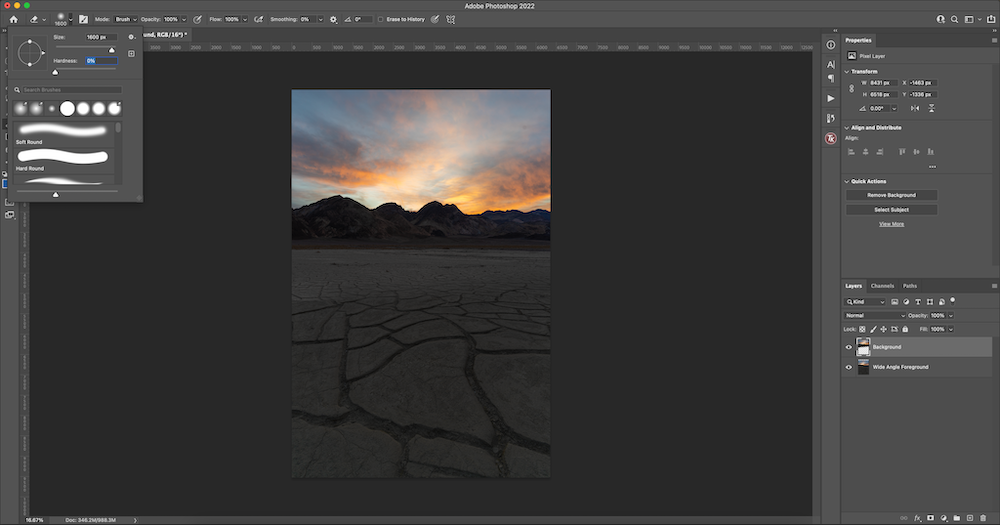
Grab the Eraser tool (E), and start erasing the overlapping parts of the image to create a more seamless blend. In this example, I’ll be removing everything below the mountains in the background image. Make sure you are using the eraser at 0% hardness, which can be adjusted in the top left menu bar by clicking the downward arrow next to the eraser size.
Step 5
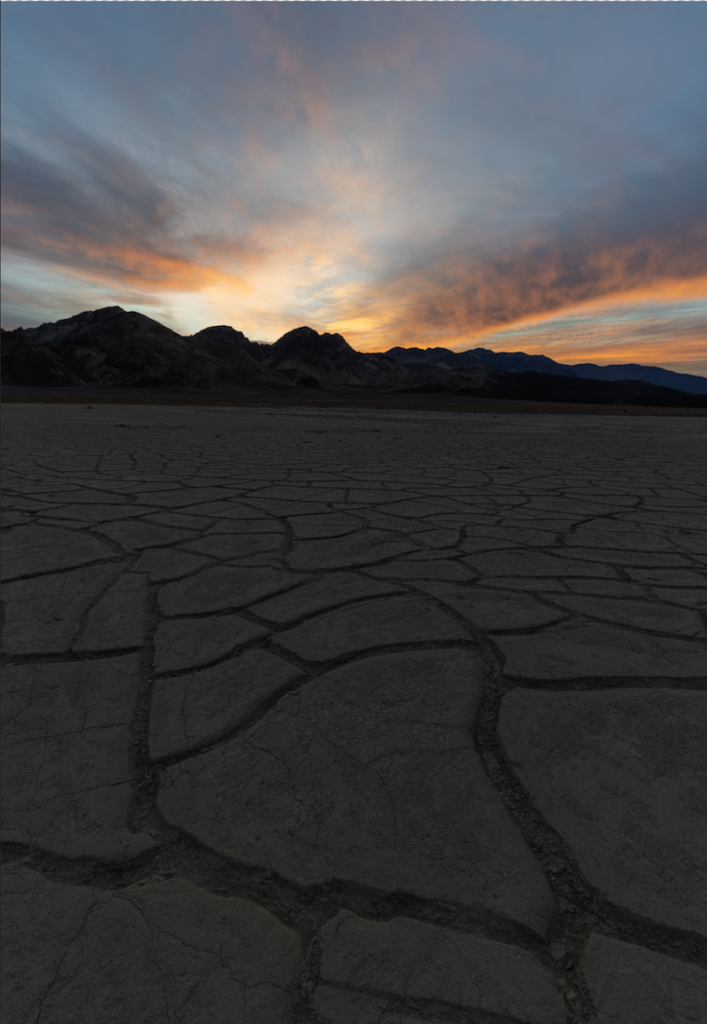
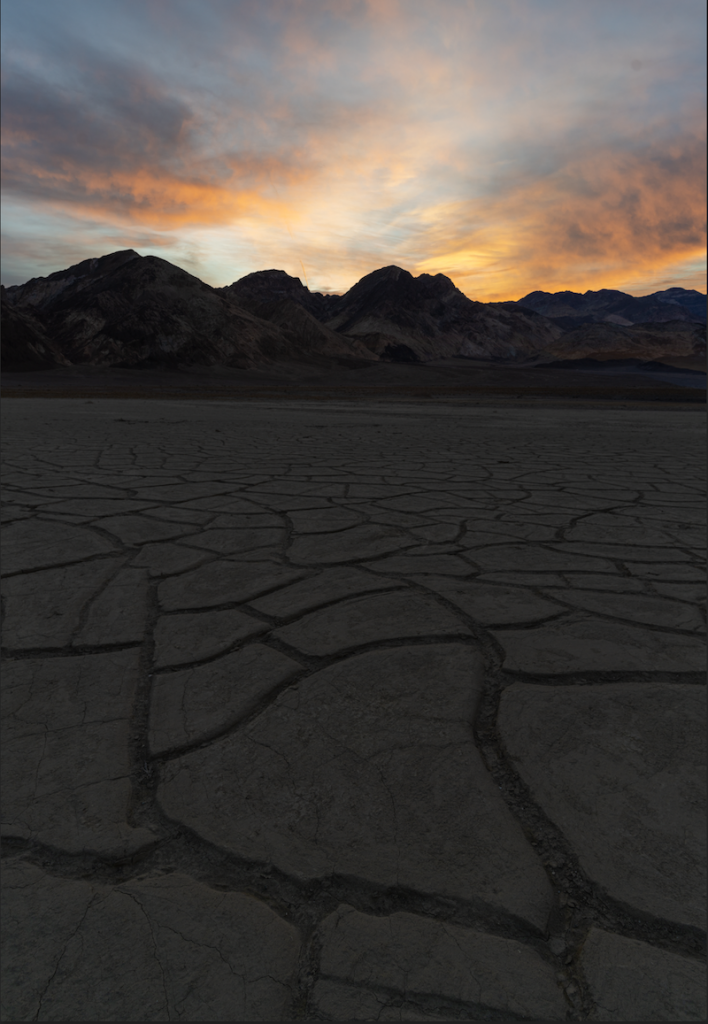
Once finished, continue editing your photo as usual, or save the photo and edit it in your preferred editing suite. You’ll notice that the changes might appear minimal in this example, but that helps to keep the photo looking realistic. The smaller the change, the easier it is to blend and keep the image looking realistic.
Check out more of our photo editing how-tos to improve your post-production process.
Before
After
Things to Watch Out For
When doing a focal length blend, there are a few things to be cautious of to ensure a realistic looking final outcome.
Watch Your Focal Lengths
First, it’s important that the focal length between the photos you are trying to blend is not too far apart. Trying to blend a wide-angle exposure with a 200mm exposure of your subject is just going to look unrealistic.
Don’t Change Your Settings
Make sure you take both exposures one after another, without changing the settings. If you adjust the settings on your camera — or take the images many minutes apart — the tonal values will look different on the photos. If this happens, it is still possible to combine the images, but you must first apply some basic edits to match the images up. This creates a lot more work for you to do, and makes the blend much more difficult.
Go Easy on the Details
Look for a low-detailed area as the place where you’ll blend the photos. In my example above, I blended the photos at a spot that had little details, and was far away. This made it so that you can’t tell that I blended the two images together. I also used a very soft brush to make sure that the blend was feathered, and didn’t have harsh edges. Any time you combine multiple photos together, you want to make sure they appear as seamless as possible.
Final Thoughts
Focal length blending can help you create more interesting and well-balanced images. Oftentimes, using a wide-angle lens can result in subjects that appear much further away on the camera screen than they do in person, which creates the need to use focal length blending.
Don’t feel obligated to use this technique on all of your wide-angle images. In fact, this is a technique that I recommend to use sparingly for those times where the subject is quite far from your interesting foreground.
Even though this might seem like an advanced technique, it really isn’t too hard. Focus on getting the images right in the field to make your post-processing experience much easier. The closer your images look in the field, the easier it will be to blend them together in post-processing.
Are you looking for more information related to composite photography? 42West has you covered.
