
There’s something timeless and soulful about the tintype process. Born in the mid-1800s, tintypes were the first “instant photography” of their day. This process offers a tangible, one-of-a-kind image in a world before digital screens. Today, tintypes remain a magical way to slow down, create with intention, and connect with history. In this tutorial, I’ll walk you through the basics of shooting a tintype, focusing on the experience and essential steps.
Step 1: Prepare Your Plate
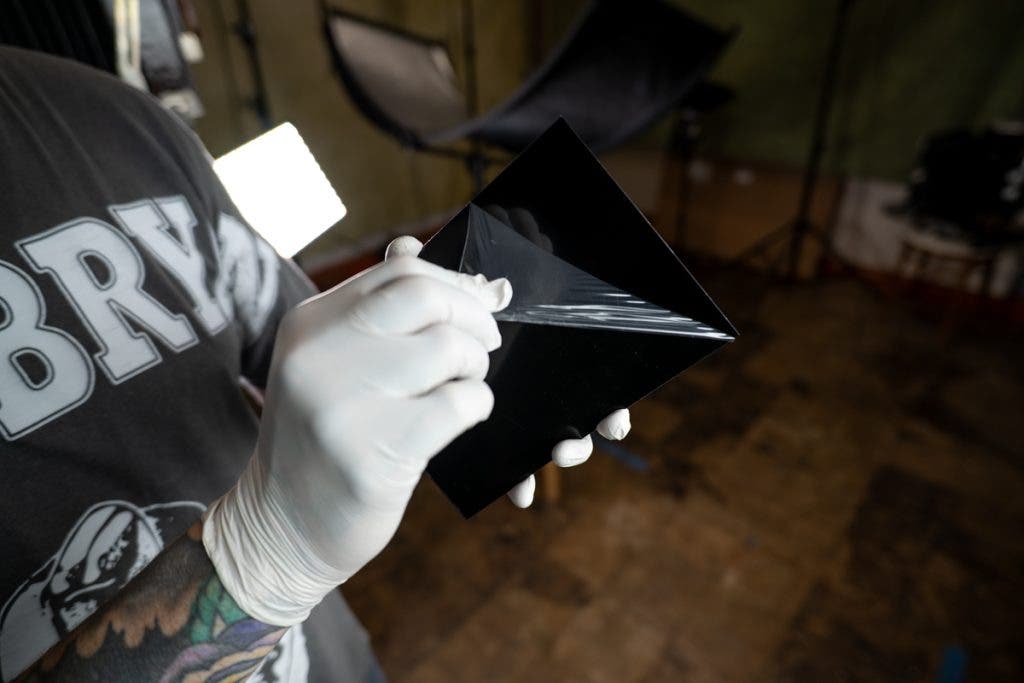
The process starts with a clean metal plate—I like black sign engraving aluminum. Before anything else, we need to make sure the plate is extremely clean and free of any sort of dust. Typically, the sign engraving aluminum comes covered with a clear film that helps protect the plate.
Step 2: Coat the Plate
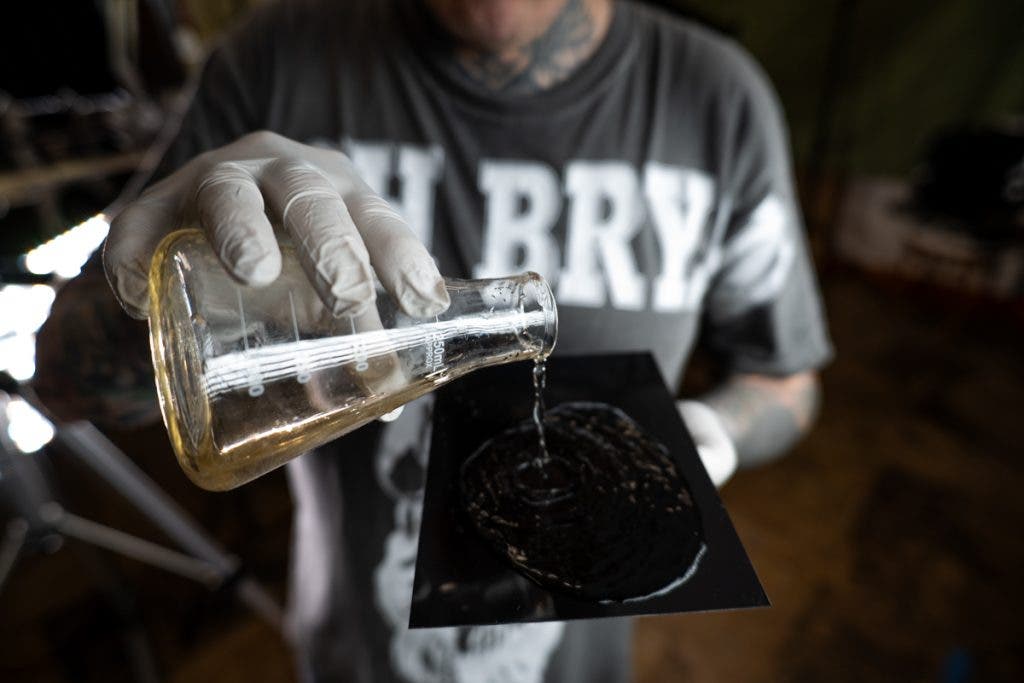
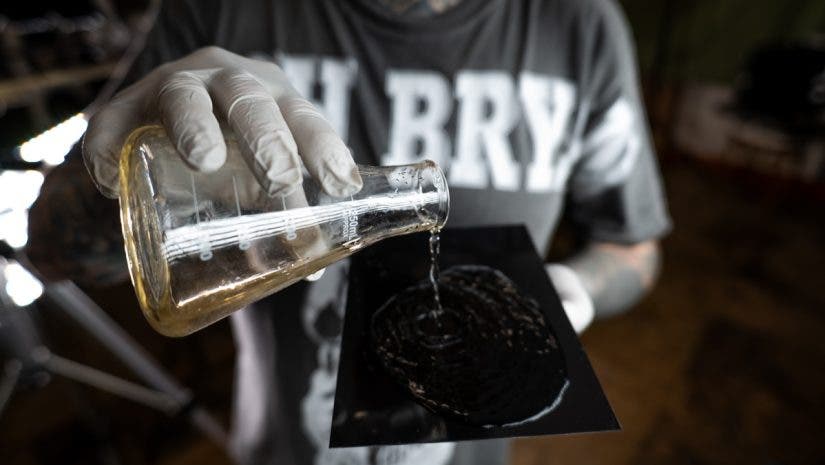
Next, the photographer must coat the plate with a thin layer of collodion. This is done by flowing it from corner to corner before the excess is poured back into its bottle. This syrupy liquid forms the light-sensitive layer that will capture your image. You can think of it like the dull side of a piece of 35mm film. A photographer must work quickly. Additionally, you must coat the plate smoothly. The plate is then dried for the perfect amount of time—10 to 30 seconds, depending on the temperature and humidity of the room—to avoid streaks or imperfections.
Step 3: Sensitize the Plate

Once coated, the plate is carefully and evenly lowered into a silver nitrate bath. Any hesitation during this step will affect the final image. This is where the plate becomes sensitive to light, transforming from a blank slate into a raw light-sensitive emulsion ready to record the moment. Timing is everything—too little or too much time, and the plate won’t respond the way you want it to. I don’t go any less than 3 minutes and never more than 8 to 10 minutes.
Step 4: Emotion
This is the most important part of the whole process, in my opinion—not just physically taking the photo, but also communicating with your subject. This process is all about emotion. The way the chemicals interact on the plate, the tones, the lack of dynamic range, and most importantly, how you make your subject feel—this is what will ultimately show in your image. I want all the focus to be on my subject’s eye, so I’m going to use an eye loupe to make sure I nail the focus.
Step 5: Expose the Image
The plate is loaded into a light-sealed plate holder and then into a large-format camera, and the exposure is carefully calculated based on the available light and the subject’s placement. Unlike modern photography, there’s no instant preview—every exposure is an act of faith, guided by experience and intuition. Imagine you only have one shot left on your SD card, with no deletes and no reshoots. Your ISO is 0.5, you have about 2,500 to 4,000 watts of strobe power, and you can’t use a light meter. Yep… that’s my everyday.
Step 6: Develop
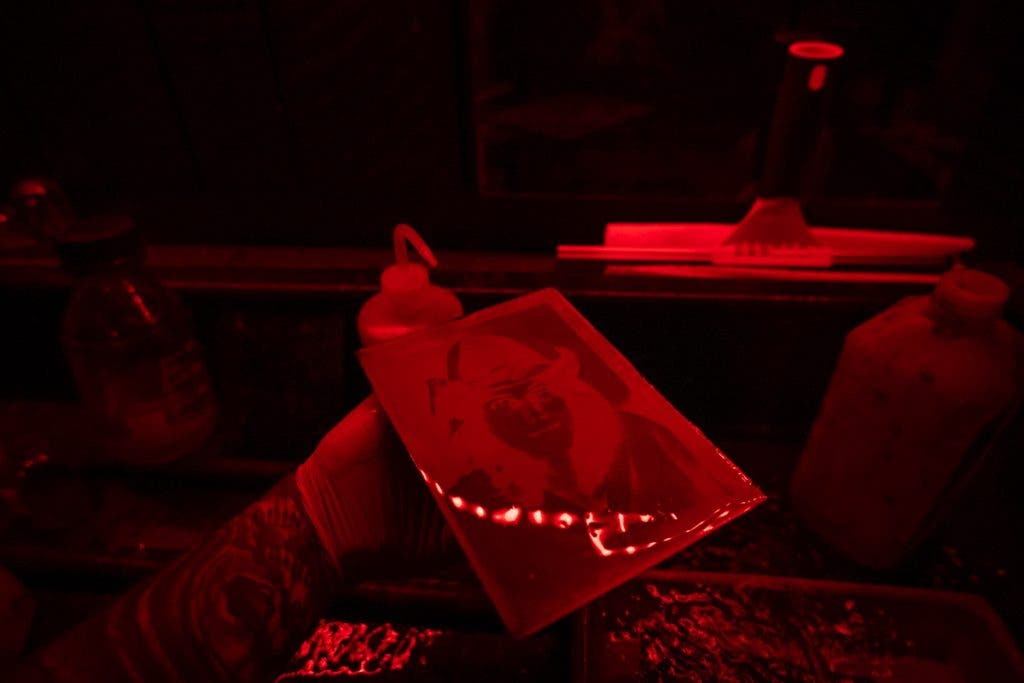
After the plate is exposed, it’s time to reveal the image in the darkroom. The plate is hand-poured with developer—unlike developing in a tray or tank, we have to hand-pour the developer directly onto the plate. If you don’t pour it completely evenly, it will negatively affect your final image. Then you gently rock it back and forth as the image slowly emerges from the shadows. It always terrifies me—you have about 15 seconds. If you wash too early, you’ll have a dark image; if you wash too late, you’ll end up with bright, milky shadows. Once the image is fully developed, the plate is rinsed with water to stop the chemical reaction. Once the water doesn’t bead off and flows smoothly, the plate is ready to be fixed.
Step 7: Fix
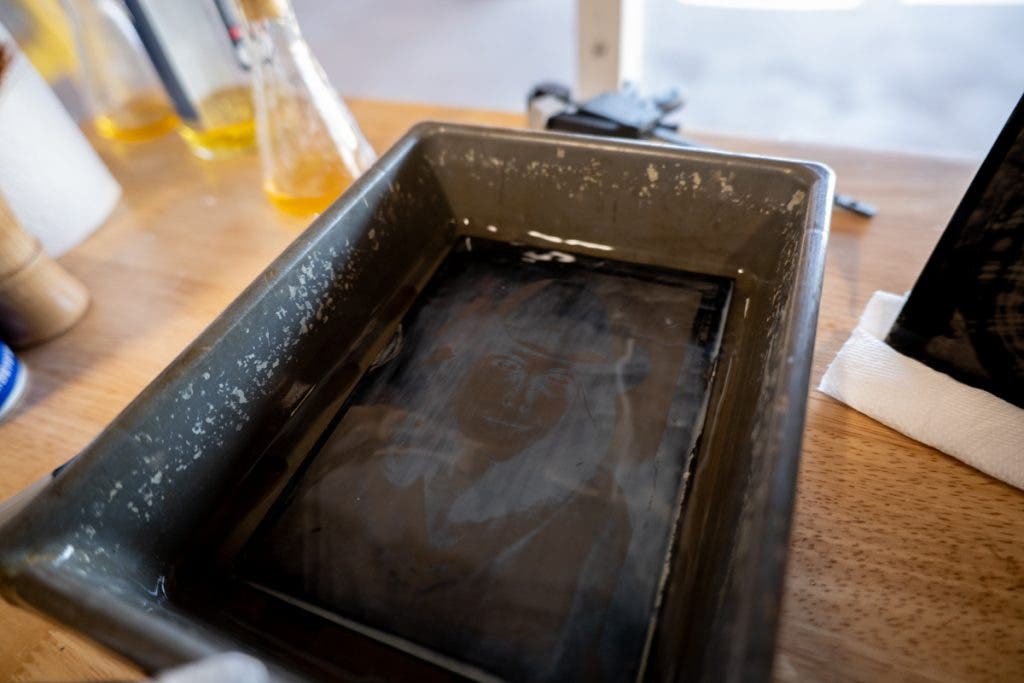
This “fixing” process locks the image in place, washing away all of the unexposed silver and giving it a sense of permanence. Once all the edges are free of any thick white collodion lines, you’re ready to rinse.
Step 8: Rinse and Varnish
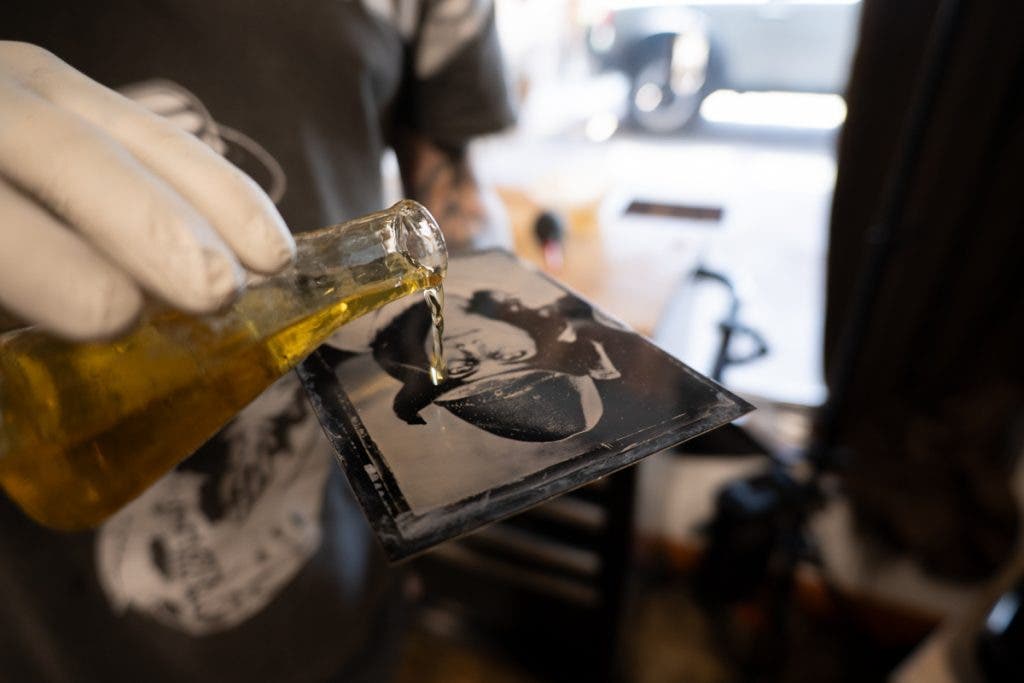
After fixing, the plate is carefully rinsed for several minutes to remove any remaining chemicals. If you don’t rinse your plates long enough, the silver will oxidize and become almost invisible. Once dry, a protective varnish is applied and the plate is laid on a low-heat pancake griddle to seal and protect it, giving it that deep, glossy finish that’s characteristic of a tintype. This final step not only preserves the plate but also adds a timeless sheen to the portrait.
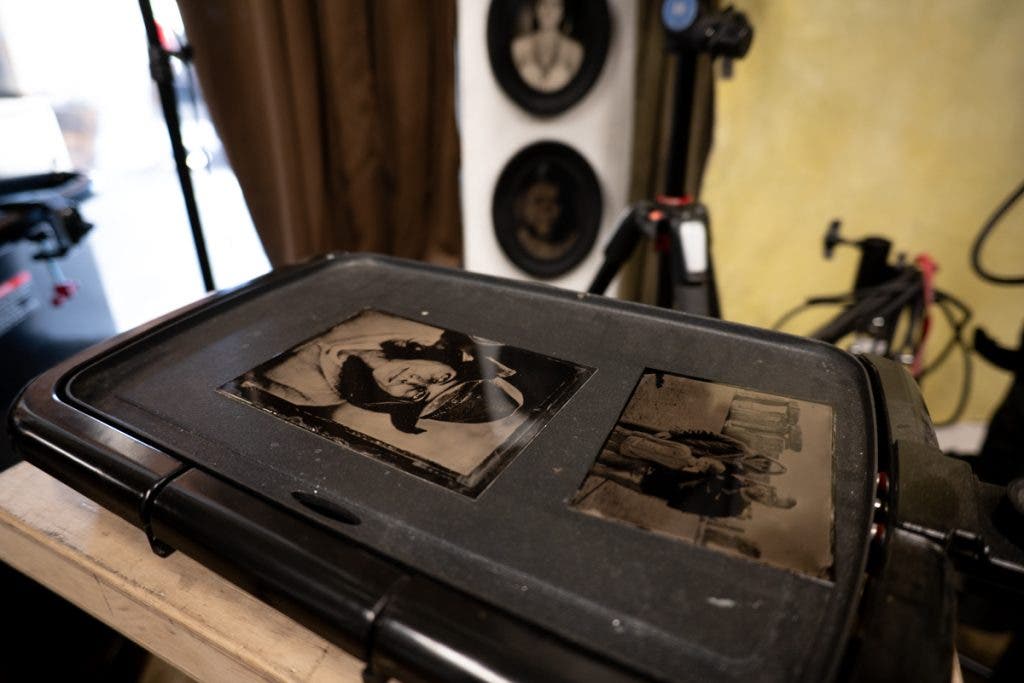
More Than Just a Process
Shooting a tintype isn’t just about capturing a likeness—it’s about slowing down and creating something real and tactile. Each tintype is a one-of-a-kind object, crafted by hand in a process that hasn’t changed much in over 150 years.