Taking beautiful photos of skies during different times of the day is fairly easy, but it does require skill and knowledge to be able to capture them exactly as we see them with our very own eyes—or even better. However, the effort is always worth it as it not only helps aspiring and professional photographer hone their skills in photography but also encourages them to bask in the beauty of the sky above us.
Keep reading to learn the basics of sky photography!
What is sky photography?
Sky photography yields some of the most incredible and breathtaking photos. Aside from featuring unique and stunning combinations of the colors of the sky, the clouds, and the ground below, it showcases the sky’s underrated ability to “complete” your shots, whether you’re shooting an amazing landscape, a dramatic sunset beach photo, or even just a complementary foreground subject.
Though it could sometimes be as simple as pointing your camera to the sky and pressing the shutter button, there’s more to sky photography than people may think.

Sky Photography Tips
Time Your Shots
The weather is the best indicator of what the sky will present for your camera. Check the weather forecast ahead of every outdoor shoot!
If you want to capture a beautiful sunset, ensure no storm is brewing. Additionally, check the forecasted time for the sunset in your area. If you want to capture a clear daytime sky, make sure there are bright blue skies and check for clouds before heading out. And if you wish for a gloomier shot, wait for the rain clouds to roll in or the sun to sashay away.
Watch Out for the Colors
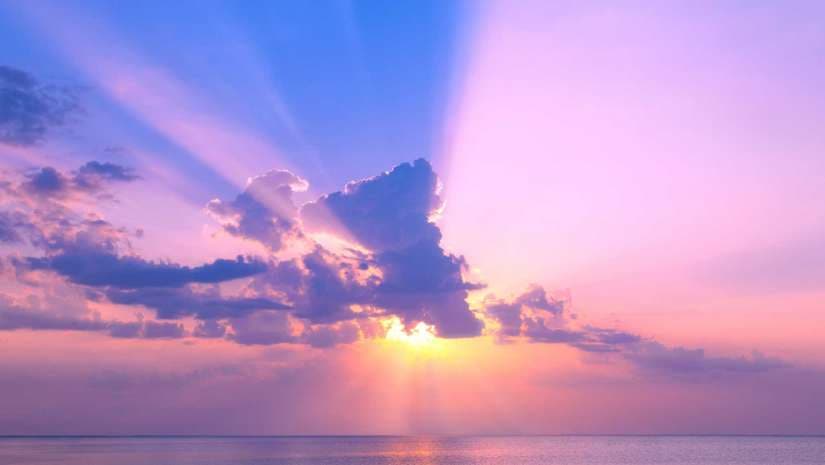
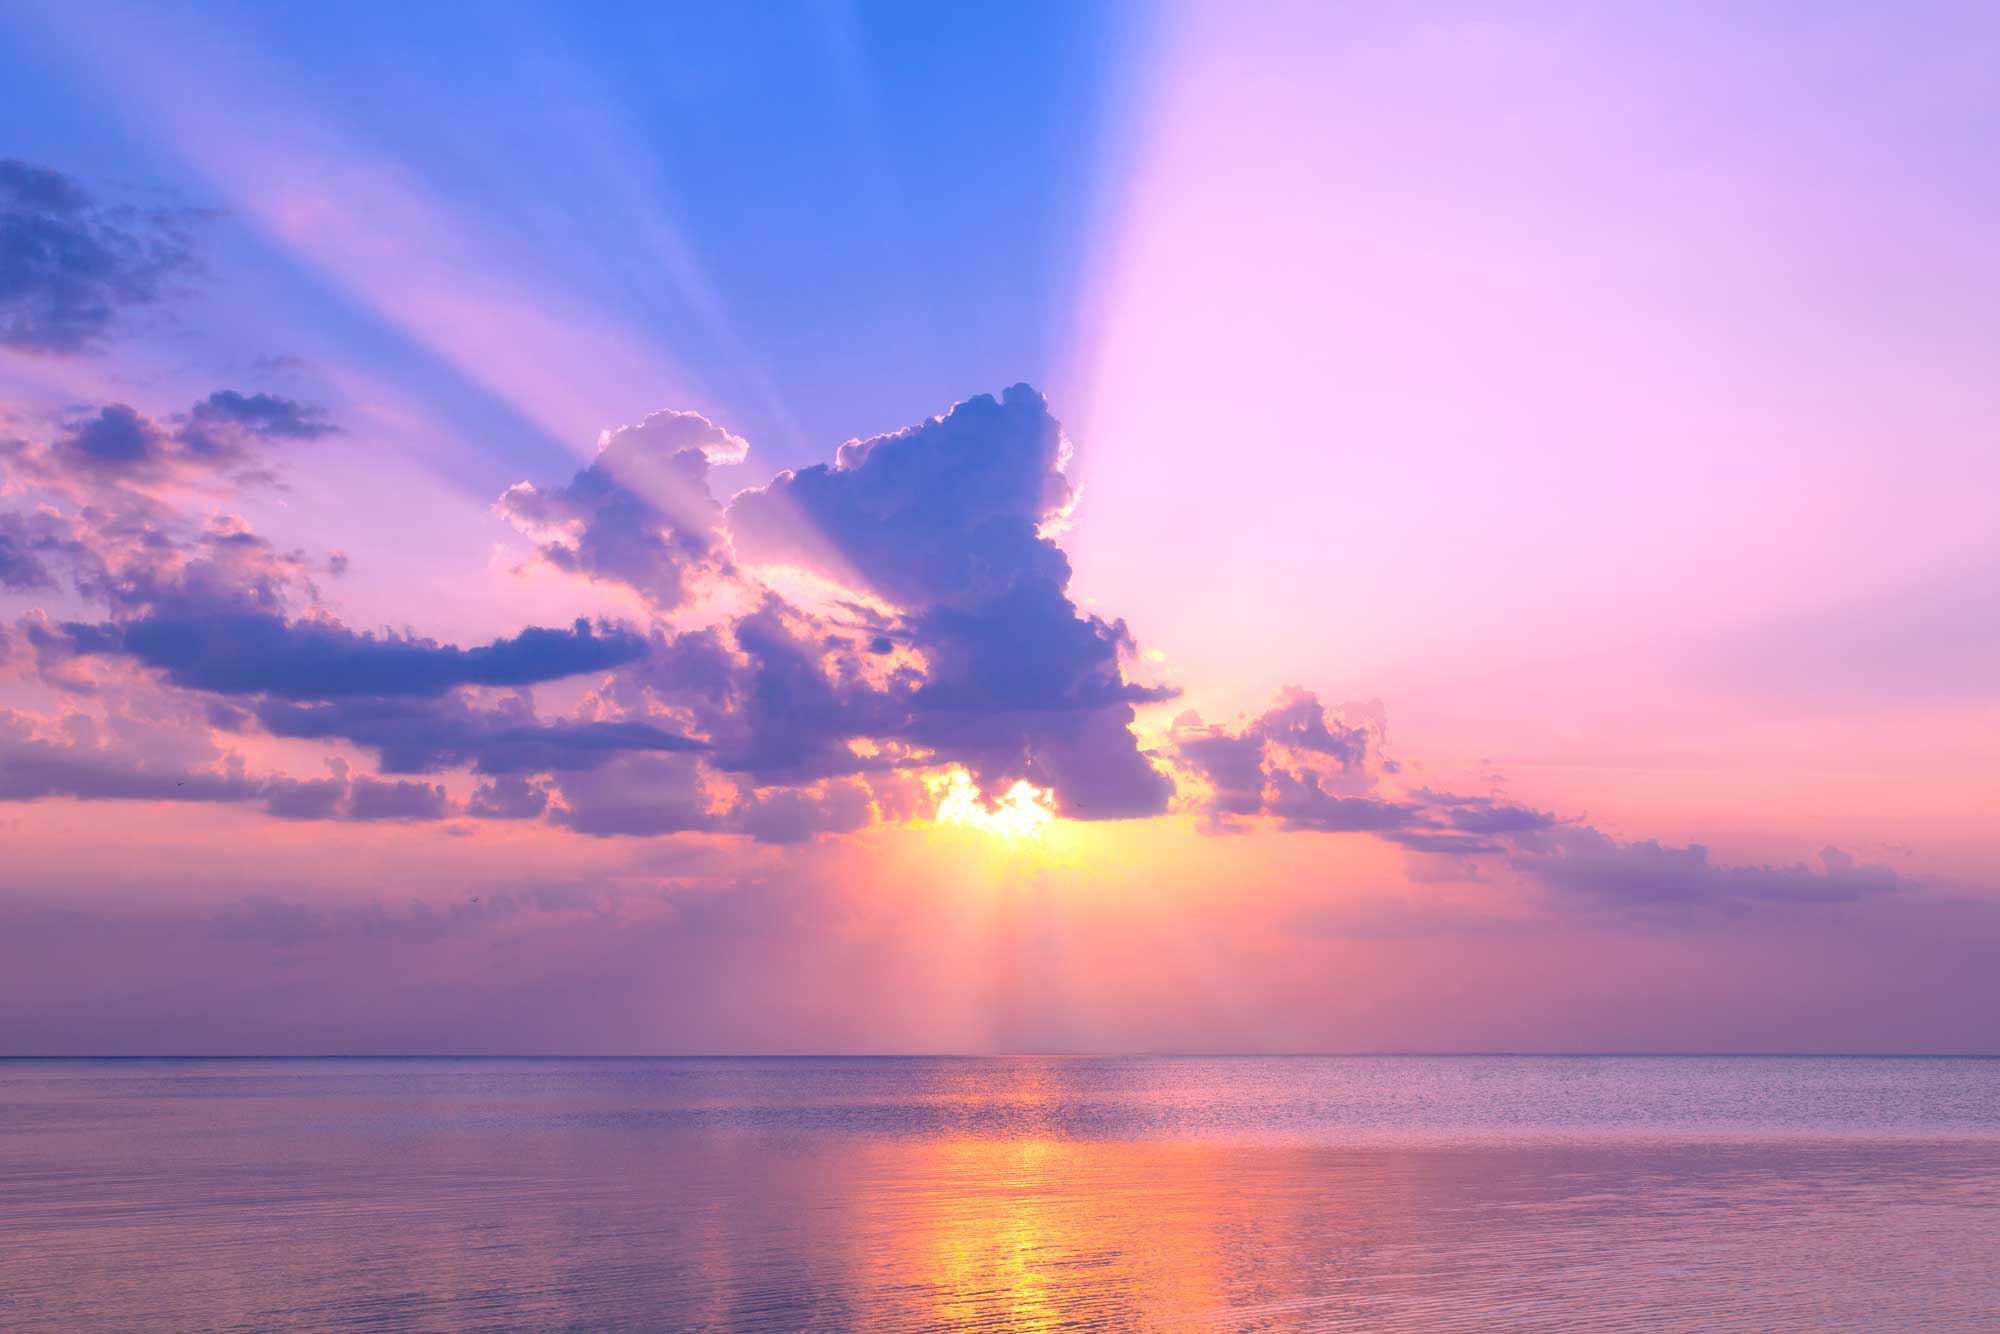
One of the best ways to shoot the sky is to take pictures around the time the sun rises or sets, this is when the sky lights up with the most vibrant pinks and a mixture of yellow and blue.
You can even wait until the famous golden hour, which is just before dawn and after dusk.
Mind Your Composition
A good composition is key to stepping up your photography and creating professional-quality images. Whether you’re using the sky as your main subject or backdrop, you must consider the placement of the elements within your photos, particularly of the horizon and your foreground subject.
To take great sky photos, place the line that separates the sky from the ground or body of water anywhere along the horizontal lines of the Rule of Thirds. Use the same technique when you have a separate subject—place it along the lines or intersections of the Rule of Thirds. Doing so ensures visual balance in every image.
At the same time, make sure your subject/s are well-lit against the background by using a reflector or a detachable camera flash with ample and softened lighting. Don’t forget to make sure that the elements used in your image are in harmony with each other in terms of mood, visual theme, and story.
Use Filters
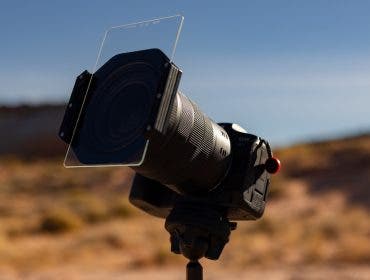
You can probably do without other tips on this list… except this: use a circular polarizing filter. A CPL is a must-have for sky photography as it makes the skies look a lot bluer and the clouds pop out. You get more beautifully saturated colors. Plus, you have increased the definition of certain elements that are normally washed out by bright light. This filter can simply be attached to your lens and rotated until you get your desired effect or polarization.
If you don’t have a CPL yet, you can try out this effect by simply placing the lens of your sunglasses directly in front of your lens. However, it’s more advisable to use an actual CPL as using anything else will give you uncontrolled results and distort your image.
Another good filter to have is a neutral density filter, especially when shooting bodies of water and during the day. ND filters block some of the light that enters the lens to help manage reflections, and glare, making bodies of water look more silky and frothy when used with slower shutter speeds. It can sometimes be confused with a polarizing filter, as they have near-similar functions. To ensure that you get the right filter for your needs, take the time to learn the exact differences between the two filters.
Feature Silhouettes
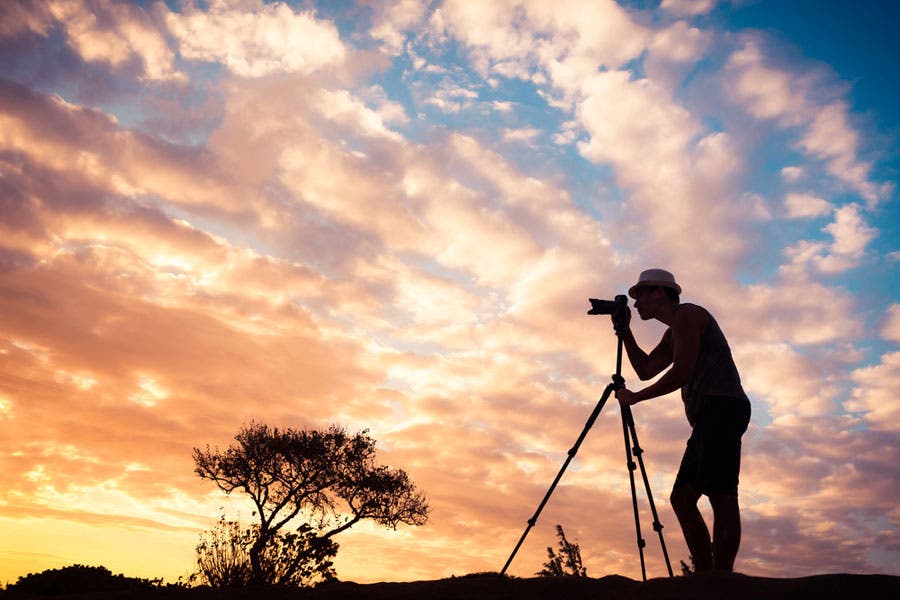
A good way to use the sky as a dramatic backdrop is to shoot your foreground subjects as silhouettes. This is usually easier to achieve when the sun is pretty low and there isn’t much diffused and scattered light that will expose your subject, particularly during sunrise or sunset.
However, you can also achieve this shot a few hours before and after midday, when the sky behind your subject is a little too bright. Both situations will require you to adjust your camera settings a little bit, just enough to bring out the clouds and underexpose your subjects until they’re dark—yet distinguishable—figures in your frame.
Capture Water Reflections
One way to creatively show off those stunning skies is to capture their water reflection on a big and still body of water, such as a big lake or sea. Frame the scene in a way that will include the sky and the water, and you’ll get an interesting mirror shot of the sky.
To add dimension and dynamism to your shot, you may consider including subjects that will tell your viewers which side of the photo is the ground. These can be boats, rocks, sand, or even people. While it should be obvious that the lower half of the frame is the ground, adding other elements in the frame can make the photo look more realistic and interesting.
Sky Photography Settings
Go Manual
To capture great sky photography, you need to properly expose your shot in a way that will bring out the clouds and the color of the sky—which is quite difficult to do as there’s a higher likelihood of overexposure. While this can also be achieved by lowering your exposure compensation by a few steps, learning how to manipulate your manual camera settings can aid you in getting the shot you want, especially if there are foreground subjects that you also have to worry about.
Read up and understand how the elements of the Exposure Triangle—shutter speed, ISO, and aperture—can each affect your resulting image and how they work hand-in-hand in capturing that perfect shot.
Shoot in RAW
Instead of shooting the usual JPEG images, try shooting in digital RAW format to ensure that the camera preserves all of the image information that the camera sensor gets. Understand the differences between RAW vs JPEG to pick the best one for you. RAW photos give you more dynamic range, colors, and resolution to manipulate and experiment with during the editing process. You’ll have more freedom to crop, adjust exposure levels, and even try out different white balance settings without degrading the quality of the image.
Experiment with White Balance
Don’t be afraid to break a few photography rules. In this case, try using the “wrong” white balance to create more interesting and dramatic skies. Do this especially before and after each sunrise and sunset. Both your camera’s white balance settings and the usual colors of the sky are blue and orange. Experimenting with combinations can give you different moods and hues, including purples and pinks.
To achieve an orangey sunset with some blues, you can use the Auto, Cloudy, and Shade presets. To turn an orange sky into purple, you can try out the Fluorescent preset. Alternatively, you can try out the Tungsten preset to achieve a similar effect as Fluorescent, but with deeper colors.
Use Slower Shutter Speeds
The secret to taking more dreamy night sky photos is to use a slower shutter speed of about 10 seconds or more, it will brighten the skies to a lighter blue (instead of just black). The same goes for daytime shots where the clouds appear to be blurred and moving. This little trick will give your picture more of a wow factor. Additionally, opt for a small aperture, the lowest possible ISO level, and an ND filter so the sky won’t look blown out.
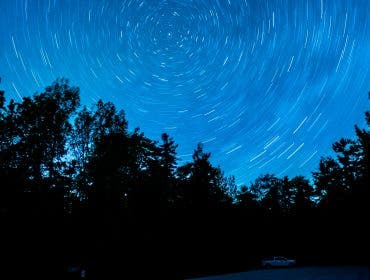
For night sky photography, a slower shutter speed will even help you capture the starry night. First, find a clear night sky and shoot in a location away from the city so light pollution doesn’t disrupt your shots. Then, use a lens that offers a wide aperture of f/2.8 or so, a shutter speed of about 15 to 20 seconds, the lowest ISO possible (100 or 200) while still maintaining the desired exposure, and a good tripod that will keep your shots steady and sharp. A much slower shutter speed of around 20 minutes or longer will capture the Earth’s movement, resulting in the appearance of starlight trails.
Sky Photography Ideas
Where the Sky Meets the Earth

A staple in sky photography is to also capture the beauty of the earth right below it. This type of sky photography is popular among environmental or nature photographers who enjoy panoramic views or want to send a message to the world: the Earth is beautiful, and we must protect and cherish it.
A Showcase of Clouds

There is a specific demographic of people who enjoy cloud-watching, and you bet they enjoy pictures of clouds just as much. The best pictures of clouds are normally when their background is a clear blue sky or a beautiful pink or orange sunset.
No matter the color of the background, cloud photography will always be breathtaking.
The Beauty of Aurora Borealis

The grueling journey and rare chance to see the Aurora Borealis is enough to make every picture of it worth staring at for at least 20 minutes – so, this might be one of the best sky photography ideas there are.
The rarity and vibrant color of this naturally occurring phenomenon is enough to earn a spot in your living room wall, a perfect conversation starter for any visitor you may welcome.
Capture and Captivate with the Sky
In the end, it’s all about appreciating the sky above us. When you’re just beginning, take time to forget about the guidelines and settings, and capture sky pictures in the way you want. After that, work your way into getting used to the right shutter speed or knowing how to adjust white balance – take things slow and steady, just as the clouds move through the sky!
Sky Photography Frequently Asked Questions
How to make sky pictures look real?
To make sure you’re capturing sky photos in the most natural way possible, always shoot in natural or optimal lighting such as golden hour or clear-sky days. Next, don’t overedit and make sure you’re being mindful of composition – include any real-world elements like trees or buildings. Finally, shoot in RAW format and see if adjusting the white balance can bring out the picture’s natural colors more.
What do you need to photograph the night sky?
You will need a camera that is capable of shooting in manual mode such as the Nikon Z6 II or the Sony Alpha a7S III known for its outstanding ability to capture in low light. Being able to open your shutter speed is extremely important in sky photography. You will also need an astrophotography tripod to keep your camera steady. Keeping your camera as still as possible is the ultimate goal. While you’re at it, it is always good to have a remote shutter release cable as well. If not, just set your shutter to a 2-second timer.
Additionally, gain inspiration from pros in the field. For example, check out the work of night sky photographer Babak Tafreshi, whose work has been published on National Geographic.
How do I become an astrophotographer?
The night sky is entrancing to many photographers. To start off, you must be patient and know that you won’t get the exact shots you want on your time in the field. Plan ahead using a sky calendar to see where the Milky Way will line up and what moon phase you might be dealing with when you shoot. Once you’ve started to evolve and you feel confident, try using a telescope to get a more in-depth perspective of our beautiful night sky.
Additionally, gain inspiration from pros in the field such as night sky photographer Babak Tafreshi whose work has been published in National Geographic.
Why is the sky always washed out in my photos?
There are a few reasons why your sky might be washed out in astrophotography images. The first reason is the moon. Though the moon can give light to your foreground, it is generally better to photograph the night sky during a new moon, making your sky much darker and clearer in photos.
Light pollution from a town or city can also cause your sky to be washed out. Make sure you are as far from any unnatural light pollution as possible. Another reason is your white balance. Try to keep the Kelvin around 3500-4500 when shooting the night sky. Anything higher can cause your color to be a brown/gray hue.
