Practice
An often overlooked tip for time lapse photography is practice. Creating a time lapse can be daunting for the inexperienced. Getting plenty of hands-on experience is essential to capturing consistent results and never missing the moment. I’d suggest to start on your phone if it’s your first time. Your phone will automatically process the time lapse and give you a feel for the medium. Once you have a hang of how it works on your phone, try using an in-camera time lapse feature, if your camera has it. Some cameras (like the Panasonic GH series) will even process the time lapse into a video. Practicing this craft will also give you the opportunity to focus on what you are capturing without being overloaded with technical details.
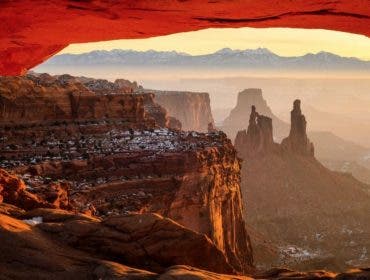
Choose the Right Scene
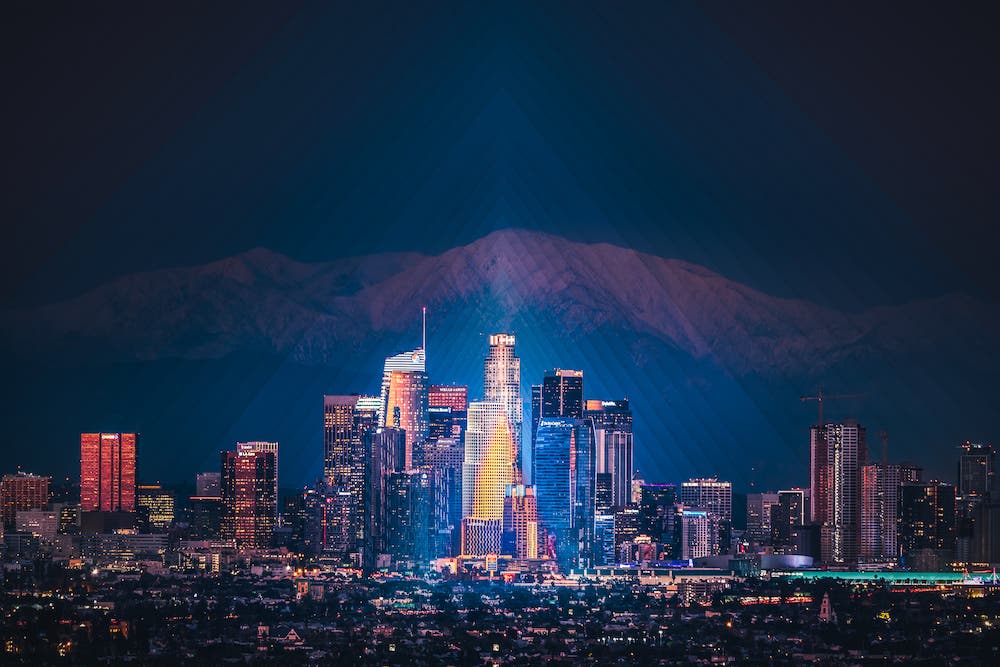
For my time lapse, I like dramatic changes in the scene. That’s why I am drawn to shooting scenes that have a lot of movement like clouds, traffic, and sunsets. Try and include these things prominently in your scene.

Use Manual Focus
This one might seem obvious but you should be shooting in manual focus. I recommend using focus peaking as well. Focus peaking might not look pretty on the screen but it will give you immediate feedback on the sharpness of your shot. You should also be checking the focus. When shooting with zoom lenses during a sunset, the focus will sometimes shift as the air temperature changes. This focus drift is slight but, when you are shooting for a long time, it can add up.
Avoid Touching the Camera
Sometimes it’s unavoidable but — as a rule — you want to touch the camera as little as possible. Every press of a button will add some shake to the shot. This effect is amplified when using a telephoto lens. On the same note, if the ground you are shooting on carries vibrations, try to avoid walking around the tripod as much as possible. The less shaking in camera, the less post stabilization needed.
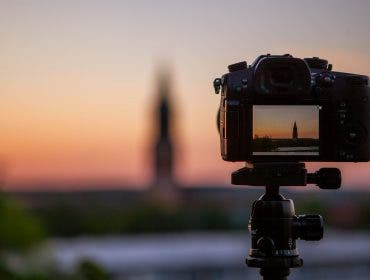
Stability is Your Friend
Expanding on my last point, choosing where you place your tripod is very important. I strive to find the most solid ground when setting up my time lapse. Also, if it is windy, I’ll try and keep the tripod low and not extend the legs as much. Often I’ll bring a sandbag to weigh down the tripod as well.

Watch Your Shutter Speed
When shooting a day-to-night time lapse, it covers a huge shift in light. If you are shooting aperture priority, the shutter speed can can get up to a few seconds easily. If I’m shooting in a windy scene, sometimes I’ll pump up the ISO to avoid a situation where the night shots are blurry because the camera is shaking from wind during a long exposure.
Only Use ND Filters During the Day
I tend to only use any lens filters during a daytime time lapse and never during a day-to-night or night time lapse. This is because the filter is blocking out light and taking up resources like ISO and shutter speed when the scene is dark.

Revisit and Reshoot
There have been numerous times where I’ve gotten home and edit a lapse only to feel like it didn’t work out. Instead of writing off the location, I end up revisiting the location and shooting it again — or even a few more times. Keep trig until you get the right conditions and light for your creative vision.
Pro tip: Use an external battery for longer time lapses that might extend beyond an internal battery.
Finally, LRTimelapse is a tool I use for most of my time lapse photography. It’s a post-production software that works in tandem with Adobe Lightroom. It allows you to add keyframes to your sequence and gradually shift things like white balance, shadows, and highlights.
With these easy tips, you’ll be on your way to better time lapse photographer in no time.
Check out more of my work in AdoramaTV’s new docuseries, THE MASTERS.