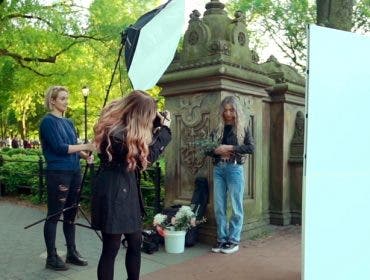
In this week’s episode, part two of a special 2-part series, Mark shows you how to design and light a set for use in a photoshoot.
Watch as Mark takes you through step-by-step instructions for lighting the set. From the shoot to the final proof of concept, part two is about lighting the environment and incorporating the resulting shots into a client proof.
What Mark Used In This Video:
- Adorama 32″ Circular Collapsible Disc Reflector, White/ Soft Gold
- Apple 17″ MacBook Pro Notebook
- Tether Tools Aero Table
- Sekonic L-758DR DigitalMaster, Programmable
- Digital Flash & Ambient Exposure Meter
- PocketWizard MultiMAX Transceiver, Remote Control Radio Slave
- Matthews Light Heavy Duty Triple Riser Aluminum Kit Stand
- 5 Degree Grid
- Flashpoint Snoot for the DigiPopper Monolights
- Pocket-Wizard Plus II
- Flashpoint 42″ 5-in-1 Collapsible Disc Reflector
- Photogenic 6″x 6″ Gel Filter Kit
- Flashpoint Flash Diffuser for the Nikon SB-900 Flash
Related Products:
- Adobe Photoshop Lightroom V3 Software for Managing and Showcasing Large Volumes of Digital Images, Windows and Macintosh Compatible
- Canon EOS-5D Mark II Digital SLR Camera Body & Canon EF 28-300mm f/3.5-5.6L IS USM Lens – FREE: Red Giant Adorama Production Bundle for PC/Mac
Learn more at the Adorama Learning Center:
- Book Cover Photoshoot: Part 1: Building a Set—AdoramaTV
- Setting up simple studio lighting – Adorama TV
- Small Studio Flash Tips—AdoramaTV
- Traditional Lighting Setups–Adorama TV
Connect with Mark Wallace on Facebook or Twitter, or visit the AdoramaTV channel on YouTube.


