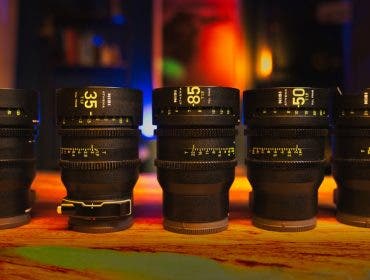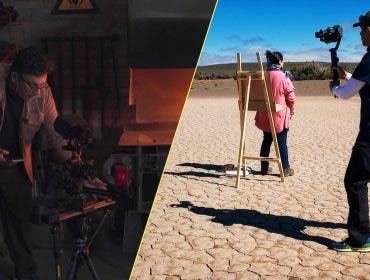
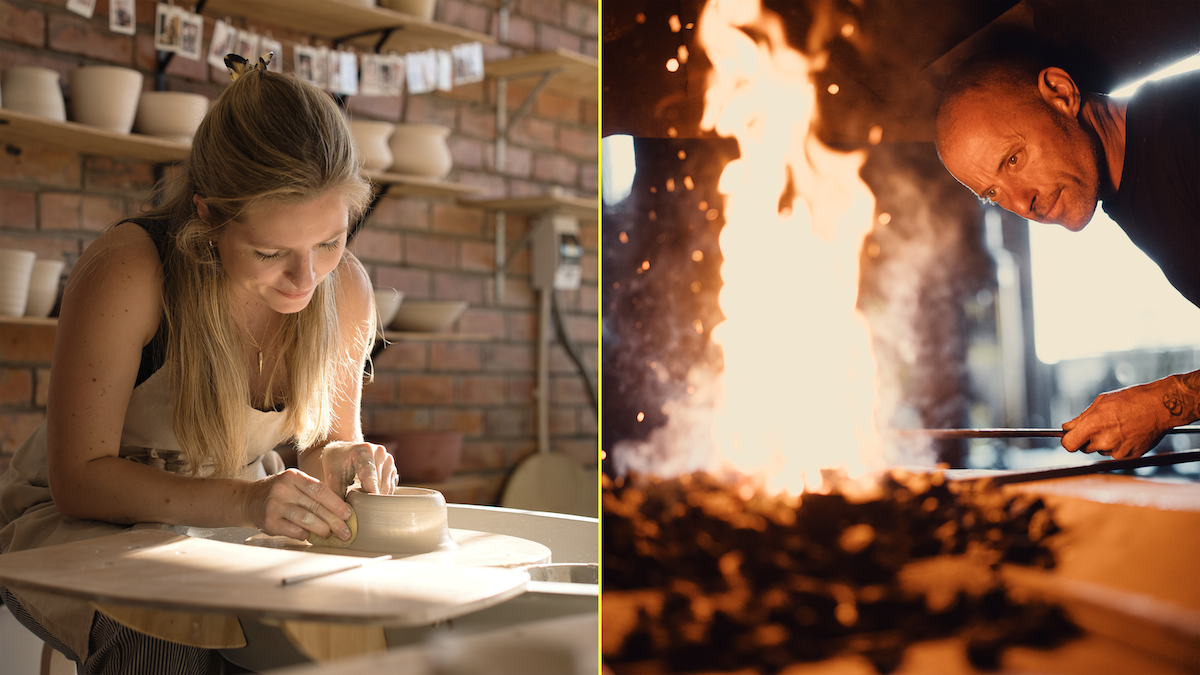
When the opportunity arose to shoot two short films for a project testing the NiSi Athena Prime lenses. I chose two visually disparate environments: a blazing blacksmith’s forge and an earthy ceramics studio. The goal was to step up from standard videography to a deliberate, crafted cinema workflow. Here is a look at the technical hurdles, the humbling mistakes, and the rewards of leaving autofocus lenses behind for manual cine lenses.
The Auto-Focus Mindset Shift
As a solo filmmaker, with standard lenses, I have always relied heavily on autofocus. The idea of shooting entire films on manual cine lenses was a mental hurdle I needed to overcome.

So how does a solo filmmaker focus while holding a rig, looking at an external monitor to frame his shot, and manually focus, while also directing?
The Solution
To address the issue, I used tools to support my one-man show. I chose to rent the DJI Focus Grip Pro kit. The DJI Focus Grip Pro kit supports both:
- autofocus with the included LiDAR, or
- manual focus via the focus grip’s wheel.
One can easily toggle between the two options. Although this is an efficient solution, it introduces additional steps into the shooting workflow.
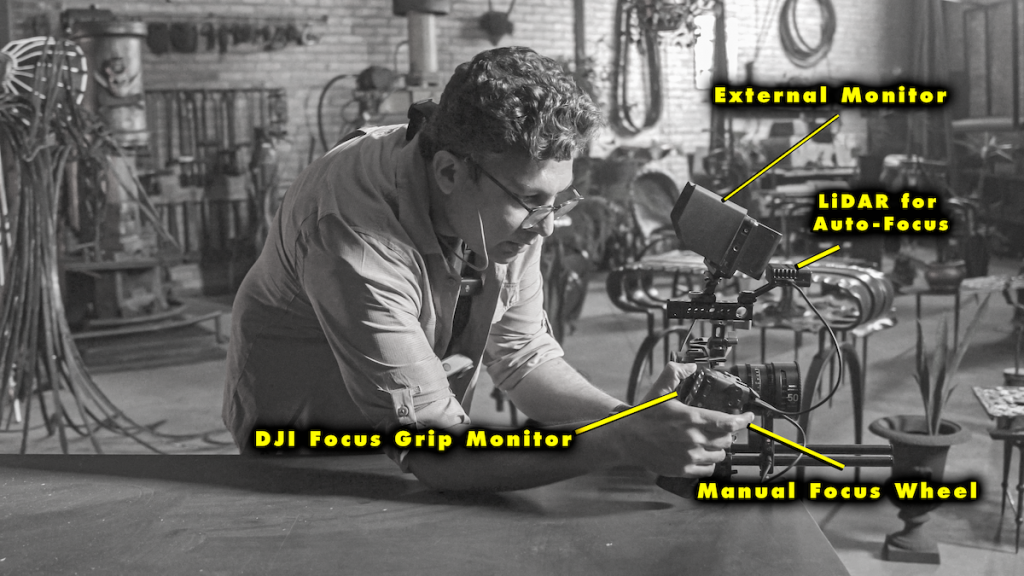
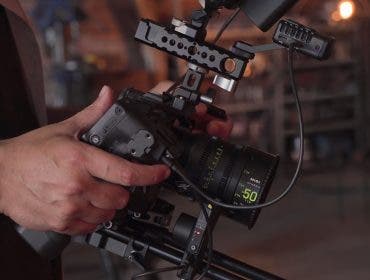
To understand my experience, we must first examine the camera rig’s major components and the setup shown above.
- DJI Focus Grip Handle: It has a small monitor/screen on the front, under my right thumb, and a manual focus wheel under my right index finger.
- DJI Focus Motor: This grip is connected to the focus motor under the lens, which rotates the lens’s focus ring. The manual focus wheel under the right index finger controls the focus motor.
- DJI LiDAR: This is connected to the grip’s handle, allowing the focus motor to turn automatically. If you want autofocus on a human face, the autofocus system rotates the focus motor. It has a small camera of its own that shows a live feed on the tiny monitor under the right thumb. You can also tap the small monitor/screen to focus on where you want it, and it tries to keep that object locked in.
- External Monitor: This is required because the small screen under your right thumb shows a wider field of view than the lens; you cannot frame your shot based on the DJI monitor. Additionally, your camera settings and other functions are only available on the external monitor.
Lessons Learned
- Setup Time: Calibrating manual cine lenses with the focus grip adds setup and practice time, so there is a learning curve for first-time users. Practice this ahead of time.
- Selecting Focus Options: Although the DJI LiDAR auto-focus is generally effective, the dynamic nature of the scenes often lead to lost focus during fast activity during the shoot. I then stopped the LiDAR’s autofocus and switched to the manual focus wheel.
This experience highlighted the patience true filmmaking requires. It clarified the need for meticulous planning and specialized roles, such as the Focus Puller, who solely adjusts focus remotely, and the Videographer, who executes the Director’s shot instructions. I was attempting all three roles at once.
The Surviving the “T1.9 Trap”
Shooting widest open at T1.9 with the Athena Primes renders beautiful bokeh, but an extremely shallow depth of field. Because of that, handheld movement consequently caused several missed focuses – a classic beginner’s error.
Lessons Learned
- Stop Down: Shifting to T4 or T5.6 to get a greater depth of field gave me a usable focal plane while still maintaining beautiful cinematic depth.
It was very apparent to me why film directors look at a big monitor, review the results, and ask the actors and the cinematographer to shoot again.
Separating Specs from Story
My task was to review these lenses as well. Shooting a technical review piece requires assessing specs like lens flares, focus breathing, and bokeh shape. Trying to capture these metrics while directing a documentary subject is a recipe for a ruined vibe on set.
Before ever setting foot on location, I had already utilized a rental house studio and my own space to shoot clinical focus charts and bokeh ball tests. This was so I could focus entirely on the art and story, without worrying about whether I had captured enough technical data for the review.
Lighting Lessons: Over-Packing and Color Clashes
As I mentioned in the previous article about how I approached these projects for Adorama and NiSi, I went to the blacksmith’s forge for a test photoshoot before the filming day, prepared a shot list, and chose my shooting angles. Despite this preparation, I created an unnecessary burden by overpacking.
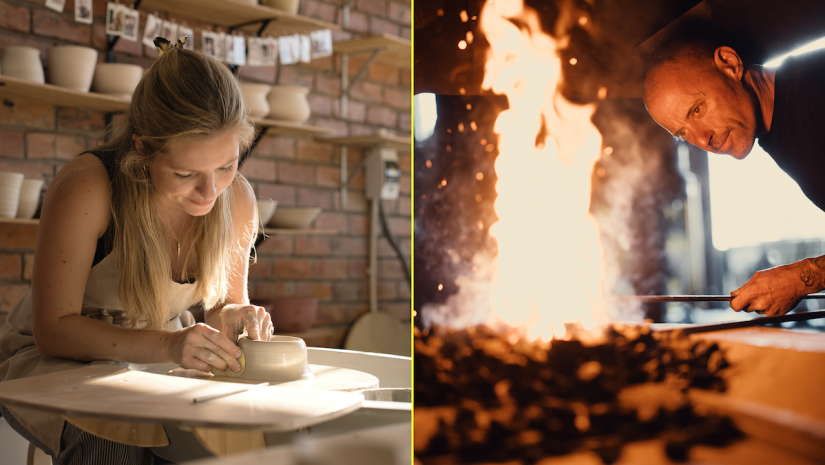
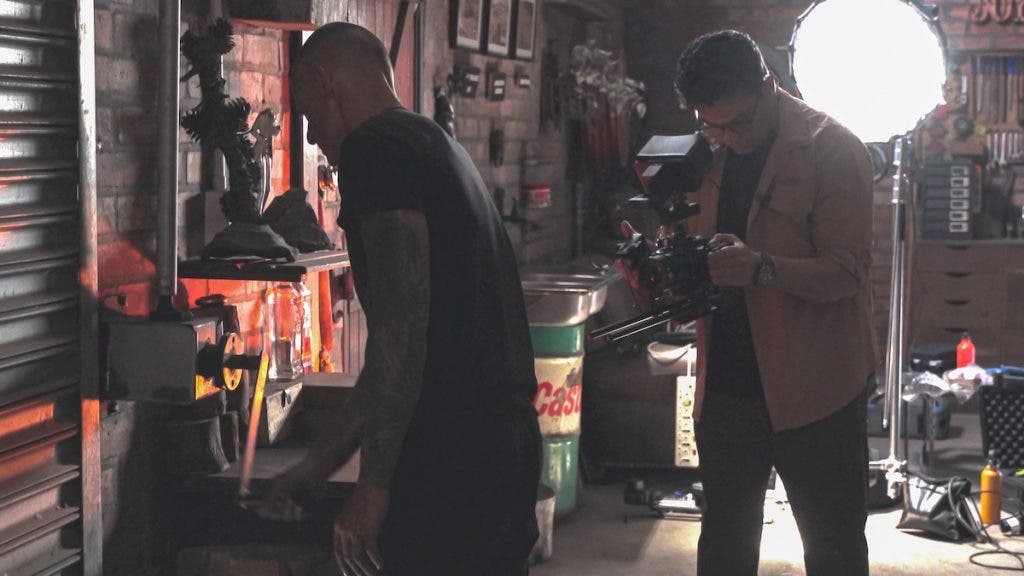
Overpacking: I packed a lot of gear for the blacksmith’s forge: an Aputure 120d Mark II, MCs, softboxes, Godox tube lights, a Nanlite slim panel, a reflector, a fog machine, and a Nanlite FS-300B. The location actually provided superior natural lighting: cool daylight from the entry gate and intense warm firelight from the forge. I achieved a stunning, organic contrast using mostly natural light, only employing one artificial light for a single shot. The location did the heavy lifting.
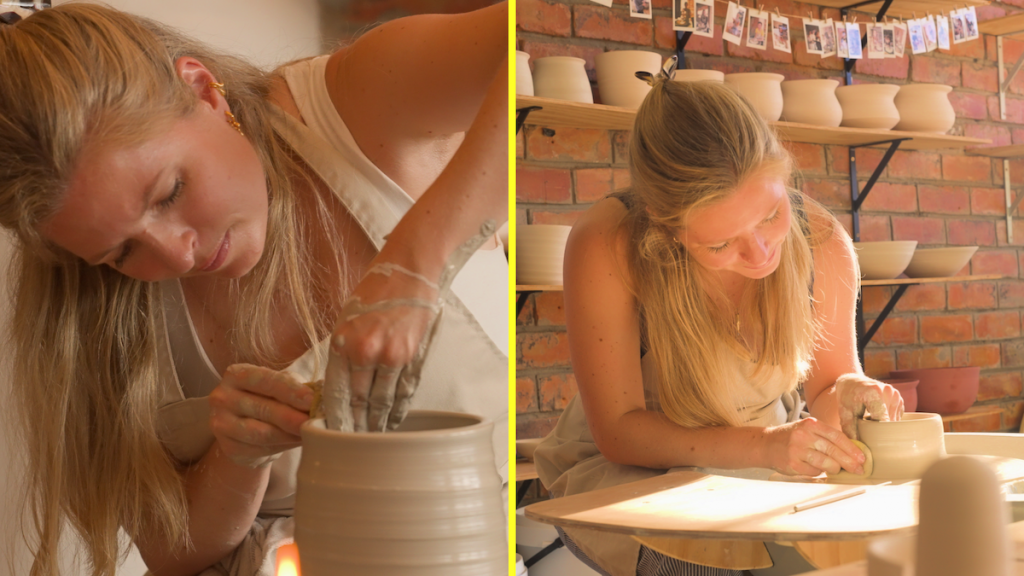
Lighting Mismatch: The ceramics studio shoot faced challenges when the weather turned overcast, obscuring the daily sunset. I used an FS-300B set to 2700K to simulate warmth. Due to vanishing natural light and limited space for artificial lighting, we had to stop shooting midway. I incurred extra costs and returned on a sunny day. We finished the shoot using a simple practical lamp and hidden Godox tube lights for background separation.
Post-Production Editing: The blacksmith edit was smooth, but color-grading and matching the ceramics studio footage were difficult. Shooting on different days with two lighting setups proved challenging, showing that “fixing it in post” is costly and inferior to getting it right during the shoot.
Unlike large-budget productions, I had only one day scheduled with the blacksmith and ceramists each, as the shoot was pulling them from their client work. Moving lights and rearranging backgrounds for every angle, it felt like a shoot-on-the-go, contrasting sharply with the time Hollywood dedicates to a single shot.
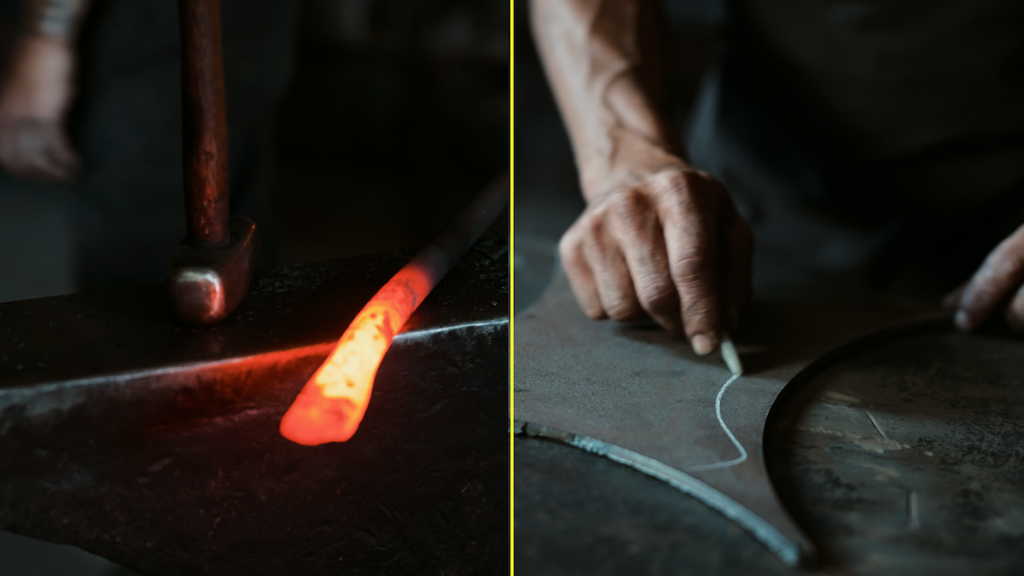
The “Silent” Film: Reconstructing Reality
A blacksmith film needs the ring of the anvil; a ceramics video needs the sound of wet clay. However, on set with a skeleton crew, I couldn’t spare time for a proper audio setup. Instead, I relied on post-production, using Epidemic Sound for digital Foley and meticulously matching sound effects to the visual impact. This taught me to sometimes sacrifice on-location elements for the production’s overall success.
Data, Storage, and the Cinema Tax
The final shock to the system was the sheer volume of data. Shooting high-bitrate LOG footage on cinema primes generates massive files. I found myself burning through memory cards and running out of disk space on my PC. It required rigorous discipline: uploading to the cloud every night and creating backups of backups.
You cannot shoot commercial LOG video without investing in a serious DAS or NAS. It is the hidden tax of true cinematography.
Conclusion: The Final Frame
Shooting with the manual cine NiSi Athena Primes was not a run-and-gun exercise; it was like a mini-Hollywood production for me, demanding patience, improvisation, and a cool head. It forced me to slow down, respect the process, and accept that great art takes time. It was for me a trial by fire and clay.