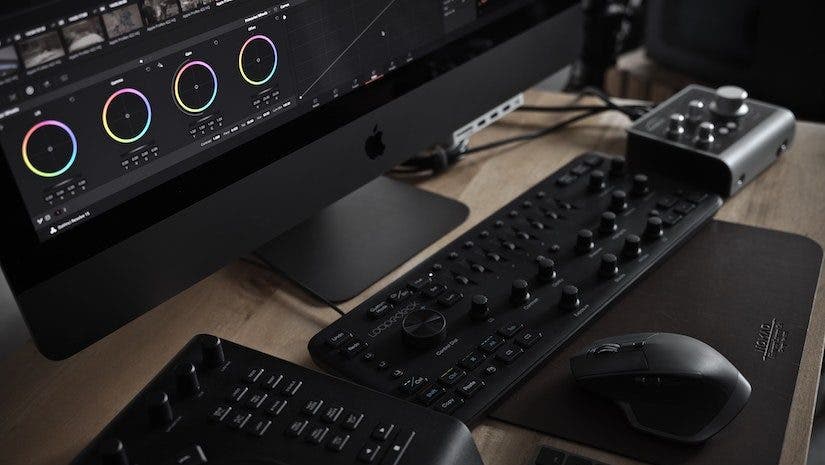
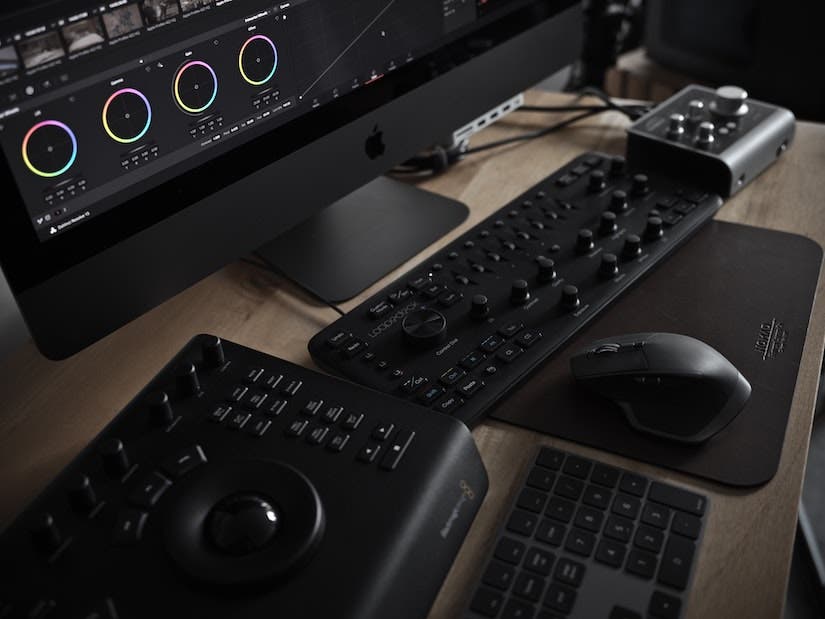
Blackmagic Design is a creative powerhouse that’s quickly evolved to become one of Hollywood’s most innovative and trustworthy brands. BlackMagic’s DaVinci Resolve is a non-linear editor (NLE) that was created to assist you with all areas of post production, saving you time, money, and improving your workflow. It’s the ideal solution for content creators, podcasters, independent and large budget filmmakers. Now, let’s discuss a broad overview of the program for those who aren’t already familiar with it.
Key Features of DaVinci Resolve:
- Media and delivery
- Professional editing tools
- Fairlight Audio software
- Color correction
- Fusion VFX and motion graphics
- High performance playback engine
- Supports multiple video formats
- Multicam editing
- Optimized for Windows, Mac, and Linux
- Multiple language support
DaVinci Resolve has long been a favorite among video editors. The controls are simple and easy to use, and the interface is straightforward. The best part: it’s free! If you require more features, the full Studio Version is available for $299. That’s incredibly reasonable considering everyone else runs subscription models for their standalone NLE’s or full suites.
The UI of DaVinci Resolve is divided into seven workspaces called Pages. You can find the icons on the bottom of the window. They stick to the normal video production workflow and each performs a specific task in the chain. These include: The Media, Cut, Edit, Fusion, Color, Fairlight, and Deliver Pages. Let’s dive into each.
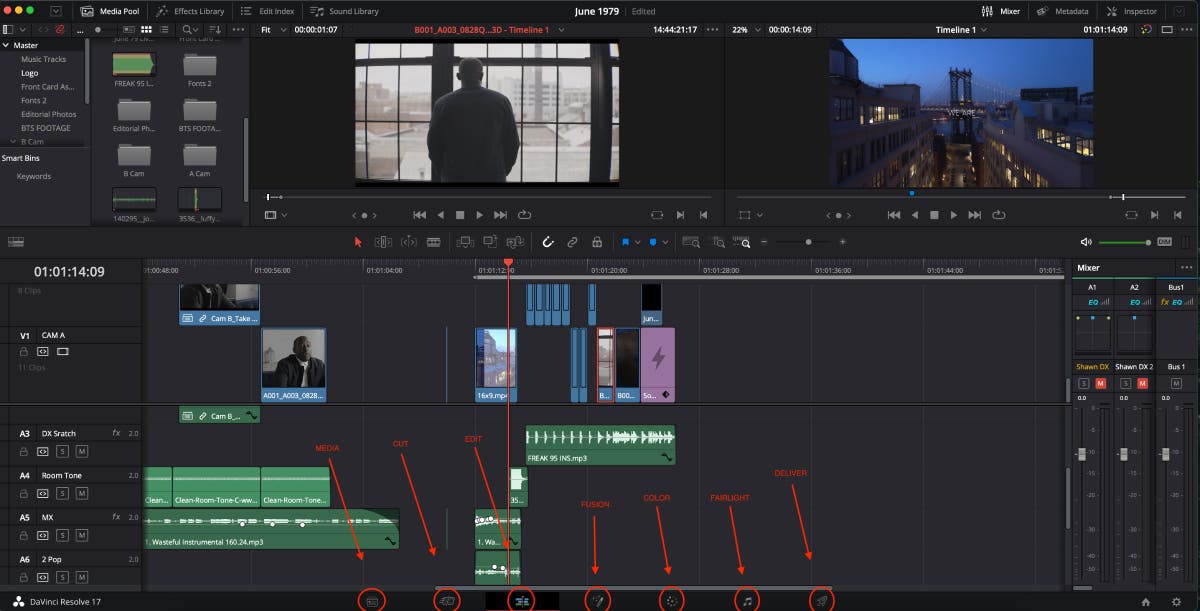
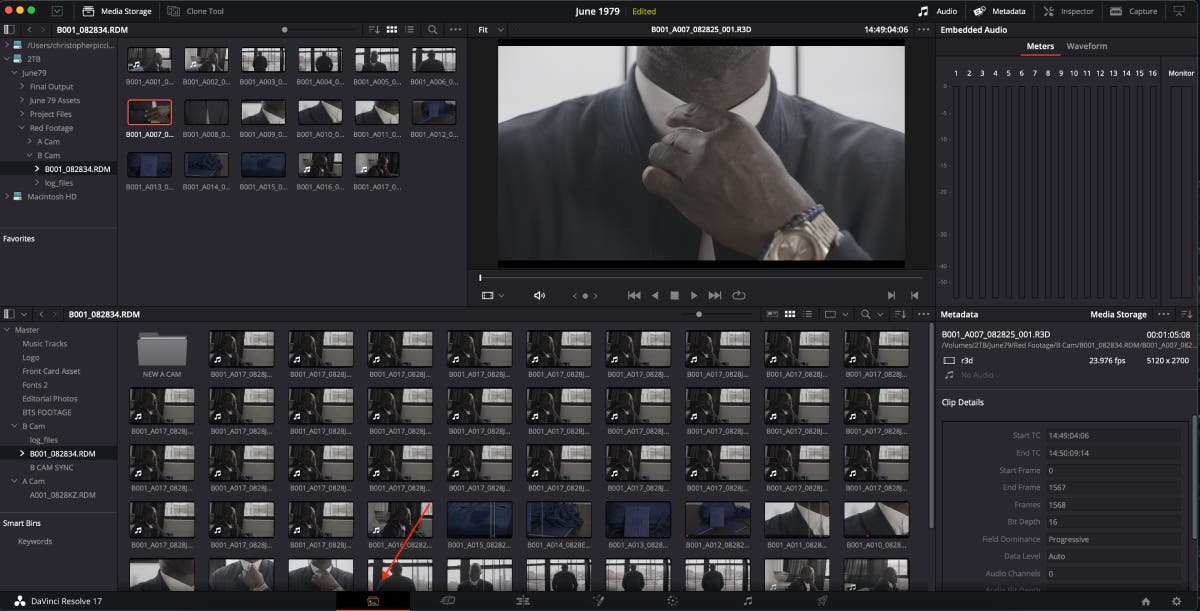
Media
The Media page is where you import and categorize all of your media assets into bins. You can also create Smart Bins to make it easier to find them with a simple keyword search. Inside, you’ll find a few different parts. The Library browser allows you to navigate and search files on your storage while the Export tools allow for quick format conversion. This ensures that every video works smoothly on your timeline. The Viewer window allows you to preview any changes before importing them to ensure they are never lost.
You can also sync up your footage and create new folders to store the synchronized files for easier access and organizing. Organization is critical, especially on larger projects, and Resolve has provided us with the tools to accomplish this with ease.
Edit
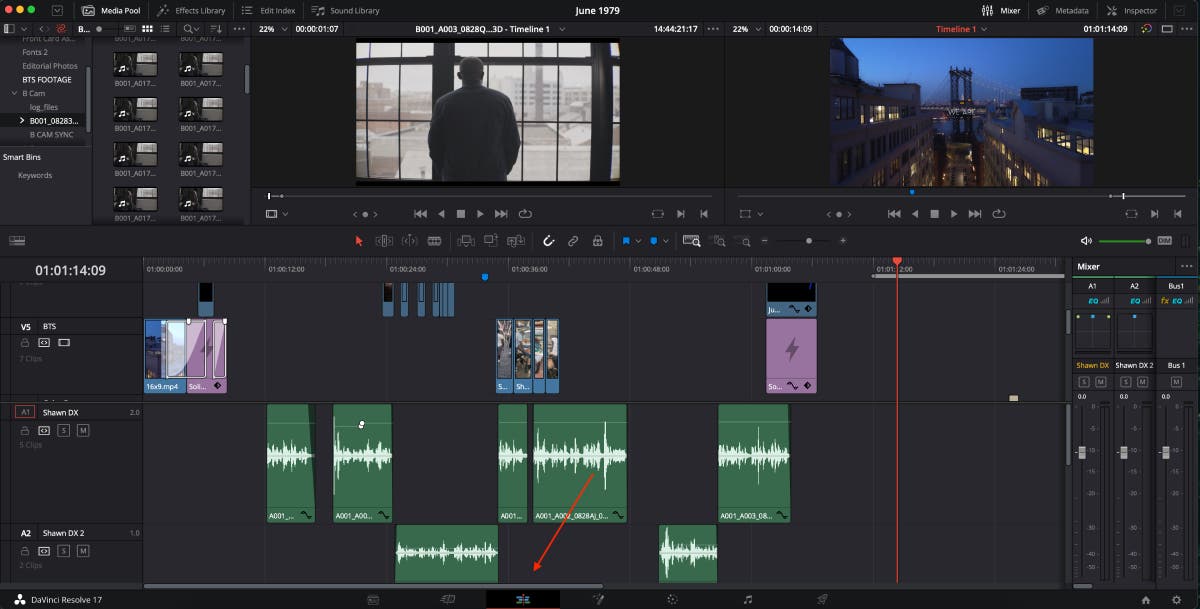
DaVinci Resolve’s editing capabilities have greatly increased since its initial release. You can handle everything from simple trimming to more advanced editing tasks like chopping out sections or moving them across the timeline. You can also view the Media Pool, which houses all of your recently organized files. This also includes Viewers, which allow you to preview media and cut clips before dragging them onto your timeline. Additional features like 360-degree shots and multicam editing are also available.
You’ll be able to do some basic audio work on this page such as adjusting the clip gain, adding keyframes, titles, video and audio transitions, and so on. Having these tools allow users to make basic audio tweaks to videos without having to launch Fairlight to perform more complex editing and mixing. This is a perfect solution for creating and releasing content quickly.
Fusion
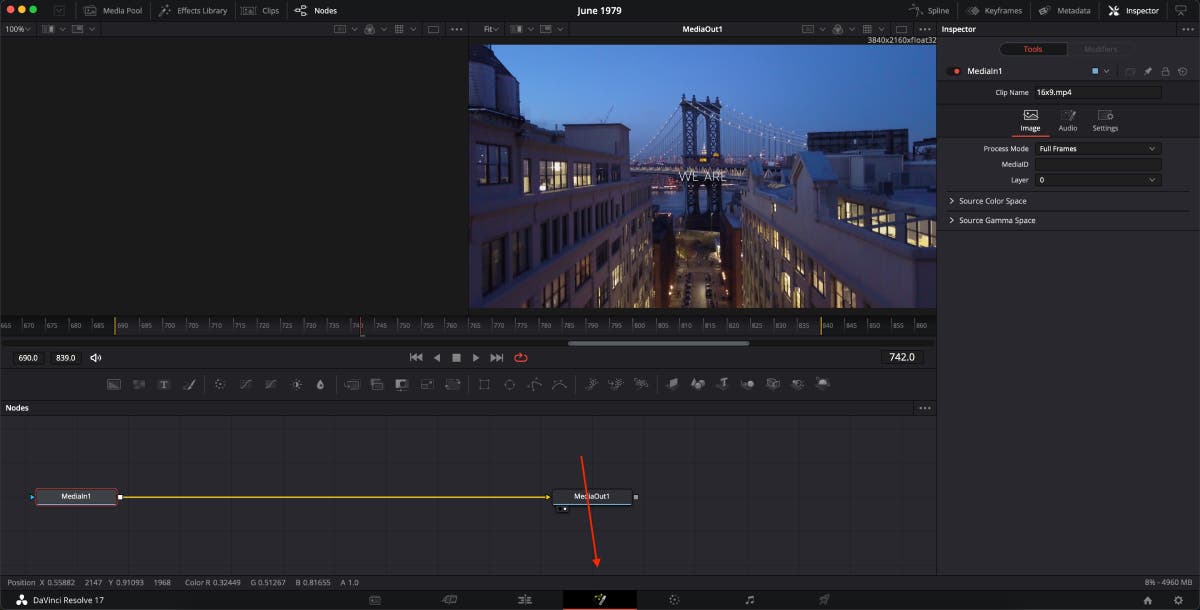
Fusion offers many special effects and sub-features that go above and beyond what other programs offer. It’s an unmatched standard for motion graphics and visual-effects production. This high-end node-based interface operates in real 3D space, allowing it to be used on both indie projects and huge Hollywood films.
Users can create visual effects by combining numerous clips, pictures, and green screen footage. Visualizations may be applied directly within your project without ever leaving the application. Everything is just a click away. Simply place your play-head on a clip in your timeline, click the Fusion Page, and you’re ready to create.
Fusion is sophisticated. There are a ton of controls to grasp and there is a bit of a learning curve to understand everything. If you have prior experience with other VFX applications, it stands to reason that the same curve would be a bit less.
Color
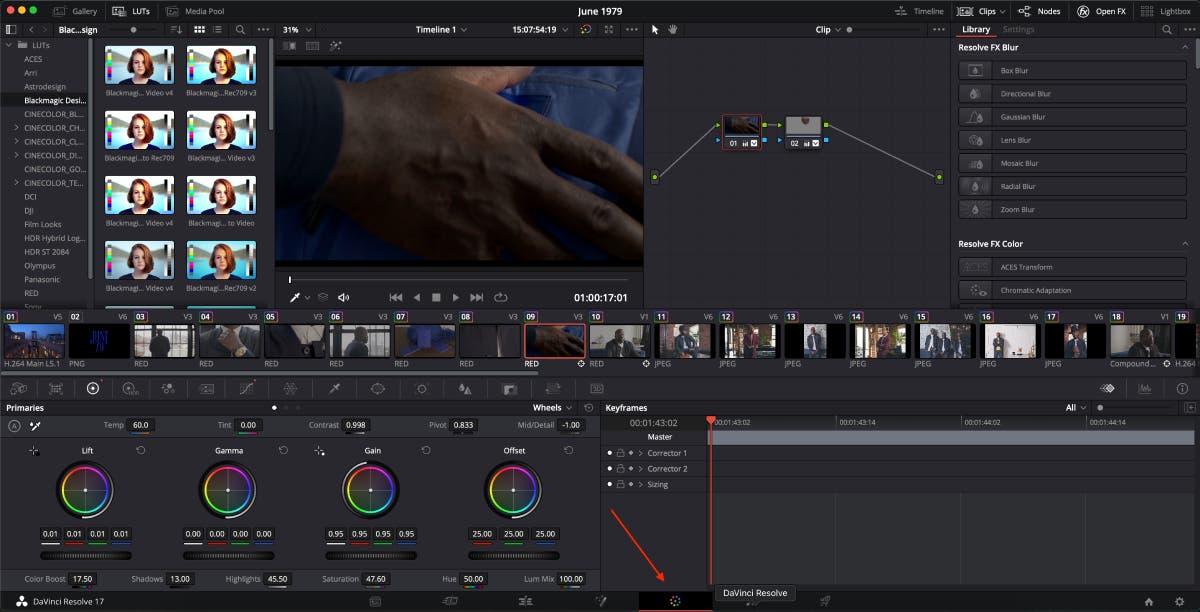
Resolve is a colorist’s lifelong friend. It’s still one of the most used color correction programs around today because the color and grading options are unrivaled. You can choose from different effects for each clip by adding a node with just one click. There’s also the ability to draw an area on screen to give them different color grades with minimal effort.
Colors can be adjusted by moving sliders up and down to help find the exact look you want for your footage. It’s simple enough to learn for individuals with little experience because you have access to a multitude of visual tools via menus and color wheels. The noise reduction filters and sharpness parameters can also be tweaked.
When you’re finished, simply playback the movie and test the adjustments you’ve made. Resolve also includes various pre-installed LUTs and allows you to import your own.
Fairlight
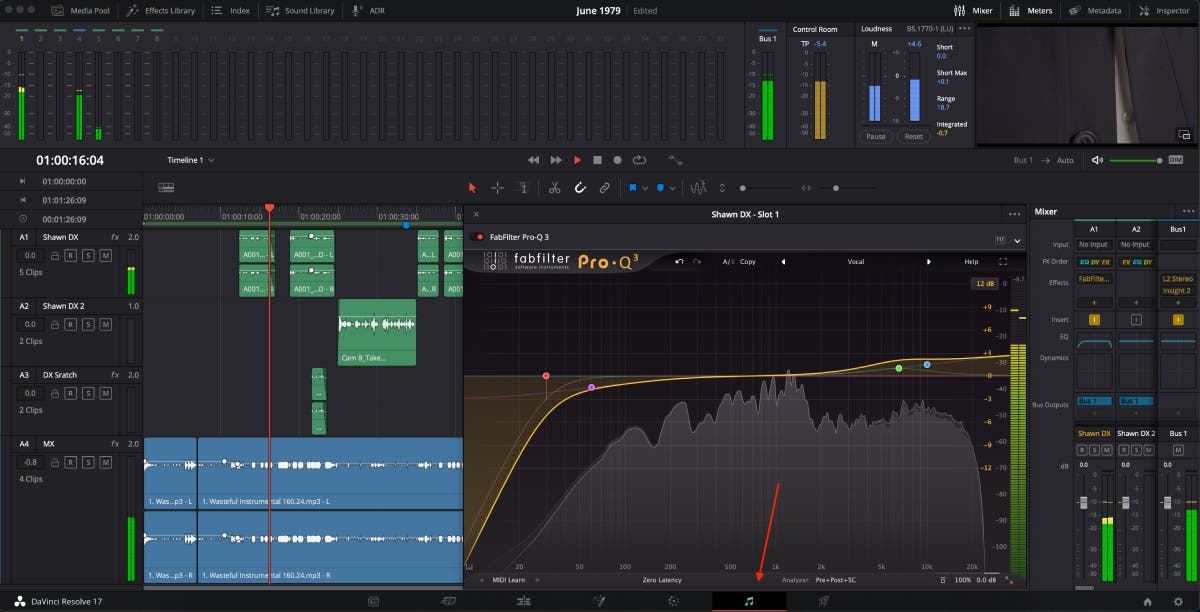
Sound is one of the most important things elements of a video. There are some things you can get away with in your videos, but sound generally isn’t one of them. Sound becomes much more crucial when it is all you have, such as with podcasts or audiobooks. If the audio isn’t clean, it can be distracting and easily fatigue your audience’s ear.
Fairlight can execute a variety of effects such as EQ, reverb, noise reduction, compression, and so on. The built-in plugins can help you manipulate your sounds, offering many options for repairing, editing, mixing, and mastering your audio. It also includes a sound library, an ADR section, and is set up for surround-sound audio workflows.
If you already own VST or AU plugins, you can import them as well. You can even link to an external audio editor, such as Izotope RX.
Deliver
When you’re ready to export your work, click on the Deliver Page. It’s a configurable interface in Resolve that allows you to export high-quality files. You can output to the most popular web codecs, such as h264, or to professional codecs, such as ProRes. You may also use the export presets for YouTube, Vimeo, and Twitter.
There’s even a built-in DCP creator, which is a huge plus because third-party services can be quite expensive. DCP creation within Resolve is a must-have for filmmakers who want their films to be seen at larger festivals.
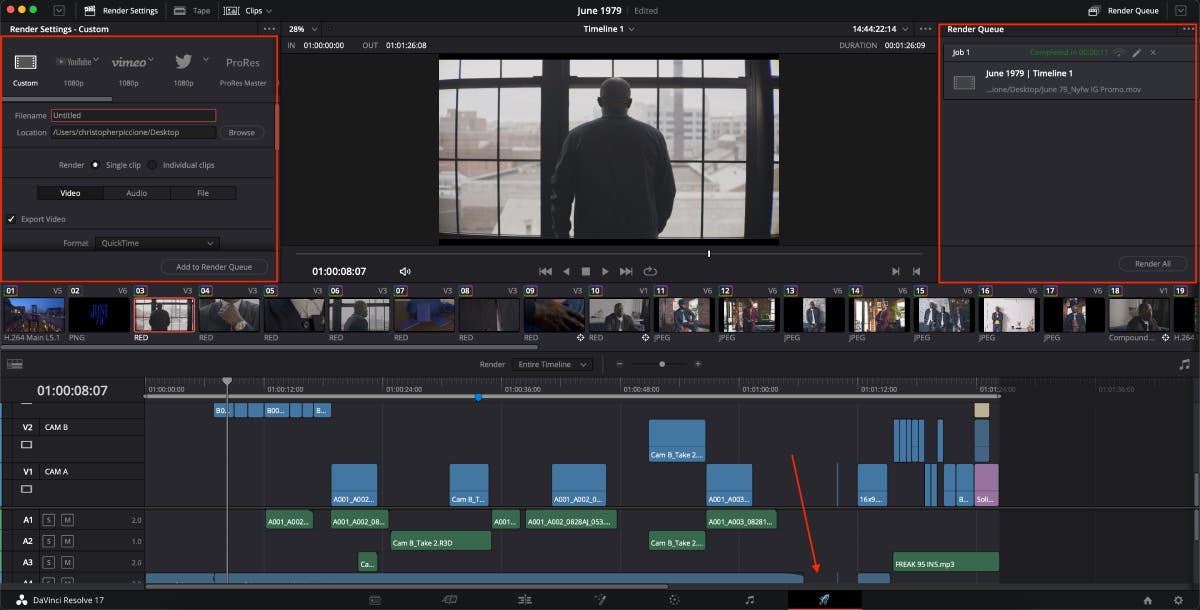
DaVinci Resolve lets you output part of a timeline or the entire thing as well as individual clips. For individuals who want to work on their audio in a separate DAW, you can also export OMF or AAF files via the Pro Tools preset.
You can edit, color, add titles, visual effects, mix and master your audio, export your entire project file, and so much more without ever leaving Davinci Resolve. You get access to all of the tools you’ll ever need within a single program. This guarantees that all of your material looks and sounds great regardless of the platform or device.
DaVinci Resolve serves as a one-stop shop for all of your post-production needs. It has evolved from a color-grading program to a formidable NLE over the years. New features and updates are done on a regular basis. To download and learn more about DaVinci Resolve by Blackmagic Design, visit their website.
*The version of DaVinci Resolve at the time of this article was 17.3.1*
