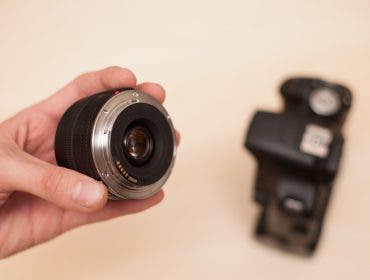
A photo shoot can sometimes be a chaotic environment. Technology has made it much easier to get results of each shot you take – instantly – on the LCD screen on the back of your camera, however, can you really rely on such a small screen to review every detail of the image? Yes, you can zoom in and scroll around, however, that takes time – and time is money. Luckily, there is an easy solution! Shooting “tethered” can help you review details of each image in full resolution without the need for stalling to zoom and scroll to check an image for issues.
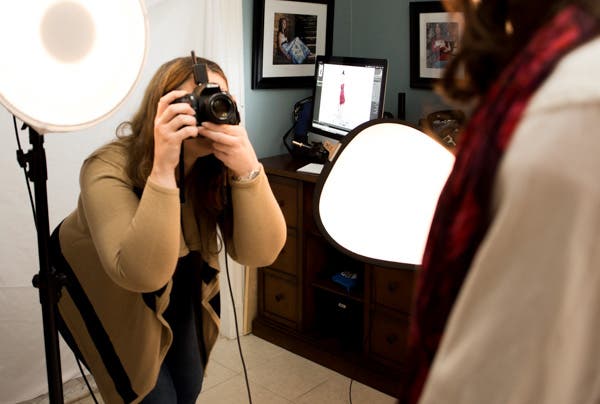
Shooting tethered to my iMac.
Image courtesy of W. Matthew Chamberlain
“What” is Tethered Shooting?
To “tether” generally means tying or connecting one thing to another (usually to restrict the distance that one thing can travel from another…) Think of the game “tetherball” from grade school, called such as a ball is tethered to a pole by use of a piece of rope.
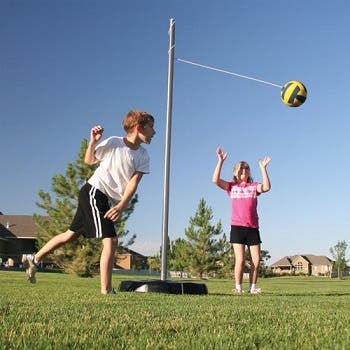
Image courtesy of Google Images.
Tethering in terms of photography is basically connecting your camera to a computer, laptop, external storage drive or other device using a cord or by wireless means – for instant image transfer while shooting.
“Why” Tether?
Tethered shooting, often referred to as “tethering”, has many benefits in photography. Some of those benefits include:
- Reviewing Images on a Larger Screen. The ability to immediately see the output of what you are shooting on a much larger screen than your LCD monitor. This makes it easier to review images as you shoot to check for small details that you might miss seeing on a tiny camera LCD screen such as a stray string on a shirt cuff, a “stop” off on exposure or any other issue.
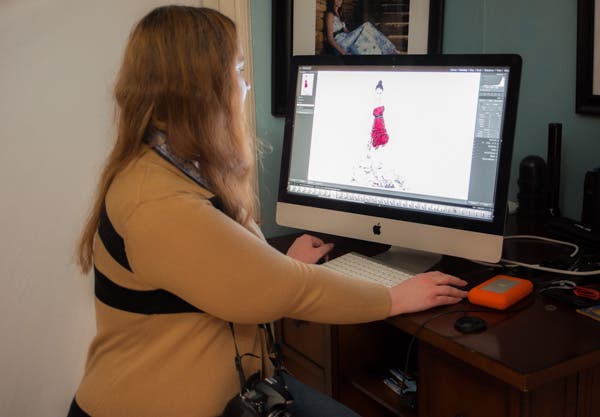
Reviewing images between shots.
Image courtesy of W. Matthew Chamberlain
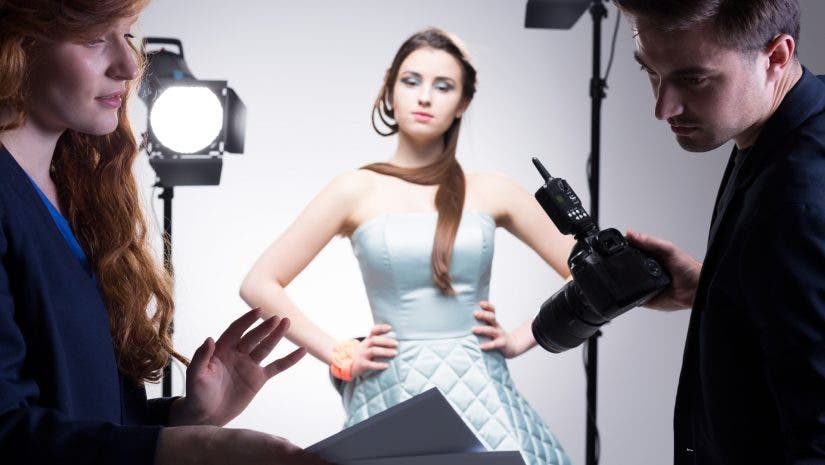
- Sharing with Your Creative Team. Having your images shown on a much larger display helps to make direction to your creative team a bit easier. I’ve found that my hair/makeup person, Gil, actually sees a stray hair or a hint of too much shine on my subject’s skin before I do as he’s the first to see my images on my iMac while I am shooting. He is immediately on the set to fix the issue before I can even walk over to my screen for review. I also like that my team, and my client, get a bit more motivated when they see results of the shoot right away compared to waiting for the results after the shoot.
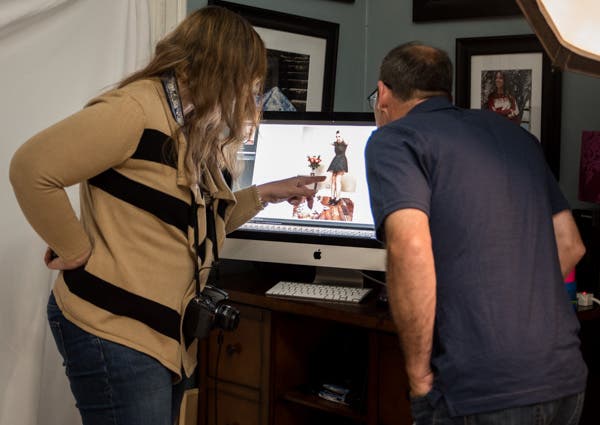
Tethered shooting makes it easier to share thoughts and suggestions w/my creative team and clients.
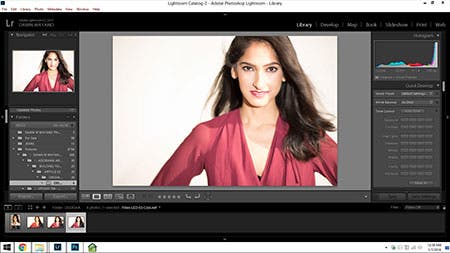
- Immediate Rating of/Adjustments for Images as You Go. You can review and instantly rate the images as you go, which helps save time in doing so after the shoot. You can also do slight post-production adjustments immediately to show a client – who might be on the set – what the final product will look like.
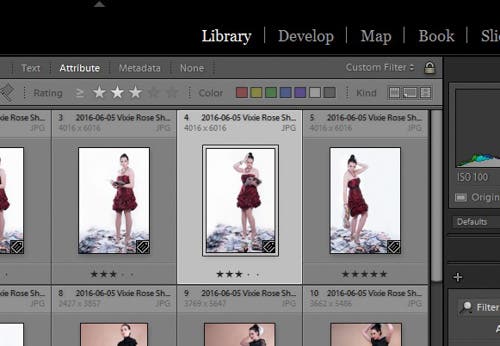
Rating system in Lightroom. I use the star rating system, but colors and flags can also be used.
- Immediate Backup of Images. If you have WiFi access or even a backup drive, you can set yourself up to immediately back up your images while you are shooting, which is safer than relying on your memory card to not fail you.
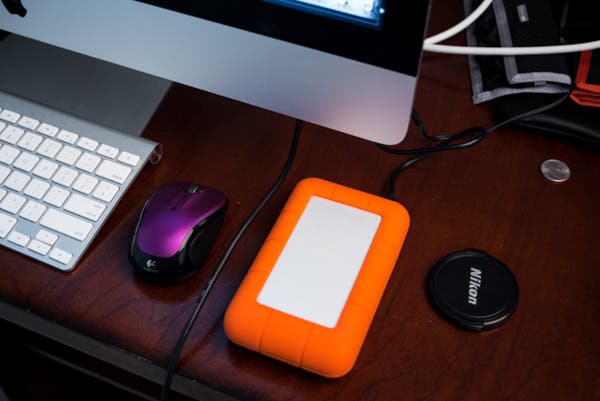
I use my LaCie 4TB Rugged RAID External Hard Drive for image backup.
- Instant Adjustments as Needed. You can save time (and sometimes money) on retouching later as you can make any necessary adjustments in camera and with your lighting as you shoot because you see what your final image looks like in full resolution. It’s usually more difficult and takes more time to review and fine tune from your results using an LCD screen as your review method.
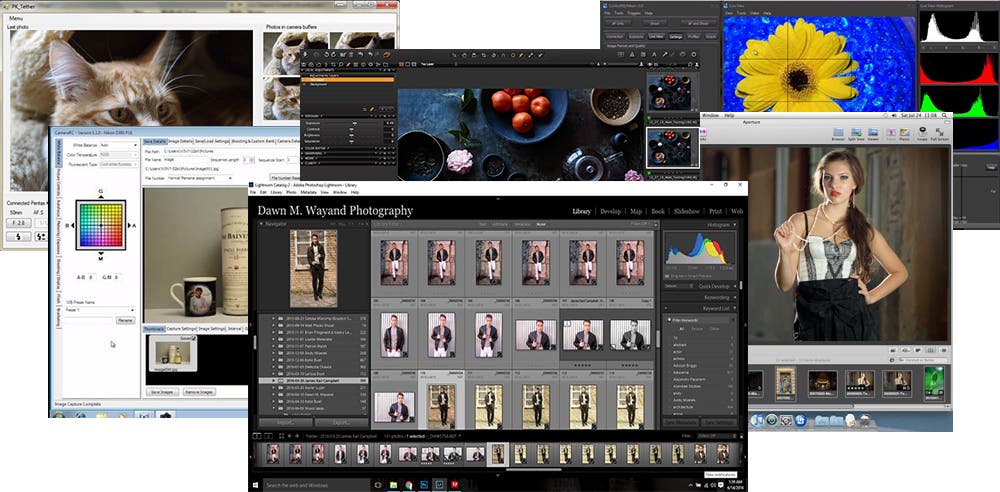
Various photo editing/tethering software such as PK Tether, Camera RC, Control My Nikon, Aperture, Capture One and Lightroom.
- Increased Quantity of Quality Captures. Since you are able to review each frame as you shoot, you are able to fix any issues or make adjustments along the way which leads to capturing more quality images, instead of shooting many unusable shots and salvaging only a fraction of your captures. Focus more on quality vs. quantity as you are not guaranteed the shot with quantity!!
Some may argue that tethering can be inconvenient due to the additional equipment it involves, such as a computer or laptop, additional cables and something to stabilize your monitor. Good bags and cases go a long way in helping you transport this type of equipment to a set, some of which I recommend in my article: Bags, Cases & Pouches: Picking a Means for Carrying and Storing Your Gear.
Others may find excuses such as that tethered shooting allows for everyone in the room to see what you are shooting without the benefit of post-production. When you have a client on set and you tether to a program such as Lightroom, it is very simple to stop every once in a while and make a few adjustments to an image in Lightroom (hey, you’re may be tethering using Lightroom anyway!) to communicate your result you are going for during a shoot.
When it comes down to it, tethered shooting has very few drawbacks compared to the numerous benefits it has for photographers of any level.
“Who” Tethering Would Benefit the Most
Tethering can be a great tool to use – if you are new to shooting in a studio or on location – as you can fix issues that may arise upfront and make necessary camera, lighting or composition adjustments as needed. Tethering is also a useful tool for advanced photographers to better direct their creative team and to allow clients the ability to view the results of each shot as you shoot so that they can say “Stop! That’s the one!” In general, tethered shooting is perfect for:
- Shooting portraits, fashion or any other people photography in studio;
- Shooting product, still life or food photography in studio; and/or
- Shooting anything on location where you can bring a laptop and/or where more serious situations might include a laptop with monitor and a monitor hood. This doesn’t just apply to people and products, but it can also apply to landscape shoots too.
Required Gear for Tethering
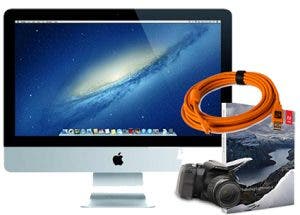
All you need is a display device, a camera, a tether cable and tethering software.
While you can go crazy and set up your own tethering station with all the choices that there are out there from tables to pads to cups holders, all you need to start shooting tethered are the following:
- a camera;
- a laptop or computer;
- tethering software; and
- a tethering cable
It’s that simple. I’ll go into more on required gear and additional options later.
“How” to Tether
Starting a tethered session is very simple in a matter of only a few steps. To keep things a bit more simple to explain, I am using one of more popular tools to tethering and photo editing – Lightroom CC – as one example of how to get started with tethering. If you use another program, check out the manufacturer’s guide or website for details how to tether.
- Connect your camera to your laptop or computer using tethering cable by plugging in the smaller pin-plug to the respective port on your camera. Tether Tools makes an excellent selection of one piece cables vs. your camera’s USB cord and an extension cable. The exact cable you use will vary by camera make and model.
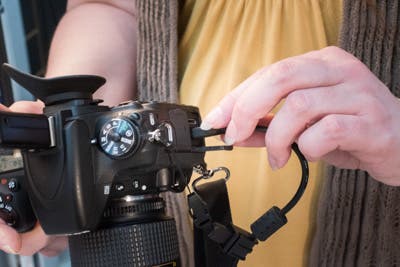
Here, I connect one end of my TetherPro USB 2.0 A Male to Mini-B 8 Pin Cable for Nikon D750’s to my camera.
Image courtesy of Yann Bizeul
- Then connect the other end of the cable to your USB port on your laptop or computer.
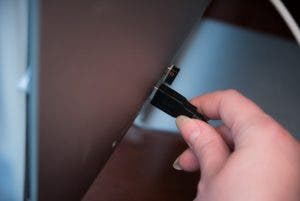
When in the main area of my home studio, I connect the other end of the cable to my 27” iMac w/ Retina 5K Display.
- Start your tethering/editing software. I use Lightroom CC on both my iMac when I’m shooting in studio and on my Dell laptop when I’m on location – or when I’m using multiple areas of my home studio space to shoot.
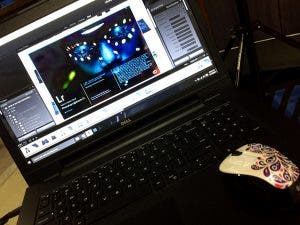
I use a current version of Lightroom for my tethering and initial photo editing.
- Begin a tethering session in your software program (if using Lightroom) by following these steps:
- Begin a Tether Session. Go to File/Tether Capture/Start Tether Capture. A dialog box will pop up requiring selections.
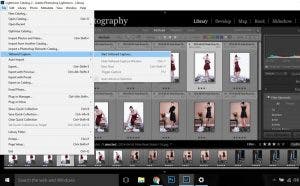
Start tether capture to begin your tether session.
- Session Name. Enter a Session Name. I generally title my sessions using the following naming convention: Year-Month-Day-SubjectName.
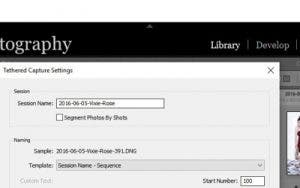
Name your session.
- Image Naming Template. Select how you would like your images to be named as they are shot. Generally, I selected “Session Name – Sequence”. For me, selecting Session Name helps me to remember which folder individual images belong to if they are ever separated from the original saved location and the “sequence” choice makes it easier for me to refer to images by respective numbers. After you edit your images in Lightroom and export them for sharing, you can either keep the original sequence number or easily resequence them.
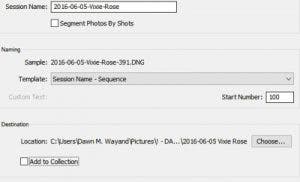
Select a naming template.
- Start Number. If you select an option with a sequence, I recommend putting your image start number as 100 or 1000 depending on your average number of frames per shoot. My reason for this is that I have found I have had a problem with keeping images listed in order when starting with single or double digits (ie. When numbering images starting with “1”, you’ll find many platforms (such as Dropbox) putting your images in this order: 1, 10, 11, 12, 13, 14, 15, 16, 17, 18, 19, 2, 20, 21, etc. instead of 1, 2, 3, 4, etc.)

I usually use a start number of 100 if I anticipate shooting less than 1,000 images per shoot.
- Location. Select a location on your drive where you would like to save your images captured.
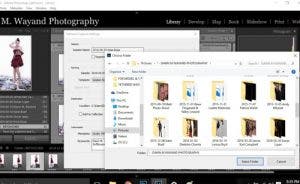
Select a location to store all the images you capture during your tethered session.
- Metadata. Lightroom gives you an option of including a bunch of information with each image such as copyright, creator name, camera info, etc. If you have a regular metadata preset, you can select this here, or you can create a new one or set it to “None”.

If you have a preset for metadata saved, select the respective preset metadata.
- Keywording. Add keywords that apply to all images in the session. For me, I generally use my company name, “Dawn M. Wayand Photography”; and then include the name of all parties involved in the production: my hair/makeup person, photo assistant, model or subject, client, etc.; and then any keywords describing my shoot such as: fashion, urban street photography, shoes, Betsey Johnson, etc. and maybe specific equipment I am using, such as: Profoto or Alienbee strobes, Nikon SB-700 Flash, Nikon D750, etc. Adding keywords at this stage makes it easier to find your images using the search tool in your software later. Add keywords and then click OK.

Add keywords that describe your shoot so that you can easily search to find an image later.
- Turn on your camera.
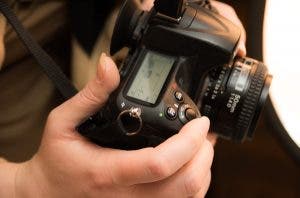
Turn your camera on.
Image by W. Matthew Chamberlain
- Wait for the prompt that your camera is connected. In Lightroom, the camera toolbar, during a tether session, will populate the model of your camera on the left-hand side of the bar.

The camera toolbar shows the D750 (my camera) – which means I’m connected.
- Begin shooting! As you shoot, there may be a few-second slight delay in your image appearing on your monitor. This is normal, because, like your LCD monitor, it takes a second or so for the image to transfer from capture to screen.

Begin shooting!
Image by Yann Bizeul
Gear Guide for Tethering & “Where” to Buy It
Beginning to shoot tethered does not have to cost an arm and a leg. You can start with as little as a cable between your camera and laptop and advance it to a complete tether workstation. For all recommended options below, you will need a display device such as a laptop or a desktop and a camera that has tethering capabilities (most modern digital cameras have this ability – check your camera’s manual or manufacturer’s website for details…)
The Very Basic Gear
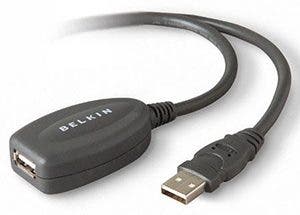
Image courtesy of Adorama
If you are really strapped for cash and are ok with slower speed transmission or the occasional two-cable connection disconnect because you’ve accidentally stepped on the cord while you move around, you can start with something as basic as your camera’s USB cord and connect it to a Belkin 16’ USB extension cord for a decent tether length. This is the way I started, however, I found that as I really got into my shoot, I constantly stepped on the cable at the camera-end and the two cables became disconnected or the connection just wasn’t that reliable. You can spend a few extra dollars and secure the two cables together by using the Tether Tools Jerkstopper In-Line Cable Management Ties or a Tether Tools Jerkstopper Extension Lock.
Recommended Basic Gear
After tiring of the poor connectivity and constant disconnect between my two cables, I invested in a Tether Tools Starter Kit which consists of one direct 15-foot TetherPro Cable that plugs from computer to camera, a Jerkstopper Cable Management System consisting of a piece for your camera and a piece for your computer/laptop, 10 Jerkstopper ProTab Cable Ties and a small carrying case for all of it to keep you organized.
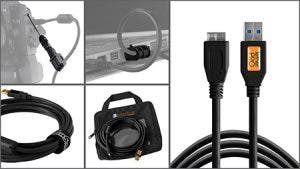
Image Courtesy of Tether Tools
There are a variety of different kits based on your camera port, so be sure to ask an Adorama Associate which kit will work with your camera model. This kit has made a huge difference in my productivity time as I no longer have to stop and figure out if its a bad connection or if I accidently physically disconnected the cords when determining why I’m no longer connected to my computer.
Additional Options
The skies are the limit with additional options to use for tethered shooting. Tether Tools really takes the prize with their endless pieces of helpful equipment that can make shooting tethered that much more easy and comfortable.
These are just a few additional options:
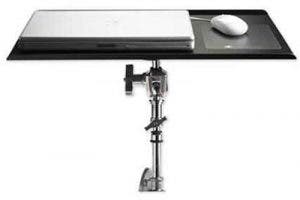
Tether Tools Aero Table
Want a stable surface that is easy to setup and break down at every shoot? A Tether Tools Aero Table is a terrific solution that can easily attach to a tripod or light stand, allowing you to set up a convenient tethering station in minutes.
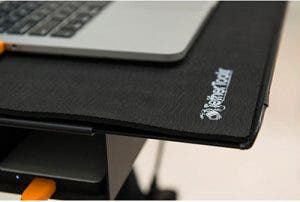
Tether Tools Pro Pad
If you are using a laptop with a Tether Tools Aero Table, or ANY kind of hard flat surface, a Tether Tools Pro Pad is a must. It’s to help keep your laptop from sliding around whatever hard surface you are working from. It also helps disperse heat generated from your laptop with air flow channels.
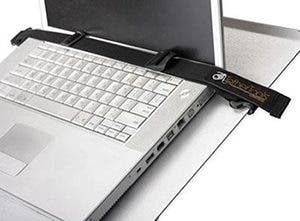
Tether Tools Secure Strap
Using a Aero Table and tethering with a laptop? Secure your laptop from jumping off of the table with the Tether Tools Secure Strap.
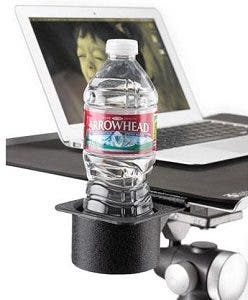
Tether Tools Aero Cup Holder
Tether Tools is thoughtful enough in the design of their stations that they include a side cup holder which can be used to hold a bottle of water, a light meter, your cell phone, small A-Clamps or other small necessary tool.
What It All Boils Down To…
Tethered shooting is a wonderful tool that can help photographers of any level nail the shoot every time. We’ve always educated and encouraged our students to shoot tethered during our group workshops in the past as it also makes for an excellent learning tool. Personally, I know that I’m an excellent photographer, but I can’t tell you how much more confident I feel when I can see what I’m capturing in real-time. There is no more walking away with an uneasy feeling of not knowing if I captured what I needed before I packing my bags for the day. I see what I am capturing on the big screen and I am able to adjust or fix any issues as I see each image in full resolution. If I’m not in my studio where I can plug into my iMac, I pack a laptop and tether cord into my backpack when I’m packing my lighting gear. You can never go wrong with a tool that guarantees an increase in the number of quality shots you end up taking home or giving to a client.
_______________
*All images and screenshots by Dawn M. Wayand unless otherwise noted.
