For this third and final part of my series (Part 1 is here; Part 2 here), I’m going to give you some insights into managing files while on the go. I use a MacBook, but many of the principles here can be moved to other platforms.
The ground rules of file management:
- Every image should exist in at least two places while you travel, ideally three, before you do any editing (selecting and deleting images).
- You should work from a fast, responsive drive for editing; and backup to multiples of higher capacity, yet more cost-effective drives.
- You need to have an app that allows you to dynamically sync discreet, progressive changes without having to comb over individual folders manually. My app of choice for this is Chronosync, but there are others.
On Remote Jobs, Redundancy is King
At every step of the way as you’re working, you should do your best to accommodate misfortune and mistakes. This applies not only to hardware – bringing backup camera bodies and lights – it applies to your files as well. Cameras now allow simultaneous writing to multiple cards – if your camera allows this, I suggest you select backup (not overflow), and write raw files to two cards at once. For my work this serves as both providing me with peace of mind, as well as streamlining my transfer process later – I will shoot to a CF card, backup to an SD, and then use the built-in SD slot on my MacBook to transfer files. The process is fast, and simpler than breaking out a card reader.
Image Preview and Editing
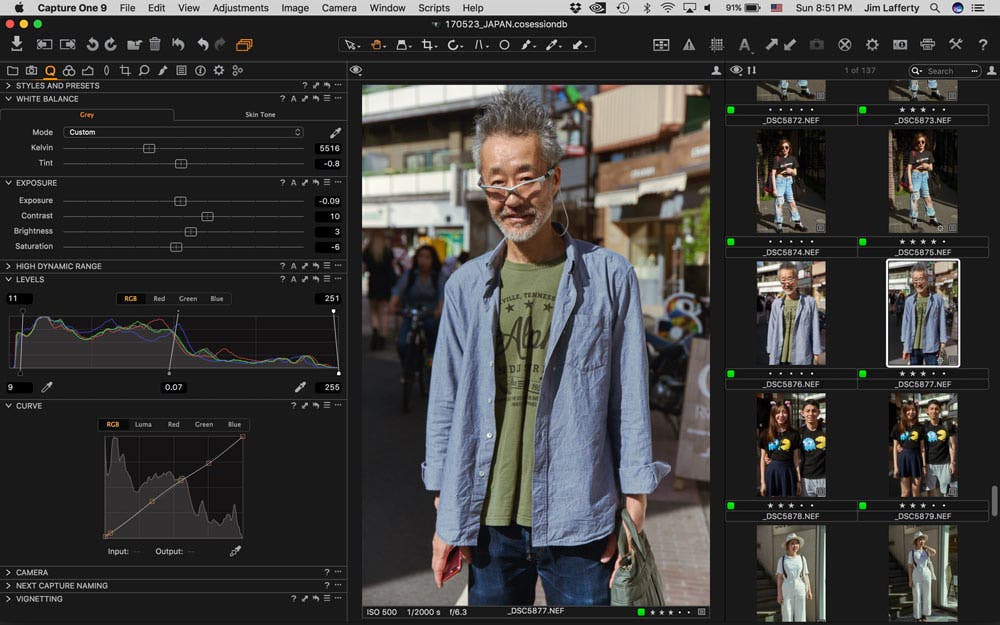
There are a handful of apps on the market which offer similar low-level functionality for ingesting files, building previews, and sorting through a shoot using a combination of color tags and star ratings. My personal go-to is Capture One, but many people speak highly of Photo Mechanic (excellent for extracting small images embedded in raw files, as well as metadata editing); while others prefer Lightroom (solid broad catalog management and tight Photoshop integration).
Capture One is my preference for what I feel are best-in-class color rendering tools, camera profiles, the most robust tethering architecture, and a highly portable workflow based around Sessions. Sessions assign small sidecar files and preview data to each shoot, making the shoot itself relatively self-contained, not subject to slow downs over time as more shoots are added to a single, central database. This also means that moving shoots across drives, or editing the same shoot using separate computers is more stable. Capture One is de-facto standard in editorial and commercial photography in NYC, and the world over, for its nimble, Swiss Army Knife toolset.
For photographers looking to build a massive catalog of metadata spanning several drives and shoots, I generally point them to Lightroom, which offers the current best implementation of this function paired with a raw processor; if, however, you can build your raw capture and processing workflow around individual shoots, Capture One really shines.
Pro tip: if you’re unfamiliar with Capture One and are looking to get your feet wet, they offer a 30-day, fully functional trial for download. If you can create goal specific workflow, identifying the things you would typically do on a shoot, bring each component to Phase’s excellent YouTube channel and watch the relevant video to really accelerate the learning curve.
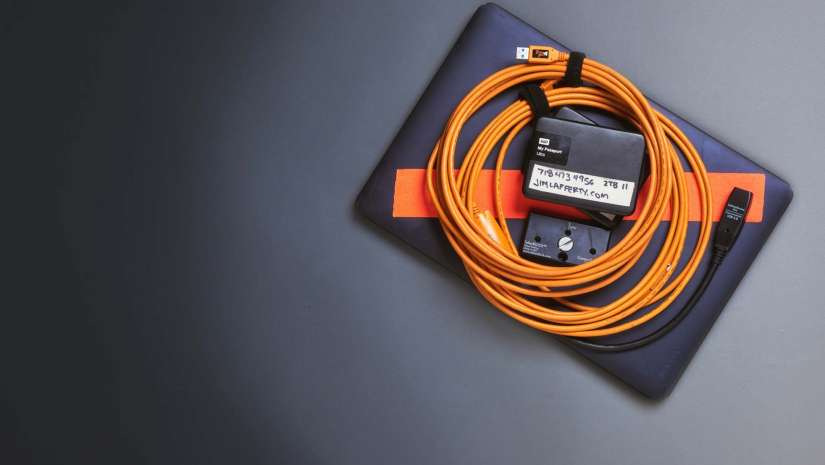
As mentioned in Part 1, you may be served by tethering directly into Capture One which compresses the timeline of image capture, preview and editing. Pictured in the banner above are Tethertools cables, which, though pricey, prove rugged and stable. Choose the cable that works for your camera, and supplement it with an active repeater for greater distance and freedom to move. The two most common problems of tethering issues are weak connections at the camera’s data port, as well as fluctuations in power output from your laptop – I combat each with a combination of a Tetherblock, and incorporating both the Tetherboost as well as a powered USB hub.
My editing strategy is two phased:
- First, a very fast binary yes/no edit, which is flexible and forgiving, aimed at deleting files which are overtly bad (e.g. subject mid-blink; strobe didn’t fire; camera settings off wildly). I use a tag system for this – anything with a green tag stays and goes to consideration for the client, serving our project together; anything with a red tag stays, but is for personal use only (i.e. BTS of lighting setups); anything left untagged gets trashed.
- Second, a series of successive passes as I move favored images along an increasingly refined edit. Often this starts with looking for ideas within the work, and finding the top 5-10 images which coalesce around an idea (1-2 stars); from here I pick the top 2-3 images which most strongly represent an idea (3-4 stars); and finally, I pick the decisive handful of images to present to the client, which when taken together, support each other in creating a broad and dramatic narrative (5 stars).
File Backups
This is a good time to mention a rule of thumb in file management, named the 3-2-1 strategy. This stands for: every file should exist in a minimum of 3 places; on 2 different media types; with at least 1 copy saved remotely (“the cloud”).
Once a shoot wraps, and I’ve had the chance to offload files to my laptop, the images exist in 4 places, and at least two media types: CF card; SD card backup; internal SSD on my laptop; external backup drive (usually an inexpensive spinning drive such as these WD Passport Ultras). If I’m overbooked and can’t edit between shoots, as my internal SSD drive reaches its limit, I will often move to editing on a fast, external solid state drive (SSD), like this T3 from Samsung.
Pro tip: I name my external drives numerically, labeling them with a strip of white gaff with their sequential number written in Sharpie. This way if my current editing drive is Western Digital 2TB I, I know the edit should exist and be progressively synced to Western Digital 2TB II and Western Digital 2TB III. The physical naming, as well as assigning them consistent names within the Finder, allows me to keep things more readily in order and identify which drives to bring on a job, or disconnect when I have multiple drives going at once. In addition I will often employ a “stop light” strategy with my edits, tagging files which have been synced green (“good to go”), and yellow or red to give myself hints that further work needs to be done to a given edit before I downsize or trash files.
Syncing Edits Across Multiple Drives
If you’ve come freshly off a shoot and have captured, say, 500 frames, a subset of those frames – maybe 200 – will be your broad edit. An even smaller subset – say 80 – will go on to become the top selects, and finally, the top 10-20 frames will become final deliverables. Being shrewd, and perhaps a bit aggressive, in producing a tight edit is crucial in that it allows you to keep post production overhead and turnaround times compressed so that you can more readily get back to what really matters: shooting more. As you make changes to files – moving them to new folders, batch renaming them, applying global color and tonal changes – you need a way to transfer these changes exactly to drives along your backup chain. My tool for this is the excellent Chronosync.
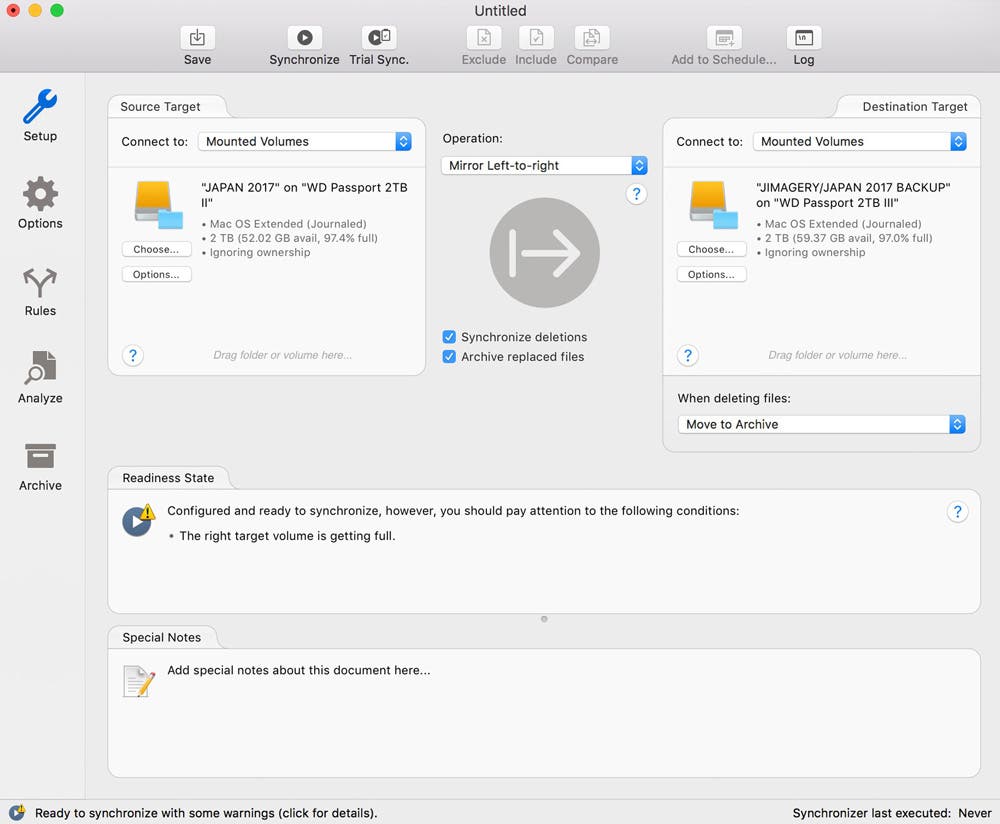
The workflow basics of Chronosync are pretty simple: select a source folder (or disc) on the left by simply dragging and dropping it onto the left panel; select a target folder (or disc) where you want the changes made to be copied; choose “Mirror” from the drop-down menu at the center, along with your preferences for what happens to deleted files from the dropdown at the right; from there, simply press the big arrow, or use the shortcut cmd+right arrow, and watch the syncing progress. In addition you can dig around the prefs and read up further on how to tailor Chronosync to your workflow, including scheduling syncs for a specific time, or putting multiple sync workflows into a larger container and having them engaged simultaneously.
If I’m completely satisfied with my edit, I’ll trash unselected files internally on the laptop, and sync the deletion to a copy of the Session on the external drive. If I have any lingering doubts about my edit, I’ll just delete from the internal drive as I wait on word from the client, and leave the broader edit on the external drive untouched. I also have the confidence of knowing the CF/SD cards exist in this moment as my failsafe.
However, if I have to turn around immediately from one big shoot to another, and I know I will have to reformat my CF/SD cards, I will typically have a second backup drive and sync to that as well, so that any given shoot will exist in at least 3 places before I reformat the cards used: internal drive (or external editing SSD), first backup, second backup.
As I move shoots forward, over time, to successively new drives, I will often backup a somewhat tight edit of selects – 3 stars and above – if I know I’ll be working from a new drive and need the files on-hand. This typically represents a maximum of 20% of the total images captured, and is a good compromise of narrative flexibility, and minimal storage footprint.
The Cloud on the Run

The issue of remotely saving files often presents the problem of bandwidth being a bottleneck while you’re on the go. I know people who save terabytes of data remotely, using their home disc array (SAN or similar) to thread out megabytes a day, over the course of 6 months or more, using a service like Backblaze. If you’re traveling, with limited internet access and time, and want to have an added layer of security, what I often suggest is processing out top selects (3-5 stars) as full res JPEGs, and, depending on the number of images and the file size, I will drop them on an FTP, or a service like box.com, Dropbox, or even email them to myself via Gmail.
Client Presentation
Finally, once you’ve made your edit, presenting the images to the client is the final step. You may offer them the option of multiple retouching passes (budget allowing), or simply deliver the files outright. But I think it’s important that you give yourself sufficient room to take your time with this step. I am a big fan of under-promising and over-delivering on turnaround times – if I think something takes a week, I will suggest it’s going to take 2-3 weeks to complete, and then I will work my best to deliver early.
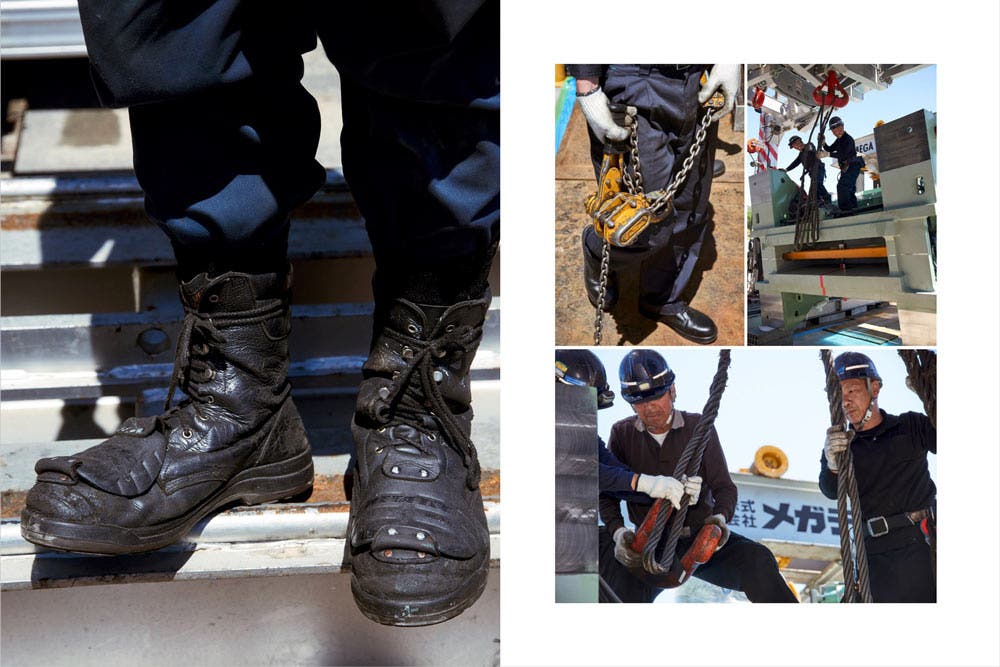
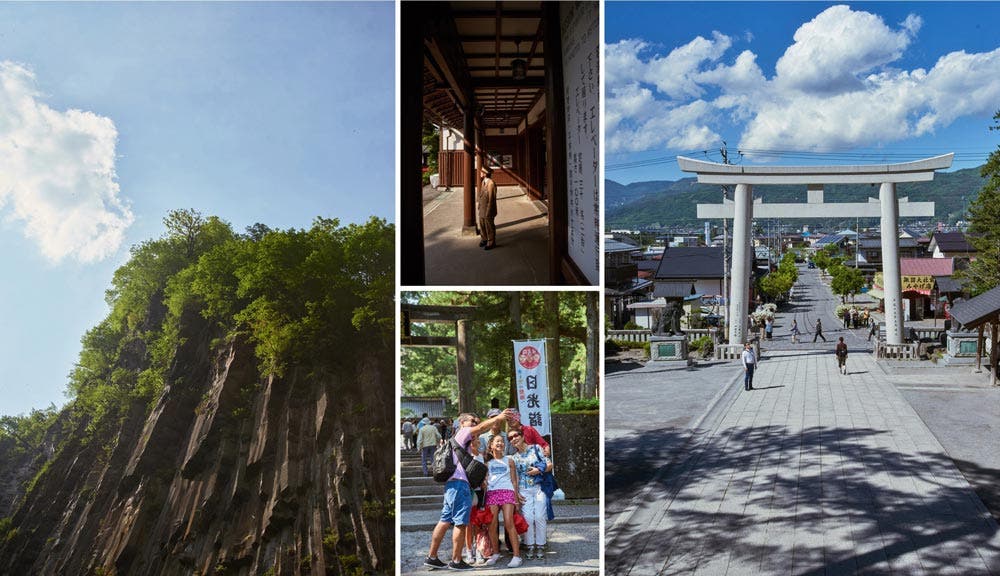
Consider, too, that while timing is crucial, and so is presentation. Simple changes to your edit, such as disrupting sequential order, or bracketing “chapters” of a shoot with atmospheric images or still life details, can really enhance the impact of the product you’re delivering. Don’t treat your work simply as generic files, dumped in numbered order into a random folder or gallery – build out a narrative flow meant to surprise your clients. I will often use a tool like Keynote, Bridge, or even InDesign to build a PDF that corrals the client experience of the images – and the PDF comes with the added bonus of being the basis for potential print sales.
Thanks for reading this series – I hope it helps you frame your next travel gig, and offers insights into the process.
