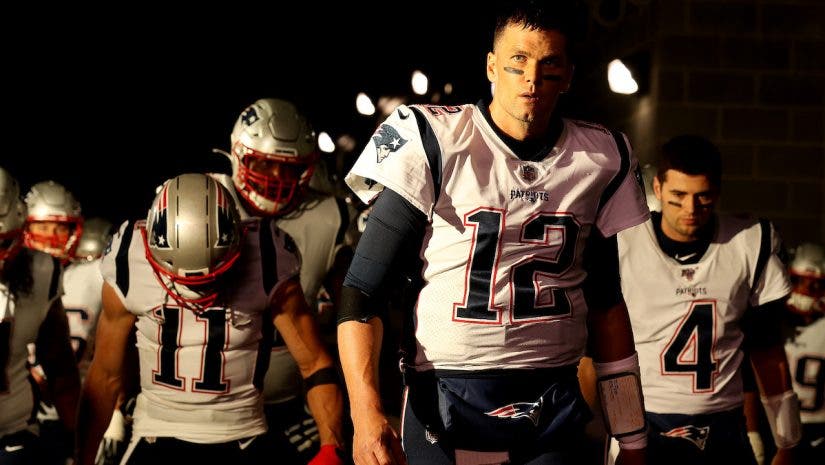

Featured image: Quarterback Tom Brady #12 of the New England Patriots leads his team onto the field before the game against the New York Jets at MetLife Stadium on October 21, 2019 in East Rutherford, New Jersey. Photo by Al Bello/Getty Images.
In the 35 years I have been a sports photographer, there are few sports that are more challenging physically and mentally than covering an NFL game. I started shooting back in college by photographing my friends while playing sports. I knew then that photography was what I wanted to do. After college, I got a job as a dark room manager for a publishing company that published boxing and wrestling magazines called The Ring and Pro Wrestling Illustrated. Today, I photograph football (and other sports) for Getty Images. In this article, I’ll be sharing everything I’ve learned during my time shooting football photography.
Angles and Positions for Football Photography
There are few sports where you are moving and covering as much ground than football. The field of play is 100 yards long and 53 yards wide with end zones that are 10 yards long by 53 wide. That is a total of 120 yards by 53 yards across. Players run up and down the field for 4 quarters that are 15 minutes each with a 20-minute halftime. Although, where you can and cannot go during the game depends on each stadium.
Run Up and Down the Field
One rule that stands in football photography is that you can move pass the 30-to-30-yard line behind the team benches, but you cannot stop for any reason. You can work from the 30-yard line to the end zone in each quadrant of the field. Also, you can shoot from the back of the end zones in each quadrant of the field.
Some stadiums will let you move freely in the back of the end zones, but not all will let you shoot passed a certain point as you get closer to the center of the field. This usually depends on the flow of the game. You can follow the teams from the side as they move up and down the field.
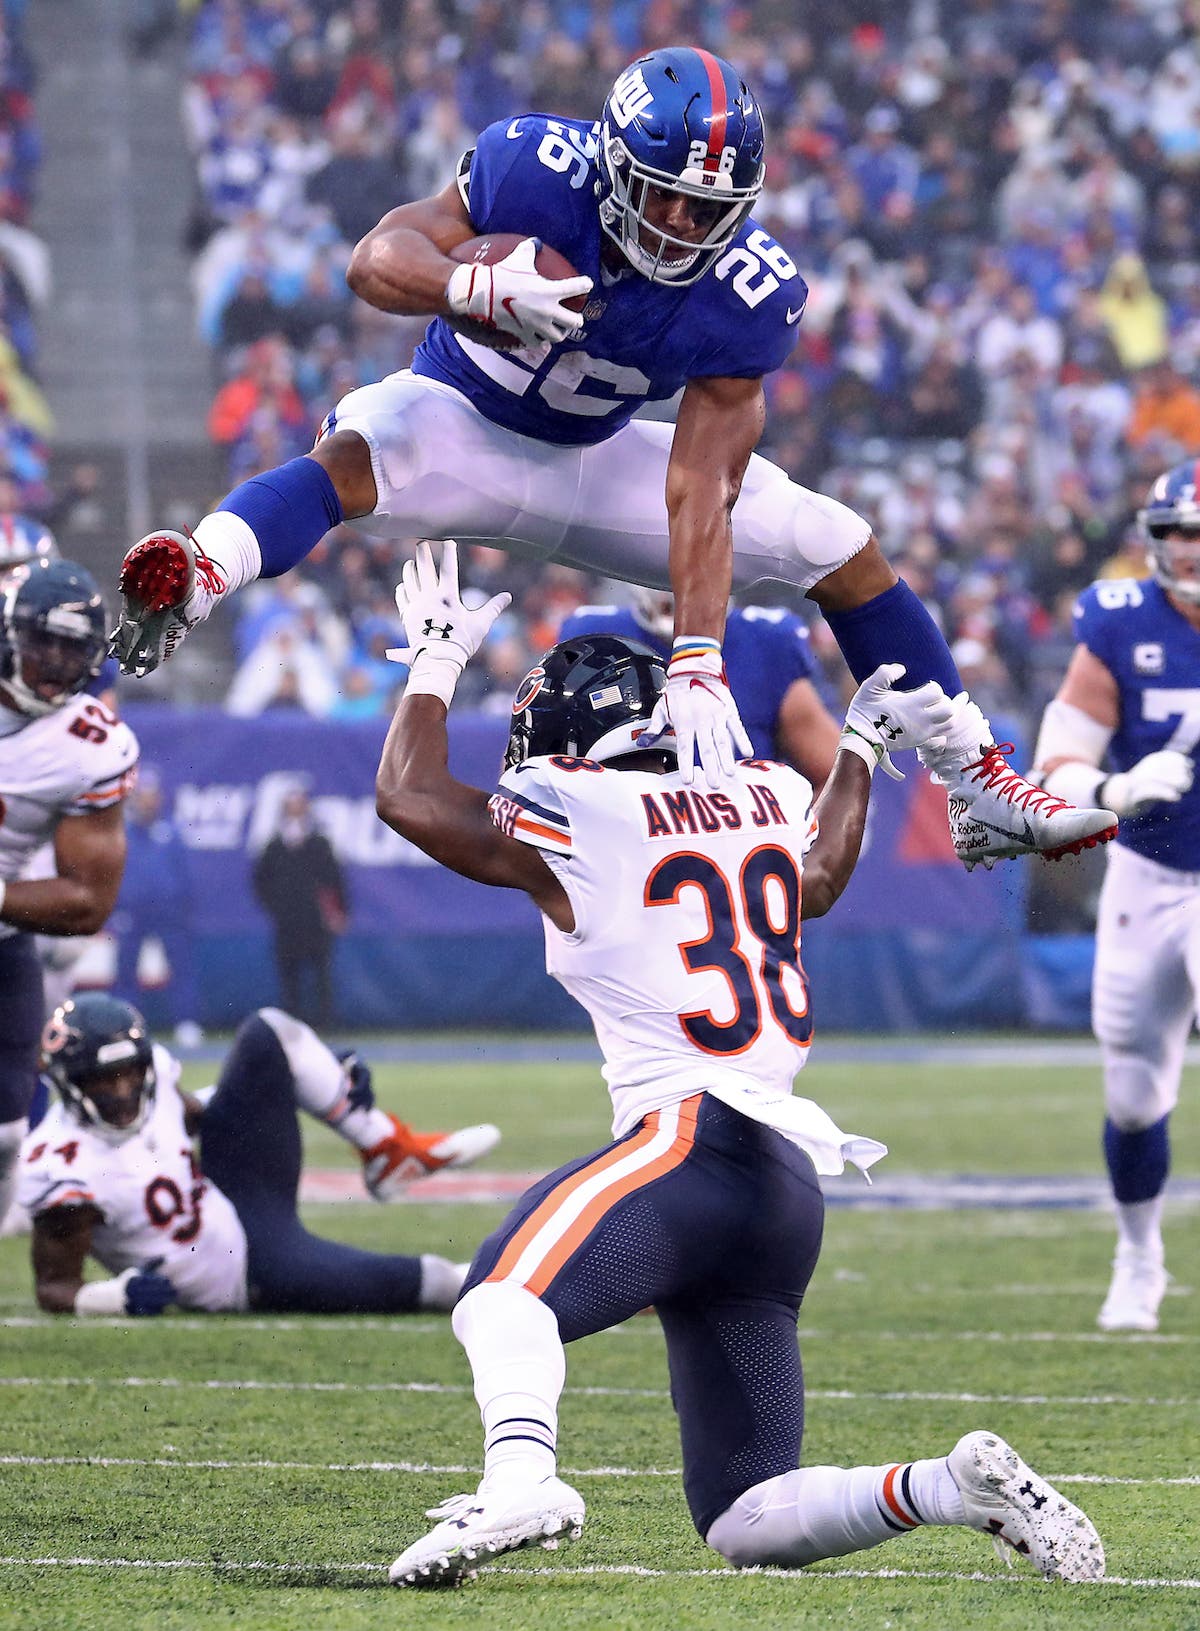
This is where you can shoot pictures of the quarterback dropping back to pass, or pictures of the action at the line of scrimmage. You can position yourself at ¾ angle to the line of scrimmage ahead or behind the play. If you are ahead of the play, you can get the action coming at you from the offensive side of the ball. This is where you can get the offense moving towards you with players running and catching the ball in front of you. At the ¾ angle from behind, you have the defense facing you and you can get good quarterback sacks and defensive tackles at the line of scrimmage.
All the while, you must be ready for a big play that may gain a lot of yards. You find yourself running up and down the field many times during a game.
Wait at the End Zone
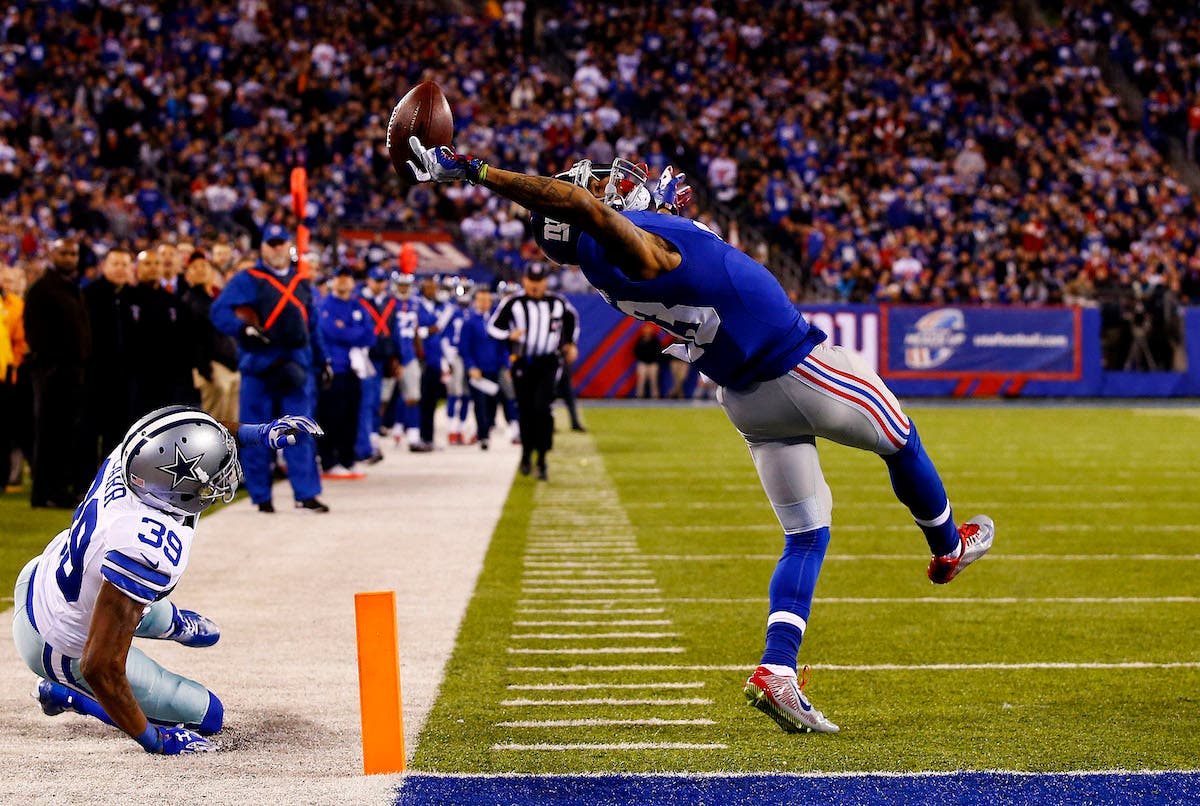
You can also move into the end zones and wait for them to come to you. This is generally where the cleanest background is because you are not shooting into field-level scoreboards or other photographers and security. You can get the offense coming straight at you. When the offense drives towards your end zone for a score, you are in a good position if they run to your side to get the play.
Get Low
One thing I would recommend if you were shooting field level — get on your knees and shoot. If you stand up and shoot from the field, the players do not look as dynamic or heroic as when you are looking up at them. This style of shooting is more taxing on your body — especially when you are getting up and down, sprinting from a kneeling position many times while always carrying 50+ pounds of gear. I wear heavy duty knee pads to ease the wear and tear.
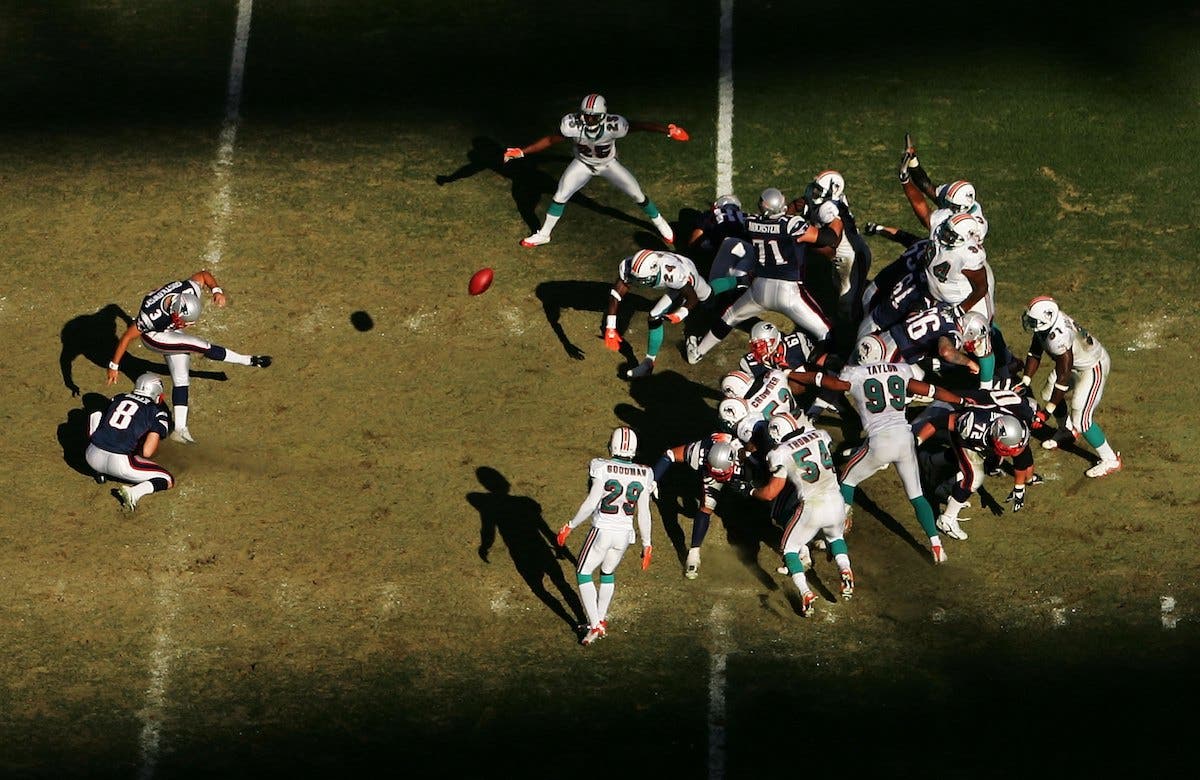
Go into the Stands
You can also go up in the stands and shoot from above. You can move between the crowd entrances and shoot from a concourse area. The angle is different, and you have a clean background of the field. You are a bit removed from the action and the impact of the photos are lessened to a certain extent. The good thing is, if the sun is out and the daylight is fading across the field, you can have an opportunity to take some creative photos with long shadows and silhouettes of the players. Occasionally, you may get a great action shot from above as well.
Best Gear for Football Photography
Over the years, I’ve experimented with the lenses I use during a game. Currently, I use two Canon R3 bodies and one Canon R5 body.
My long lens is the Canon RF 600mm f.4 lens. Sometimes, I also use the Canon EF 200-400mm lens with the Canon Mount adapter EF-EOS R . My medium zoom lens is a Canon RF 70-200mm F/2.8 lens. I also like to change that up and use a Canon EF 100-400mm f/4.5-5.6 lens instead. My wide-angle lens is a Canon RF 24-105mm f/4 lens.
At the end of the game, we are allowed on the field to get close-up celebration and handshake photos of the coaches and players. For this, I switch my wide-angle lens to a Canon 15-35mm f/2.8 lens. I also use this lens for when the players enter the field from the tunnel.
Tips for Shooting Football Photography
Stay Alert, On and Off the Field
It can be quite overwhelming and a little intimidating when you are just getting started shooting football photography. The speed of an NFL game is lightning fast. The players are tremendous and very quick. You must be very aware of your surroundings and be ready to get out of the way of an oncoming player who is running out of bounds and into your lap. You can also get injured by getting run over by a moving television truck.
Check the Weather Before the Game
You must also consider the weather that day. If you are shooting in an indoor, temperature-controlled stadium, then it’s easier. When you are outdoors, you never know what you are going to get — especially when you are working in a four-season state. You need to prepare for all types of weather and wear the correct clothing and have the right weather gear for your cameras and lenses. If you are not dressed properly for a game in the pouring rain, you will be miserable and your gear will be ruined. Be prepared to be outside for at least 4 hours.
When in Doubt, Just Follow the Ball
There are so many rules to an NFL game. It takes years to learn them all and recognize what is going on during the game. The best bet when you are starting out is to follow the ball, which is easier said than done. You can get lost quickly during the game, especially if you are using a long lens and shooting tight action.
Practice Switching Lenses Quickly
The art of switching lenses mid-play is the most difficult thing to get used to. Sometimes a deep pass happens at mid field and you need to switch from your long lens to your medium or wide lens in an instant. It takes years of practice.
Know About the Teams
You should understand the teams you are photographing. What are their tendencies and who are the star players? What is the story of the teams before the game?
Set Clear Expectations
Ask your client as many questions as possible to understand their needs and what they are expecting from you. At Getty Images, our deadline to post pictures is as soon as you can. I am constantly posting images to my editors via ethernet lines that are on the field and connect to my camera. If there are no lines, I rely on a WiFi signal to transmit my selected images from my camera. Instead, sometimes I go back into the press room and file from my computer.
Conclusion
To summarize, the key is to be prepared as best as you can. Follow the 5 Ps: Proper Preparation Prevents Poor Performance. Don’t forget to breathe. Understand that you will miss pictures. It is impossible to be everywhere on a giant field. The more you shoot, the better you will get. And even then, you will still have some very average days. This is a sport where it is easy to get something and extremely hard to get portfolio pictures. The other key is to have fun. Think about how cool is it to be able to shoot a game from the field.