Color is one of the main elements of design in art. It forms the structure of any visual design and helps convey its message. In photography, color is often used to evoke emotion from its viewers while improving the composition of an image.
The concept of including color in photos might seem easy considering we are surrounded by it, but knowing how you can manipulate its use can open you up to a whole new world of artistic (and photographic) possibilities.
In this article, we’ll show you the many ways that you can use color to create some of the most compelling images that will help you send visual messages to your audience.
Why Do Photographers Use Color in Photography?
The main reason for using color in photography is that the human eye can perceive colors. Color photography is the most realistic representation of the world, the closest to our hearts and brains. Therefore, our reaction to color is powerful. We associate colors with external stimuli (e.g., cold, hot, seasons, humidity, etc.) but also with emotions (e.g., fear, love, nostalgia, sadness, etc.).
It’s only natural that photographers prefer to capture the scenery as it is, showing us what we are physically able to see but often overlook and try to convey feelings and moods. The purpose of color in photography is to remind us of our surroundings’ beauty, invite us to contemplation, and connect us with the environment.
How Does Color Affect Mood in Photography?
Color influences human behavior and can evoke feelings and influence our reactions. As a result, color in photography plays a major role in composition, affects balance, and determines the weight of visual elements.
Bright colors, for example, are perceived as happy, fresh, and joyful. Dark colors may evoke sadness, fear, or repulsion. Warm colors may create a romantic or nostalgic atmosphere, while cold colors are more neutral.
The photograph’s mood is also affected by joining colors. Color contrast in photography means using the difference between colors as a means of catching the viewer’s attention, building tension, and enhancing the visual story.
Hue, Value, and Saturation: How Do They Affect Color?
Digital color photography, and especially photo editing, means decomposing color into three terms (hue, value, saturation) and adjusting them separately.
Hue is the pigment of the color, its dominant wavelength, which describes a color for the human eye. Red, yellow, or turquoise are examples of hues. The difference in hue determines the color contrast in photography. Red and green or yellow and blue are examples of contrasting colors.
Value describes the brightness or luminosity of the color and how close it is to white or black. The higher the value is, the brighter the color.
Saturation is the intensity or purity of the color. A high saturation color is vivid and intense. When you decrease the saturation, you reduce the intensity of the color, making it look grayer and grayer until it becomes pure gray.
Working with color in photography requires a good understanding of hue, value, and saturation but also of color theory and color psychology. It’s a mix of science, aesthetics, and intuition.
8 Ways You Can Use Color to Create Stunning Photographs
Adding meaning and depth to your photos can be as easy as incorporating and manipulating colors in your images. We’ll explain how different uses of color can affect your photographs below.
- Use Bold Colors
- Use Pastel Colors
- Use Monochromatic Colors
- Highlight a Colored Subject
- Feature One Dominant Color
- Use Complementary Colors
- Experiment with Color Temperatures
- Use Colors to Evoke Emotions
Use Bold Colors
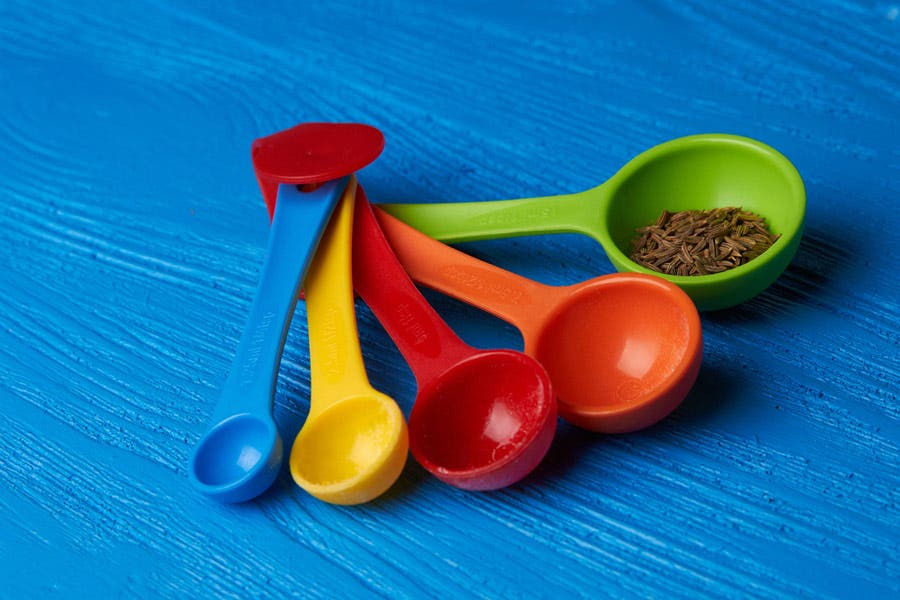
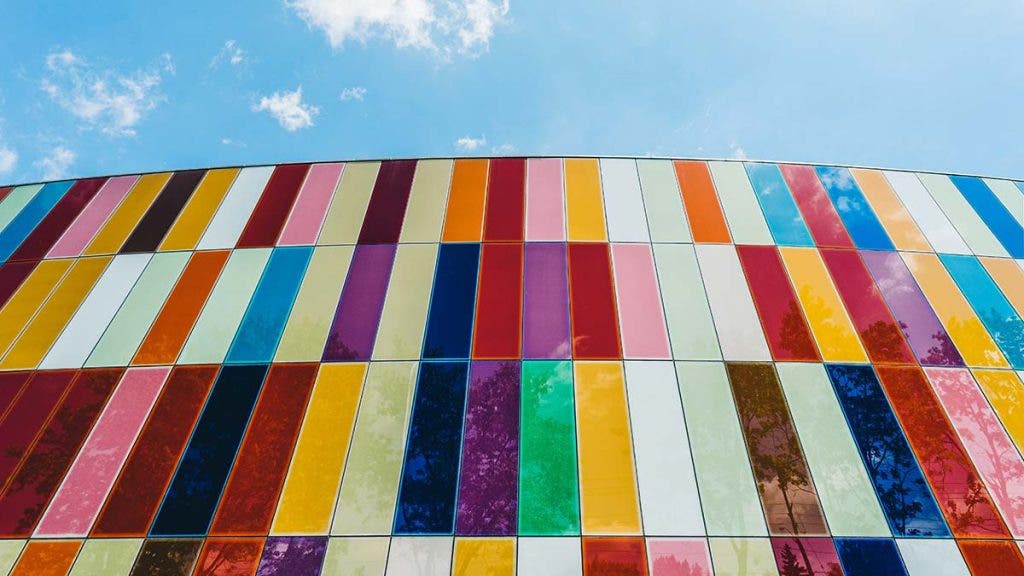
The easiest way to create impact with color is to use strong, saturated colors. You can use any two or even all of the colors of the rainbow to create a visually interesting image. However, it can also ruin an image if overdone.
The key to using bold colors is to keep your composition clean and simple. The more colors you have, the busier the photo will already be, so it’s always best to allow the colors to take over and lessen the image elements in your frame. As you can see in the image above, the photographer stuck with only one main subject—the colorful measuring spoons—on a blue table.
Bonus tip: Try using a polarizing filter, especially when photographing skies. They eliminate reflections and glare, giving you deeper colors and bluer skies.
Use Pastel Colors
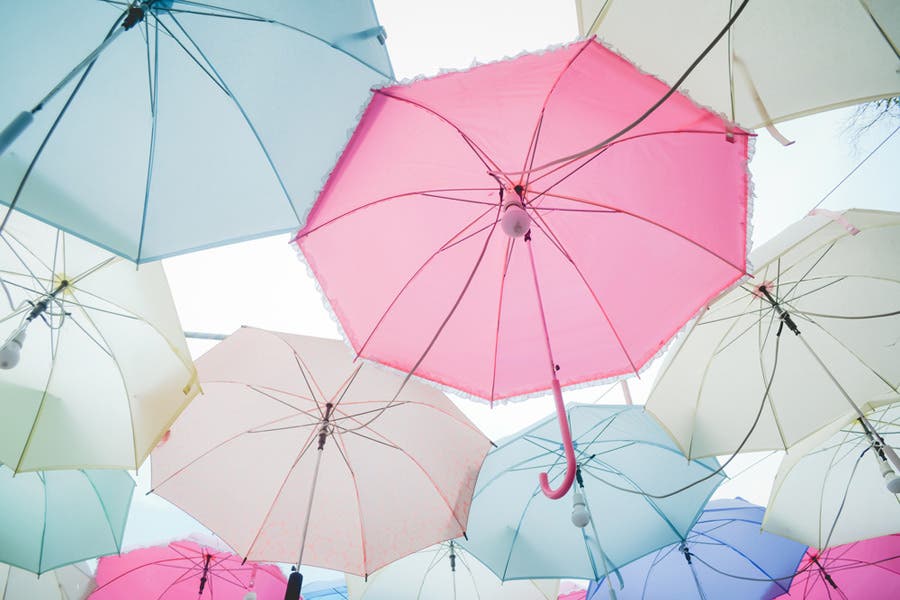
Lighter, faded colors also make for a pretty picture. Try using subtle and almost monochromatic colors in your frame. The use of pastel colors with very minimal shadows and low contrast works well for portraits and the outdoors.
You can achieve more pastel-looking colors in post-production by desaturating your images a tad bit using a photo editing program or application, like Photoshop or even Instagram.
Use Monochromatic Colors
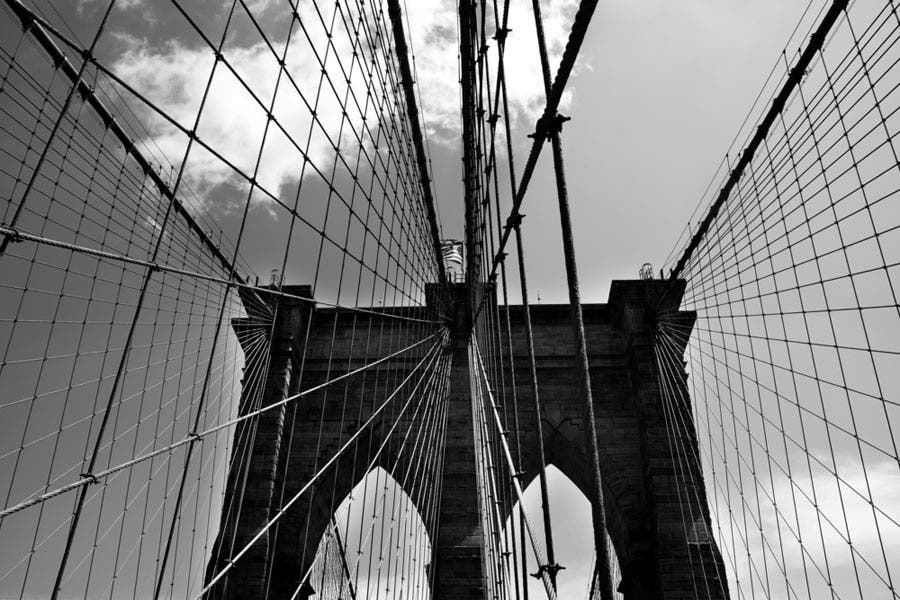
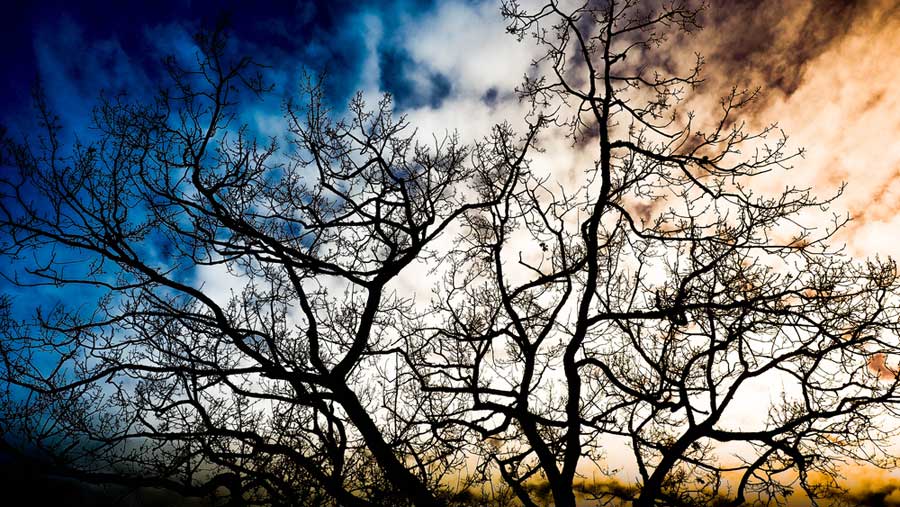
Technically, black, white, and gray are not colors. Nonetheless, many shooters go for monochromatic colors—including sepia—to add drama, set the mood, add a vintage touch, and/or to highlight the contrast and textures in the image.
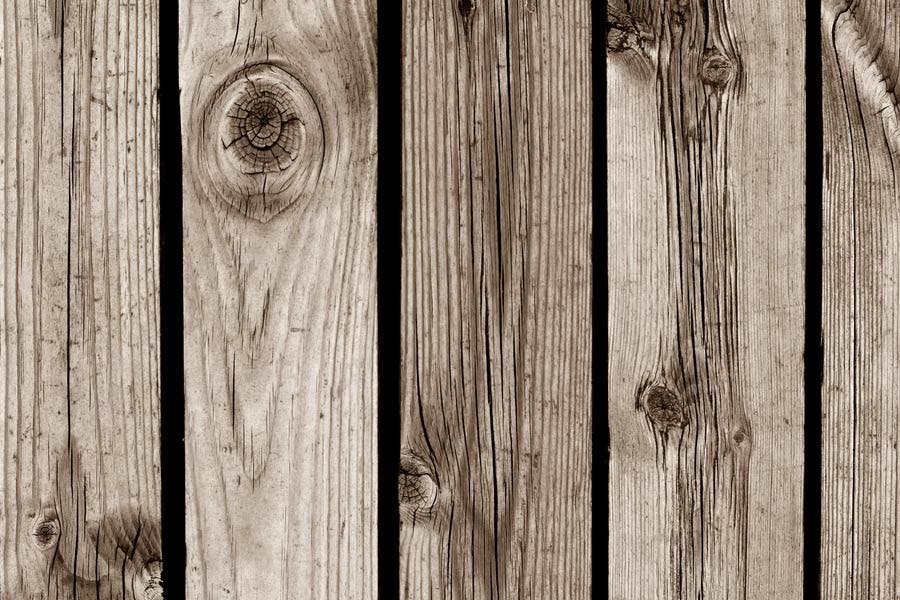
Instead of shooting in B&W, grayscale, or sepia using the built-in features of your camera, try shooting in color and then decide whether or not you want to rid them of color in post-production. This opens up the possibility of having two (or more!) amazing photos instead of just one.
Highlight a Colored Subject

As you can see in the photo above, there’s one thing that really stands out—the yellow table napkin. By adding other elements with similar, muted colors and placing it against a neutral-colored background, the yellow table napkin does not compete with other hues, grabs the attention of your viewers, and effectively becomes the main focal point. This is a good use of color to establish or complement your subject.
Other neutral backgrounds that you can use include gray, black, or any color that is in deep shadow. For best results, be creative and keep your composition simple.
Feature One Dominant Color

Instead of using a mix of bold colors, why not try using multiple objects that are of the same color? Allow one color to dominate and become your main subject while you tell a story with your image composition.
In the image above, the red plates, ribbon, candles, and other decor give off a festive feel. The bright yellow-orange fire also complements the deep red color and provides the much-needed highlight in the otherwise almost low-key image.
For more impact, use primary colors.
Use Complementary Colors

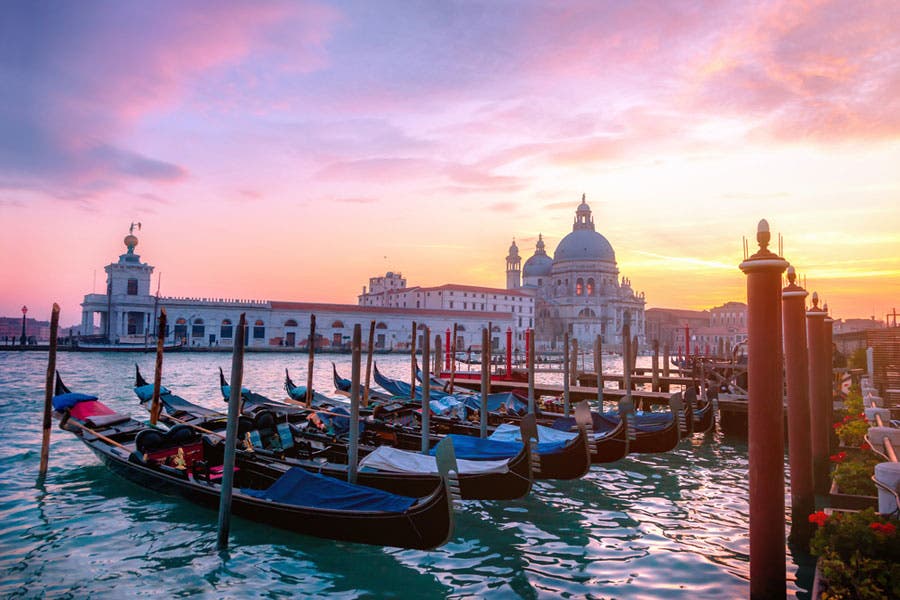
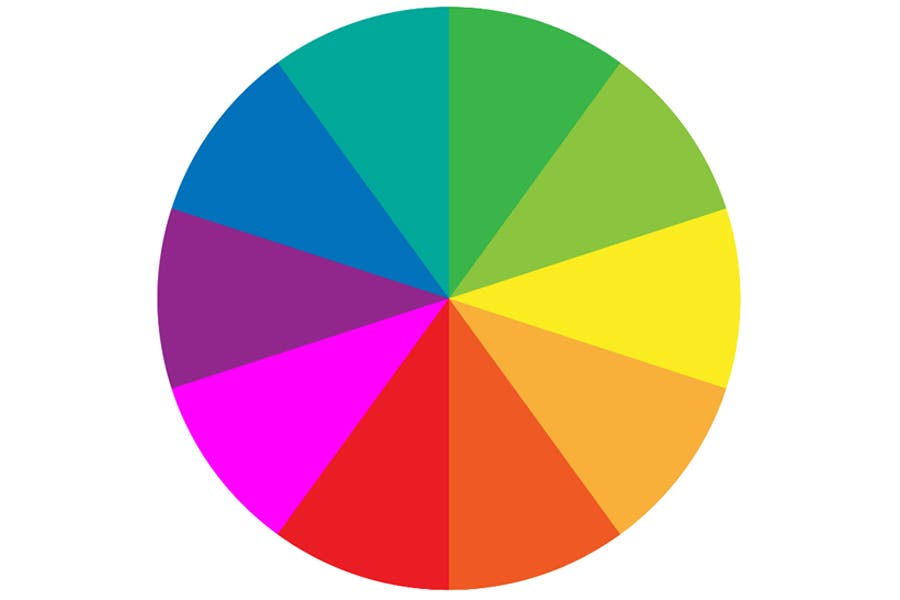
Colors opposing each other on the color wheel are called complementary colors. The most basic forms are one primary color and a mix of the two other primary colors. They cancel each other out, making them very useful for color corrections in makeup, digital imaging, and studio lighting. And when included in a photograph, the high color contrast helps you create a vibrant image.
This is exactly why orange sunsets against blue skies create some of the most stunning images. For even better results, you can try including more of the cooler hues (more of the blue sky) to balance out the warm colors (orange sunset).
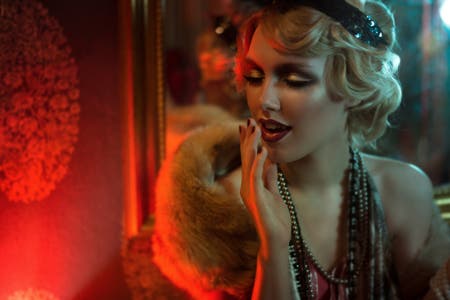
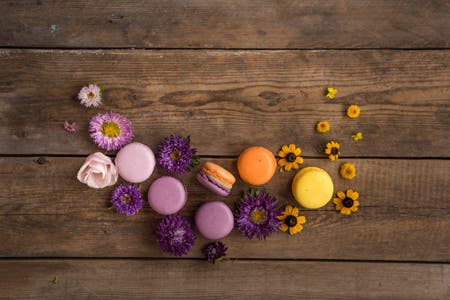
See how other complementary colors are used in the red-green glamour shot with colored flash gels (left) and the purple-yellow flatlay of macarons (right) below:
To use complementary colors in your image, you can refer to the guide and color wheel below:
- Yellow – Purple
- Blue – Orange
- Green – Red
- Yellow-Orange – Blue-Purple
- Orange-Red – Blue-Green
- Red-Purple – Green-Yellow
Experiment with Color Temperatures
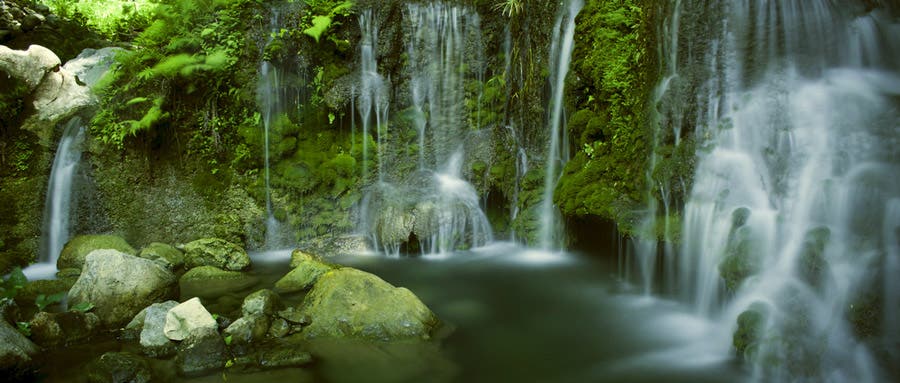
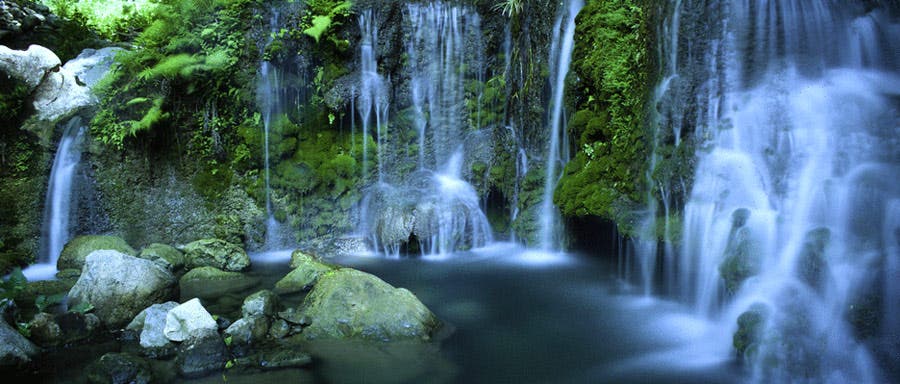
Light sources have two different color casts: warm (orange) and cool (blue). You’ll notice this when shooting at different times of day or when using light bulbs with varying color temperatures. Setting your white balance to automatic usually helps normalize the temperature, but purposely using the “wrong” white balance can also give you interesting results.
Choosing daylight, shade, and cloudy will make your photos warmer, while tungsten and fluorescent will make your photos appear cooler. You can adjust the color temperature during post-processing depending on the mood and result you want to achieve, but your photos will have to be in RAW format in order to achieve more natural-looking results.
Bonus tip: Use the cloudy white balance setting when shooting portraits to produce a more flattering skin tone.
Use Colors to Evoke Emotions
Color isn’t just for the eyes. Aside from being capable of beautifying visual art in many different ways, it can evoke a range of emotions from its viewers. While it may depend on how a certain color is used in a composition, we generally have a pretty universal emotional response to each color.
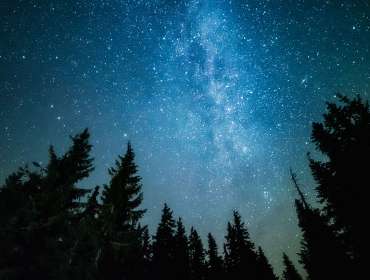
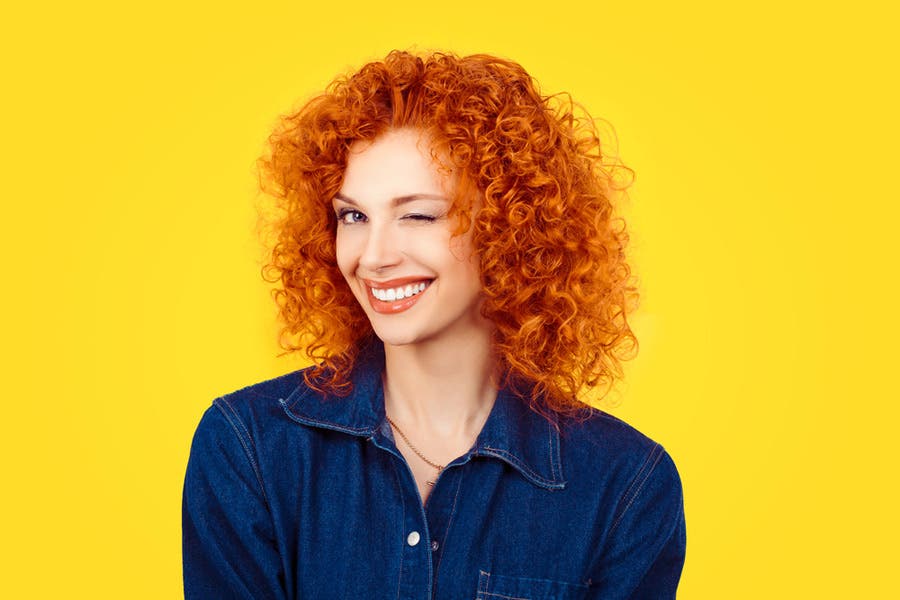
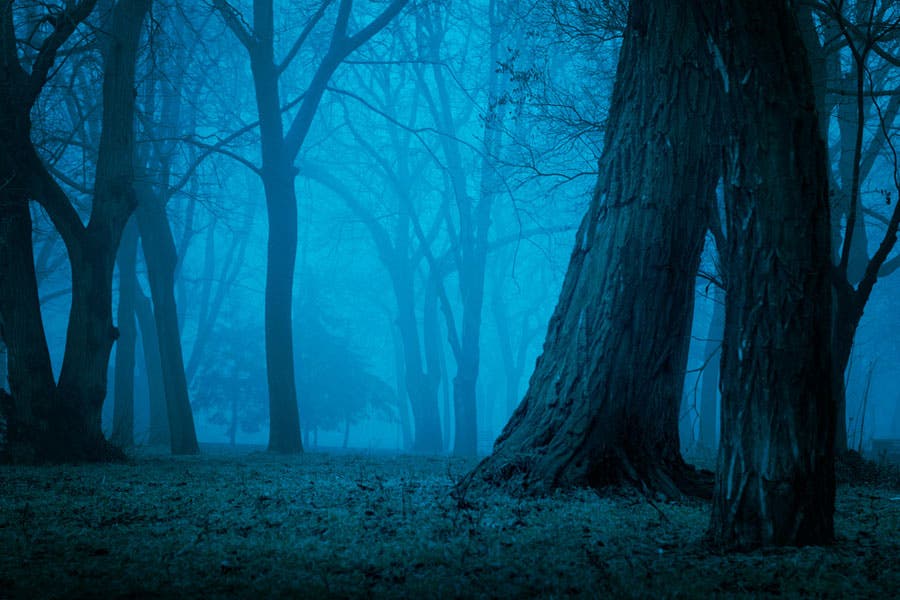
For example, deep warm red can be used to signify danger or anger, as it’s the same color of blood and is used to signify rage (“seeing red”). Yellow is generally thought of as a happy color due to bright yellow sunlight, as are vibrant greens that remind us of springtime plants and trees. Lighter and brighter shades of blue can be cool and relaxing while darker shades can be used to paint a dark, wintry scene that appears ominous or mysterious.
Such strategic use of color can help you add meaning to your images and provoke certain emotions from your viewers, making them feel more engaged and connected to it.
Once you’ve learned how you can use color to create more meaningful images, you can optimize them during post-processing. See how to use and interpret color in this AdoramaTV episode: