As a travel photographer who explores the world with the goal to capture its beauty, I’ve learned some insider secrets to nailing a successful solo photo trip. Today, I’m sharing the little tips and tricks that I’ve learned that have resulted in some of my most illustrative travel photos… all taken while traveling solo!
1. Use Instagram as your planning tool
Believe it or not, Instagram is my number one travel resource when planning my itinerary (find me there at @dametraveler and @nastasiaspassport). We all know that Instagram is filled with incredible images from around the world, but using it as a resource to plan your travels is the real trick! With millions of users from around the world, Instagram is filled with new, updated travel information every second of the day. Plus, its visual platform is perfect for travel photographers. So, if you’re still in the planning phases (or even if you’re on-site), tap into its endless material.
Instagram’s “save” feature is one of my favorites. Similar to Pinterest, “saved” images can be marked to create organized boards by destination. Any time I see an image that makes my heart flutter, I click the lovely little save button (which looks like a ribbon on the right side of the caption area). Later, I can go in and add those images to a specific board. Perusing my collection of images is so fascinating because each features a tagged location that allows me to pinpoint exactly where these hidden gems are located around the world.
Be sure to also research location-based hashtags, which give travelers unending amounts of images to sift through, taken by real people in real time. Following a few tourism-based Instagram accounts (as well as photographers) in the destination I’m traveling to allows me to see a lovely highlight reel of destinations not to miss as well. Give yourself an ample amount of time to research your destination via Instagram. Its just as informative as it is fun.
2. Understand photographic aspects you can experiment with on-site
Travel photographers have to be able to adapt their shots regularly and often. Due to the elements and lack of control we have on them, being able to roll with the punches is so important. That being said, really understanding the photographic aspects, you can actually manipulate on-site is crucial!
Here are some key photographic elements you can have fun experimenting with, no matter what situation you find yourself shooting in.
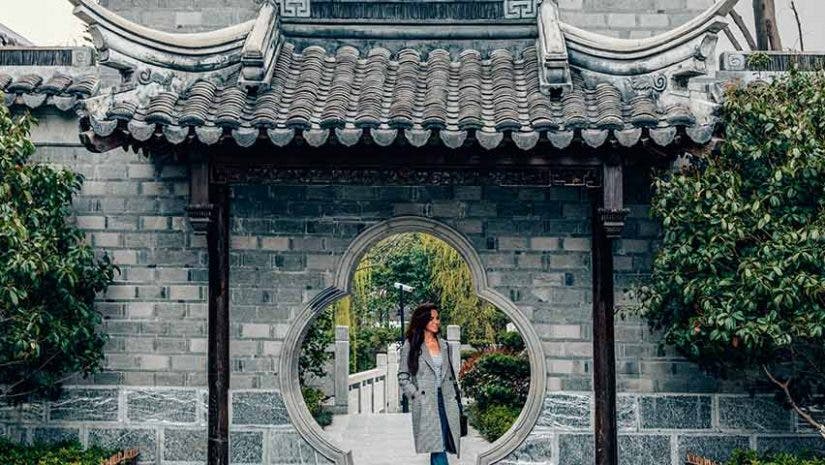
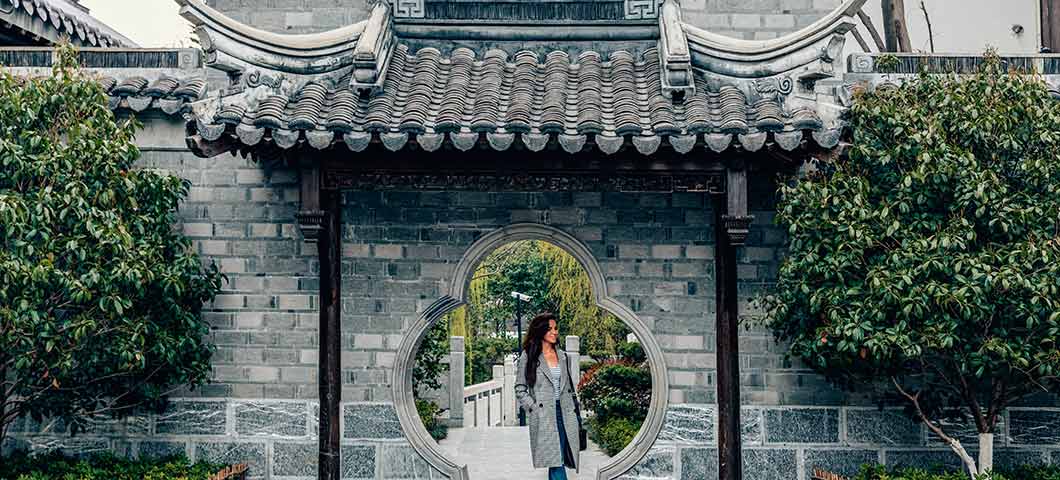
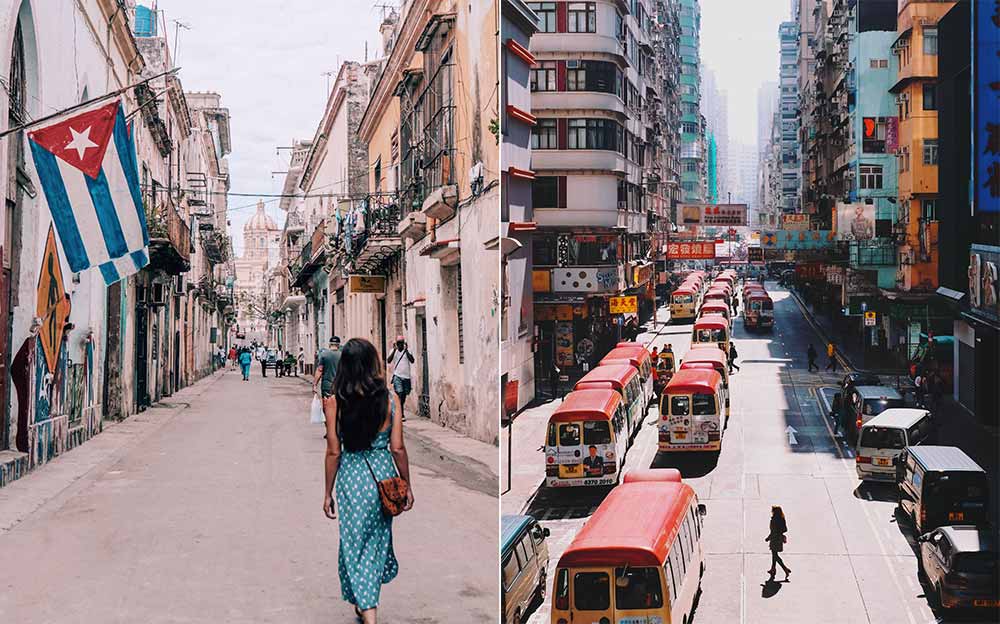
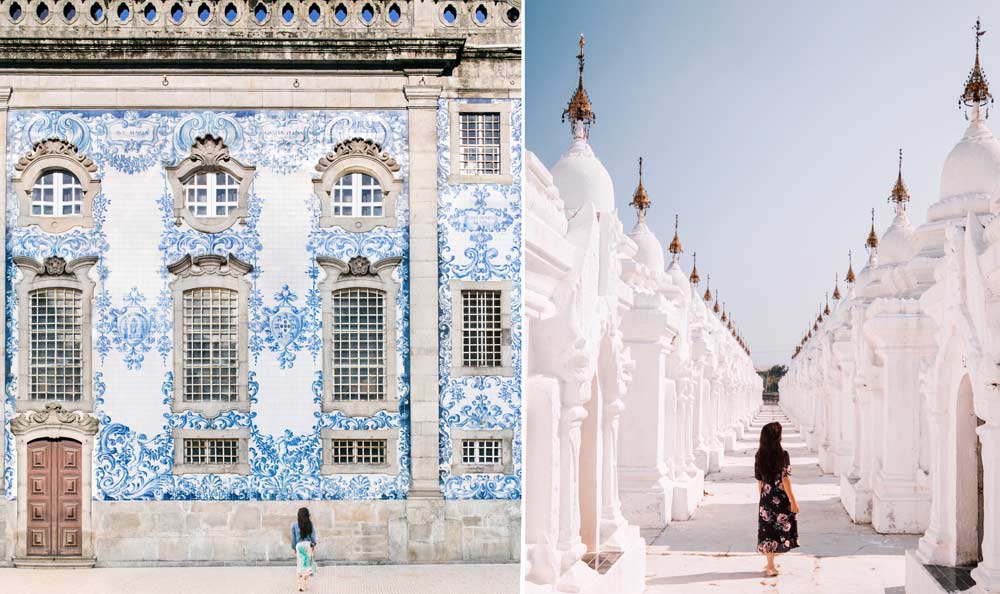
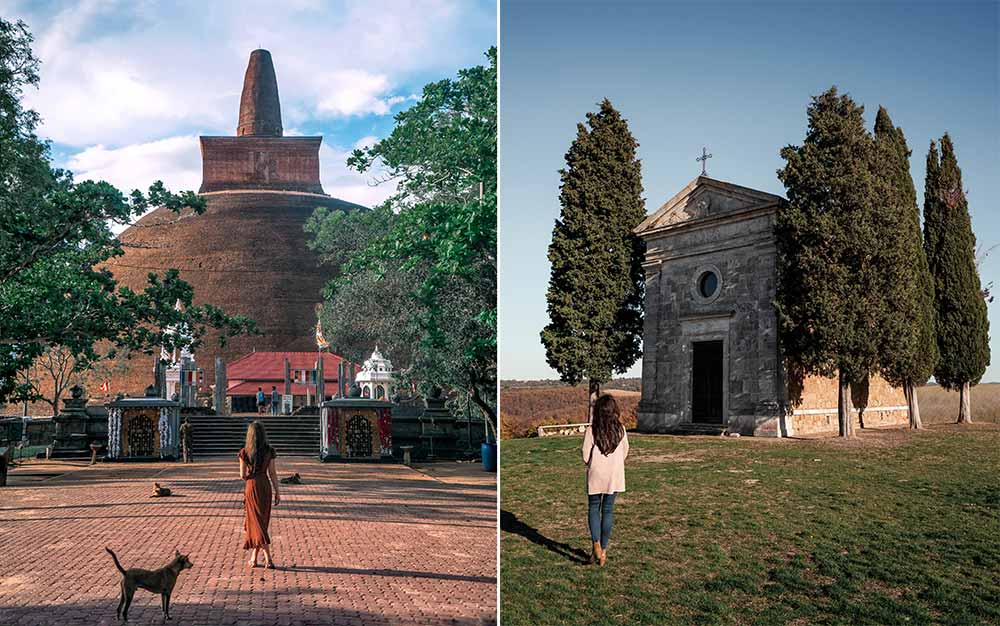
First up, framing. Look for the natural surroundings that effortlessly can frame the subject you’re shooting (whether it’s a person or a focal point). Foliage and arches can perfectly elevate a shot. Look for straight lines, symmetry, and negative space to make a photo pop.
Second, play with texture and movement. It’s the small details of a place that really make photos feel tangible and alive. So don’t forget to pick up on the lovely little things that are just as stunning as a sweeping vista. Look for textured walls, floors and tiles, street art, pops of color, the movement of hair or the hemline of a skirt.
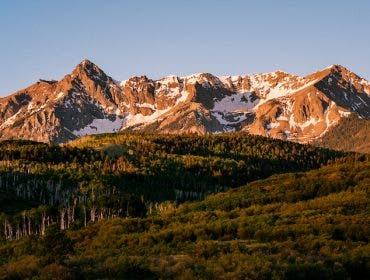
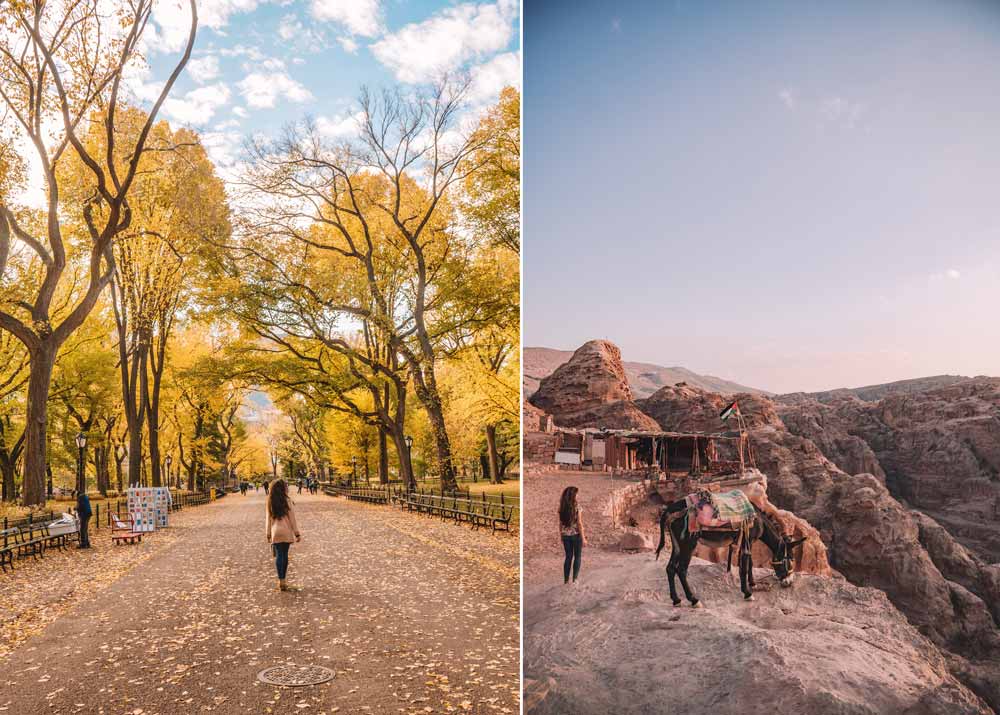
Lastly, do your best with lighting. If shooting in harsh, mid-day light, try to find a shaded area nearby. Perhaps change your itinerary so that you can be on-location during golden hour or twilight instead of in the stark, sunny day. If these options aren’t possible, adopt an experimental perspective on the situation. Play with the elements! See the harsh shadows as a more architectural, minimalist style of photograph. Stay flexible and curious!
3. Reimagine over-used shots
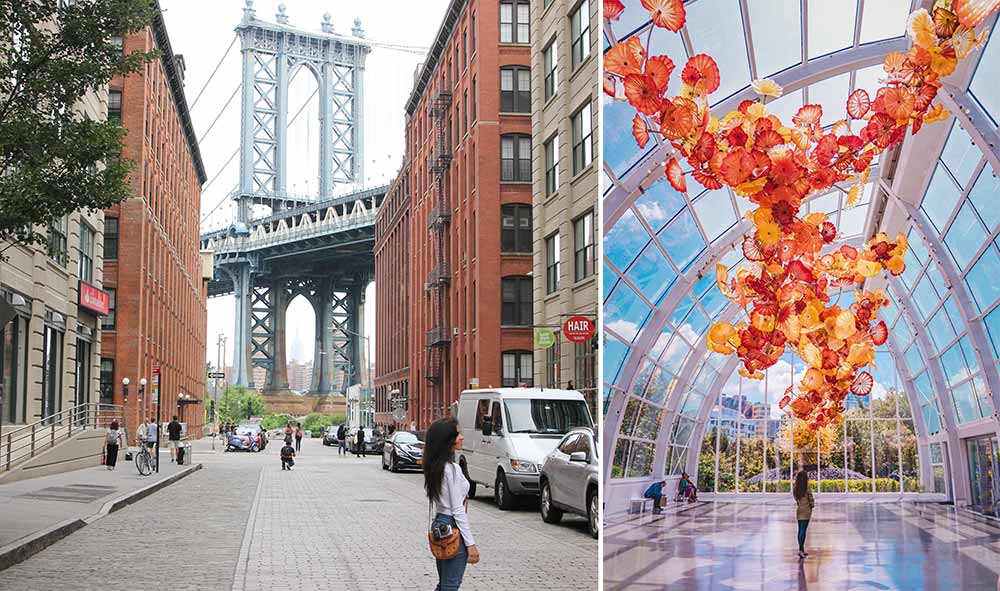
In our media saturated world, it’s very important to not recreate the same iconic image of a destination over and over (and over, and over) again. Sometimes it just takes a little more thought on how to take an image that’s been photographed thousands of times and put your own spin on it!
Remember to play with perspective by changing your viewpoint and shifting your angles. Shoot through greenery, from the hips or climb to a higher elevation for a different position. Use movement to show the humanity of a place, such as a blur of a bustling piazza or city street. Play up colorful details in architecture or in nature in your editing style.
It’s important to keep your photographs refreshing and new, instead of recycling the same shots over and over. So go a little step further, try some new ideas and spend an extra couple of minutes experimenting.
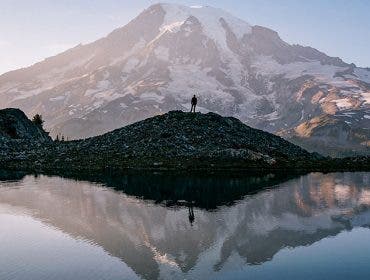
4. Get yourself a remote shutter & tripod… or be bold!
If you’re hoping to get yourself into a shot, invest in a great remote shutter and packable tripod… especially if you’re traveling solo. These two gadgets have saved me many a time! Be sure to set your self-timer for 10 seconds (or more) to budget enough time to get into frame.
Now, if you find yourself in the perfect shooting situation without your tripod or remote… don’t be shy. Trust me when I say, reading a crowd of travelers for the perfect person to shoot for you is a gift I’ve learned through first-hand experience. Approach a friendly looking family (always a safe bet!) or anyone who also has their camera out. It can seem scary to ask a request of a complete stranger, but I never feel too intimidated to ask a small family as a solo traveler.
Typically, I’ll show them on my display screen the perspective I like and where I want to be posed. Finally, I ask that they shoot five or six shots, just in case. From there, I’ll get into the correct spot and do a variety of poses just in case. It may seem a bit awkward, but you never want to miss a photo opportunity, right? And often times you can offer to shoot a couple photos of them in exchange!
5. Get out there early (or late)
It goes without saying, but often the spots that are most beloved by travelers are flooded with tourists by mid-day. And that’s why its crucial to time your shoots around peak hours. Do a quick Google search of your location and you can see the hours most heavily visited by tourists… so helpful!
Don’t forget to time your visit around the available light. I love shooting during golden hour — the perfect, dreamy lighting right before sunset or sunrise. Often times, this is when tour groups are leaving popular sites too. Win-win! If you’re feeling iffy about the crowds, don’t be afraid to set your alarm early in the morning or wait out groups until near closing.
I hope you enjoyed these tips. Solo photo trips can be intimidating, but I’ve found so much satisfaction and empowerment from adventuring on my own. Happy shooting!