Budget is the primary concern for a beginner wildlife photographer. I agree that a $3000 lens improves your chances of a good shot significantly more than a $1000 one. However, I don’t agree that having an expensive lens is the ONLY path towards amazing wildlife photos. So, read along and watch this video after. I am going to reveal five hacks that can improve your photography. Yes, regardless of whether you use a budget wildlife lens or an expensive one.
Hack #1: Get Close Enough So You Don’t Have to Crop Your Photos in Post-Processing
A budget lens will never be as sharp as a top-line one. It’s the undeniable fact that supports the myth. As a result, when taken with a budget lens, your photos will look softer, less sharp, and less detailed than the ones taken with an expensive lens.
In addition, when you photograph wildlife from a distance, you often need to crop the images in post-processing to achieve a better framing and make the subject stand out. If you took the photo with a budget lens, this additional cropping will make the image look even softer, to the degree that the lack of sharpness ruins the photo entirely. Under these circumstances, my advice is to avoid cropping altogether.
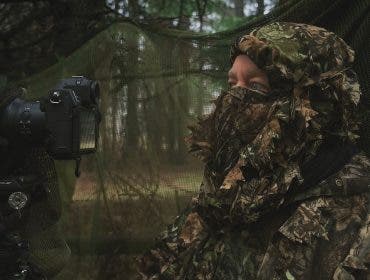
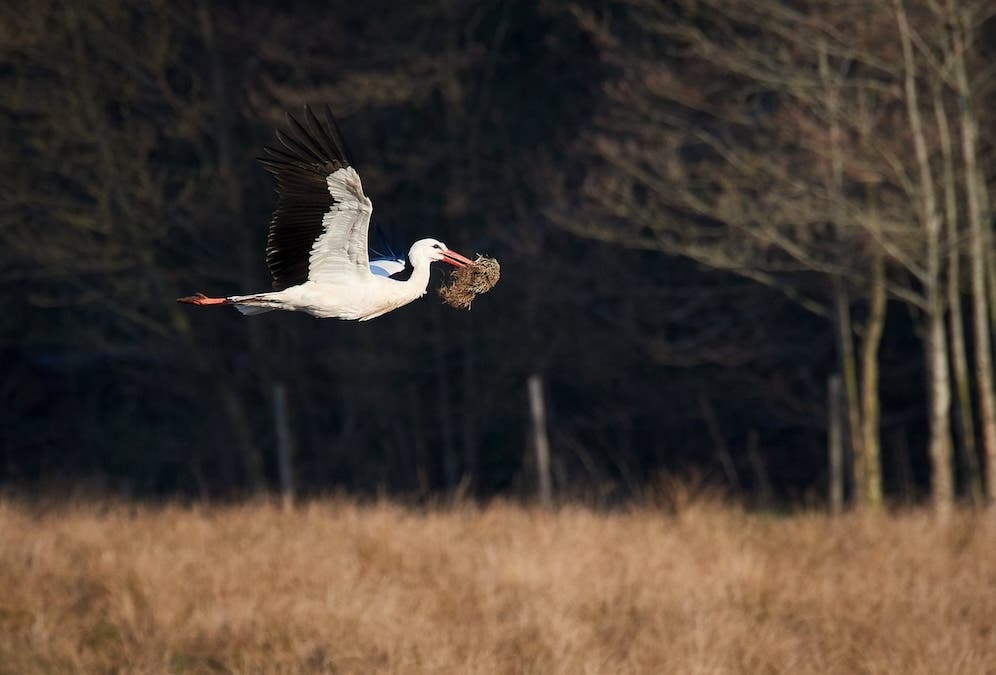
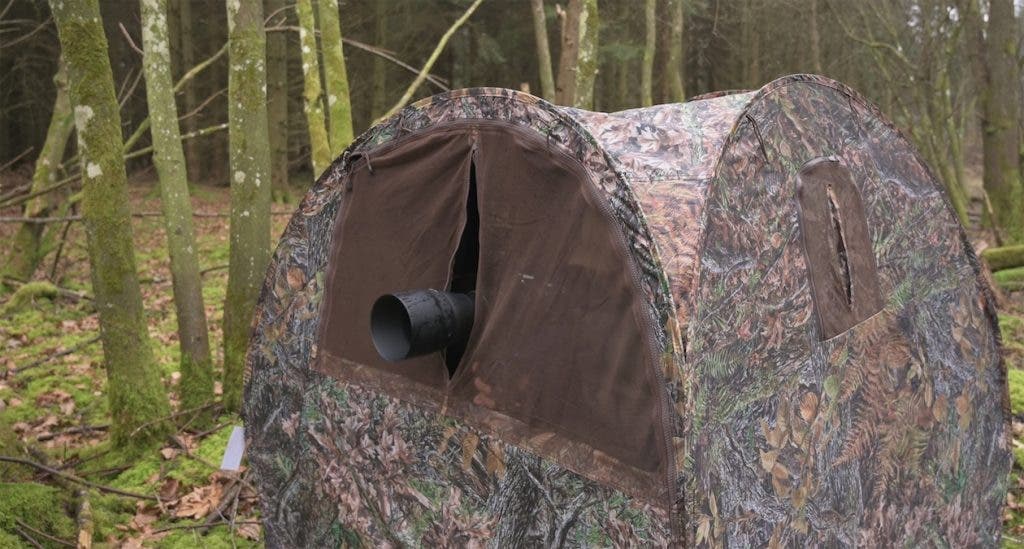
The obvious hack for avoiding cropping is to get closer to your wildlife subject than you would normally do. I know, it’s not easy, and it may require using a hide or camouflaging yourself, taking a scouting trip to find the most suitable places for your photo setup, and researching the animal behavior to the point you know exactly what to expect of them.
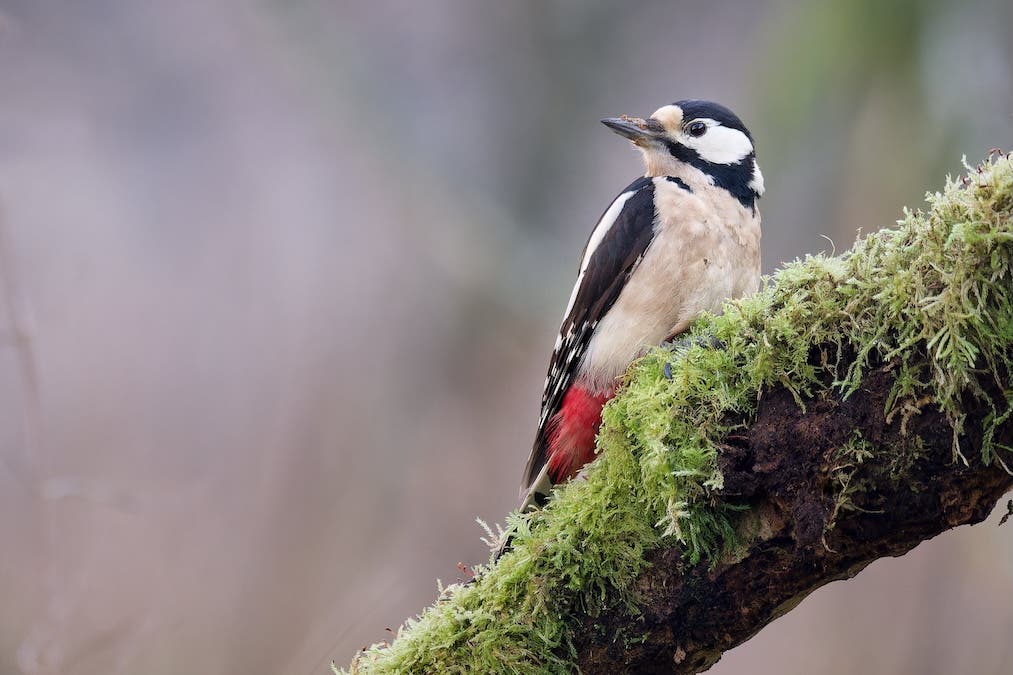
Once you know the best camera-subject distance for your lens, you can set up the hide in a favorable position. For instance, you can install the camera at 8-10 meters from a clearing or a dead trunk on which you put bird seeds. I love the moss-covered trees.
To minimize post-processing actions, consider the light characteristics when setting up the hide. I tend to photograph using backlighting and side lighting, so I take into consideration light direction at the time of day I plan to take photos, as well as its intensity and color. I also make sure that the light will actually reach the spot I chose, so nothing comes between the sunlight and the subject (e.g., branches, leaves, etc.). It may take some time to find the perfect spot, but I assure you it’s worth the trouble.
Hack #2: Find Your Budget Lens’s Sweet Spot
Budget-friendly wildlife lenses come in a diverse price range. Also, it’s hard to pinpoint the maximum price of a lens in this category. Some argue that a budget lens should be under $500-$600. However, the truth is that most telephoto lenses are more expensive than that. So, anything under $1,000 counts as a budget lens, although one can’t consider it cheap. As long as the lens is much more affordable than any native lens and other comparable telephoto lens options, you can consider it a budget lens.
With that in mind, remember that price is not always a good performance indicator. Even if your lens seems expensive, if it is in the low end of the range, it will have its limitations. My old Tamron 150-600mm f/5-6.3 Di VC USD G2 lens* has them, for sure. But it is still capable of taking great photos with the right settings and in the right conditions.
*Tamron has updated this lens: Tamron 150-500mm f/5-6.7 Di III VC VXD Lens for the Nikon Z system. Additionally, it is available for FujiFilm and Sony E.
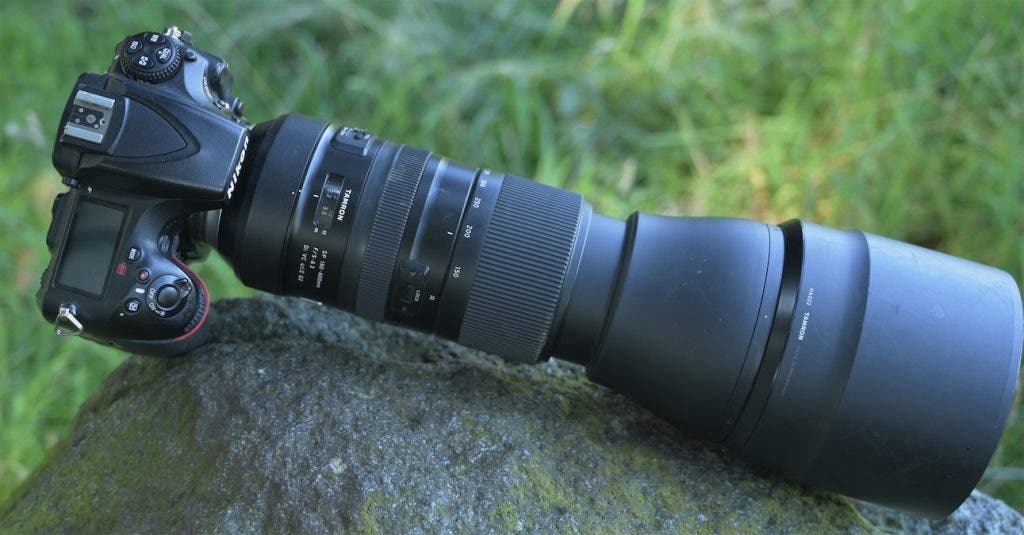
The main disadvantage of a budget lens is, as I said, the lack of sharpness. However, they are more likely to have poor performance when you shoot wide open, meaning at wide apertures (i.e., low f-numbers). Thus, you must find the sweet spot of your lens and swear by it. For my 150-600mm lens, the sweet spot is f/8. This is the aperture at which my lens produces the sharpest image. The difference between photos taken at the sweet spot and photos taken wide open is huge, so don’t ignore this hack.
Nevertheless, shooting at a narrower aperture means you must fiddle a bit with exposure and depth of field. You may need to slow down the shutter speed, increase the ISO value, and thoroughly think over focusing and framing. Which takes us to my next hack for shooting with budget wildlife lenses.
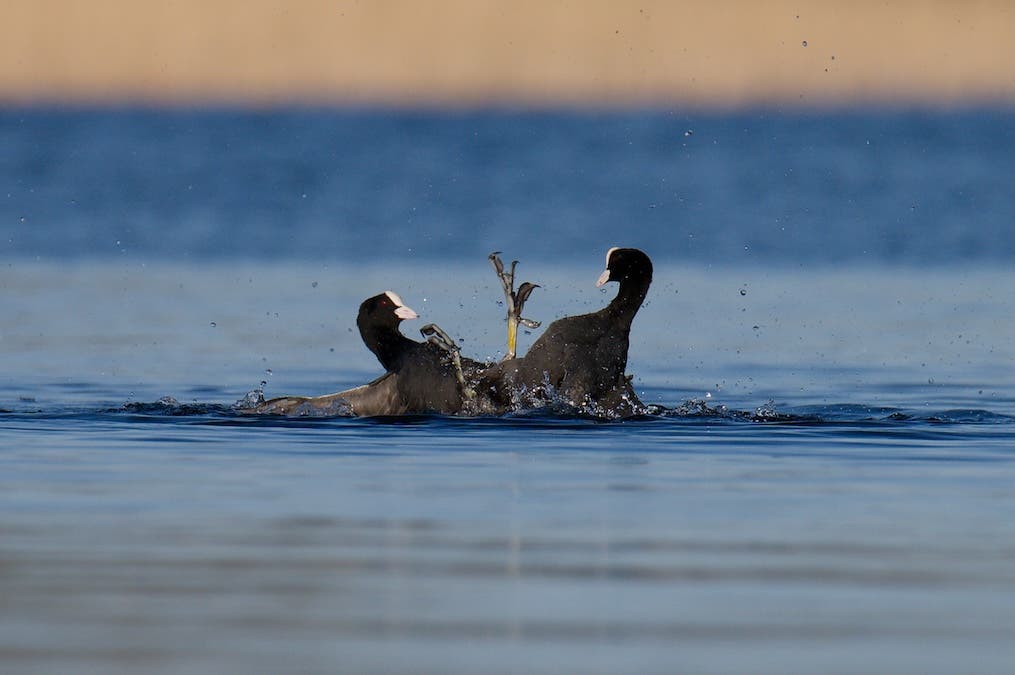
Hack #3: Choose the Background Mindful of Your Lens’s Shortcomings
Mindfully choosing the background is something you should do regardless of the lens you use. It’s not negotiable. But it is even more important when you use a low-end lens. The background has to work when shooting at your lens’s sweet spot, f/8 in my case, and not any background will work at this aperture. Depth of field increases when you close the aperture, which means the background will be more in focus. You don’t want that for wildlife photographs because it will distract the viewer’s attention from the main subject.
To compensate for the narrow aperture, you need to increase the distance between the subject and the background. As you can’t ask animals to pose where you need them to be, you must give a lot of thought to where you set up your camera. For example, I need at least 10-15 meters between the subject and whatever objects will constitute the background to make sure they are out of focus at f/8. During my scouting trips, I take measurements. You do your own calculations and practice setting up the scene as much as selecting camera settings because it makes all the difference.
Hack #4: Use Editing Software Particularly Good at Removing ISO Noise
Whether you like it or not, you will end up shooting at higher ISO values with a budget lens. It’s the only way you can fight the lack of sharpness and benefit from the sharpness of the sweet spot. You can’t always shoot on bright sunny days and rely on a 100 ISO setting. However, if you shoot with a budget lens, you might also have a camera that is not in the top range. These don’t perform very well at high ISO settings. They add a lot of what is called ISO noise, a grainy effect that ruins the most beautiful images.
Back in the day, ISO noise would have been a deal breaker. But nowadays, we have advanced software able to deal with it instantly and automatically. Besides, editing software is cheaper than a high-end lens. And you can use it for multiple purposes, not just eliminating ISO noise, so I think it’s a good investment.
So far, I find DXO PhotoLab to be the best editors for removing noise. However, Lightroom has also come a long way in helping with noise issues.
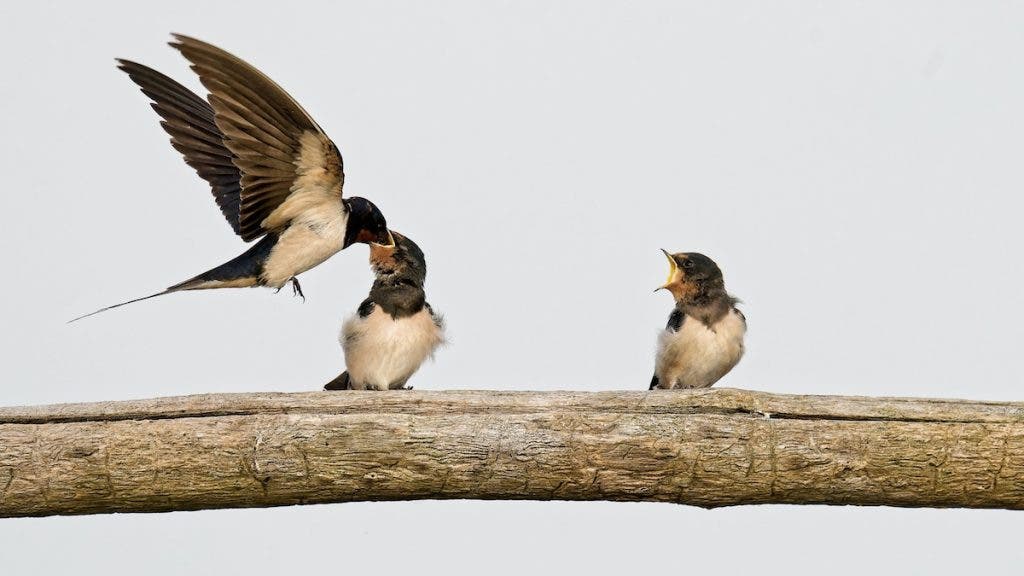
Hack #5: Focus on Storytelling
There is a straightforward hack to take your wildlife photography to the next level, and that is focusing on storytelling. Don’t get me wrong, it doesn’t mean you can forget about sharpness, exposure, depth of field, background, and everything else, but a compelling narrative and a well-balanced composition have the power to transform a basic shot into an amazing one. Make the most of the scenery within your camera’s and lens’s possibilities, and then focus all your attention on telling the story.
Wildlife photography means much more than beautiful portraits of animals or environmental shots. It encompasses connection, awareness, curiosity, caring, and compassion. You are gifted these unique encounters and have the responsibility to respect the welfare of the animals and teach others how to do it, too. You are there to tell their stories most authentically, not to get yourself the next award-winning shot. So, yes, do your best when it comes to technical stuff, but do even more when it comes to soul stuff.
Final Thoughts
I truly believe that getting amazing photos with a budget wildlife lens is possible. For me, the checklist includes finding the sweet spot of the lens I use, avoiding cropping by learning to get close to animals, background selection (making sure I maximize the distance between subject and background), lighting design, using powerful noise reduction software, and putting my best foot forward with storytelling. A budget lens doesn’t give you an easy path towards great wildlife photos. However, if you see its limitations as opportunities for growth and learning, you will end up a much better photographer and storyteller than you ever imagined.
Watch my video to see how I choose the location and install my photo setup, what camera settings I use, and what I keep in mind when implementing the five hacks you’ve read about. Nothing explains it better than seeing for yourself.