In this article, I will discuss some lighting kit options for the general category of PORTRAIT PHOTOGRAPHY. To choose to make portraits as your main area of expertise is to learn to master making your subjects comfortable in front of the lens while ensuring all the technical parts of the process happen seamlessly and do not distract from the moment at hand.
While there are many types of portraits, one thing that is generally true about them is that the goal of the photographer is to produce a flattering image of his or her subject. With that in mind, I will suggest lighting instruments and modifiers here that are designed to create soft, beautiful light.
These articles will be written at a semi-advanced level, so I will not be explaining in detail what aperture/shutter/ISO are, I recommend you check out these great resources from Adorama if you need a bit more info or to brush up on terminology.
- Learn more about exposure basics in this article by Dawn M. Wayand.
- Learn more about the “Exposure Triangle in Practice” in this video for AdoramaTV by Mark Wallace.
Portraits Lighting for Under $1000
A good starting budget to step into professional portrait work is around $1000 for lighting. Of course for as little as $500 you can get something going (check out my previous article) but for $1000+ you will have far more choices and can step into gear and brands that potentially can last many years.
By choosing to purchase “higher end” gear, you are making an investment that will last as accessories and brand-specific light shapers will almost always be compatible with the top end of the product line and future versions of their product. For example, a Profoto zoom reflector bought 20 years ago still fits and works with the current Profoto line.
As I mentioned in the last article, having some lighting is better than having none, so if you cannot put together the $1000 before you need to start lighting, you can always buy the individual pieces of a kit as budget allows, though in the long run this will certainly be more expensive.
I’ll offer two suggestions here: the first will be a two light kit from Elinchrom complete with everything you need to get started in the box. The second, I will put together a single light kit a la carte from Interfit, Phottix, and Kupo.
Let’s start with a kit:
Buying your lighting as a pre-packaged kit has several advantages, the first being that a kit typically comes with everything you’ll need to get going. There will be (in most cases) no additional costs to get going and you won’t set up for your first shoot and see you are missing a vital piece of equipment. Second and maybe as important is you tend to get a better deal or more for your money with a kit.
For this budget range, I like the Elinchrom D-Lite RX 4, 4 Softbox To Go Kit. This two-light kit includes the lights, softboxes, stands, radio trigger, and carrying cases—basically everything you need to get going. If you don’t already have one, adding a reflector like the Westcott 40” Silver/White reflector would round this kit out.
The D-Lite RX 4 kit comes with two types of softboxes: a square 66cm which is a great “standard” shape box used as a key light for portraits or even a nice hair light. The second box is a 56cm octagon-shaped box great for a beauty-style key light. Elinchrom is a Swiss company with a long history in the flash market and the D-Lites are the entry into their brand. If you plan on expanding, adding lights to your system from their professional line that includes more rugged and powerful studio strobes as well as battery powered options is simple, and your radios and other accessories will work with most other Elinchrom systems.
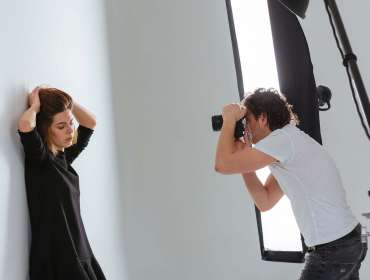
To illustrate some of the looks you can achieve with this kit, I brought Marisa in and we set up some simple portraits. I will use the following terms in this article for explanation purposes, let’s run through them.
- KEY – This is the primary light on your subject. In the case of a portrait, the main light source setting the exposure for good skin tone.
- FILL – This light source is used to brighten or “fill” in the shadows on your subject (typically these shadows are created by the key).
- SEPARATION – This is a light used to help create the feel of three dimensionality and give your subject separation from from their background; often called Kicker, Hair Light or Back Light.
- BACKGROUND – This is the light that is exposing what is behind your subject.
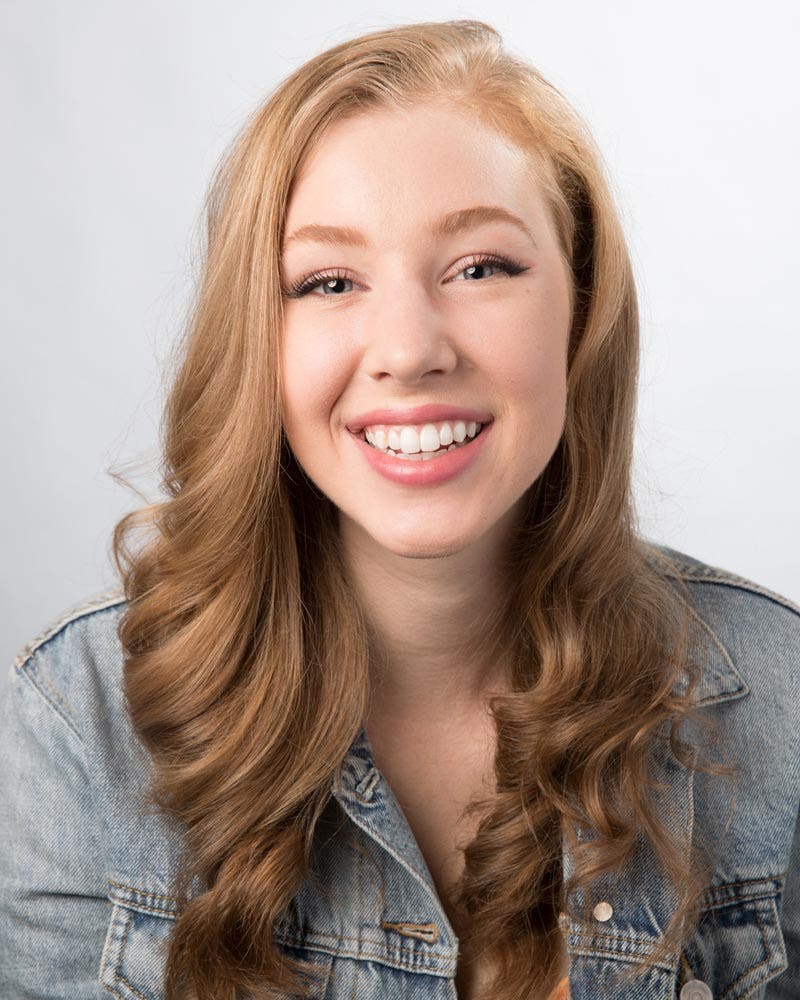
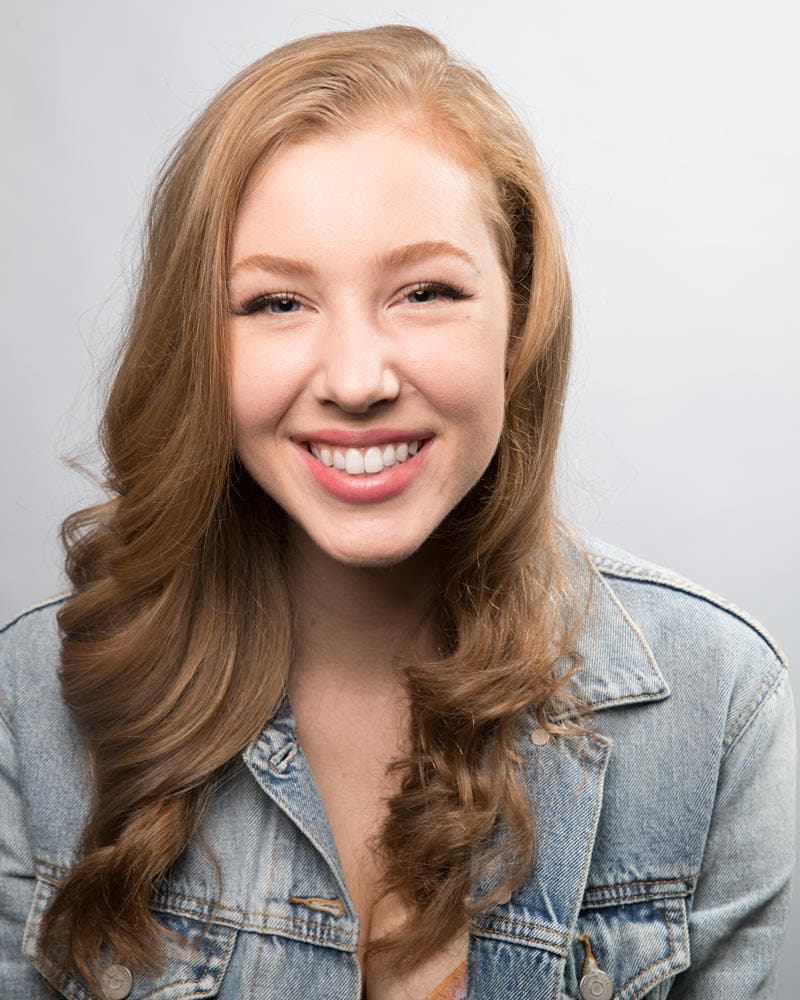
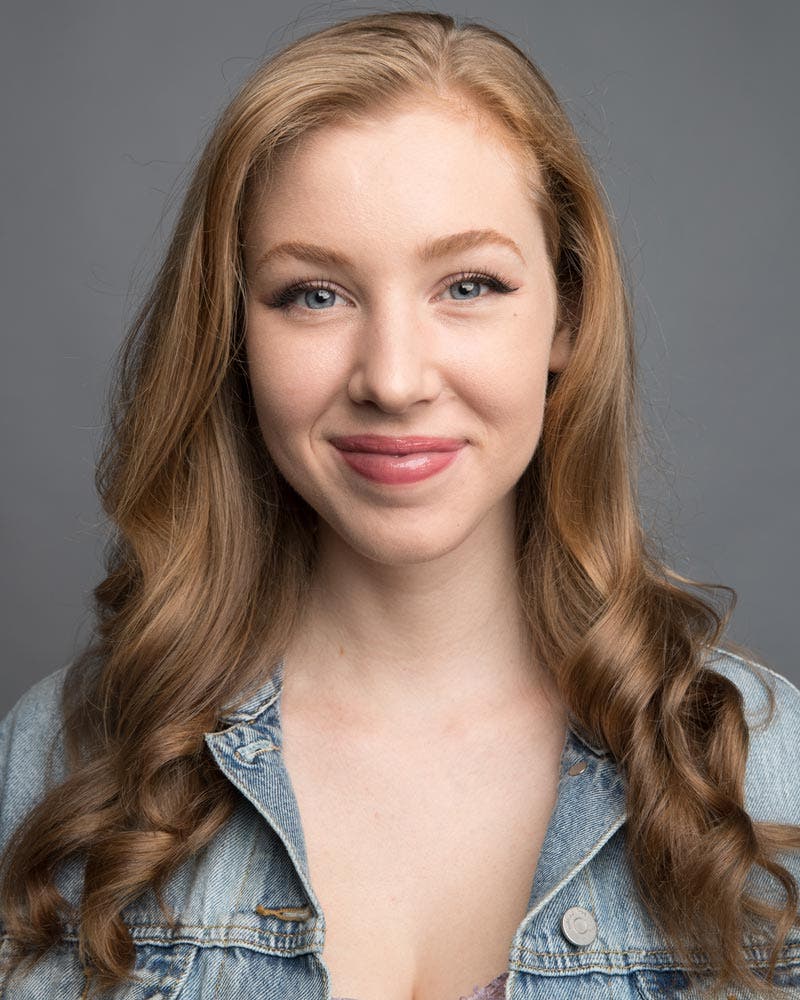
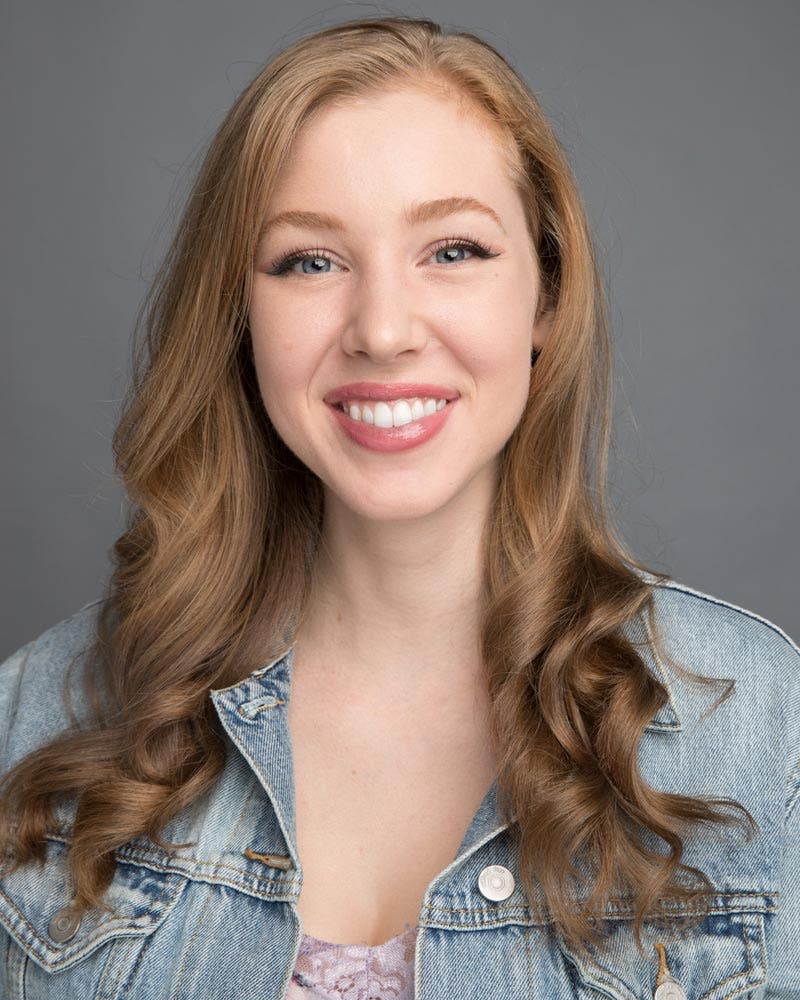
Back to Marisa! In [Image 1] I have placed the octagon softbox to camera left creating a key and the square softbox is being used to illuminate the background. As an option, in [Image 2] I have added a reflector to camera right to fill the shadows.
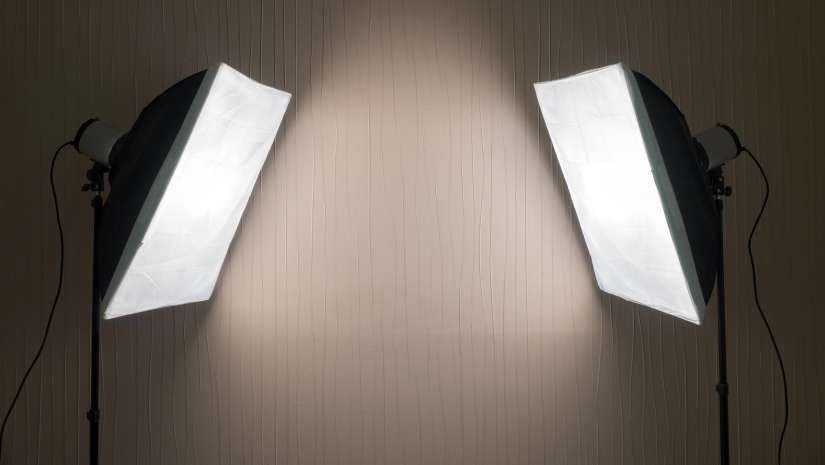
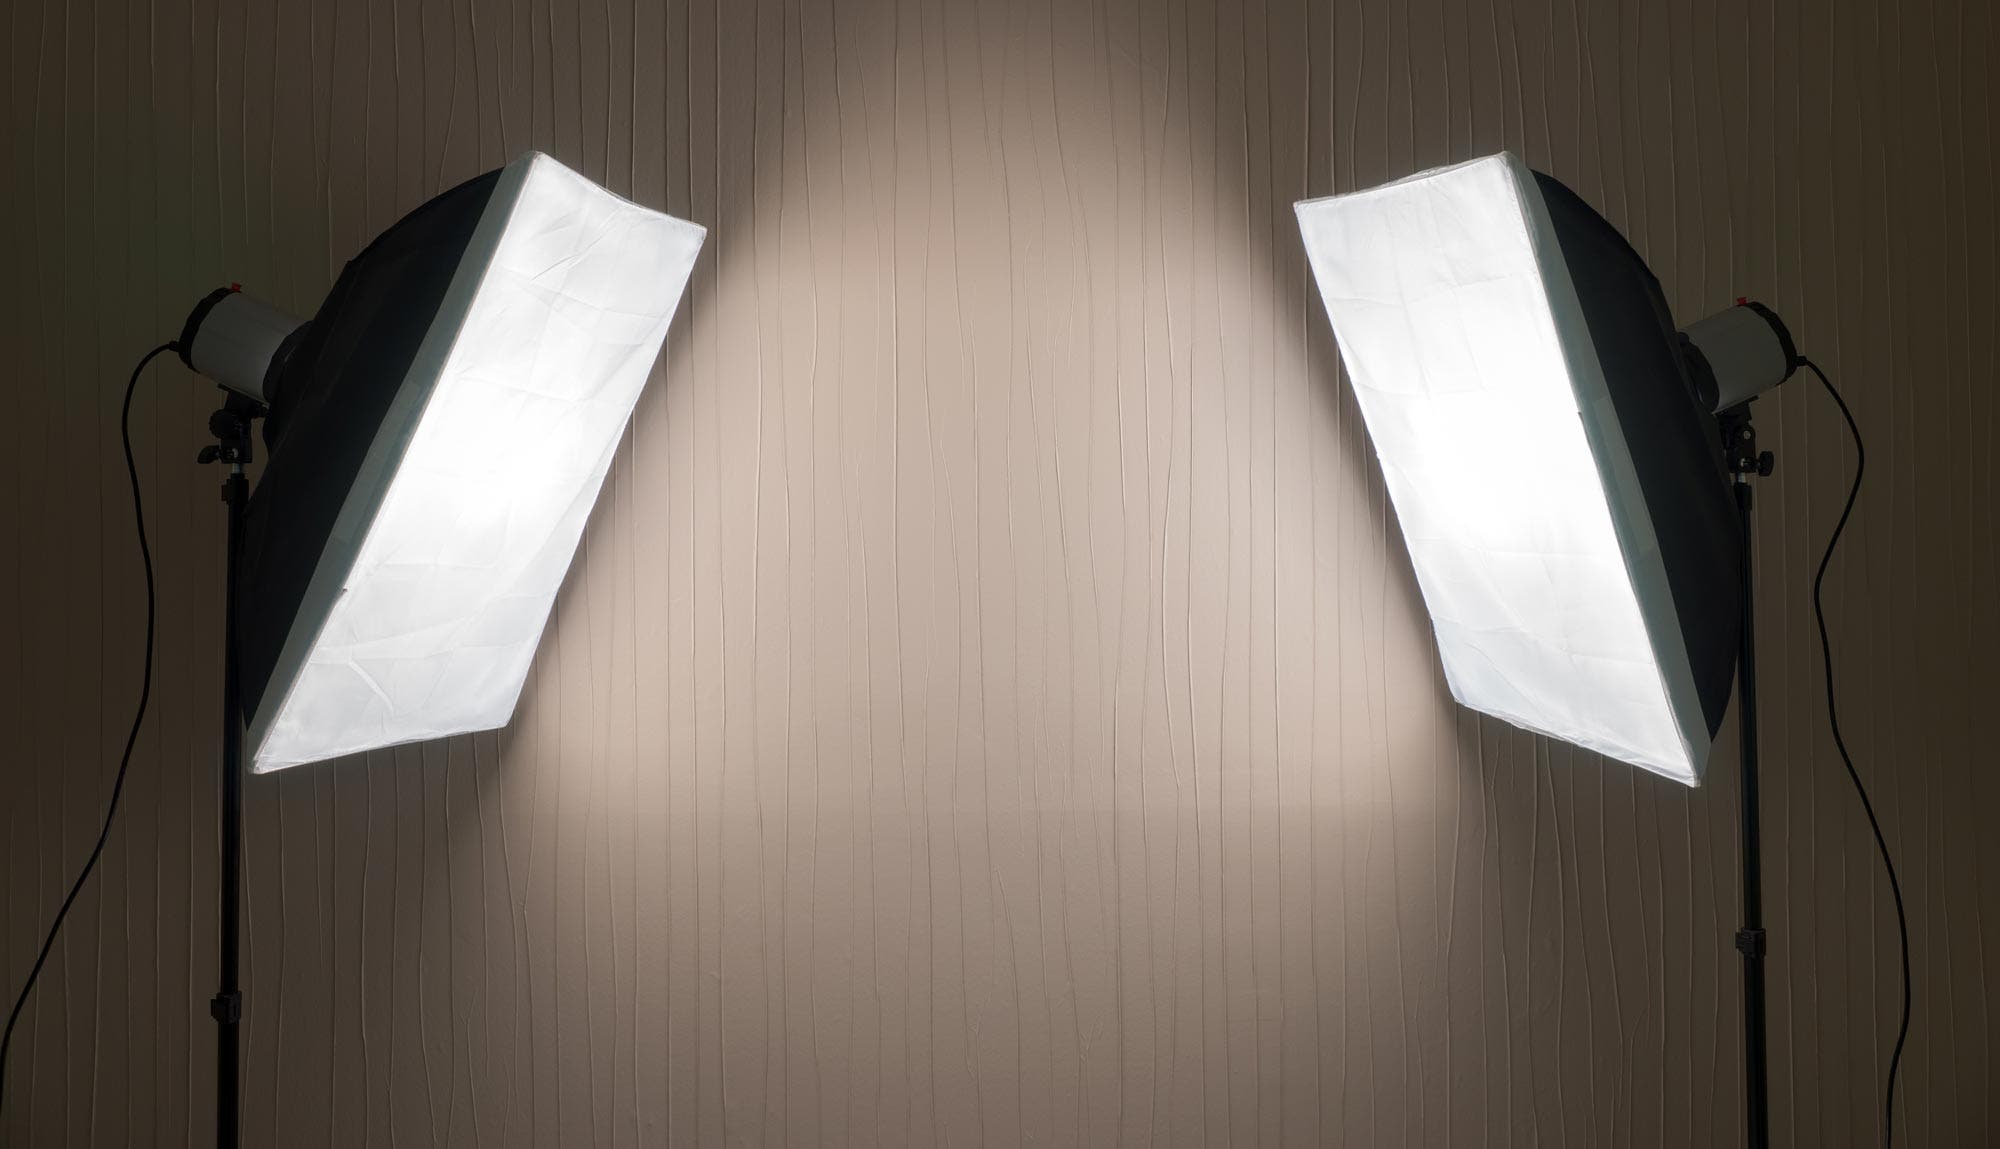
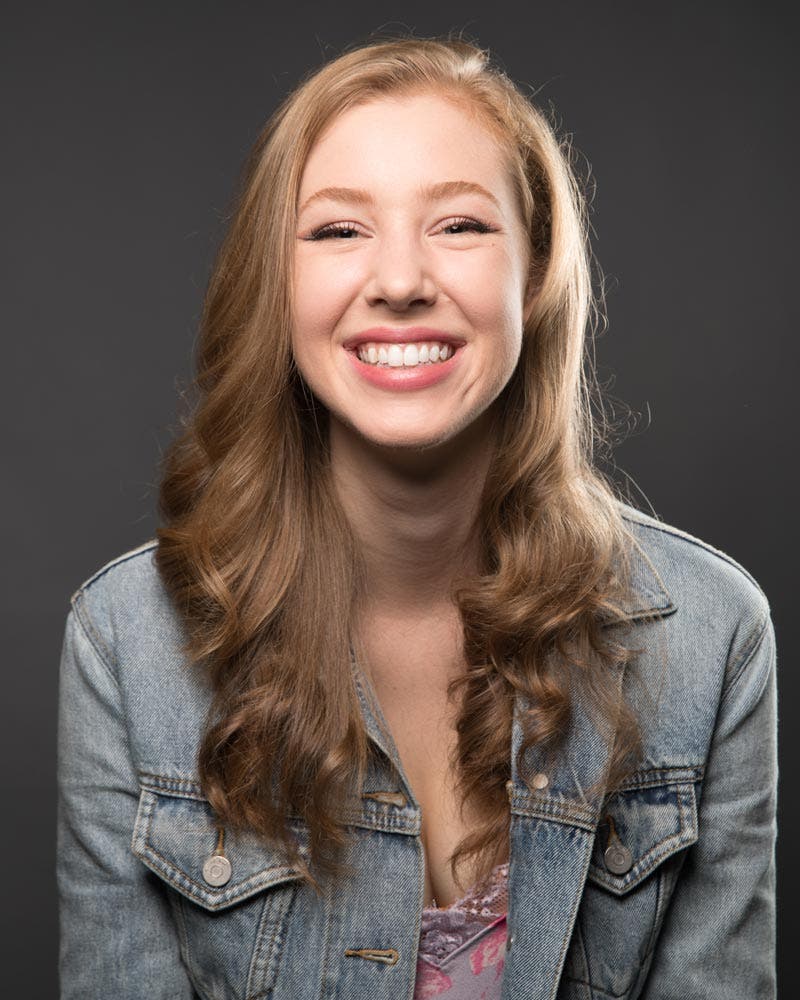
Since we are working with a relatively small octagon box, I often try to center it on my subject vs the 45-degree position in the first setup. So, in [Image 3] I moved the octagon key to the center as much as possible and kept the square softbox the same, lighting the background.

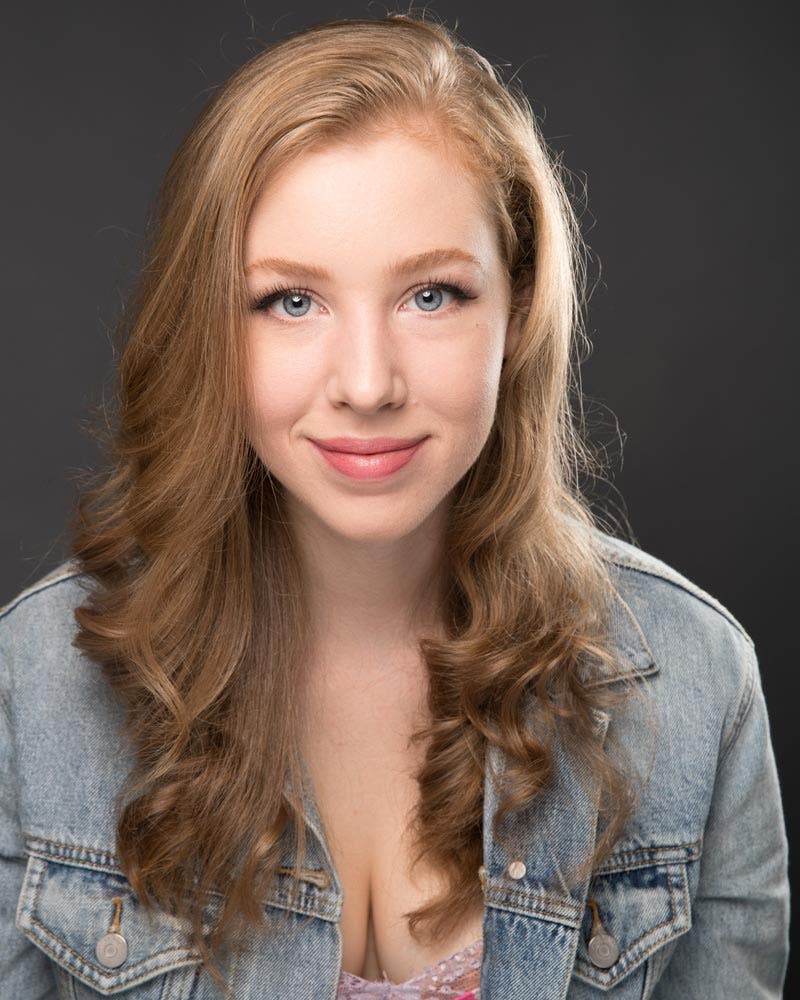
Finally in [Image 4] I added a reflector to fill in the shadows, all in all creating a nice beauty-style look.
In order to add some drama to the session for [Image 5], I moved the square softbox around behind Marisa as a separation light and kept the octagon in the front centered as the key.
Finally, as before, finishing the setup by adding a reflector to fill the shadows in [Image 6].
As you can see, when working with two lights, you’ll often find yourself setting up key/background and key/separation type setups, and adding a reflector for fill is often a good idea.
Build your own lighting system:
Building your own kit as noted above can, in the long run, cost a bit more than a pre-packaged kit. However, for those who do not want or need what comes in a standard kit this is the way to go. Since I’m creating a one-light kit here, I’ve decided to go with a nice big source that can make just about anyone look great.
Many photographers have discovered that the “really big” softbox is an incredibly versatile modifier and one that can be used for many different portrait setups. With that in mind, I have chosen the Interfit Photographic S1a 500Ws AC Powered HSS TTL Monolight coupled with the Phottix 59″/150cm Hexa-Para Softbox.
As this is not a pre-packaged kit, I added a few accessories to finish off the combo. A Glow Grand Softbox Speed Ring Adapter for Bowens is used to to build the Hex-Para and connect it to the strobe head, and a nice strong C-Stand from Kupo to hold this large modifier up while an Interfit Photographic TTL-C Remote for Canon Camera (as I was using Canon) is used to trigger my flash.
In the previous article, I spoke of using a single light and mixing the flash with your environment. All of those techniques work with this light as well.
In addition to that, one of the great things about such a huge light source is it can cover a large area. Thus, the light acting as a key on your subject can wrap around enough to light the background a bit as well. Using the distance-to-subject-to-background ratios explained in this video will help you control this exposure. You can also bring the light close enough to your subject to eliminate the need for fill.
As always, adding a reflector to you kit is not a bad idea. You may find this light to be so gentle, the reflector will only be used when you try some more unconventional lighting positions or for close portraits.
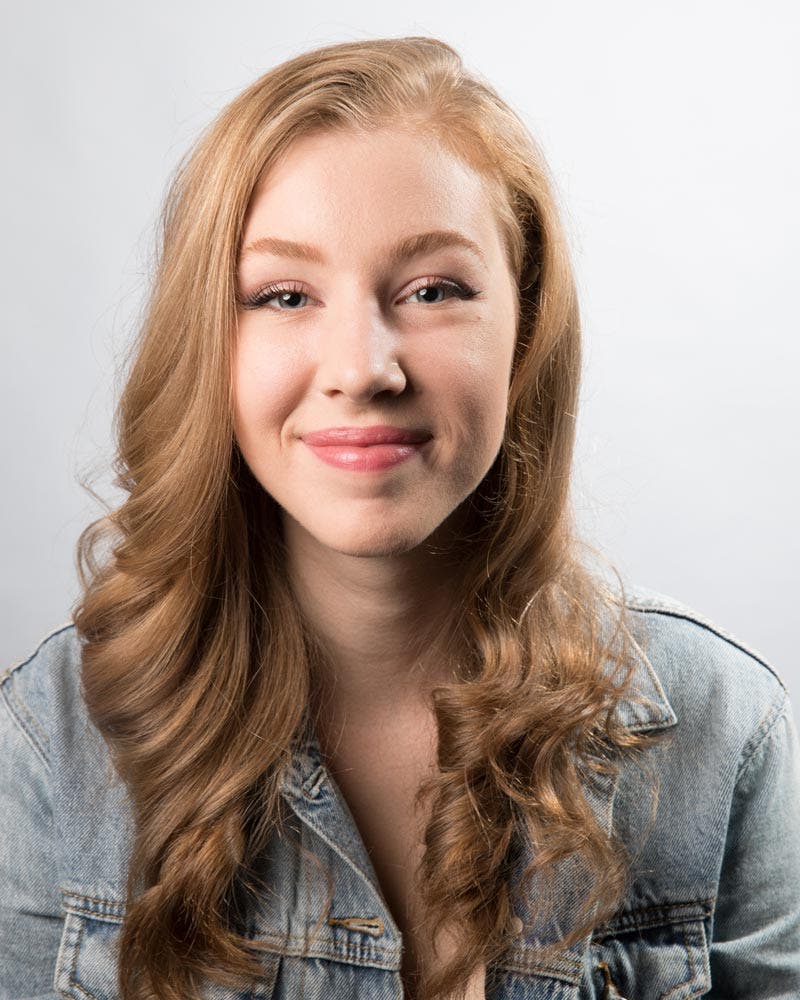
As you can see in [Image 7] Marisa is very nicely lit and the background is a medium grey (which is only slightly darker than the actual paper color) All this with a single key Light. As I was moving in close for a portrait, I decided to add a reflector in for the final shot [Image 8] and you can see how it helps even out the little shadow that does exist in the shot.
With either of these kits, you are making an investment in your photography future. Both options come from brands with extensive lines, so adding gear and replacing worn or outdated modifiers will not be a problem. Both of these brands offer a variety of specialized light shapers that will allow you to create more and more looks as your kit and experience grow.
That being said, at this price point, you are at the edge of professional—just stepping across the line if you will. With a larger budget you might well be advised to read the next article in this series to see if the benefits of a $2500 or more kit make it a better fit for your business.