Your camera’s drive mode is the equivalent of the gear shifter in your car. Just like how you can switch your vehicle between drive, reverse, and neutral to control what happens when you push the accelerator, the drive mode in your camera controls what happens when you press the shutter button. And depending on what type of photography you do, you may find yourself switching between drive modes quite frequently to capture the desired image. In this short article, we’ll explain each of the most common drive modes and when to use them.
How Do I Change Drive Modes?
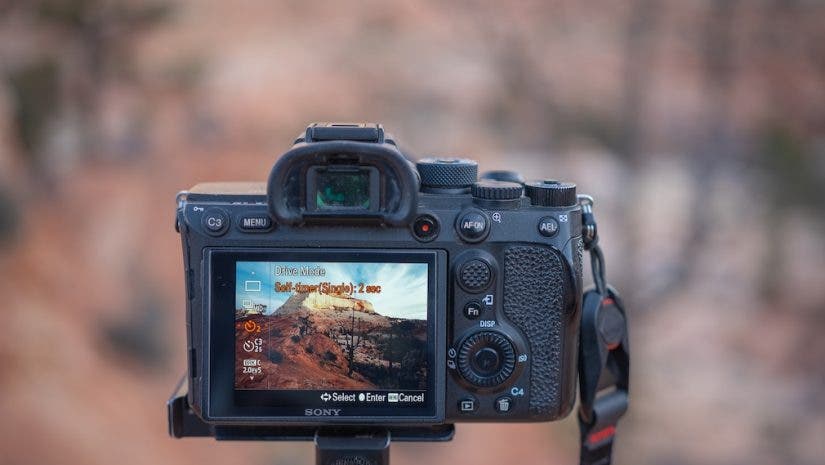
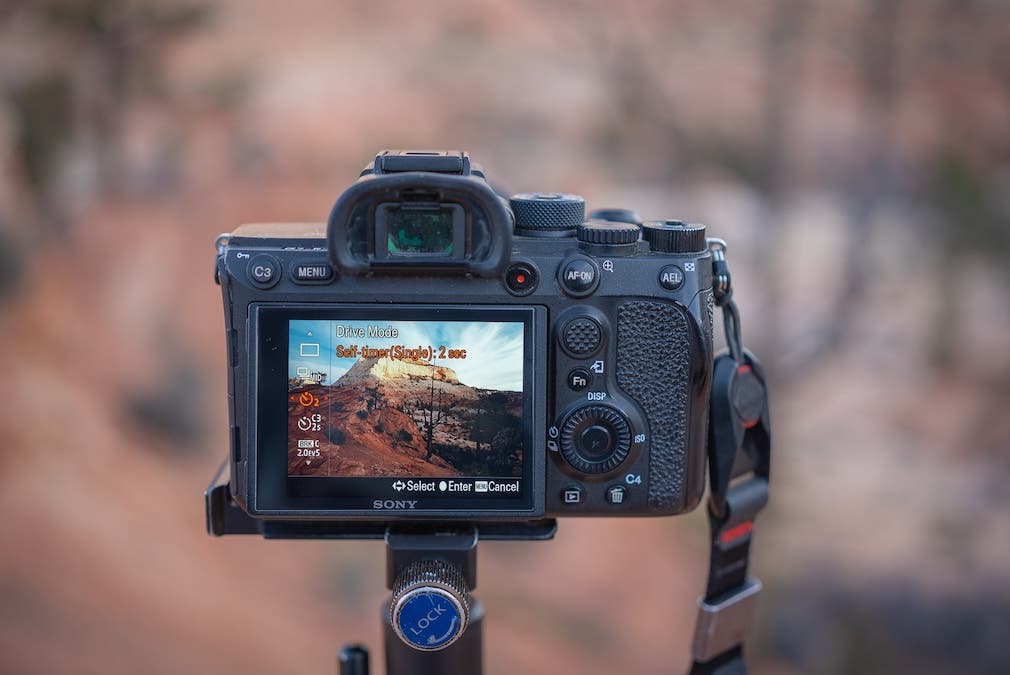
Most cameras have a preset custom button that lets you quickly access drive mode. If not, use your camera’s Function or Information button to access camera settings. From here, you should see the option to change the drive mode. This is how to easily change the drive mode on your camera.
Different Drive Modes Explained
Single Shooting
This is the standard drive mode for shooting single images. A single press of the shutter captures an image at the exact moment you press the button. This is perfect for times when you want to capture one image at a time. All with no need for burst shooting in a hurry.
Continuous or Burst Shooting
Similar to single shooting in that an image will be captured as soon as the shutter is pressed. Except that the camera will continue to take images if you hold the shutter down. Many cameras offer continuous shooting options at low, medium, or high speeds, allowing you to increase burst speed. A low burst mode is ideal for posed portraits, while a high burst mode is better suited to quick-moving wildlife. Remember that the faster the burst, the more images you’ll capture. This means you may hit your camera’s buffer sooner and have to wait to take more images.
Self Timer
The Self Timer waits a set amount of time before firing the shutter after pressing the shutter button. This is perfect for photographers shooting on a tripod who want to avoid any camera shake from pressing the shutter, or for those who want to be in the photo they are taking. Most cameras offer 2-second (best for avoiding camera shake on a tripod) and 10-second (best for photographers who want to be in their photo) timers, and many also have a front-mounted light that indicates the timer is running.
Exposure Bracketing
If you’re shooting a scene with very high dynamic range, it can be a challenge to properly expose the whole scene. That’s where exposure bracketing comes in. Exposure bracketing allows you to take a set of images at different exposure values, which can then be merged together later in post-processing. Within the exposure bracketing mode, you can usually choose how many images you want to take and how much each image should vary in terms of exposure value.
While each camera may have slightly different drive modes, almost all modern cameras offer some version of these four modes, which are by far the most commonly used and needed. Having your camera in the right drive mode is often the difference between getting the shot and completely missing it, so make sure you understand what each drive mode does, when it’s ideal to use each one, and how to quickly switch between drive modes if you want to capture the best images in the field.