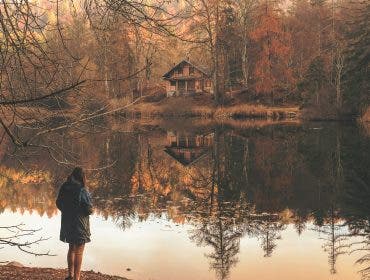
A lot of people think that photographing greenery sounds easy. Let’s be honest: photographing greenery sounds easy. Trees don’t blink, you don’t have to tell leaves how to pose, and plants don’t really ask to see previews. But anyone who’s ever tried aiming a lens at a group of ferns or a sunlit canopy knows the challenges of shooting greenery.
Colors can change at the snap of a finger, compositions can get messy, and a lot of things can go wrong during the shoot. So let’s break down the five most common challenges of shooting greenery and how to overcome them easily!
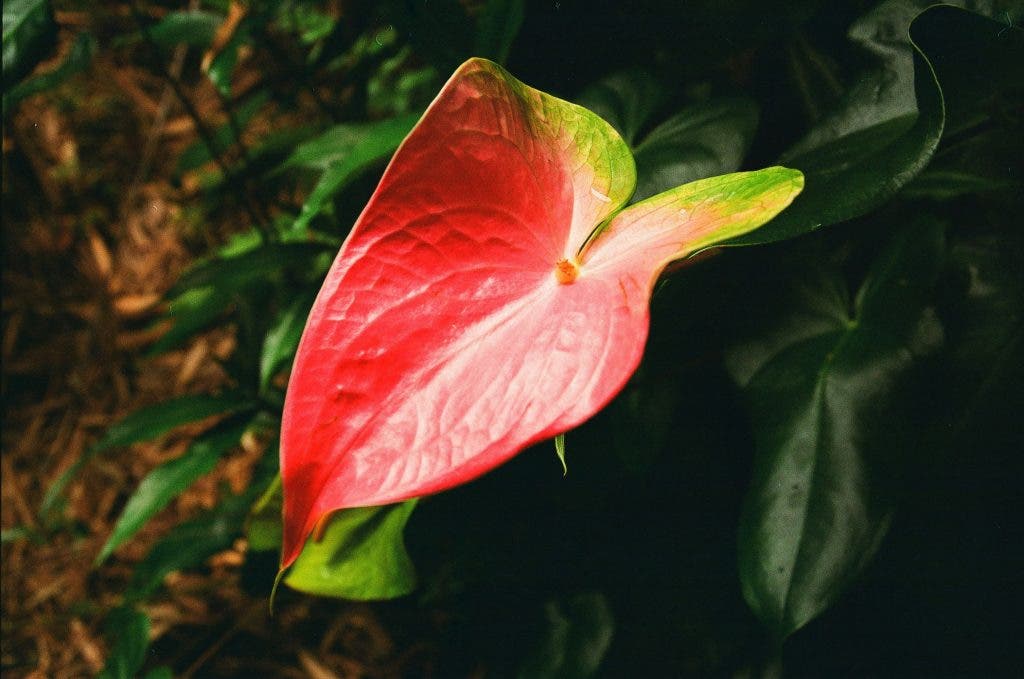
1. How greenery plays tricks with shadows and sun
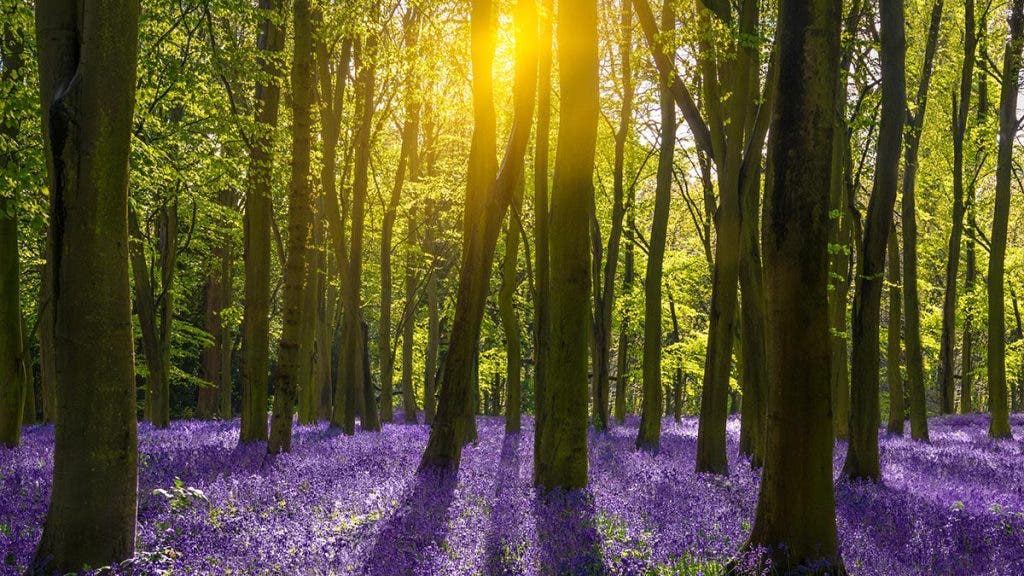
One of the most persistent thorns in a nature photographer’s side is the issue of lighting — especially when you’re dealing with greenery. Plant life has a funny way of scattering sunlight in unpredictable patterns. You’re either dealing with blown-out highlights on waxy leaves or deep, detail-eating shadows under bushes.
What’s even worse is when you’re shooting under the midday sun. It’s like an overhead office light that you can’t turn off or adjust — it’s flat, unflattering, and makes the photo look too harsh. In a studio, it’s easy to adjust these things. But when you’re shooting in nature, there’s only so much that you can do to make the shot look half-decent!
To tackle the first of the challenges of shooting greenery, plan your green excursions around the golden hours — those slices of heaven shortly after sunrise and just before sunset. The light during these times is warm, directional, and diffused enough to give your foliage a glowy pop without the glare.
Overcast days are even better. They create an enormous softbox over the entire forest, allowing you to capture richer tones and subtler shadows. If you’re forced to shoot when it’s still bright and sunny, bring along a diffuser or a white umbrella to cut down on some of the harsh sunlight.
Better yet, try bringing along a polarizing filter to cut down on the harsh midday glare on leaves! These make the greens saturate properly, giving them more depth in the process.
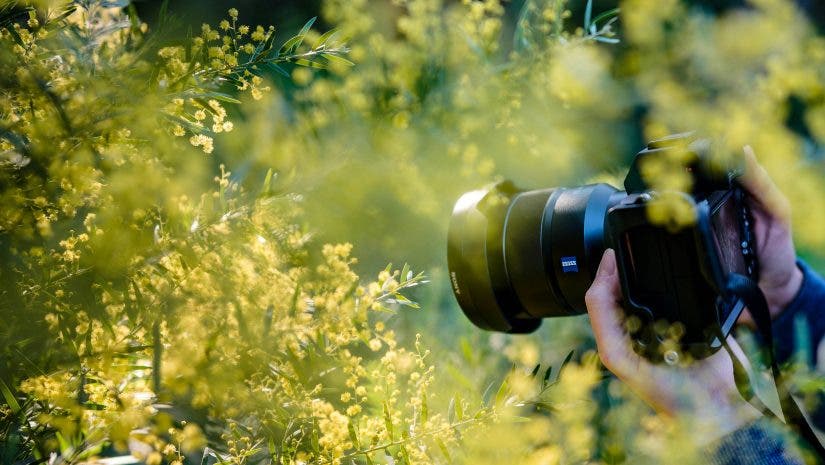
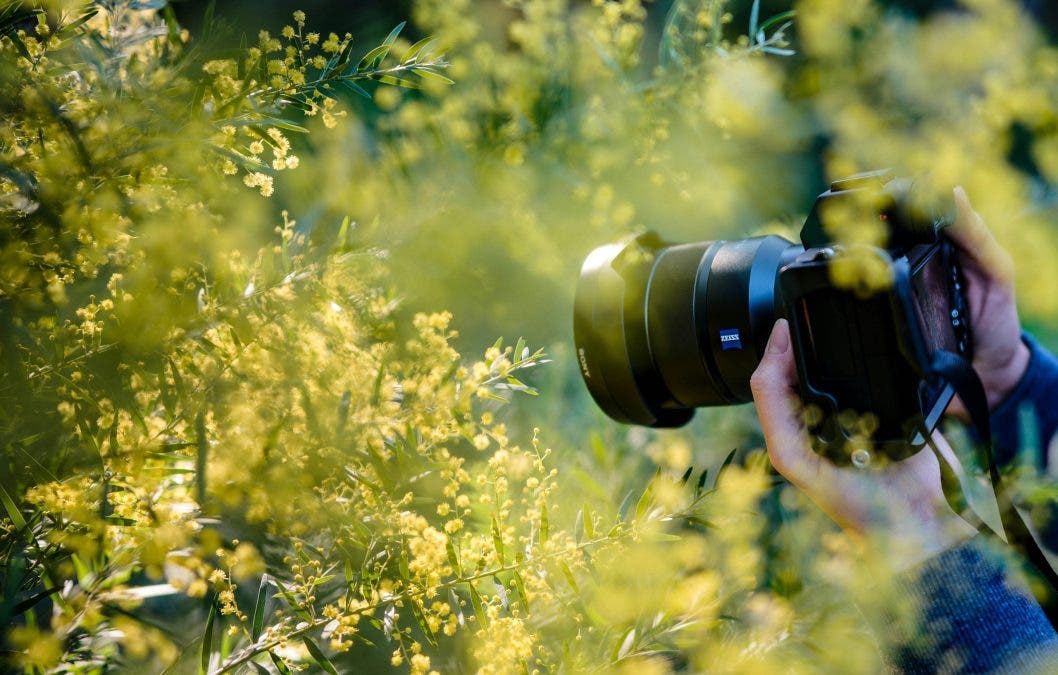
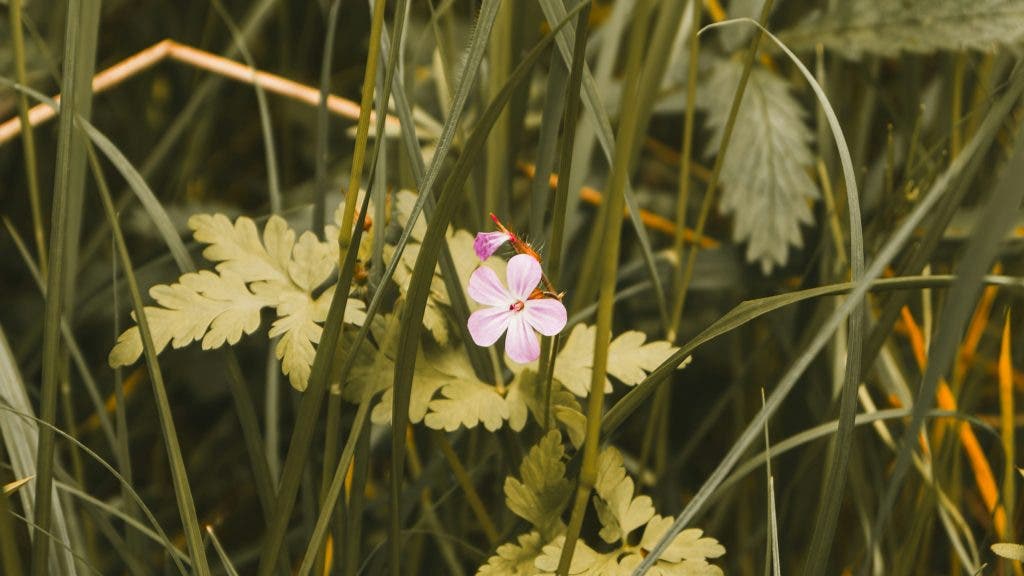
2. The color accuracy struggle in leafy landscapes
On some days, the green that you see in person will not be the green that your camera will capture. This is one of the challenges of shooting greenery that you have to work around the most. Greenery can be surprisingly tricky to color-correct, especially because light conditions affect green more dramatically than most other hues.
Add to that the thousands of subtle variations in leaf tone (from emerald, olive, and even jade), and suddenly you’ve got yourself a very complicated palette. This is why setting your white balance manually is a game-changer. Don’t trust your camera’s auto white balance too much — it’s notoriously inconsistent in outdoor conditions.
Instead, set a custom white balance based on your light source or use a gray card in your test shot. If you’re experienced and confident enough, shoot in RAW. This gives you far more latitude in post-processing to fix any weird color shifts without sacrificing image quality.
For those who are serious about color fidelity, getting a color calibration tool is incredibly useful. It ensures consistent greens whether you’re shooting under a cloudy sky, tree shade, or the blinding midday sun. So, if you want your green to look like the green your eyes saw, you’re going to need to work a little digital magic to make it happen!
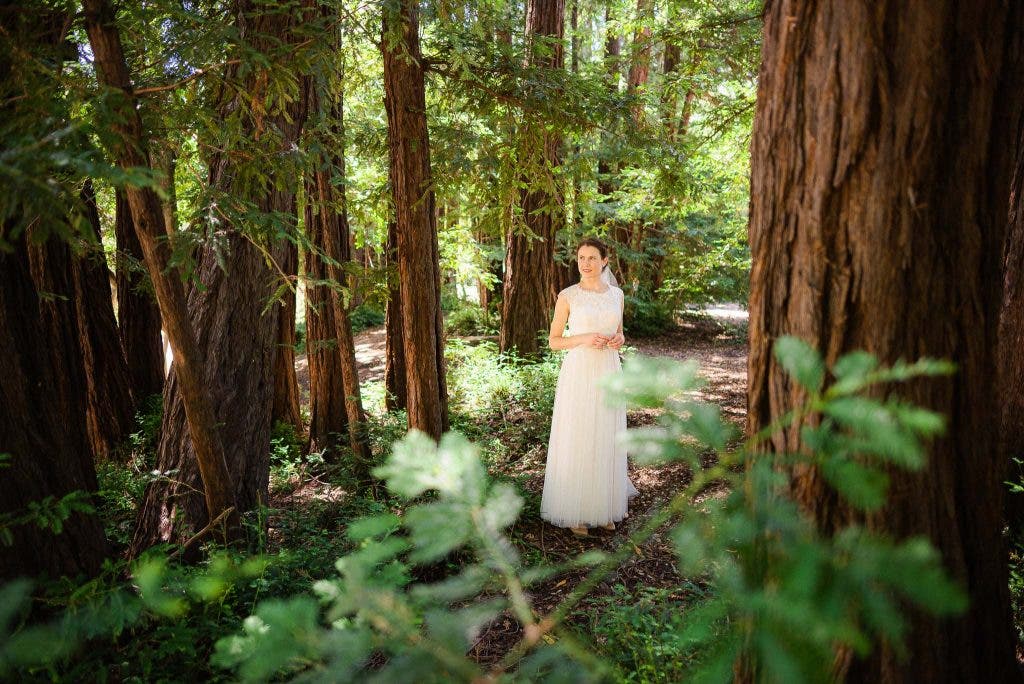
3. Why greenery shots often look flat and how to fix them
If you’ve ever taken a photo of a forest and thought, “Why does this look like a blob of salad?” you’re not alone. The abundance of shapes, textures, and shades in greenery scenes can lead to visual clutter and a total lack of focus. Without a clear subject or compositional anchor, your image can quickly devolve into a leafy mess with no sense of depth or story.
To avoid flat images, you need to get intentional with your composition. First, isolate your subject. Don’t just shoot a bunch of trees, pick the tree, or the fern, or the single dew-dappled leaf that speaks to you. Make sure that the way you frame your subject is deliberate — every minor change in composition is crucial!
Use the rule of thirds to place your subject with purpose, and don’t be afraid of negative space. Then, try to visualize where you want your audience’s gaze to go when looking at the picture. Use natural lines like a winding path, a stream, or even the curve of a branch to guide their gaze.
And here’s a tip that works wonders — constantly try to change your perspective. Shoot low, shoot high, experiment with your shots until it feels right. A frog’s eye view of a mushroom under a leaf canopy is going to be infinitely more engaging than another straight-on shrub portrait. Greenery photography comes to life when you stop documenting and start storytelling!
4. Shooting on windy days when leaves won’t stay still
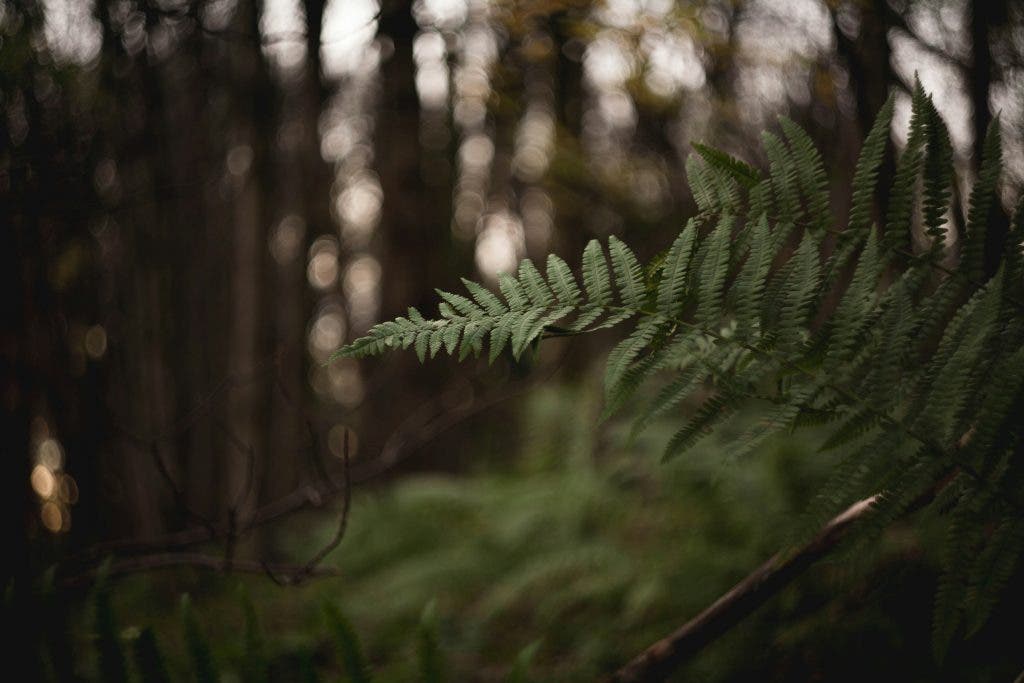
Movement is great… until it ruins the perfect shot that you visualized in your head. Whether you’re in a breezy meadow or a blustery forest, movement is a constant companion when you’re photographing greenery. Leaves twitch, branches sway, grasses dance — and none of them care that you’re trying to nail the perfect sharp shot.
Even the subtlest breeze can turn a stunning shot of a tree into a blurry green mess. To handle the most unpredictable factor of the challenges of shooting greenery, start by adjusting your shutter speed. The faster it is, the more you freeze the action — this is especially critical for macro or close-up shots where even tiny movements become major blurs.
If you have shaky hands, try using a tripod to stabilize the shot and remove the potential for human error. Tripods lock your frame down, letting you worry only about the subject’s movement. That said, sometimes motion blur can be a good thing.
Use it creatively! A long exposure of a waving grass field can turn your image into a dreamy, impressionistic canvas. The trick is knowing when to fight the motion — and when to dance with it!
5. Dealing with distracting backgrounds and visual noise
You finally did it — you found the perfect subject, you composed it with intention, and you nailed the exposure. The perfect shot is within your grasp, but as you look closer, you see a stray wrapper or a rogue piece of sky through the canopy, ruining your shot. Background distractions are one of the most overlooked but most image-ruining challenges of shooting greenery.
The first and easiest fix is adjusting the depth of field of your camera. Use a wider aperture (say around f/2.8 or f/4) to create creamy bokeh, which will melt those distractions away into abstract patterns. You can also try to adjust your physical position by moving slightly left or right to exclude the offenders entirely.
Look for ways to frame your subject naturally. Overhanging branches, tree trunks, or even a pocket of light can act as a visual barrier between your main subject and any background chaos. This is especially useful if you’re in a place with particularly lush greenery, where you have multiple subjects that you can use as a form of cover.
Finally, in post-production, don’t be afraid to get hands-on. A quick clone or healing brush session in Lightroom or Photoshop can be the final polish that turns a “good” shot into something gallery-worthy.
Conquer the challenges of shooting greenery, one leaf at a time
Shooting greenery is a dance between patience and precision. It’s tempting to think nature photography is just a matter of pointing your lens at something pretty and clicking away. But as we’ve seen, the challenges of shooting greenery are real, persistent, and oddly humbling.
But here’s the good news — with a few techniques in your back pocket and a willingness to experiment, you can create powerful images that make people feel in awe. Nature has a story, and you can share it with people through your imagery!