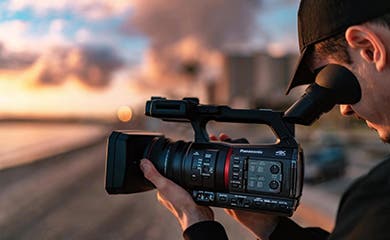
Taking a good photograph without post-processing is hard but possible. Producing a good video or film without post-processing is utopic. A filmmaker must edit their video and audio footage, go through montage, and ensure the resulting film has a good narrative and a cohesive look. Color grading has a big role in this process!
However, video editing doesn’t have to be difficult or expensive. Blackmagic’s DaVinci Resolve is free and relatively easy to learn, even for a beginner in video editing. If or when you need something more advanced, you can simply upgrade to DaVinci Resolve Studio, which is free for those buying Blackmagic Cinema cameras. These are enough reasons to learn color grading in DaVinci Resolve right now. So, let’s start with what a beginner should learn about this topic.
What Is Color Grading?
Color grading is the process of adjusting the color palette of a scene to create a specific atmosphere, mood, or feel. It helps convey a certain emotion, resemble a particular time of the day or era, and subtly influence how the viewers react to the scene.
Color grading is different from color correcting even though they sometimes use the same tools. The former refers to altering the color palette to induce a certain look, while the latter refers to correcting the color palette so that the scene looks accurate. Color grading is a stylistic choice, while color correcting is a much-needed retouching.
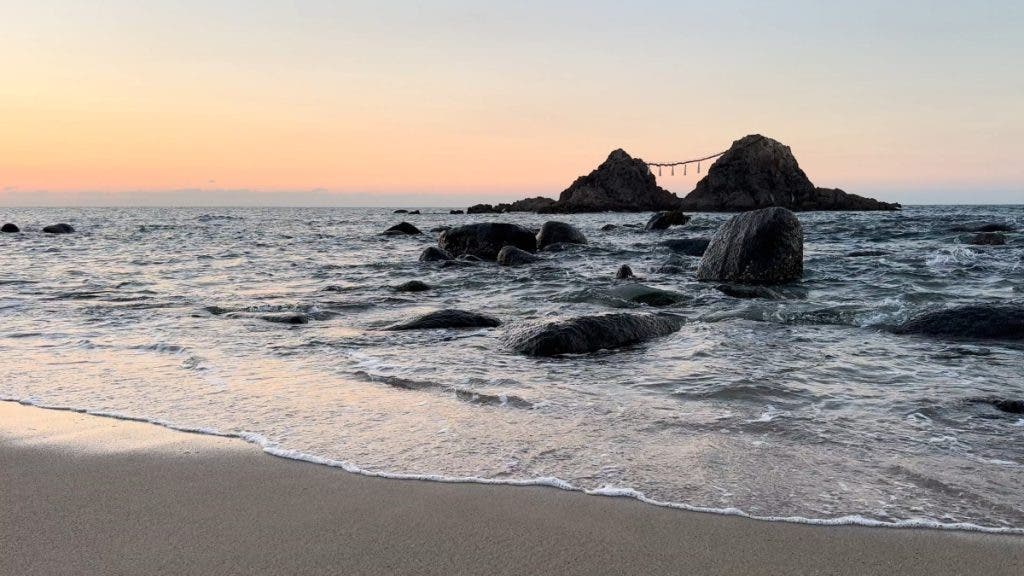
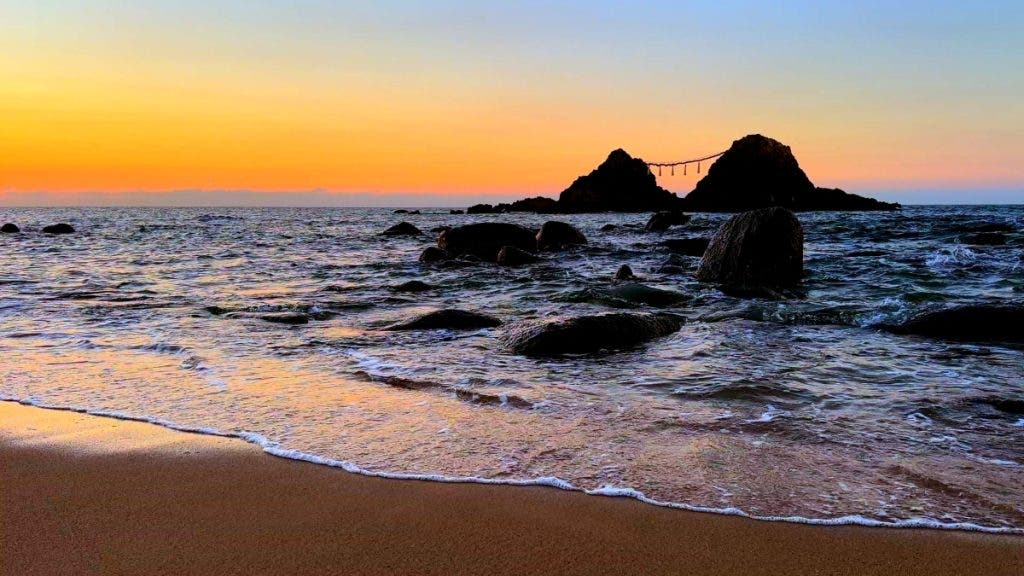
Color grading can be used on a particular scene (e.g., to indicate a dream or a memory, to embellish a certain moment in a special aura, etc.) or on the entire footage (e.g., to indicate a certain time in history, to set a tone for the film, such as thriller or romantic comedy, to create a signature visual aesthetic, etc.). Most filmmakers use color grading both on individual scenes and the entire film.
How to Use Color Grading in DaVinci Resolve
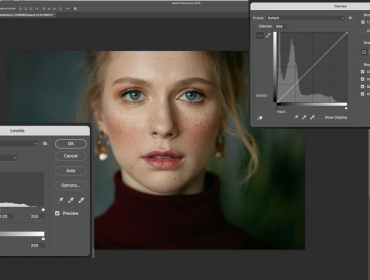
Everything you need for adjusting the colors of a video in DaVinci Resolve (either for grading or correction) is on the Color Page. Here you can find color wheels, the Curves tool, LUTs, scopes, and FX effects for image balancing, adjusting contrast, color, and luminance, adding effects, applying color casts, and much more. So, let’s start by debriefing the Color Page.
Start DaVinci Resolve, import your media and place it on a timeline. Then, go to Workspace -> Switch to Page and select Color from the drop-down menu.
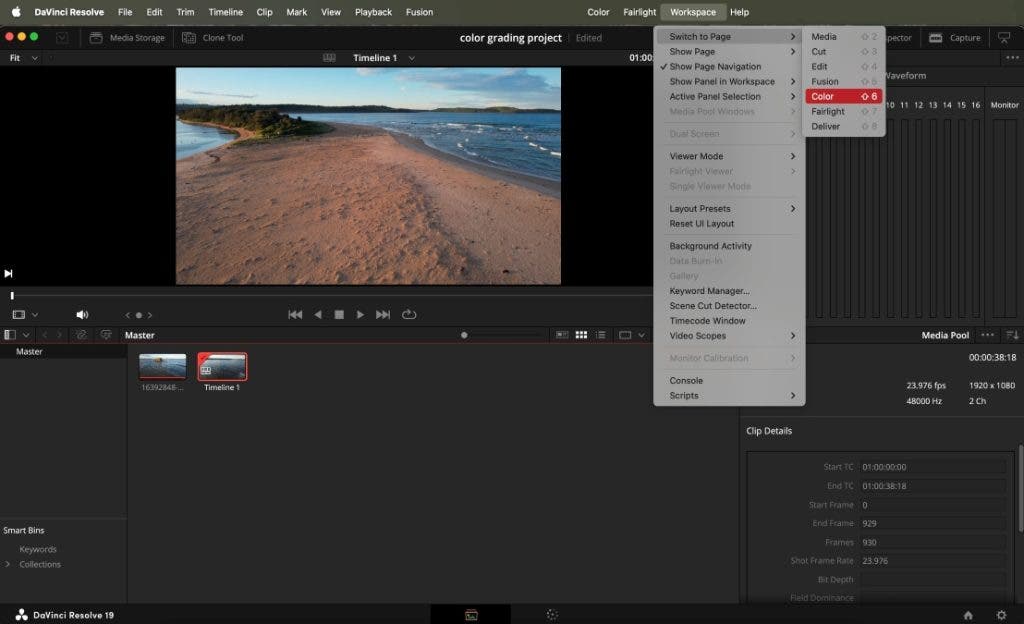
The program will display the Color Page, but the panels you need may not be visible. For example, you may see just the clip panel and the color grading tools.

You’ll want to go again to the Workspace menu, select Show Panel in Workspace, and check Media Pool, Timeline, and Nodes to begin with. You are now ready to start the color grading process of your clip or a scene from it. This function also creates an initial node, an essential step in the color grading process.
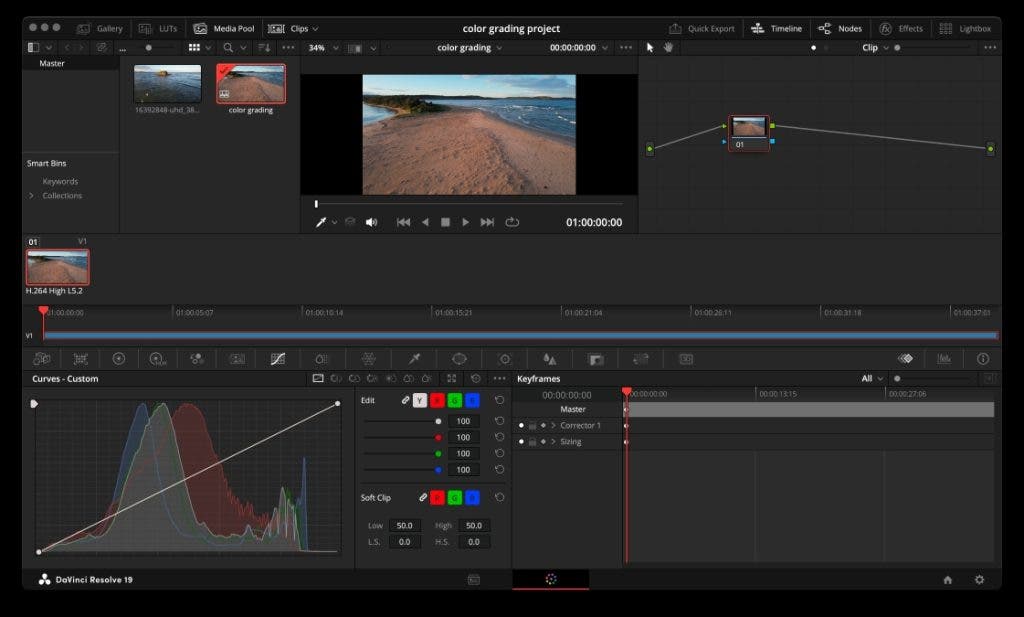
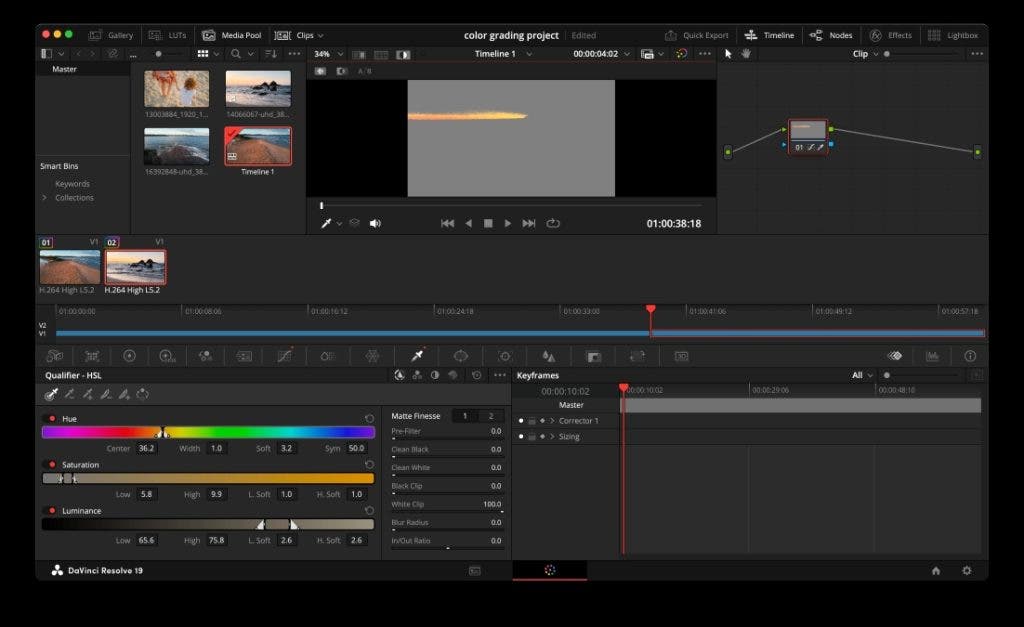
DaVinci Resolve’s Node-Based Color Grading System
To understand how to use color grading tools in DaVinci Resolve, one must understand the program’s node-based approach. The color grading process of each scene is dictated by a tree of nodes. Each node represents a different step of the process. For example, one node may represent color temperature adjustments, another the modifications made with the Curves tool, another an effect or a LUT, and so on. It’s a bit like working with adjustment layers in photo editors to ensure the editing process is non-destructive and malleable.
DaVinci Resolve lets you add nodes in a serial sequence, which means adjustments are made one after the other or in parallel, which means adjustments are applied simultaneously to the same source image.
To add your first node, select the initial node created when you’ve created the timeline using your clip, right-click, and select Add Node from the drop-down menu. Then, select the type of node you want to add, for example, Add Serial.
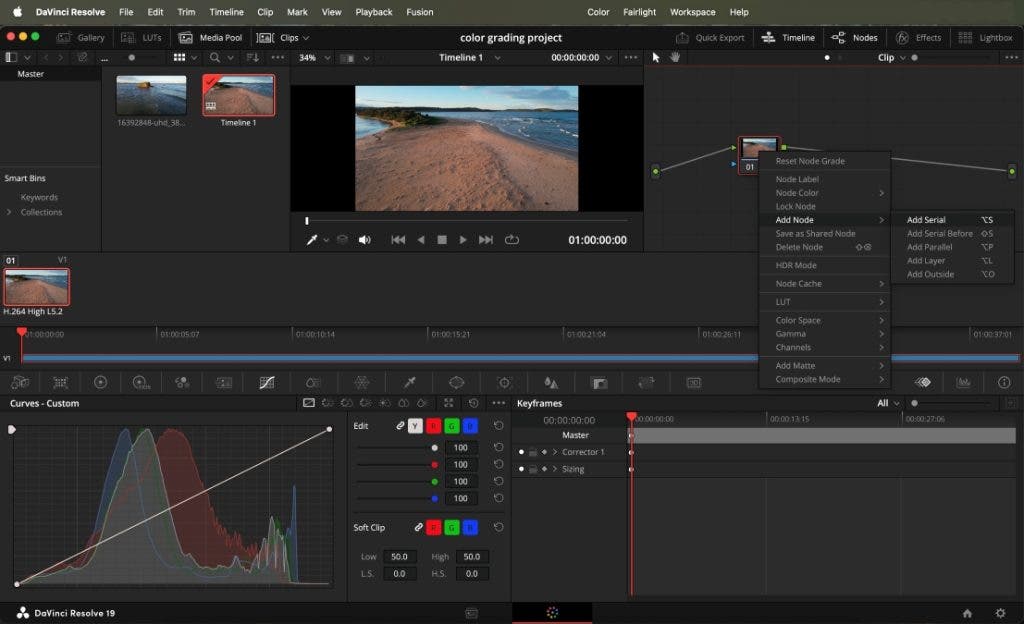
You can customize the nodes for ease of use by giving them labels or assigning them colors. At any point in the editing process, you can modify the parameters of a color grading tool represented by a node and add or delete nodes.
DaVinci Resolve Color Grading Tools
The program displays the tools for color grading in a toolbar below the timeline. They are: Camera Raw, Color Match, Color Wheels, HDR Grade, RGB Mixer, Motion Effects, Curves, Color Warper, Qualifier, Window, Tracker, Magic Mask, Blur, Key, Sizing, and 3D.
Select the node you want to represent the current editing tool, then select the tool by clicking on the dedicated icon and start to adjust the scene.
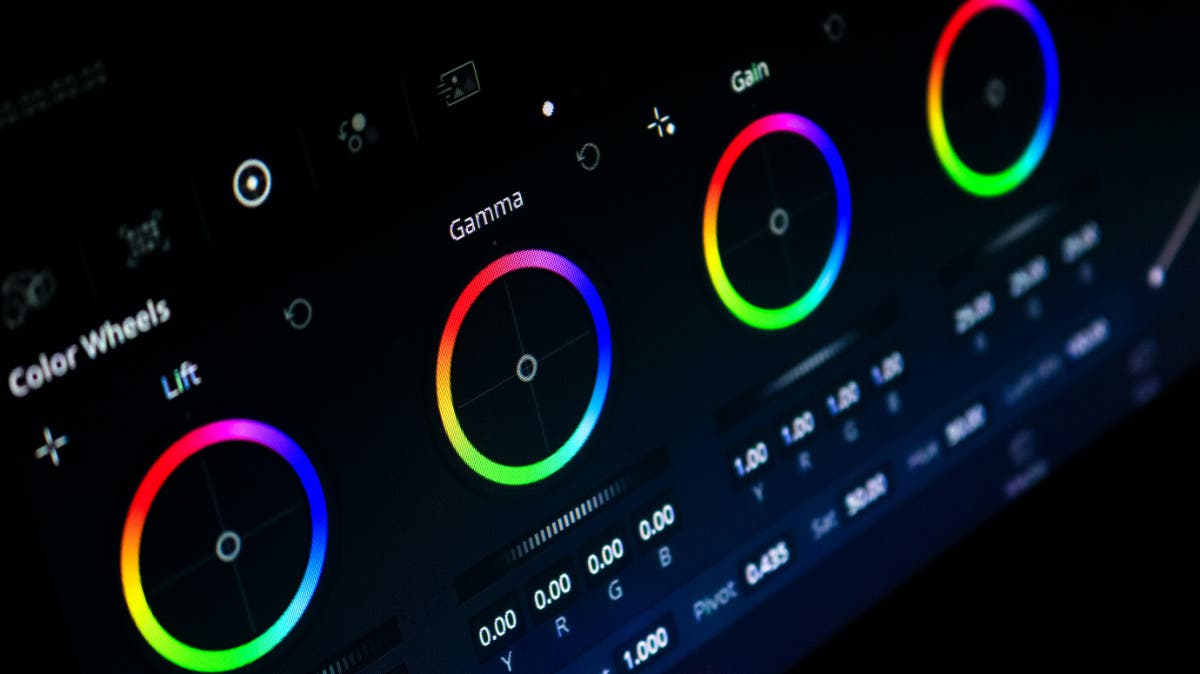
Color Wheels
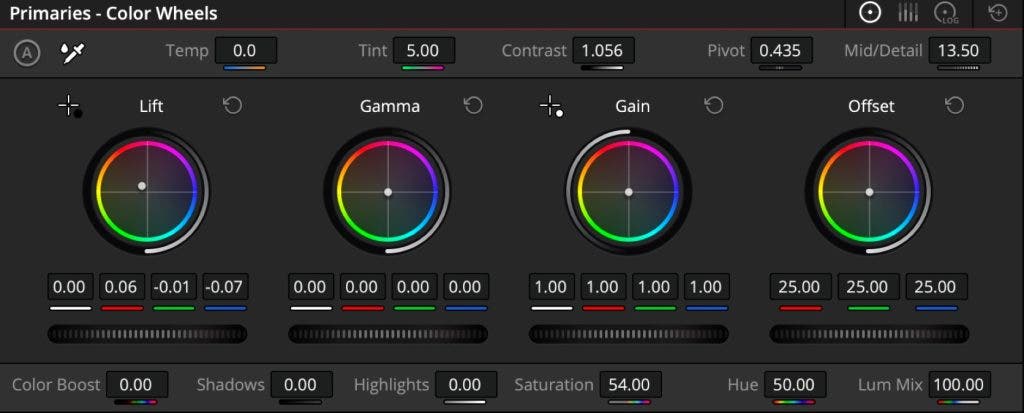
Color Wheels adjusts the entire scene by modifying highlights, midtones, and shadows, called gain, gamma, and lift. Use it to adjust tonal balance, brightness, contrast, color temperature, hue, tint, detail, and for other creative purposes.

Tip: Use the Auto Balance function in the Color Wheel panel for quick, automatic color balance retouching.
RGB Mixer
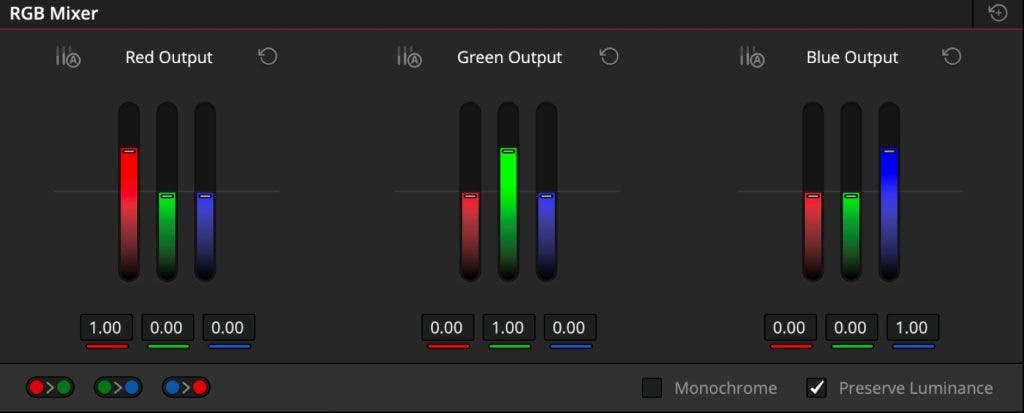
RGB Mixer is an alternative to Color Wheels for when you prefer working with bars instead of wheels and want more subtle changes to individual color channels and luminance.
Curves
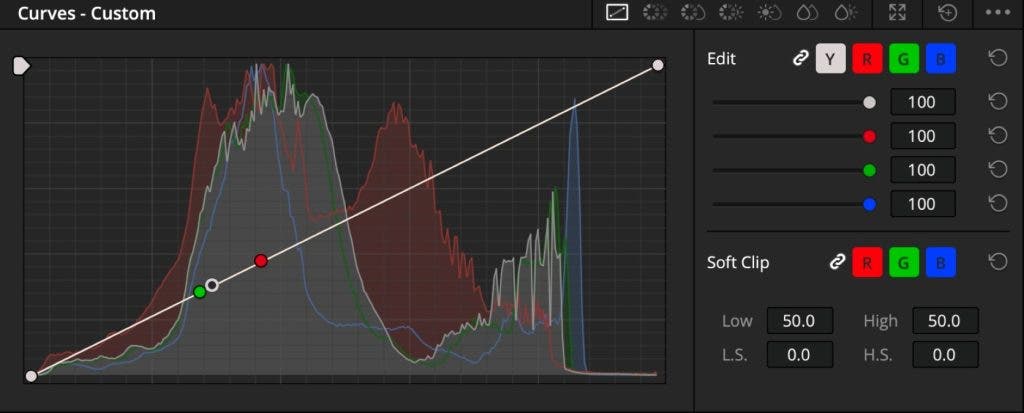
Curves is the tool one finds in any image editor, whether for still images or videos. It lets you adjust color and contrast in detail based on hue, luminance, and saturation. In addition, you can adjust color channels independently but also the hue to any other hue, the saturation or lightness of a particular hue (e.g., to make the sky bluer), the saturation or a certain tonal range, or a specific range of saturations.
Qualifier
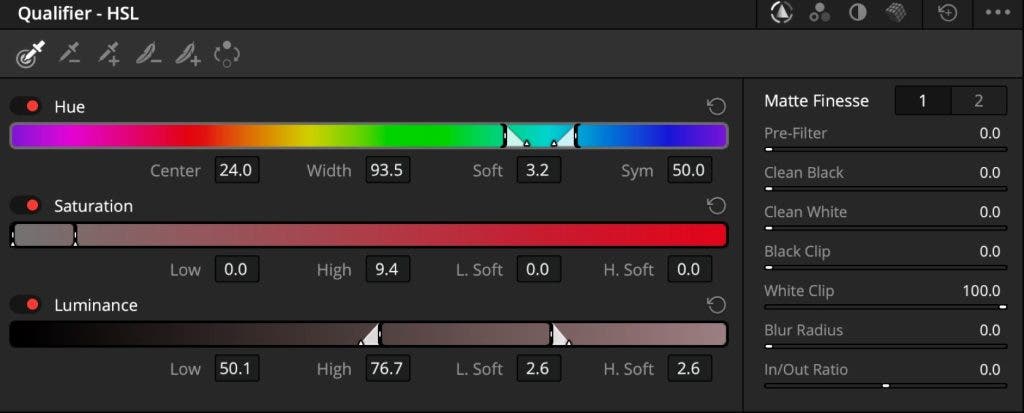
The Qualifier tool allows you to apply color grading adjustments to a specific part of the image based on hue, saturation, or luminance. Use the eyedropper to select the area you want to modify and press the Highlight button on the Viewer panel to see it. The Hue, Saturation, and Luminance bars of the Qualifier tool will adjust to represent the selection. Whatever color grading tools you’ll use after that will solely be applied to the selection.
Power Window
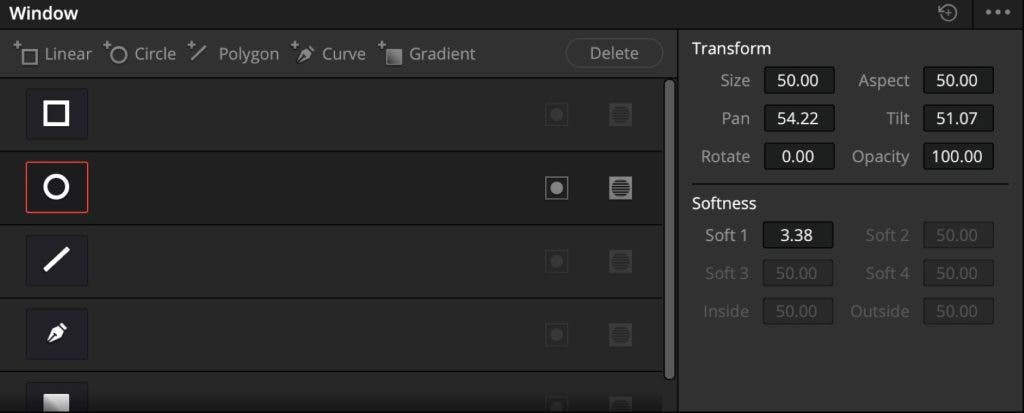
If you want to alter the colors of a particular object, then the Power Window is a better selection tool than the Qualifier. It allows you to select shapes and apply the adjustments solely to them. Choose the shape you want from the Power Window panel and adjust it in the Viewer panel. Then, switch to whatever color grading tool you want to use.
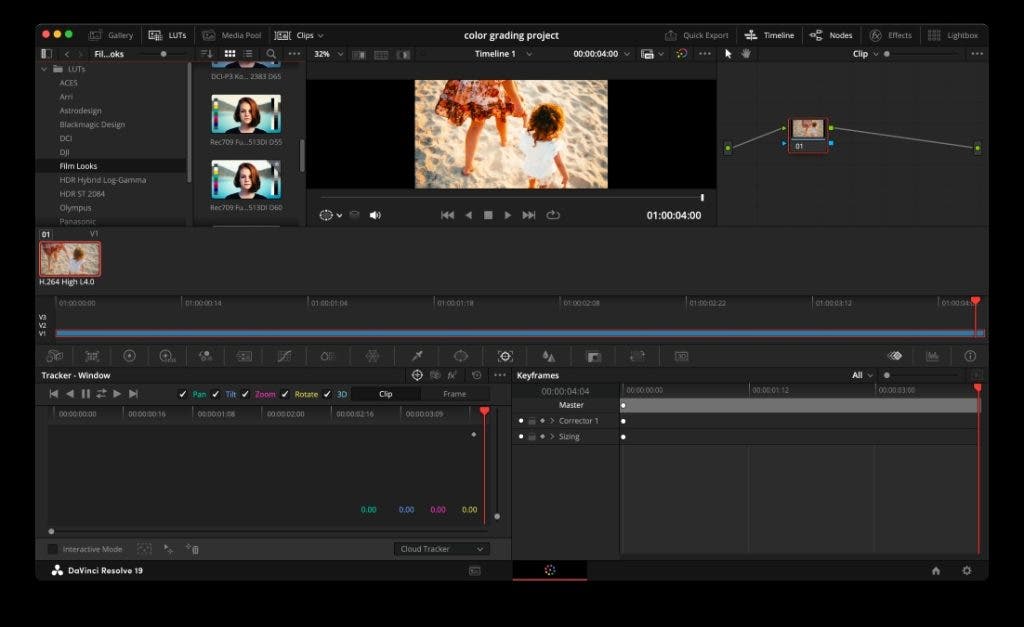
Tracker
If the object you’ve just selected using the Power Window moves in a scene, the Tracker is the tool you want to use to ensure your color grading adjustments follow the object throughout the scene. After selecting the object, click on the Tracker icon in the toolbar, let the program know if you prefer for it to analyze a particular move or all of them, and then click the Track Forward button. The program will establish the object’s movement and apply the color adjustments accordingly.
LUTs
LUTs (Lookup Tables) are color filters or presets that alter all the colors in a scene. They may enhance colors and contrast or produce a specific style, mood, or aesthetic. To apply LUTs in DaVinci Resolve, go again to the Workspace menu, select Show Panel in Workspace, and check LUTs. Then, select the LUT you want to apply from the long list in the LUTs panel. If you hover the mouse over one of them, the program displays a preview, giving you a hint of what each one does.
FX Effects
DaVinci Resolve includes over 90 GPU and CPU-accelerated FX effects. They do everything from adding blur, glows, and lens flares to vignetting and color effects. FX effects are included in the Color Page because they are a quick way to enrich the style of your videos. For example, you can use FX effects to simulate film looks, refine faces, replace the sky, add light rays, change lighting, and do any other creative effect you can think of. Even though they are advanced tools, and not all of them are color-related or included in the free version of DaVinci Resolve, it helps you have an idea and browse through them when you need a cool effect.
Final Thoughts
Many argue that color grading is the best part of DaVinci Resolve, and there are lots of reasons to support this idea. The variety of tools covers every situation and helps any creator stylize their films, which makes the program fit for beginners. Learn one tool at a time, the basic one first, the more advanced ones second, and see what benefits your videos the most. As the ultimate tip, remember this:
If you’ve already taken a clip through the color grading process and want to edit another in a matching style, add both clips to your timeline, select the clip you want to adjust, then right-click on the already-edited one, and choose Shot Match to This Clip from the drop-down menu. Your work is done!