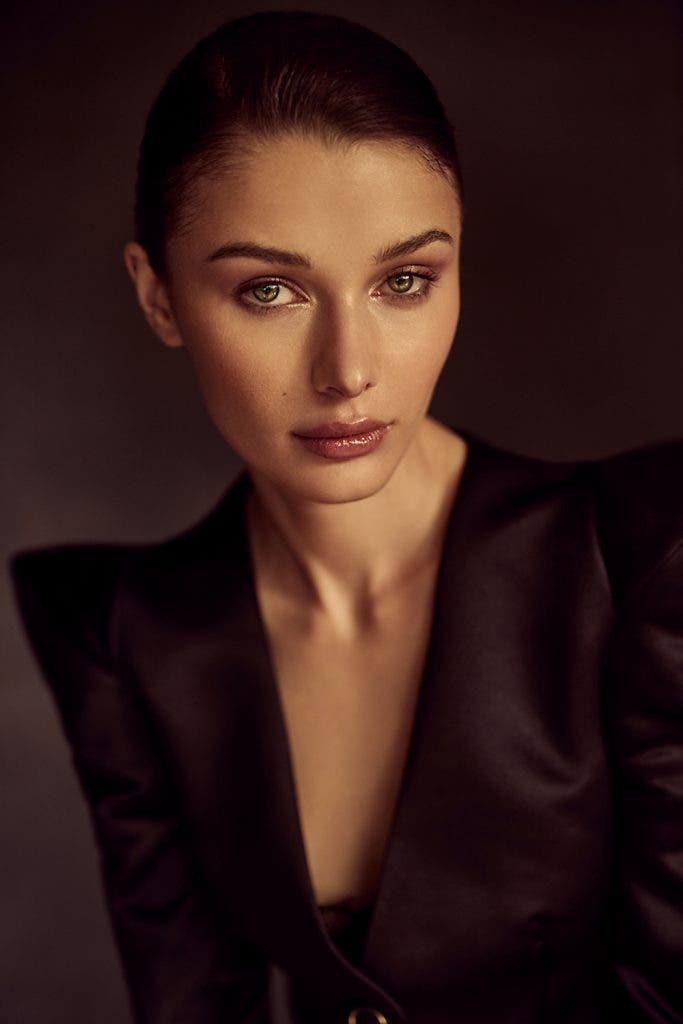
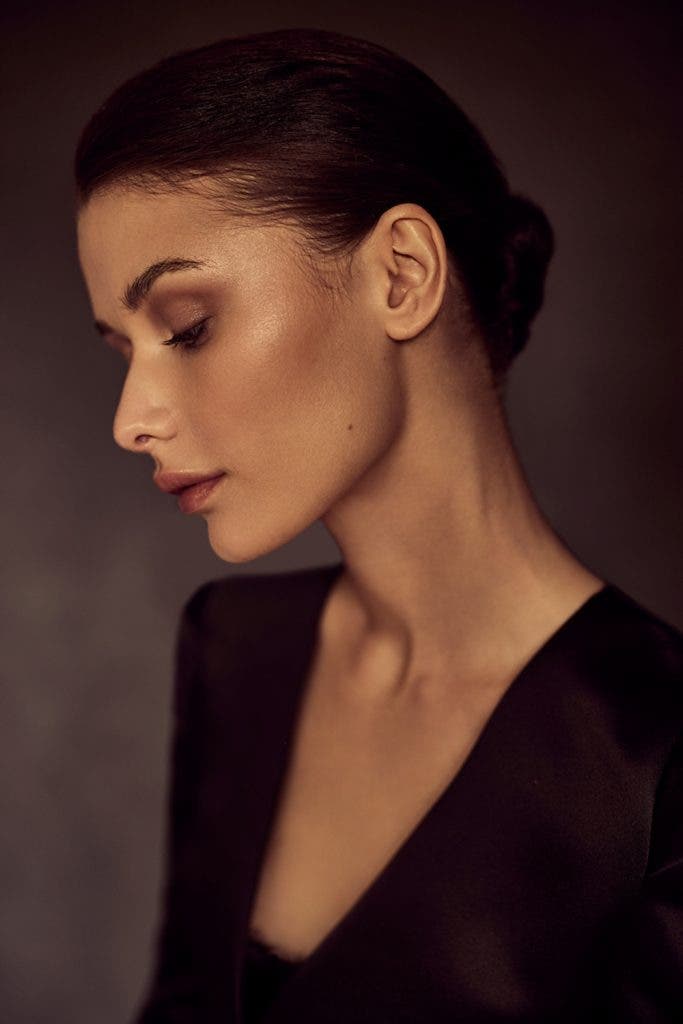
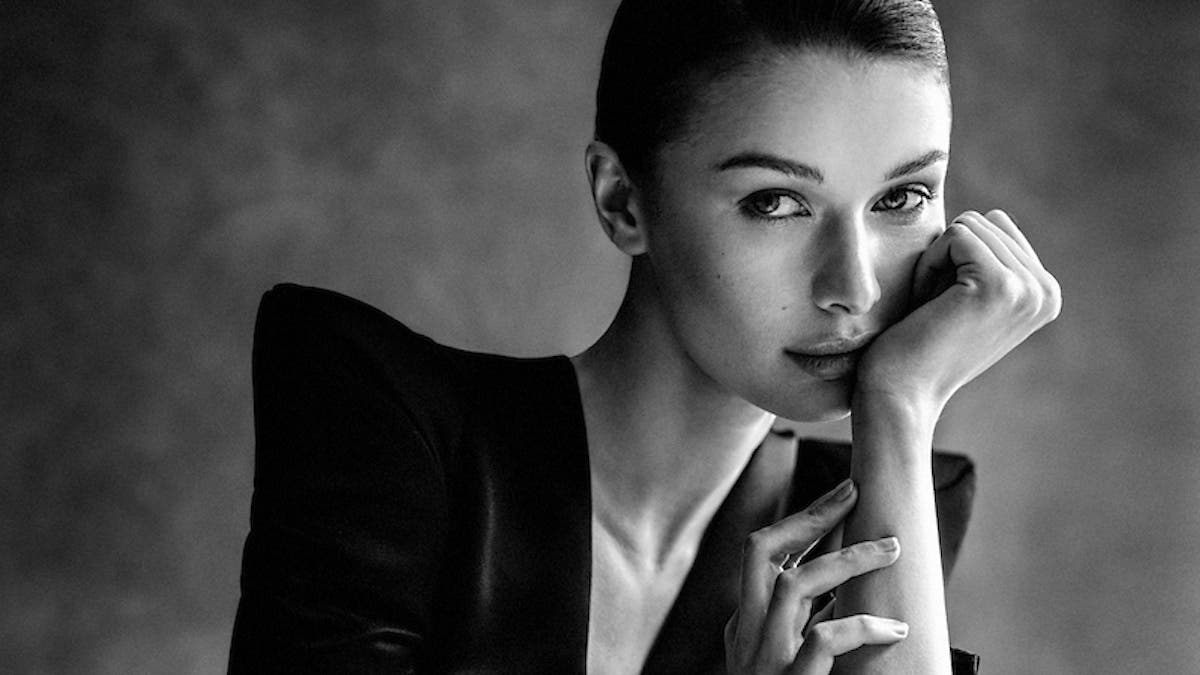
The majority of my fashion photography work is done within a studio and with artificial lighting. Although, every time I use natural light for a shoot, I fall in love with this type of lighting all over again. For example, the light created from a garage door can be absolutely stunning. In fact, if you understand how you can modify this light, you can create beautiful images with a lot of variety.
In this article I’m going to cover the four primary variables you can use to achieve dramatically different visual results when using nothing more than a garage door. The light we can achieve is fantastic for creating model’s comp card (promotional) shots, and even full fashion editorials.
Learn these terms and more at Fashion Photography Terms & Lingo to Know.
For these shots, I selected a hand-painted canvas background and a simple-but-stylish fashion look to create timeless results that would be great for the model’s portfolio.
This quality of light is a favorite among many fashion photographers. Peter Lindbergh used natural light and light tents for celebrities. Caleb Gladys uses big bank windows and natural light.
Let’s take a look at four main variables I consider when using garage door lighting for a fashion shoot. Understanding these variables allows me to create images that are flat and glowing, or dramatic and sculpted, or anything in between. It all depends on the mood I’m trying to achieve!
1. Distance of Subject from Garage
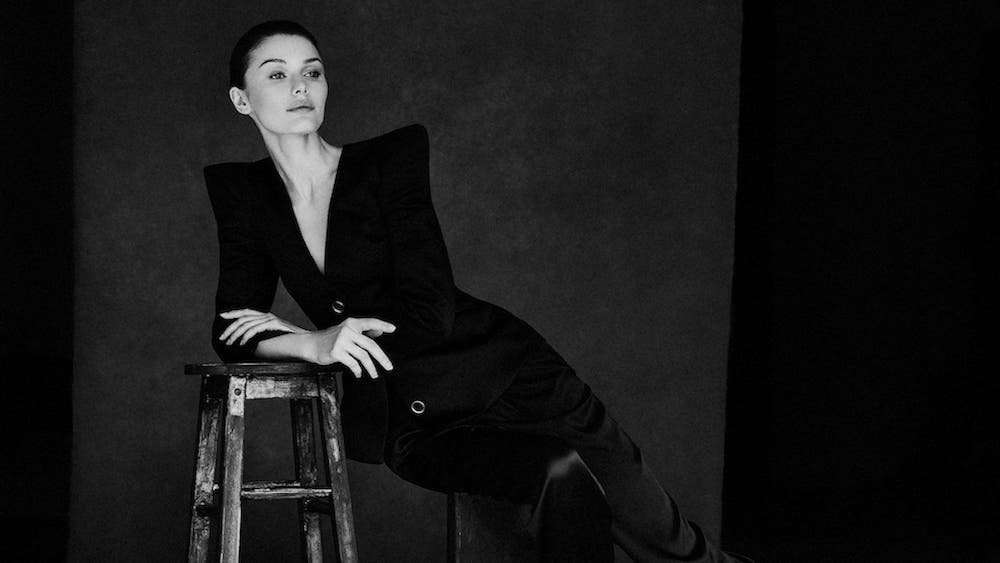
The distance of the subject from the front of the garage (the light source) is our first variable.
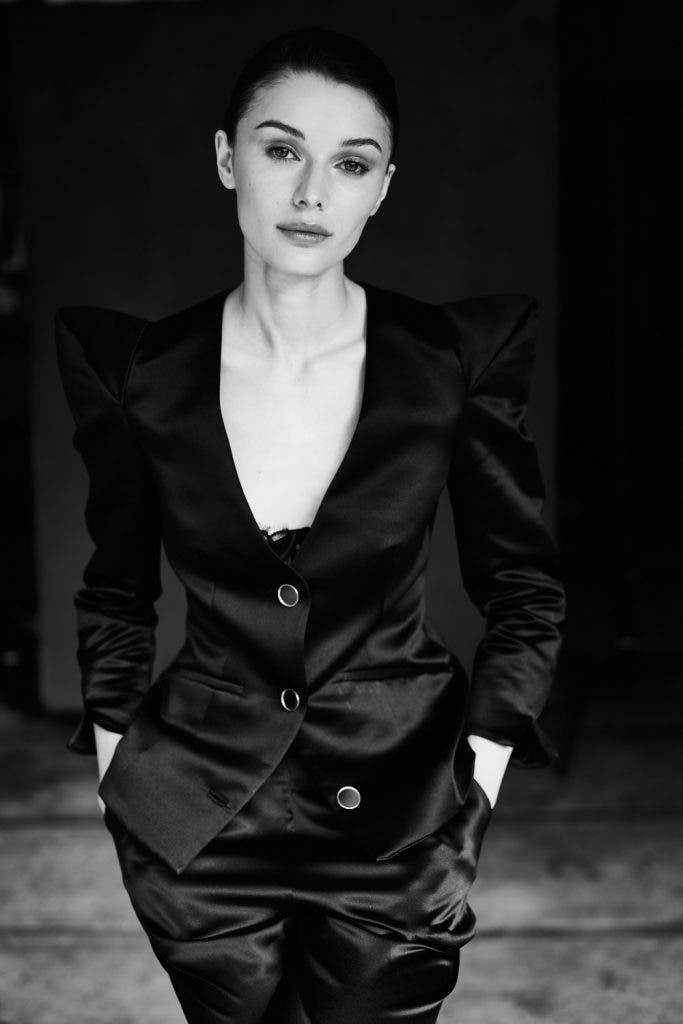
The further the subject is from the front of the garage, the more flat the light will be. In other words, as they move back deeper into the garage, the light source will appear to become lower and with less direction. Further away will also decrease contrast as well as the amount of light.
When the subject is a bit further back in the garage, this is “covered shade” with no light coming from above the subjects. This often results in large catchlights and very flat, even results.
When the subject is up close to the very front of the garage, the light will be more directional. If there is no coverage above the subject’s head, the top-down “open shade” light will create more sculpting to the cheekbones and higher contrast to the light.
In this first image, the subject is 12-14 feet from the front of the garage to create flat and soft results:
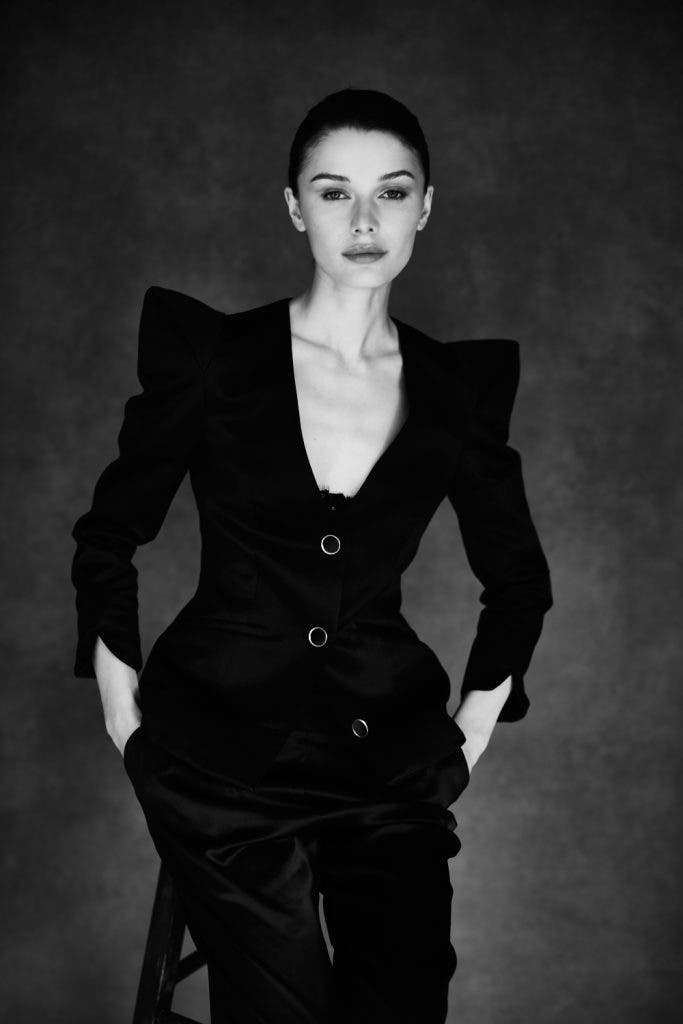
In the second image, the subject is at the very front lip of the garage with no covering above her head:
2. Distance of Background to Subject
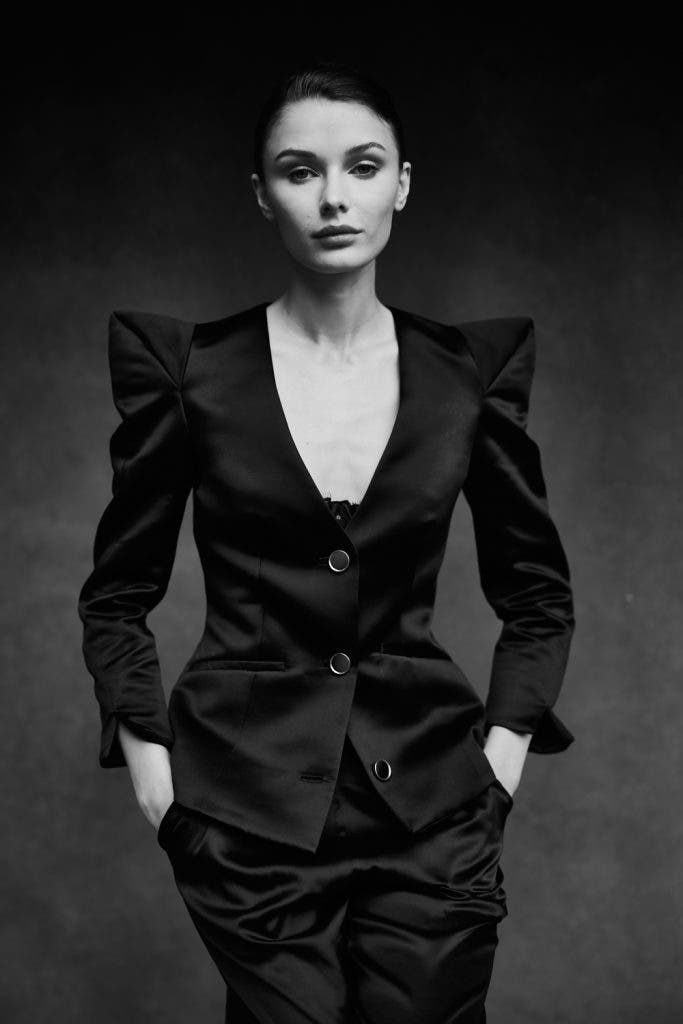
The next variable of lighting allows us to control the tonality of the background. We can vary the distance of the background in order to make it appear lighter or darker. The closer the background is to the subject, the lighter the background will appear. Due to the fall-off of light (inverse square law), the closer the subject and background are to one another, the more similarly lit they will be. The further back we push the background from the subject, the darker it will appear.
In this first image, the background is almost directly up against the subjects back (1-2 feet behind).
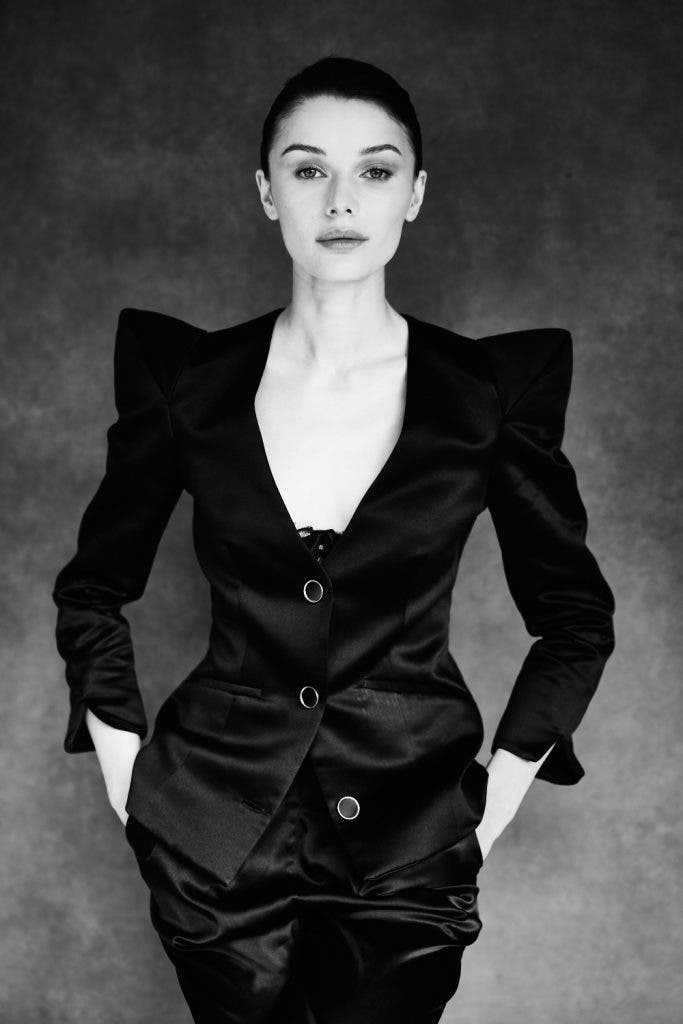
In this second image, the background is more than 10 feet behind the subject, allowing it to fall to shadow. The bottom part of the frame is actually the floor that becomes visible.
3. Camera Angle
Not only can we move the subject and the background, but we can also move ourselves. By changing my camera angle, I can introduce more shadow and sculpting to the light. While the position of the garage door stays the same, I can rotate the model’s angle and my camera position to introduce more shadow.
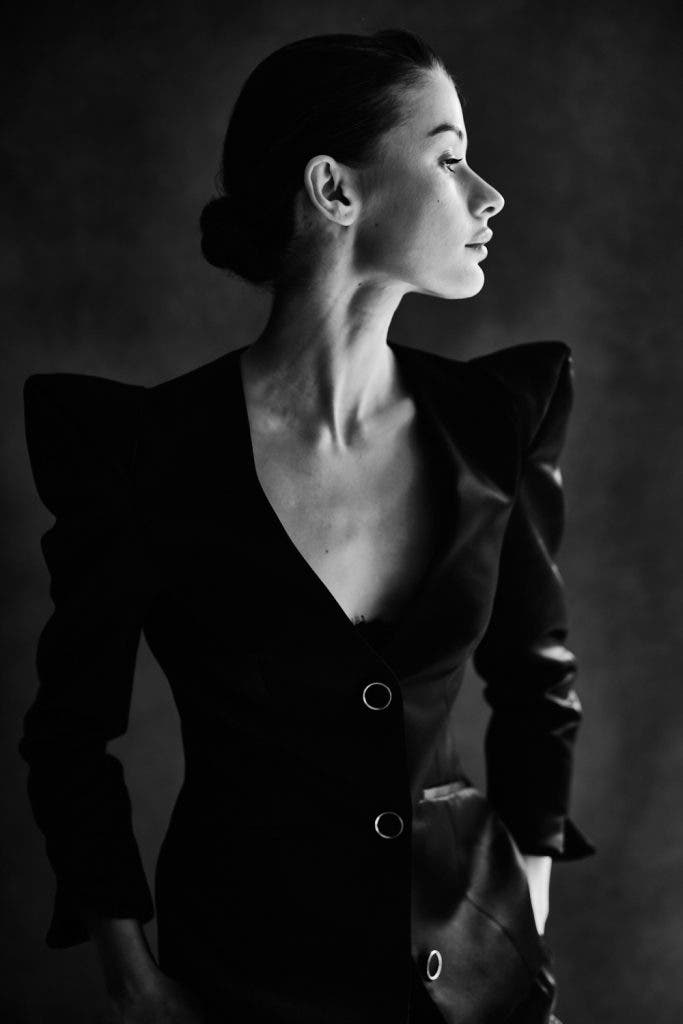
As I move further and further around to the side, I can actually create “short light.
This is where the shadow side of the subject’s face is closer to camera, creating lower key results. In this sample image (unedited), you can see that I have positioned the subject so that the garage door is far to the right of the frame. This creates a great deal of shadow on my subject, creating a lot more sculpting and drama.
4. Negative Fill or Reflectors
Lastly, we can control the bounce of light onto the subject. We can either block light or bounce it depending on the deselect results.
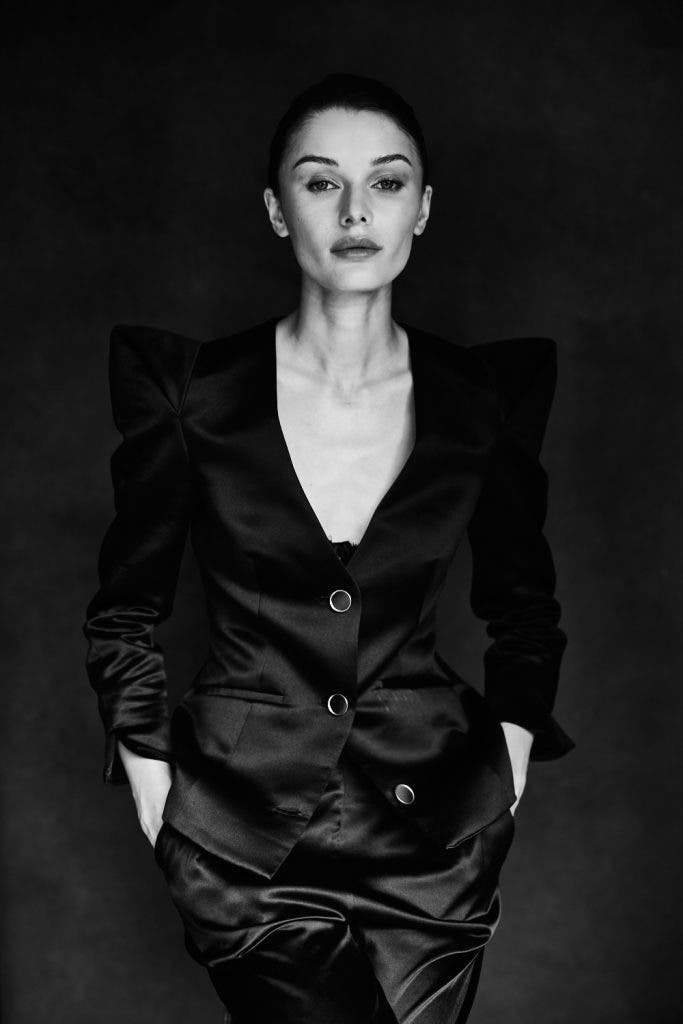
Our first choice is negative fill in the form of flags, black V-Flats, or other dark surfaces next to our subject. Negative fill blocks and reducing the bounce of light can result in even more defined cheekbones and jawline since the bounced light can no longer fill in those areas.
Learn more about this at What is a Fill Light? And How Can I Use It?
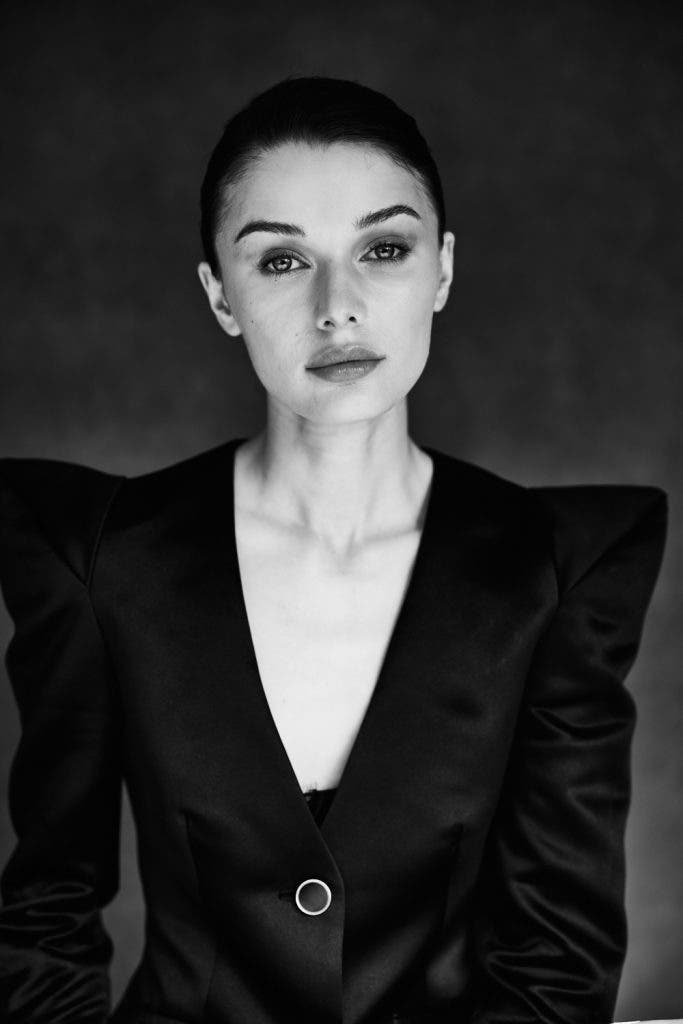
Another option is a reflector in the form of a bounce reflector (silver/white) or a V-Flat. For this scene, we folded a white V-flat under the subject’s torso to make a wider bounce. This created bright catchlights and a pose table for the subject. When we add a white reflector, we create brighter catchlights to the eyes and more fill overall to the shots.
In this first image, you can see how the subject’s cheekbones and jawline have more definition due to the negative fill.
In the second image, there is greater fill throughout the shot and brighter catchlights due to the addition of a white V-flat as negative fill.
Bringing Together Variables
I took some time to create several different portrait and fashion images of my beautiful subject in the garage. Some were close to the edges for sculpted results, others much further back and wider compositions. While I originally intended for results in black and white (for simplicity and timelessness), I actually fell in love with some of the color graded versions of these shots. Every single image was lit with nothing more than the garage light, a canvas background, and (potentially) a reflector or negative fill. Take a look at more results below….
If you don’t have a garage or live in a city, there are definitely ways to get similar results. Try a doorway, a porch, or other area where there are no light sources from the sides while there is still a large open area directly in front of the subject.
