I like all aspects of macro photography, but ultimately, I am a nature photographer, and I’m happiest outdoors, amongst plants, insects, birds and other animals. At first, taking macro shots in my garden was a bit against my professional photographer instinct, eager for the next challenge and adamant in favor of a wild location. The same happened with my macro lens choice, as I quickly navigated from the save choice of the Nikon NIKKOR Z MC 50mm f/2.8 lens to the more challenging one of the Nikon NIKKOR Z MC 105mm f/2.8 VR S. So, here is my journey with garden macro photography alongside my now-trusted NIKKOR Z MC 105mm f/2.8 VR S lens.
Why Use Your Garden for a Macro Photography Setup
There are two main types of macro photography setups: wild and studio. And your garden is a comfortable mix between the two.
Like with the wild setup, the garden preserves the natural environment of plants and insects and does not harm them in any way. Also like the wilderness, the garden benefits from sunlight and all the magic of an outdoor location (e.g., wind, clouds, frost, rain, dew, etc.). The subject matter range is diverse and, as you’ll see later, can be diversified further.
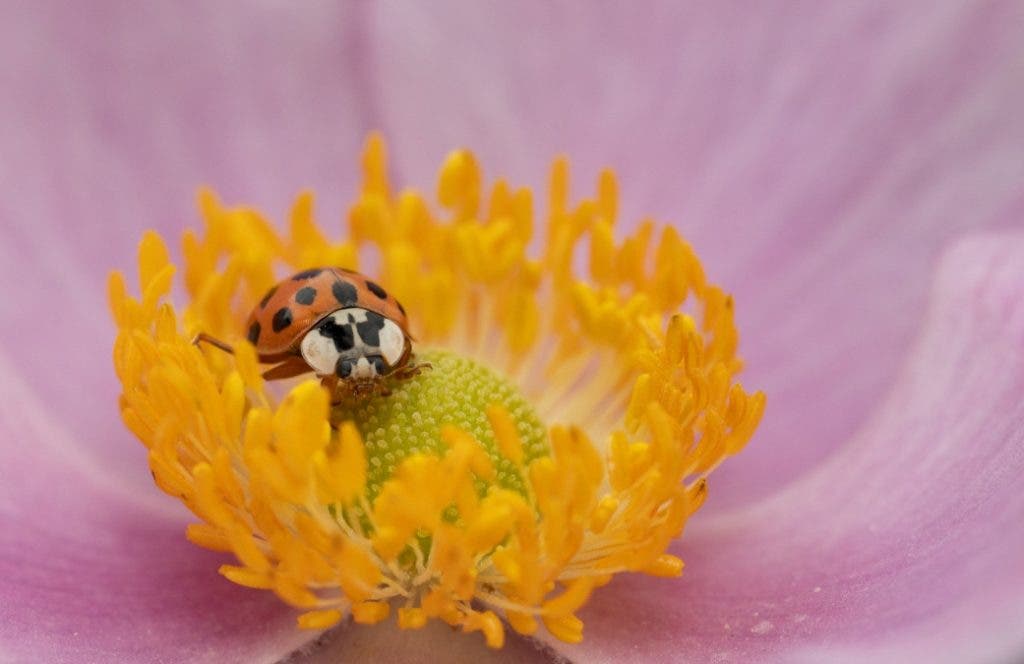
At the same time, your garden gives you more freedom to choose your subjects. We’ll talk about how you can improve your garden macro photography later, but for now, know that you can plant the flowers you want to photograph or those that attract the insects you want to photograph, adjust the shade, and pick a background, just like you’d do in a studio. Your garden is a bit of a controlled environment, which benefits your photography.
Last but not least, your garden is conveniently close. You can take macro shots in all types of weather, perfect a shot for hours, practice new techniques, test gear, or do a photo series over a long period of time. The garden is the ideal playground of a macro photographer.
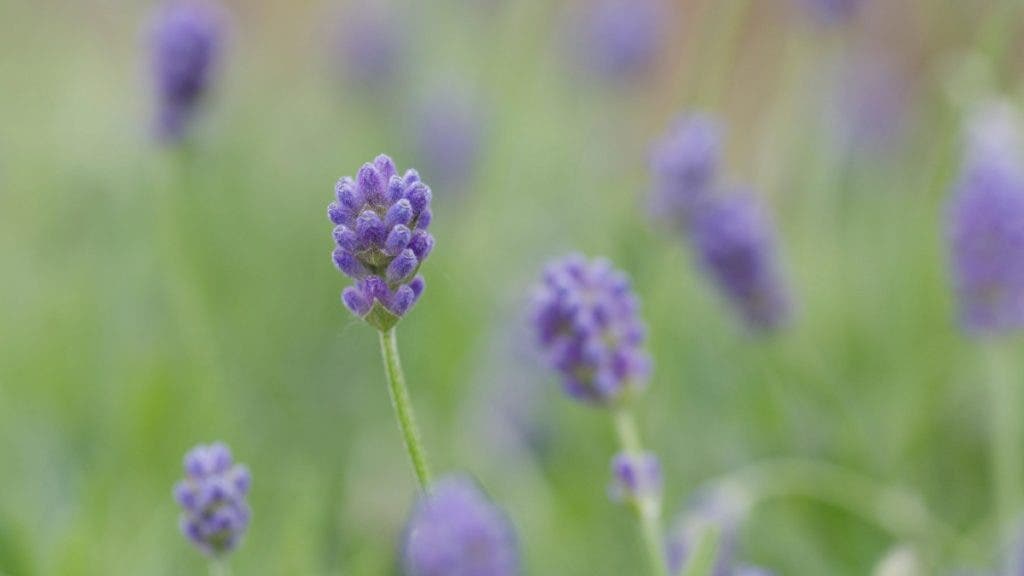
Why Use the NIKKOR Z MC 105mm f/2.8 VR S
I have a Nikon Z camera, so going for a NIKKOR Z macro lens was the natural thing to do for me. I believe a macro photographer should choose high-quality gear because lens quality matters a lot in macro photography. Also, macro photographers should choose a lens that suits their workflow and preferences and makes them feel relaxed. You want to focus fully on composition and storytelling, not fiddling with the equipment. For me, Nikon Z cameras and lenses check all the boxes.
But as you know, a 50mm lens like the NIKKOR Z MC 50mm f/2.8 gives you a wider depth of field, which makes focus in macro shots easier. So why did I go for the NIKKOR Z MC 105mm f/2.8 VR S instead? In short, the reason is insects.
With a 50mm macro lens, you must get closer to your subject. This may be good for photographing flowers and other inanimate subjects. However, insects don’t really appreciate having a camera too close to their faces. With a 105mm lens, you can keep a respectful distance. Just get the perfect portrait of an insect with focus on the eyes, as I like to do for more drama and a bit of a storyline.
The Sweet Spot Aperture
Another reason for choosing the NIKKOR Z MC 105mm f/2.8 VR S was that I rarely shoot at the maximum f/2.8 aperture. I usually prefer the f/4-5.6 for close-ups, which is the “sweet spot” of the NIKKOR Z MC 105mm f/2.8 VR S. The “sweet spot” is the aperture at which the lens is the sharpest and produces the best quality. And if this means that the image is not technically a macro shot because the magnification is a bit less than 1:1, so be it. I prefer storytelling and sharpness over technicalities. However the lens is still amazingly sharp at f/11-f/13 which is my preferred setting when doing 1:1 macro photos with a flash. After all, getting enough depth-of-field is just as important as sharpness.
Tips for Taking Macro Shots in Your Garden with the NIKKOR Z MC 105mm f/2.8 VR S
Although it seems that all you have to do is take your camera and look for nice tiny subjects in your garden, I found that some preparations are required. In my experience, I’ve learned that the setup for a macro photography photoshoot and the workflow matter almost as much as the gear quality.
Setup
You need a few go-to macro photography places in your garden. I prefer simple setups that allow me to use just the camera and a flash. This means finding places in the shade, where I don’t need to install a reflector or a diffuser. This means that in the morning the Eastern side is in shade because of some large trees and fences. Then in the afternoon the Western side is in the shade. And if I want to use the golden light from the setting Sun, I should be on the Eastern side of the garden and point my camera West. It also means being aware of the windy areas in my garden and staying away from them. That’s because even though the NIKKOR Z MC 105mm f/2.8 VR S has VR image stabilization, it only helps you get rid of the movement coming from your hands, and not subject movement. At 105mm with 1:1 magnification even the tiniest breeze can ruin a shot. Getting the focus right in these conditions is impossible.
Background
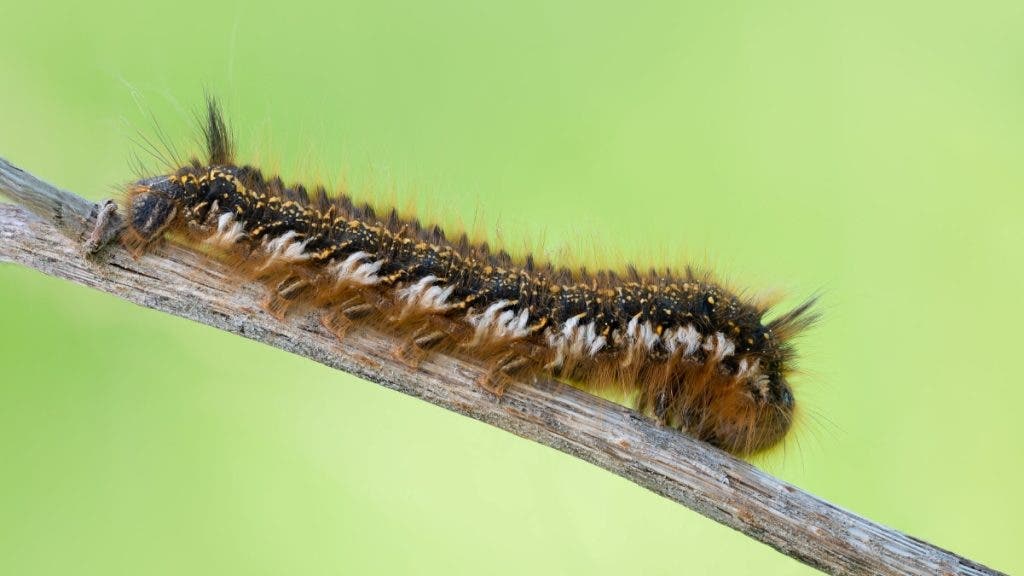
Because you are in your garden, you get to control the background a bit more than in the wilderness, which is a huge advantage. For instance, you can arrange a few branches or leaves you prefer as a background. Then, you can mindfully move the subject there without harming or stressing them in any way. Or pick the subject up together with whatever they are standing on (e.g., a flower, a leaf, etc.). Afterwards, slowly move them into the best light and position. Or you may remove distractions from the existing background to ensure the best background. Alternatively, you can place your own background, but this is not something I do. I love the natural look. Remember, you need the background to be at least 20 cm away from the subject to have that nice, smooth blur.
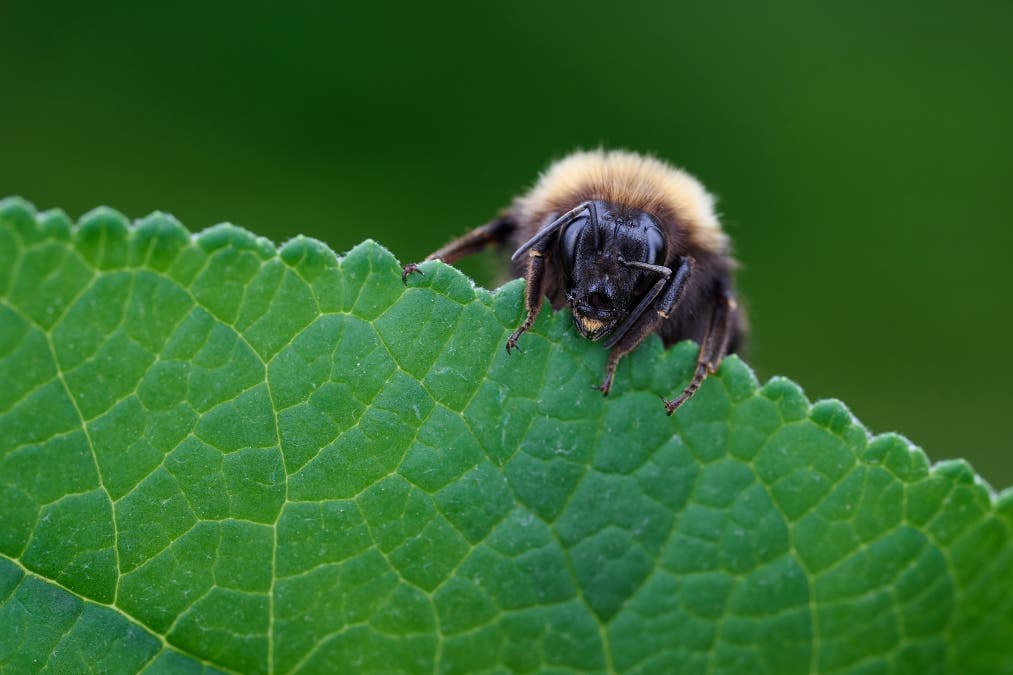
On one occasion, I stumbled on an exhausted bumble bee on the ground while I was photographing in the garden. I picked a leaf, and let it climb onto it. It turned the leaf, so the bee was on the opposite side from the camera, and I waited. After a little while the bee reached the top and slowly emerged with a curious look. I took a burst of shots, and then carefully placed the leaf on the ground and went to fetch some syrup for my “model”. A few minutes later it had gained its strength from the syrup and flew away. Here’s the resulting shot:
Focus
Focus on the NIKKOR Z MC 105mm f/2.8 VR S is a bit slow, but really, really sharp. Especially if you use autofocus and 1:1 magnification, the focus is quite slow that it prevents you from getting that thin slice of focus on the insect’s eyes, when you have to take into account your own breathing, a little breeze and maybe subject movement. To make the most of its sharpness and overcome the slow part, I use my preferred method of focusing on macro photography, which is to hold the camera, rock it a bit back and forth, and fire a burst of 20-30 shots with the focus plane slightly changed. I then cull the shots with a good focus or use focus stacking to combine those with the subject’s features I want in focus (e.g., an insect’s eyes, antennas, etc.). Keep in mind that for focus stacking, the shots must be perfectly similar.
When I’m using a tripod, I’m relying on the Focus Shift Mode that comes with using a Z camera and the NIKKOR Z MC 105mm f/2.8 VR S lens. This mode does focus stacking automatically. It takes care of shifting the focus and taking a burst of shots, producing the perfect images for overlapping in an editor later.
Flash Use
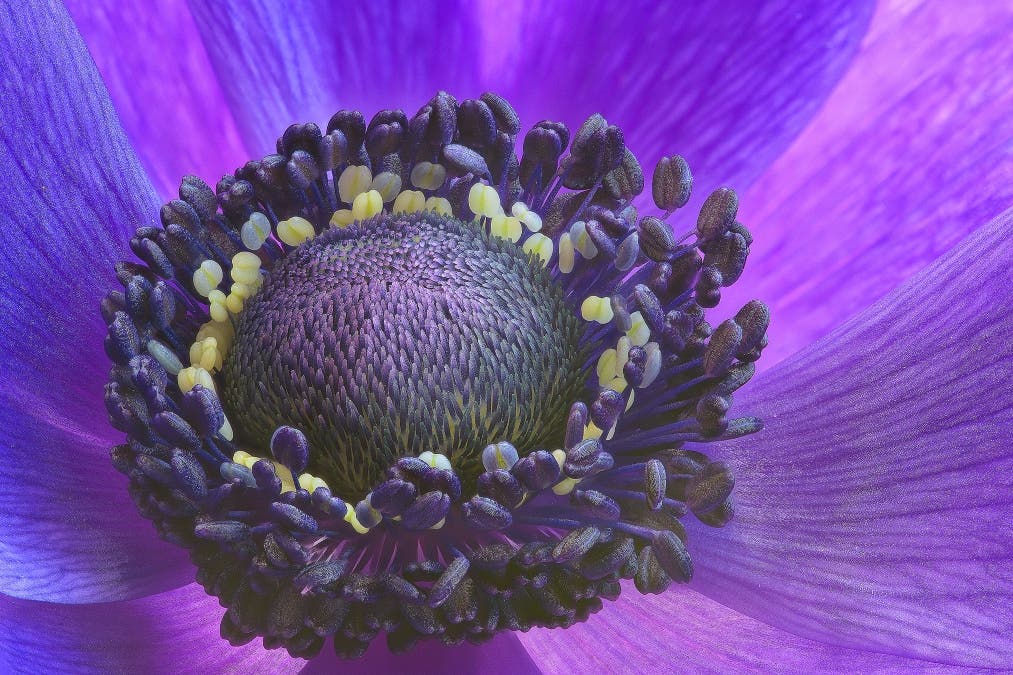
I use flash not only to brighten the image but also to bring up the details. You want to adjust the flash intensity to produce a subtle light that doesn’t overpower the sunlight, allowing the shots to remain natural-looking. The flash is just for providing a fill light. However, it also has the advantage of allowing you to use an aperture of f/11-f/13 and enlarging the focus area.
How to Improve Your Macro Garden Photography
Over the years, I’ve improved my macro photography skills, but I have also made my garden a wonderful place for this type of photography. It’s a long-term project, but it’s worth it.
After a bit of research, I planted flowers that attract specific types of insects in my region. It is rumored that in my part of the world (Denmark), a Rhodendendrun is only suited for two species of insects, while an oak is suited for approx. 800 species of insects.) So native species are crucial. I also made a pond with some flowing water and added a bucket of water from the local lake. A year later, dragonflies and damselflies came to pose for me. Another improvement to my garden was to put dead branches underneath trees and let them decompose naturally. And instead of cutting the lawn like a tennis court, allow some wilderness in: plant wildflowers, mix flower beds, let the grass grow taller, leave a weed or two pass you by. All these natural processes attract a lot of insects.
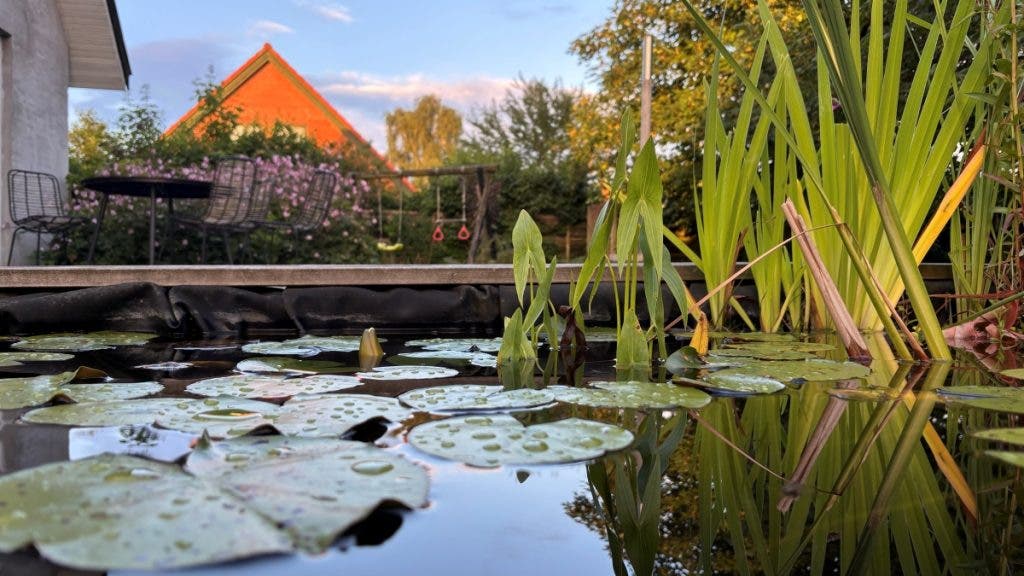
To have some reliable shade when I need it, I planted trees and tall bushes. It doesn’t have to be a large ecosystem. After all, macro photography has tiny subjects. It just has to be welcoming towards your tiny friends and offer some protection from the elements.
Final Thoughts
If you have a garden you can use for a macro photography photoshoot, take advantage of your luck. My advice is to go for a simple setup, with one camera and one lens that go perfectly together, like my Nikon Z camera and NIKKOR Z MC 105mm f/2.8 VR S lens. Don’t dismiss a mid-telephoto macro lens because it may come in very handy when photographing insects. In time, add a flash unit and a tripod. And that’s it. All that remains is to take care of the garden and the little creatures that inhabit it.
