If you’ve ever reviewed images after a shoot just to realize that your images aren’t sharp, you may have been frustrated and wondering what went wrong. While there are a variety of things that could be causing you to lose sharpness in your image, one of the less obvious culprits that plagues many photographers is called heat distortion, or heat haze. This type of distortion can ruin your images, and telephoto photographers are particularly susceptible to this problem. In this guide, we’ll cover how to avoid heat distortion ruining your photography.
What is Heat Distortion?
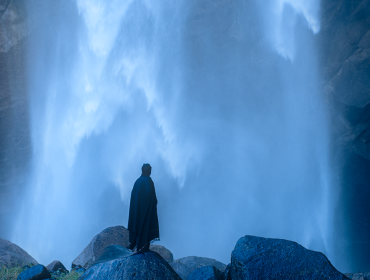
If you’ve been outside on a hot day and looked in the distance, and you could literally see the heat rising off a warm surface, you’ve experienced heat distortion or heat haze. This happens when hot air rises and mixes with cooler air, which causes light passing through to refract, ultimately causing your photography to appear to have a lack of sharpness or even appear blurry. Heat distortion is particularly a problem on warmer days and around objects that emit more heat, but camera lenses can pick this up much easier than the human eye. As you look further away, you begin to see more heat distortion because you’re looking through more atmosphere, allowing the heat haze to multiply and appear harsher. This is why telephoto photographers typically have this problem.

Cropped photo of a bear cub with heat distortion affecting the image’s sharpness.
How Can I Avoid Heat Distortion?
Heat distortion can be a hard thing to avoid, but there are a few ways you can minimize the effects of heat distortion to produce the highest quality images possible.
Shoot at a Different Time of Day
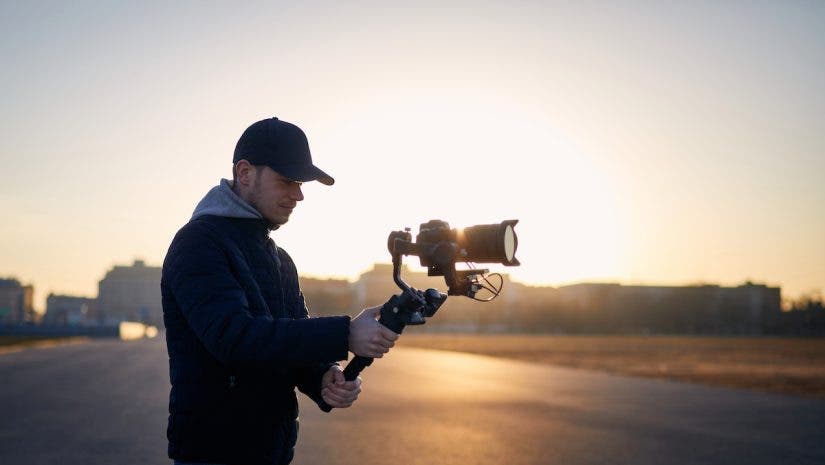
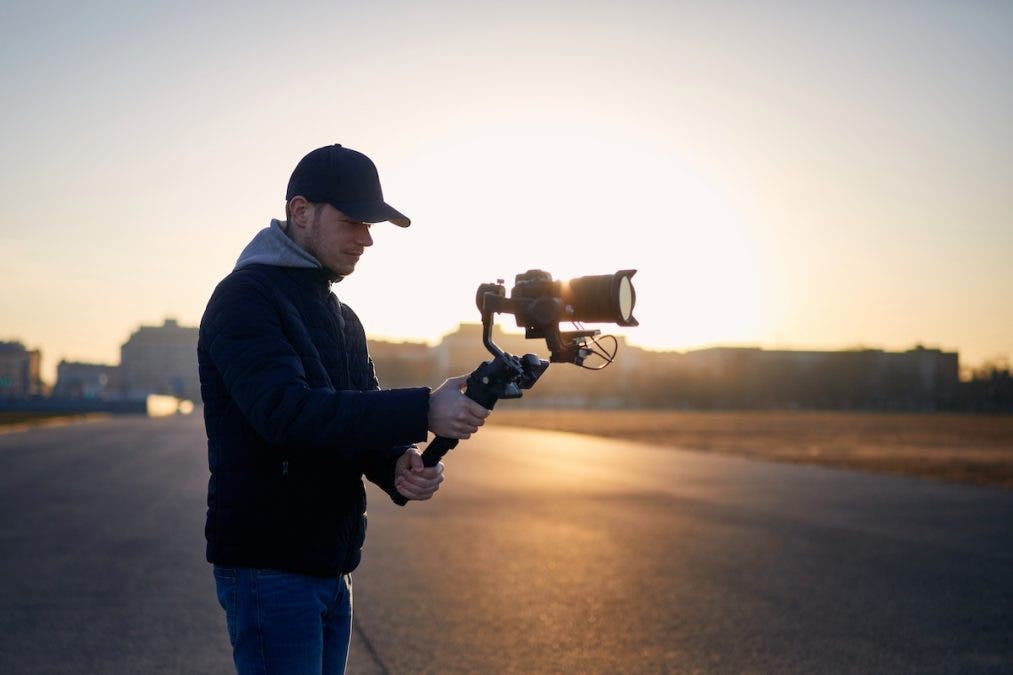
One of the simplest techniques to avoid heat distortion is to avoid shooting in the warmest part of the day. Sunrise and the time just before or after usually yield the least amount of heat distortion because the air is coolest and the temperature difference between the ground and the air is minimal. Later in the day, the temperature of the sun can heat the ground, causing heat distortion as the heat rises off the ground and collides with the cooler air.
Don’t Shoot Near Cars
Anyone photographing wildlife knows the feeling of shooting from their car. Oftentimes, photographers drive around on cold mornings looking for a subject to shoot. Upon spotting their target, they roll the window down, allowing the warm air from the car to escape and collide with the cold air, creating heat distortion all around you. Additionally, standing near a car that has been running recently can be emitting unnecessary heat that adds to the haze.
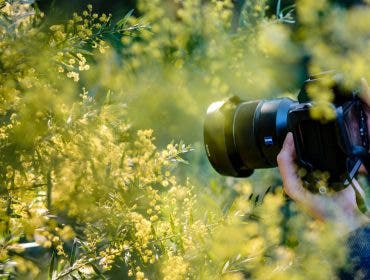
Get Closer to the Subject
One of the best ways to minimize heat distortion is to get closer to the subject. By having less atmosphere to look through, you reduce the amount of heat haze. While this isn’t always possible, this should be the first thing you consider when it is an option.
Lens Hoods
When you remove a lens from a warm space, the lens hood can trap warmer air. This warmer air mixes with the cold air entering from the front of the hood. The mix creates heat distortion directly in front of your lens. This distortion will reduce or even destroy the sharpness of your image. To prevent this, reduce the temperature difference between storage and the outside air. You can also remove the lens hood to let air flow more freely.

Removing the lens hood is a good idea until the temperature of your equipment matches the outside temperature.
Adjust Your Shooting Angle
If possible, be aware of not only your surroundings, but also what lies between you and your subject. Avoid shooting across roads, sand, or metal, which can be hot and produce more heat distortion. Getting higher or shooting from a different angle can help you avoid these problems when shooting through something that produces more heat than usual.

Shooting early in the day and close to my subject before the sun hits allowed me to capture images free of heat distortion.
Can You Fix Heat Distortion in Post Processing?
Minor heat distortion may be slightly fixed in post processing by doing a small amount of sharpening in your photo editor of choice. There are many different ways to sharpen, so try multiple methods and see what works best. Unfortunately, images with severe or even moderate heat distortion can’t be fixed, no matter how much sharpening is applied. Because heat haze causes a lack of sharpness and a distortion of the light rays, no sharpening can fix it. This is why it’s crucial to avoid heat distortion in the field rather than relying on post-processing.
Heat distortion can provide major problems for wildlife, sports, events, and telephoto photographers. In some cases, it can’t be avoided. However, in almost every case, the heat distortion can be minimized by following some of the tips in this article. Remember that even if you can’t see it easily with your eyes, your telephoto lens and high-resolution camera can pick up on the distortion. And any small adjustments can help improve the overall image quality.