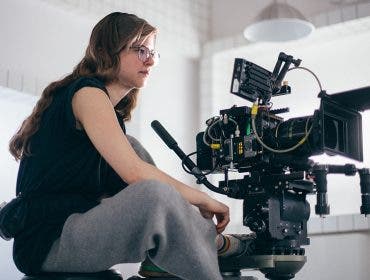
We all agree that YouTube videos are not what they used to be: dull, low-quality how-to or homemade movies one would enjoy on an outdated computer monitor. Nowadays, YouTube content creators produce professional-looking videos with impressive resolutions. Additionally, these productions meet high audio-quality standards. These videos often look no different than a blockbuster, whether one watches them on a large TV screen, monitor, or smartphone.
Consequently, for your YouTube videos to remain competitive within this industry, they must be high-quality, cinematic productions, too. Achieving this requires careful consideration of not only the content being filmed but also the methods of filming, including adherence to cinematography principles, effective lighting design, and appropriate post-processing techniques.
How to Take Cinematic Shots for YouTube Videos
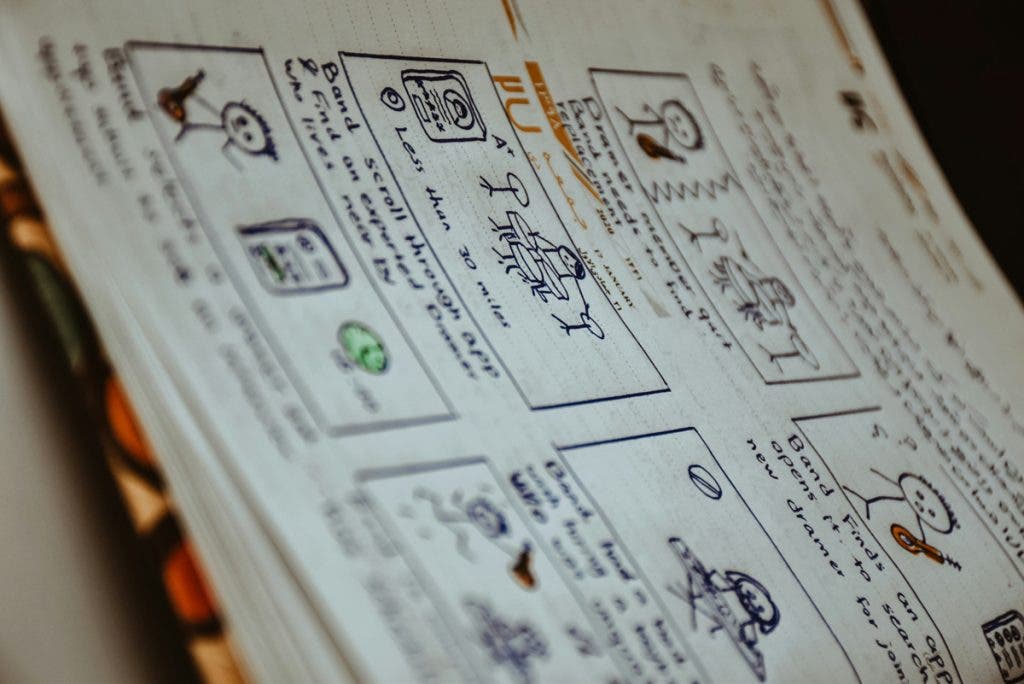
A YouTube video should be a narrative, just like any other multimedia production. Regardless of its subject, it should have a beginning and an end. Additionally, a plot and a clear development of the action. The narrative is based on a script (i.e., what you want to say) and a storyboard (i.e., how you want to say it). So, the first step in taking cinematic shots is to create a storyboard and a list of shots.
Starting with a list of shots highlights another common mistake in YouTube videos: the entire video has just a single shot. You see this in YouTube tutorials, interviews, podcasts, fitness classes, and many other types of productions. The camera never moves, changes its angle, or uses a different focal length. Your video should have a variety of shots, even when you use a single camera to film it.
For instance, you can try one of the following:
- Change the camera-subject distance and angle (e.g., film a person from various angles)
- Include close-ups (e.g., get close to film what ingredient is stirred in the pot)

- Use environmental shots (e.g., capture shots that don’t include the subject or the action around it)
- Try camera movements (e.g., dollying, zooming, panning, following the subject, circling the subject, slow motion, etc.)
- Include stock images and videos (i.e., generic shots that localize the video)
To level up your video even more, you can try these types of cinematic static shots that you will most likely find in any movie:
- Compose the shot using reflection of the subject (i.e., from a mirror, window, or lake)
- “Dirty” the frame by including an out-of-focus foreground in the composition.
- Compose using leading lines to add depth plus attention to the subject.
- Use silhouettes where you can only see the outline of the backlit subject.
Cinematic videos also feature certain technical details you should be aware of. They use the 24fps film standard, which is partly responsible for the cinematic look. They have the so-called “big screen” aspect ratio, which is 2.39:1. Usually, they are shot in RAW for rich details and smooth imagery. Additionally, shooting in RAW offers more freedom in post-processing.
Although the 24fps film standard and the aspect ratio are doable in post-processing, the cinematic effect is mostly camera-based. Hence, consider investing in a cinema camera for cinematic YouTube videos. More on gear later on.
Lighting for Cinematic YouTube Videos
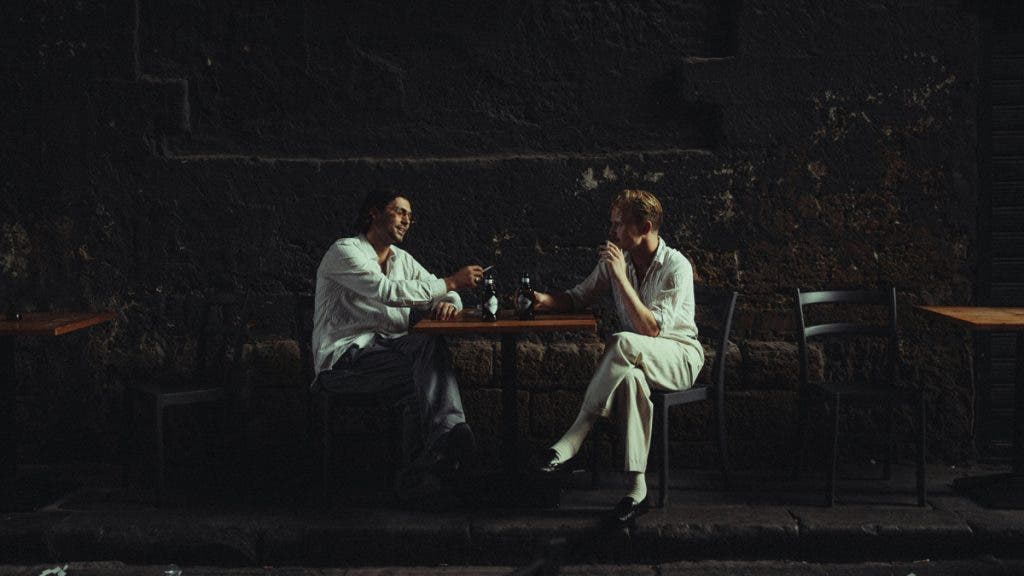
Cinematic videos feature realistic lighting that flatters the subject and adds to the visual story. Nothing screams artificial more than a white background behind the subject and a powerful, bright light source in front of it. Of course, lighting design depends on the scene, subject, story, and production budget. Regardless, there are a couple of lighting techniques that can help you make your YouTube videos more cinematic.
Cinematic Triangle Lighting
The cinematic triangle lighting uses a single light source, whether sunlight or an artificial light source. Instead of placing the light in front of the subject and eliminating any shadow (and realism), this technique places the light source at an angle, forming a triangle between the camera, the subject, and the light source. So, if you shoot your video outdoors, position the subject and the camera in such a way as to have sunshine coming from the side, creating some shadow and providing a natural illumination. You can use diffusers and reflectors to adjust the lights’ quality and direction.

If you shoot indoors and want the same cinematic lighting, move the light source until you find the best angle. With the light source slightly behind the subject, the scene will be darker and the shadows more dramatic. If the light source is slightly in front of the subject, the scene will be brighter, fresher, and more joyful. Every single detail influences the story, so pay attention.

Practical Lighting
Practical lighting is another easy technique that helps you create a realistic, three-dimensional effect. The method refers to illuminating the scene with light sources that enter the frame, such as light bulbs, candles, Christmas lights, and lamps. Practical lights add a sense of depth and help the viewer perceive the distance between visual elements. They also make the subject stand out from the background and create a much more interesting and appealing scene.

Post-processing Techniques to Consider
Post-processing techniques for cinematic YouTube videos encompass cropping the footage to the “big screen” aspect ratio, editing it to the 24fps standard, color correcting, and color grading.
Color grading is responsible for much of the cinematic effect, in that it provides the stylized look that’s so appealing to us. Think of teal or orange color casts that flatter skin tones and hide imperfections, conveying warmth and familiarity, or the vintage look that is so recognizable from the first frame of a movie.

Color correcting refers to fixing any exposure, color accuracy, and lighting problems. It is responsible for brightening dark footage, removing unwanted color casts, homogenizing footage shot in different lighting conditions, and creating an overall cohesive look.
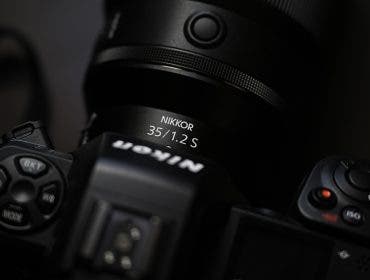
What Equipment Do You Need to Make Your YouTube Videos More Cinematic?
The gear responsible for cinematic videos consists of a cinema camera and a high-quality, versatile light source. You should also consider accessories that improve your workflow and allow you to focus on the creative part, such as various lenses, a tripod, light stands and light modifiers, filters, spare batteries, and spare memory cards.
Canon EOS C80 Cinema Camera
The EOS C80 features an impressive 6K full-frame sensor that promises the best sharpness, color vibrancy, and dynamic range on the market. It will help you create beautiful lit videos in any lighting conditions. Furthermore, it includes the advanced dual pixel CMOS AF II autofocus system that smoothly follows the subject even in fast-paced scenes.
The camera supports Cinema RAW Light shooting and various video formats (XF-AVC, XF-HEVC S, and XF-AVC S) for a seamless workflow and unlimited post-processing. You can pair it with PL mount lenses, 3.5mm and XLR microphones, and control panels, mount it on drones and gimbals, and take it outdoors with no worries because it is weatherproof.
Sony FX3 Full-Frame Cinema Line Camera
The FX3 is versatile, portable, and lightweight, the perfect mix for a YouTube creator. It features an impressive 80 – 102400 ISO range, 15+ stops of dynamic range, 4K video capabilities, and Sony’s acclaimed S-Cinetone color system for the ultimate cinematic expression. Moreover, the wide area autofocus system with intelligent tracking will keep the subject in focus, allowing you to focus on something else, such as smooth transitions (the camera has seven settings for this).
For improved adaptability, the camera supports 16-bit RAW shooting, accommodates the wide range of E-mount lenses, features an attached handle and cage-free accessory mounting holes, and lets you connect XLR microphones.
Godox Litemons LA150R RGB LED Video Light
The LA150R is a video light specifically designed for filmmakers and videographers. It is easy to use, versatile, and portable. It features a stunning color temperature range (1800K to 10000K) that allows you to create the exact mood in your artistic brief. At the same time, its high Color Rendering Index (CRI) ensures color accuracy and vibrancy. And the bright output of 15,610 lux at 3.3ft (1m) using the included reflector makes it ideal as a cinematic triangle light source.
The light includes nine built-in effects, step-less light intensity dimming from 0 to 100%, and a Bowens mount for light modifiers and accessories.
Aputure Light Storm 600c Pro II 600W RGBWW LED Light Gold Mount
The Light Storm 600c Pro II is an extremely bright and powerful light source ( 91,500 lux at 1 meter with Hyper reflector) that you can use with light diffusers and reflectors to create the perfect light design. Furthermore, it is compatible with 48V/15A DC Input (3-pin XLR): Battery Power stations & Block batteries, which means you have a wide range of power options at your disposal. Setting up the scene is effortless with a light source that doesn’t need to be close to the subject to do a good job.
It has a high CRI (>=95), step-less light intensity dimming from 0 to 100% with four dimming curves, a Bowens mount, eight built-in lighting FX, and a dust, light rain, and weather-resistant construction.
Final Thoughts
When it comes to creating a cinematic look for your YouTube videos, the key is to follow the rules of cinematography regardless of the size of your production and invest in the right equipment. Combining high-quality cinema cameras, like those supporting RAW shooting, with versatile lighting options such as the Godox Litemons LA150R and the Aputure Light Storm 600d Pro ensures a fast setup and smooth workflow, as well as realistic, cinematic results. Experiment with different lighting setups and accessories until you find the perfect combination that brings your artistic vision to life. It will become second nature shortly.