Jewelry photography isn’t as easy as it sounds until the photographer understands and masters the keys to taking great pictures of them—sharpness, lighting, and exposure—and how to adjust them in each situation in order to achieve the best photos possible.
But don’t worry—it’s also not as complicated as it sounds! As long as you’ve already gained ample experience in shooting in Manual Mode on your digital camera, you can start taking more impressive photos of jewelry with the tips below.
11 Tips for Better Jewelry Photography
1) Choose the Right Camera
Any camera can work well for jewelry photography, as long as you can manually adjust the aperture and shutter speed and shoot in RAW. It helps to be familiar with the camera you intend to use, so you can quickly and easily make adjustments to get a look you’re happy with.
If you’re using a DSLR or mirrorless camera, make sure your lens of choice has a wide aperture. Many introductory or kit lenses have a maximum aperture that is too narrow for macro and product photography. Plan to use a lens in the range of f/1.8-f/4 for best results.
2) Choose the Right Surfaces
Try placing the jewelry piece on top of a wooden table, a plain white or reflective surface, or simply zoom in on key features to exclude the rest of the object while you use a wide aperture to blur out the background.
3) Find a Sturdy Tripod
The best way to ensure that your images come out tack-sharp is to use a tripod and preferably a remote shutter release to stabilize your camera. Not only will it eliminate camera shake, but it will also help keep your subjects framed in the same exact way so you can have an easier time adjusting your focus and modifying your lighting (more on these below).
4) Adjust White Balance Settings
One of the biggest mistakes that you can make when photographing jewelry is not being aware of your white balance settings. When shooting jewelry for documentation and sales, it’s crucial that you capture accurate colors in your images. You wouldn’t want to photograph silver rings and submit them looking like gold rings and vice versa!
Prevent this by manually adjusting the camera’s white balance until the jewelry in your photos start looking like they do in real life. You may try using a gray card to correct the white balance for your current lighting condition. You can also shoot in RAW so you can easily adjust the white balance in post-processing without sacrificing the quality of your images.
5) Use Off Camera Flashes
Even for jewelry, many photographers would advise that you use natural light. But for a more professional result, you’ll want to use off-camera flashes to create a more controlled lighting setup.
Whatever you decide to use, what’s important is that you are able to create soft and even lighting to eliminate as much shadow as possible.
You can further improve your lighting setup by making the most out of your available light sources, such as with reflectors, light cones, or light boxes. A good example of a professional light box is the Glow LED Studio-Cube ($65 for the 17-inch cube, and $95 for a larger 27-inch cube), wherein you can place the product to achieve soft illumination from all directions. This helps take the guesswork out of highly complicated lighting setups for jewelry photography. You can also use a light cone, such as these V-FLAT WORLD options, to diminish distracting highlights.
While you’re at it, turn off all other unnecessary light sources in the room. Also, don’t mix different types of lighting that may produce different color temperatures.
6) Manage Reflections
Gemstones and metals are highly reflective, so you’re likely to find yourself (and your camera) reflected in the jewelry—which is obviously something you don’t want.
Eliminating reflections is a trial-and-error process when it comes to jewelry. As previously mentioned, placing a paper around and at the bottom of your camera lens will help block off reflections and bounce more light back towards your subject.
No need for expensive setups. And then, use a diffused overhead light on each side to provide enough lighting without creating overly reflective spots, and slightly elevate your camera (with the tripod) so you’re shooting slightly down at your product.
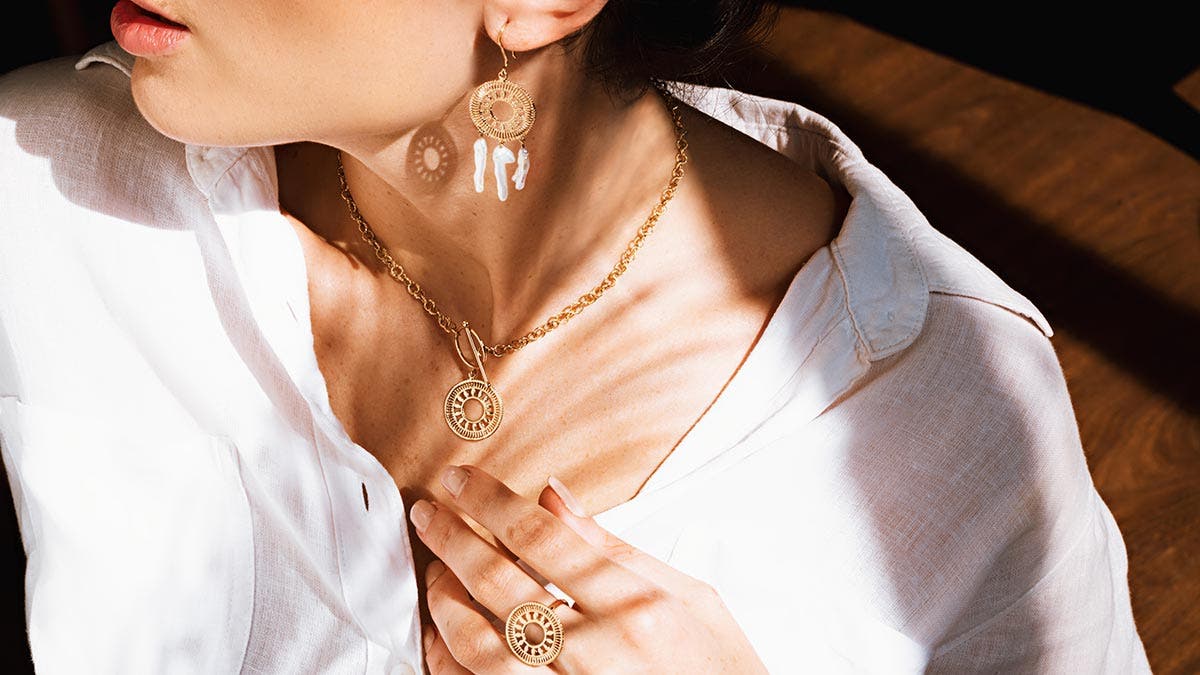
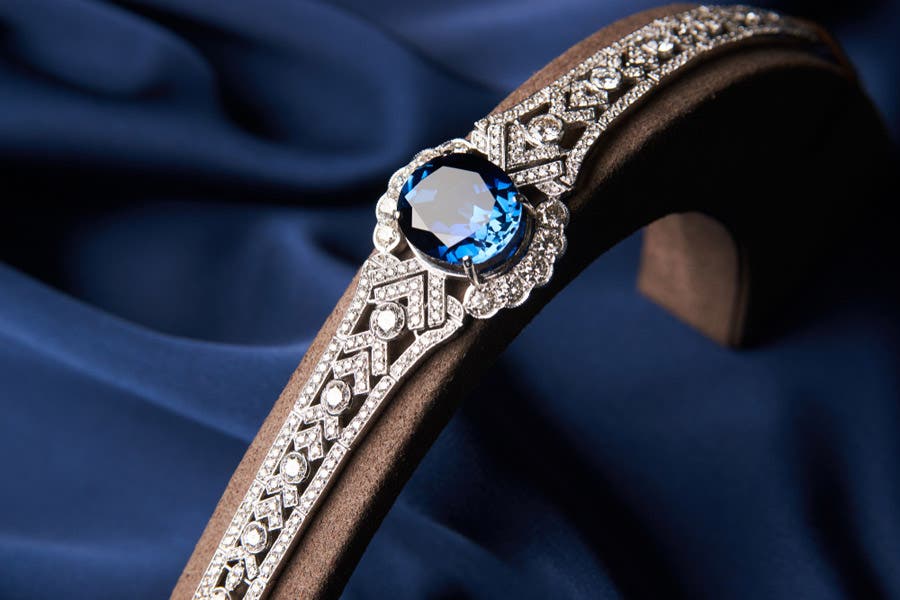
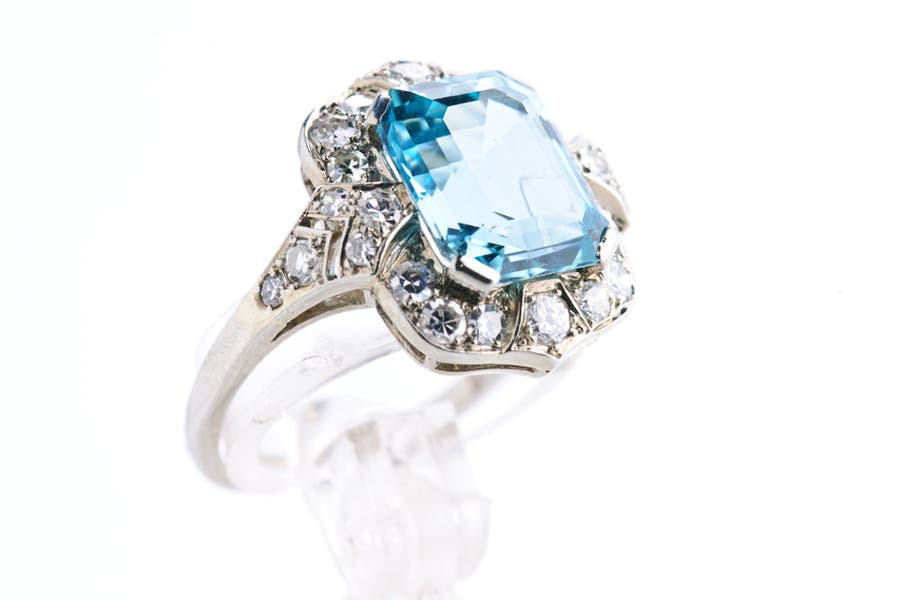
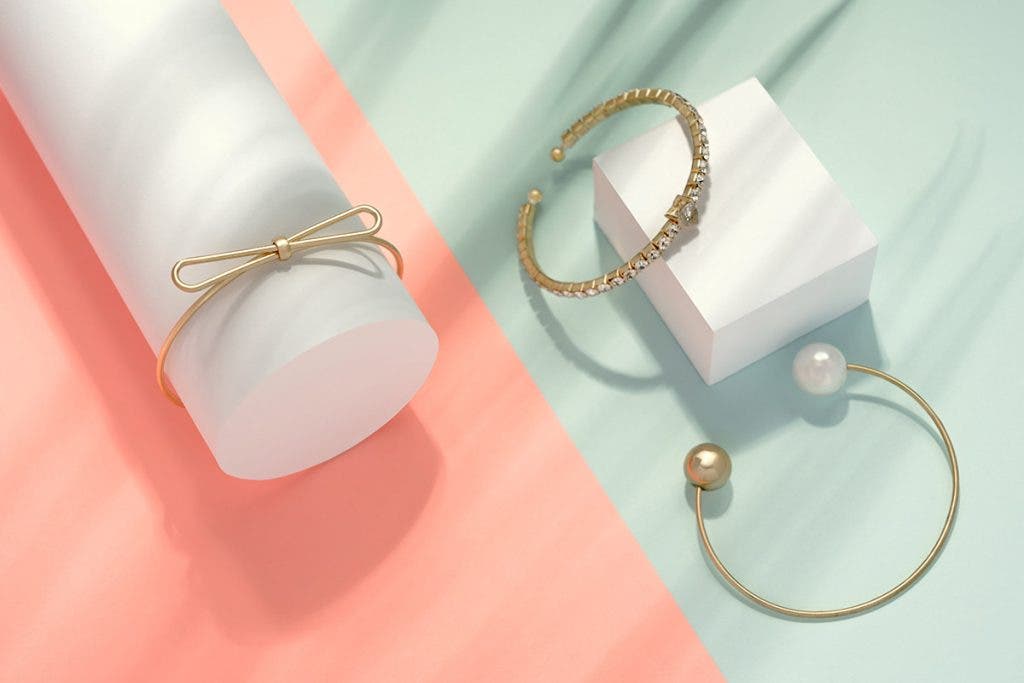
7) Choose a Good Jewelry Photography Background
Of course, there’s nothing wrong with being a little more creative with your styling. If you want to add interest to your shot, you can very much do so! Just be warned that placing too many elements in your frame can distract your viewers from focusing on the beauty of the jewelry.
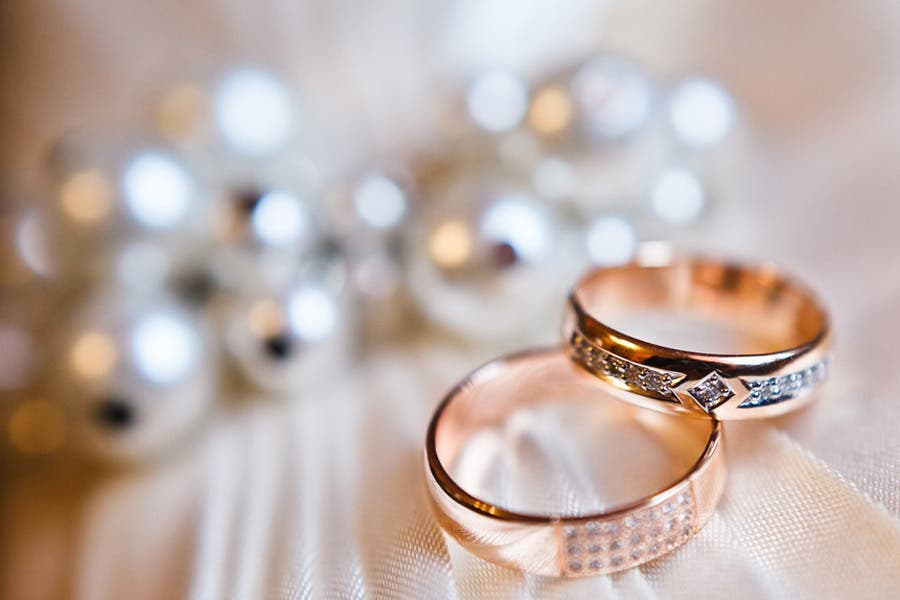
As a general rule in photography, keep it simple and mind how the background, colors, and other elements interact with your subject. They should always complement the jewelry and make it stand out, as seen in the photo above.
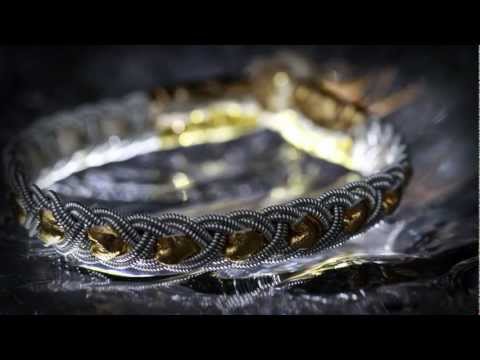
If you want to get an idea about how crazy and unique you can go when it comes to creative jewelry styling, watch the AdoramaTV episode below:
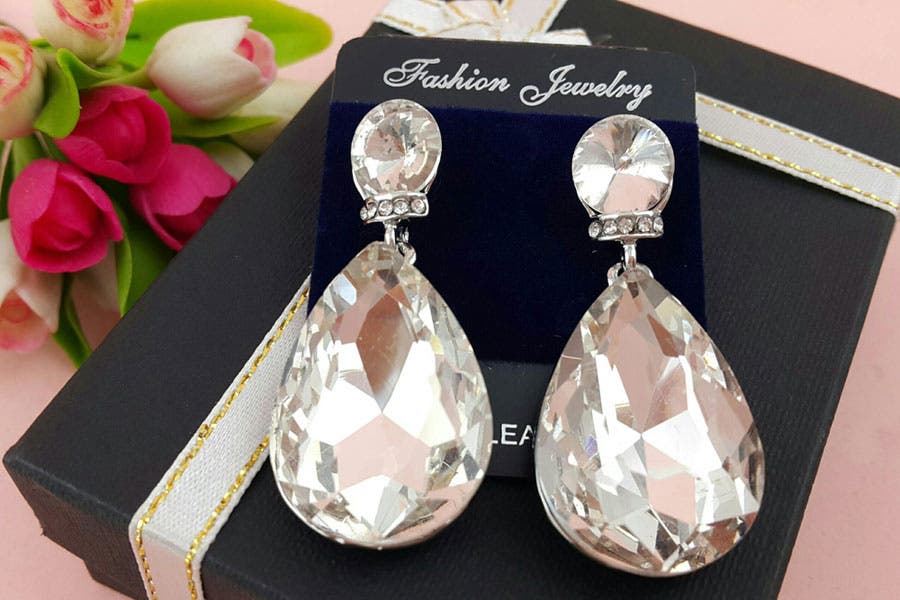
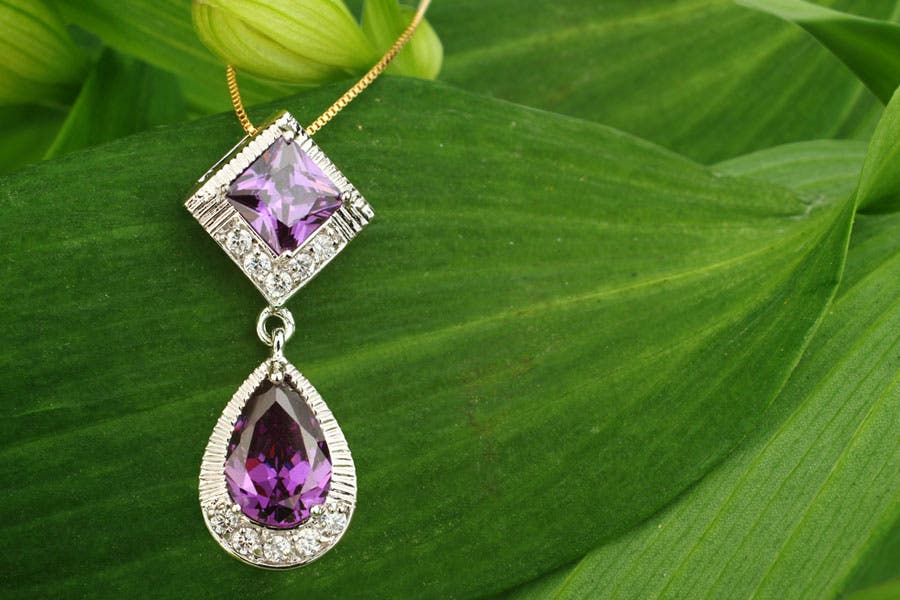
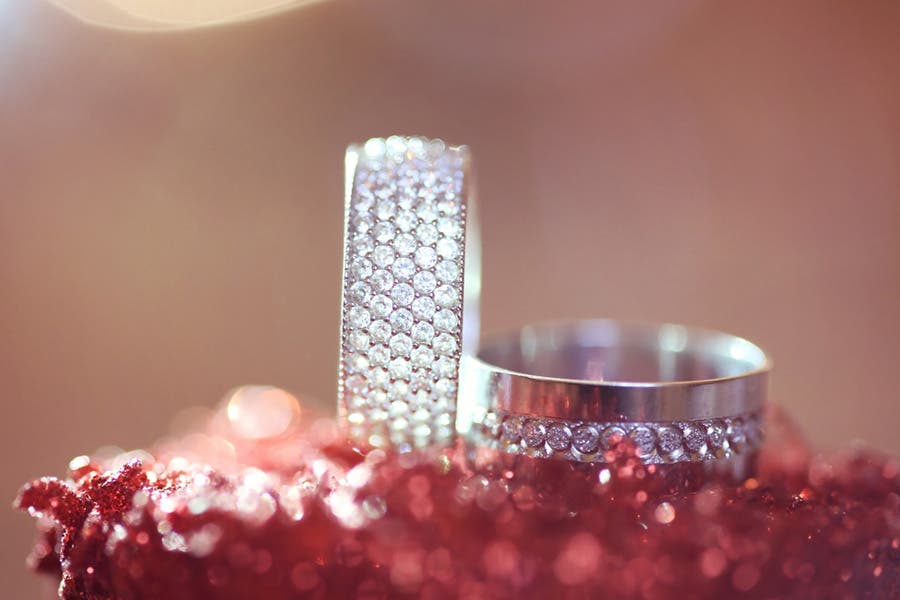
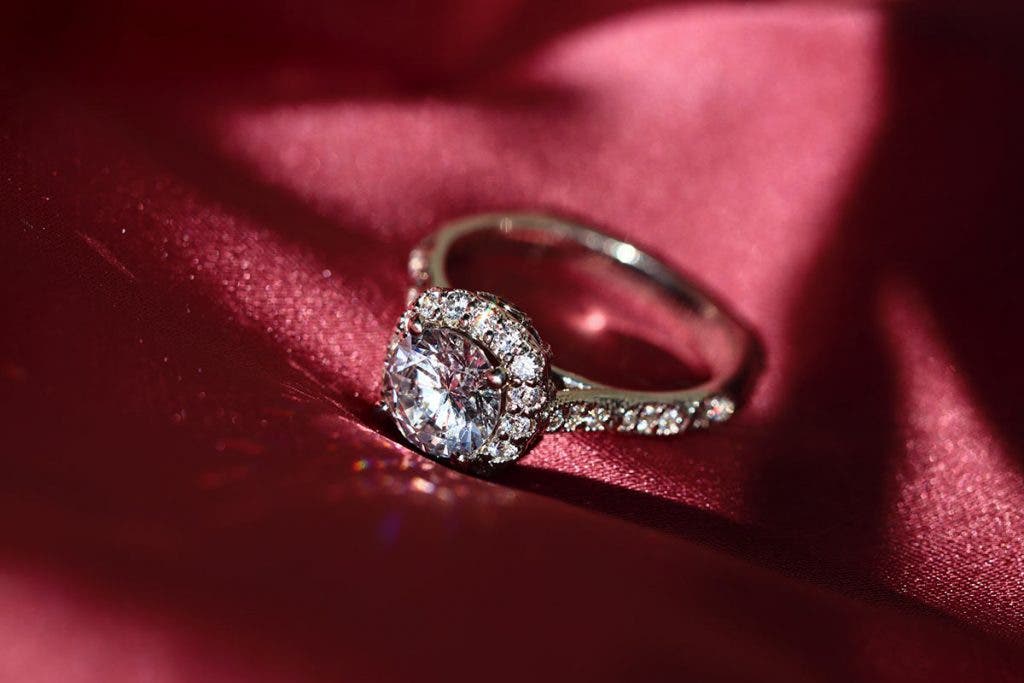
8) Feature Contrasting Colors
To create strong and attractive images, you can feature contrasting colors by placing your jewelry on interesting and colored surfaces. Experiment and see the type of images you can come up with when you use complementary colors with your pieces of jewelry.
Using a solid color or several shades of the same color will instantly help make your items stand out. But remember, try to keep it to a minimum and avoid using too many shades that can distract your viewers’ attention away from your main subject.
9) Clean Your Jewelry
Taking beautiful jewelry photos also means making sure that your items are clean and polished. What may not seem obvious to the naked eye will be revealed once it gets blown up in the highly-detailed images taken by your digital camera.
Unless your items need some serious cleaning, you can simply remove dust and add shine to your jewels by wiping them down with a soft, damp cotton or microfiber cloth before the shoot. You can also wear cotton gloves so you don’t end up leaving fingerprint marks every time you handle them.
10) Focus with Precision
The usual goal is to highlight the star of your jewelry, such as the main diamond or the charms on a bracelet, so you’re likely to just use Auto Focus on them. However, even in close-ups, the focus may still be off, so you’ll need to verify it afterward by reviewing the image and zooming in for a closer look. If it’s not accurate, refocus, verify, and lock it.
Before you end the shoot, make sure you also have winning shots where you have the entire piece of jewelry in focus. This is also in case you’re shooting for a catalog and they only have space for one or two product images that need to show all the details and intricacies of the jewelry. It may sound impossible even with a wide depth of field, but this can be achieved with focus stacking. This technique will allow you to capture several shots with each part of your jewelry in clear and sharp focus, so you can come up with a final image wherein everything is in focus.
Learn about the focus stacking technique in the AdoramaTV tutorial video below:

11) Retouch Your Images
Post production make sure to touch up the images if needed:
- Straighten and align the images
- Remove blemishes
- Adjust lighting contrasts
- Remove unwanted shadows
Jewelry Photography: Frequently Asked Questions
What is the Best Lighting for Photographing Jewelry?
Off-camera strobes or speedlights will provide a bright, attractive light source that lets you shoot at a much lower shutter speed. This in turn will help keep your ISO lower. It’s generally easy to match the color temperature of your strobes by setting the camera’s white balance to the flash setting. If you haven’t used strobe lighting before, you’ll find that there’s a bit of a learning curve and a higher investment cost than other lighting sources.
Many product photographers take advantage of the lower cost and ease of use of LED lighting. In fact, there are many kits on the market with LED constant lights and a light box that aren’t difficult to set up. LEDs are a good option because what you see is what you get. You can predict the results fairly easily, and you can quickly make changes to achieve your desired look.
Which is the Best Lens for Jewelry Photography?
The most important piece of equipment you’ll usually need for jewelry photography is a macro lens. When shooting with a DSLR, compatible macro lenses ensure that you get the most spectacular images beyond life-size, which is why they don’t come cheap.
One of the things you need to consider when choosing a macro lens is that it helps to have two—one with a shorter focal length, which allows you to work much closer (as these typically have a very short minimum focusing distance) and reveal minute details in bigger pieces of jewelry; and another with a longer focal length, so you can conveniently shoot from a more comfortable distance.
Shooting close to your subject can also make the camera lens show up in the reflection, so you may want to create your own lens “hide”—a white piece of paper with a hole in the middle to conceal your gear and reflect some of the light towards your object.
How do you photograph jewelry without shadows?
Photographers know that necklaces and bracelets look best when evenly illuminated, but how can you successfully (and easily) tackle jewelry photography without distracting shadows? The answer’s simple. If you’re photographing outside, wait for a cloudy day or find an evenly shaded spot to eliminate shadows so the viewers’ eyes stay on the jewelry. If you’re photographing inside, make sure to use diffused light to generate the most even light dispersion possible.
Many top jewelry photography experts swear by placing a light and diffuser at a 45-degree angle from the product for a neutral and soft, flattering glow. You can also remove shadows in photos using photo editing tools later.
How do you avoid reflection in jewelry photography?
As creators explore how to photograph jewelry successfully, one of the biggest pain-points they’ll run into is dealing with jewelry reflection. How can you avoid reflection in jewelry photography? One idea is to place paper or a sheet of aluminum foil around the bottom of your camera lens. This approach will help minimize reflections and keep the light bouncing back on the most important subject of your jewelry photography shoot: the jewelry!
Additionally, make sure to avoid using flash photography. A separate, diffused light source, or opting for natural light, will minimize, if not entirely curb, that reflection as well.
How do you sparkle jewelry in pictures?
One thing that makes jewelry portraits go from so-so to stunning? A bit of sparkle. But determining how to photograph jewelry with sparkle can be a challenge for beginners. Here’s how to tackle it. For one, make sure your jewels are clean and polished. (If you don’t know how to do this yourself, take the piece to a jeweler for a professional cleaning.) Next, play around with your soft, diffused lighting. Try different angles to see how the piece of jewelry catches the light; experiment, adapt, and make real-time adjustments. It’s also important to use a macro lens with a close focusing distance so you can get tight on those sparkles. These lenses are built for this kind of jewelry photography, and will help your pieces shine to their fullest.
Conclusion
- Select which lighting, lens, background, color is best for the jewelry
- Pick equipment
- After pictures taken use production software to edit them
- Fun and easy to master the skill with practice
Now that you know how to take great pictures of jewelry, look for a beautiful subject and start shooting! Good luck!