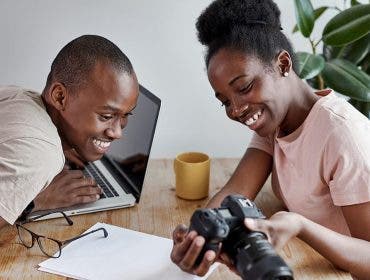
High-end lighting equipment may be expensive and intimidating for a beginner. Most photographers start with the built-in flash unit and add lighting gear and accessories along the way. But if you have a photography studio, lighting design is part of each and every one of your photo sessions. Sticking to a simple lighting setup will hold you back and prevent you from improving your technical and creative skills. Thus, whenever your equipment is outdated or you significantly change your studio space, style, or photography genre, level up your photo studio and update your lighting setup. Here are the steps to consider.
Upgrade Your Lighting Gear
Lighting gear is the most important part of a lighting setup. It allows you to fine-tune the characteristics of light and create technically impeccable images and artful compositions. Professional light sources allow you to adjust light’s direction, intensity, and color temperature, highlighting contours and details, bringing the background to life, and flattering the subject’s features. They also give you the freedom to use any camera settings you want.
However, consider your preferred photographic genre when leveling up your lighting gear. Portrait, still life, and product photography require different lighting setups. Fine art and commercial photography also have their requirements. You may take the next step in lighting by updating or upgrading your current light sources to match your workflow.
Strobe Lighting
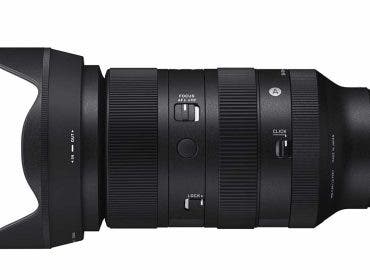
Strobe lighting refers to using a flash-type light unit that produces a short burst of light synchronized with the camera’s shutter release. Adding one or more strobe lights to your studio will definitely take your photography to the next level. You can use them to create a 3-point lighting setup for commercial shots, a chiaroscuro effect for artistic portraiture, a rim light for still life, and much more.
Some strobe lights, such as the Flashpoint XPLOR 600 SE, are powered by batteries and work in outdoor photo setups, too. The Flashpoint XPLOR 600 SE is wireless, delivers 500 full-power flashes per charge. It has an incredibly fast flash recharge time, allowing you to shoot without waiting for the flash. Furthermore, it supports high-speed sync (up to 1/8000 seconds) and produces a natural-looking light with a 5600K color temperature. It is compatible with various light modifiers, which means you can reuse the light modifiers you already have. And speaking of reusing, if you previously owned the original XPLOR 600, you’ll be glad to know that the Flashpoint XPLOR 600 SE uses the same battery technology, so you can reuse the batteries as well.
Improving your lighting setup doesn’t automatically mean getting rid of everything you have and buying new products. You can build a solution that works for you by mixing old and new equipment.
Continuous Light Sources
Continuous light sources, such as LED lights, produce a constant illumination that helps you see the effects of the light before pressing the shutter release. Therefore, they are easier to set up and adjust than strobes. They work equally well for photography and videography and create the cinematic effect filmmakers want so much. LED lights are much more versatile in terms of color temperature than strobes. For most studio photographers, they are as reliable and predictable as the sun itself. Consider using a wider aperture and increasing the ISO when shooting with LED lights.
However, installing large continuous light sources outside a studio may be challenging. However, choosing portable, battery-powered, small LED lights for outdoor photo sessions has a significant drawback. They are less powerful than strobes and less likely to produce enough illumination to freeze motion. In some cases, they may not even have the power to be used as a fill light, let alone a key.
To benefit from both the power of a strobe and the preview provided by a continuous light source, you may want to upgrade to a strobe that includes a good modeling light. The Flashpoint XPLOR 600 SE, for example, has a 40W LED modeling lamp that is exactly for this purpose.
Focus on High-Quality Light Modifiers
Studio lights are good; studio lights with light modifiers are better. You can do so much by incorporating softboxes, beauty dishes, reflectors, and umbrellas into your light design. Based on your photographic genre, some light modifiers may help more than others, but pretty much all genres benefit from using the following two.
Reflectors
Reflectors reflect the light coming from a light source, whether it is sunlight or an artificial light source. However, they don’t modify just the direction of light but also its intensity and color. The reflector’s material and finish are responsible for the light’s modification you’ll perceive (e.g., white, matte reflectors produce a soft, natural-looking light, gold, shiny reflectors produce a warm light, etc.).
Reflectors are exquisite at producing fill lights that look natural and soft. They help you avoid harsh shadows, balance the composition, and create smooth transitions. In addition, reflectors make the light more bearable for the model and more flattering for their skin and hair tones.
Umbrellas
Like reflectors, umbrellas are light modifiers one can use with natural and artificial light. Also like reflectors, their material and finish influence the effect onto the light. However, umbrellas can work as a reflector, a diffuser, or both. The result is a softer light, evenly distributed and natural-looking. The wider the umbrella is, the softer the resulting light.
Umbrellas are very versatile. You can mount them on strobes and other artificial light sources or a stand. You can put them on the ground or ask someone to hold them. They come in all sizes to match small flash units and powerful strobes but also to match the size of your subject. For example, umbrellas for headshots are smaller than those for full-body portraits. However, the larger the umbrella is, the more space you’ll need in your studio.
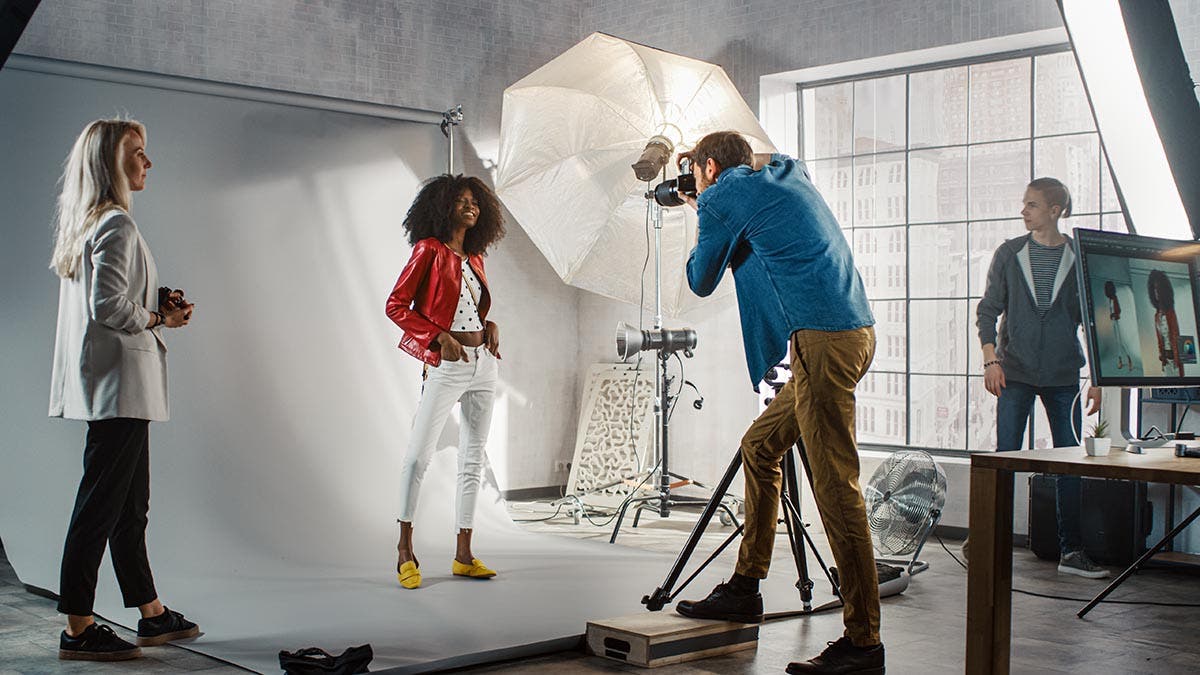
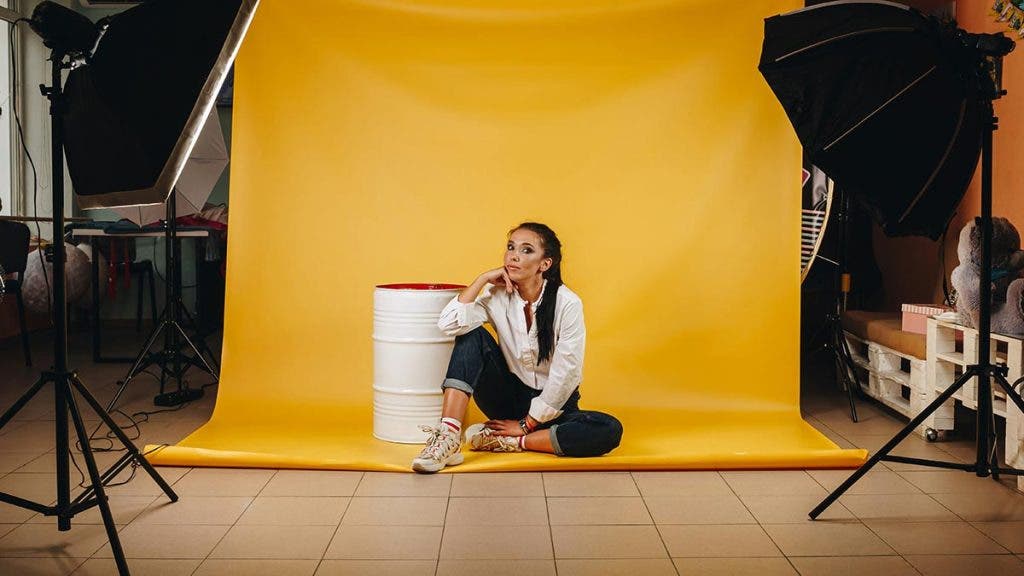
Redesign the Studio Space
Speaking of space, the size of your studio influences the choices you make in terms of lighting equipment. If you work in a small studio, the light sources will be closer to the subject by default, which means you don’t need as powerful a light source as in the case of a large studio. You’ll also need smaller light modifiers. Decluttering your studio is essential for an efficient and creative workflow, so consider the following studio accessories.
Lighting Stands
Affording lighting stands, brackets, clamps, adapters, and other accessories that support and connect your gear is among the benefits of studio photography. Your photo setup is stationary, so you can afford heavier pieces of gear that keep everything in place. Choose products that enhance your adaptability and help you have a smooth workflow. A light stand that provides multiple heights, a multi-speedlight bracket, and an umbrella adapter enhance your lighting setup in seconds.
Background Options
From vinyl to fabric backgrounds, the studio photographer has endless background options. The material’s properties (e.g., color, texture, reflectivity, etc.) influence your light design choices and provide even more versatility and artistic freedom. Focus on producing consistent work built on a personal style, but don’t forget about innovation, variety, and adaptability to the client’s brief.
Conclusion
Just because you are limited to the space of a studio doesn’t mean you have to compromise on artistry and creativity. Use the studio’s benefits (e.g., stationary setup, controllable lighting, well-known space, the possibility to arrange the scene in advance, etc.) to your advantage. Focus on improving lighting design and gathering lighting equipment that fits your workflow and helps you bring to life your artistic vision. Once you have everything in place and at the level of professionalism your photography requires, all you need to do is maintain the gear.