You’ve learned all about cinematography, from storytelling to the different types of lighting used in film, and you’re ready to turn an idea into a memorable production. There’s just one challenge standing in your way: the budget. Hollywood productions look the way they do because they have large production teams and extensive budgets to cover any equipment, décor, costume, and light they might need. But not all cinematographers can afford that. And while you can do with less expensive décor and costumes, you can’t do with less light. So, here are a few low budget lighting techniques that will save you some money while providing the cinematic look you are after.
Choose an Outdoor Location
The best way to take advantage of good light is to shoot outdoors and rely on the sun. Not only does it cost nothing, but it also provides the best light a cinematographer could ask for. Artificial light sources try to imitate sunlight for a reason: sunlight is the most flattering, natural-looking, cinematic illumination available.
However, shooting in natural light comes with a few challenges. Some come from moving your production to a location. You need a good location scout to ensure you find a place where you are allowed to film with no or at manageable costs. Then, you must plan how to get your crew and equipment there.
Other challenges come from the inability to control sunlight. You must work in given conditions and adapt your production around the sunlight’s direction, intensity, and color temperature. Checking the weather forecast is a must. The characteristics of natural light impact location choice, filming time of the day, framing, and camera movements.

In this scenario, even though you can’t change the source of light, you can create a more complex lighting setup. To do this, include artificial light sources (e.g., a fill light) and adjust light quality with light modifiers. And there are low-budget methods to do that, too.
Tip: If an outdoor location is out of the question, choose an indoor location that is naturally lit. For example, you may shoot in a room with large windows or a skylight. Or you may choose a space on a higher floor to benefit from more sun time. Also, check the color temperature of the existing light sources. For example, cafés tend to have warm lights, whilst industrial buildings and offices tend to have cold lights.
Include Practical Lights
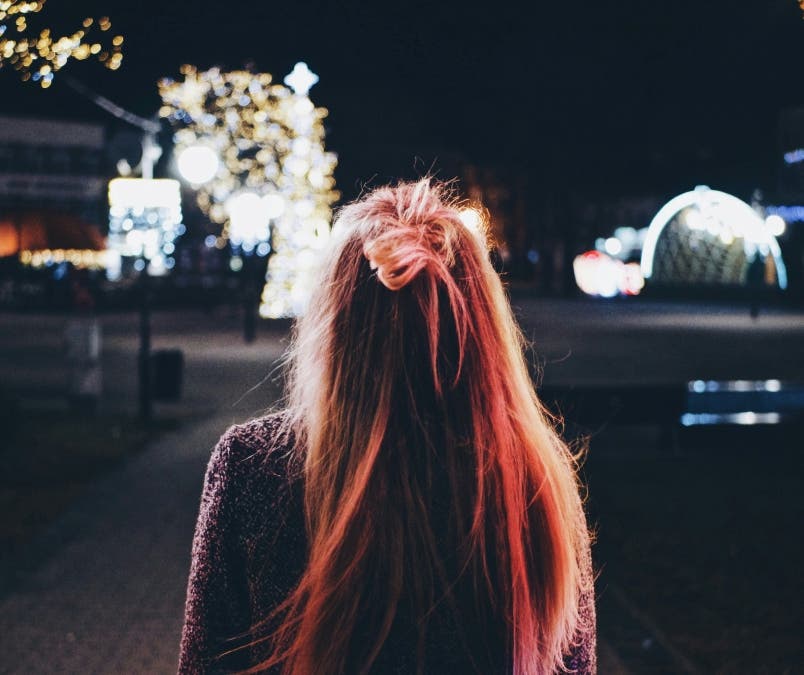
We call a practical light any artificial source of light that isn’t dedicated lighting gear, such as lamps, candles, lit screens, street lights, or car lights. A practical light is visible in the scene and adds to the realism of the story. They are extremely affordable and able to create a cinematic, three-dimensional effect.
Practical lights are particularly suited to illuminate darker scenes. These can be overcast days, shooting after sunset, a location in the shade, shooting indoors, etc. But in a low-budget production, they are a way to enhance lighting without overwhelming the budget. For example, you can use a lamp as a key light to illuminate the face of a character sitting on a table when sunlight doesn’t have the direction or intensity you want. Or you can use a neon sign to add a color tint to your subject and change the atmosphere of the scene. If the light is there and fits your purpose, why not use it?
Alongside practical lights that are already part of the décor (e.g., street lights, neon signs, café lamps, etc.), you can also bring your own. They are cheaper than studio lighting equipment, for sure. Ensure they complement ambient light in terms of color temperature and brightness and carefully position them in the scene. Remember, lights may be visually heavy.

Rely on Light Modifiers
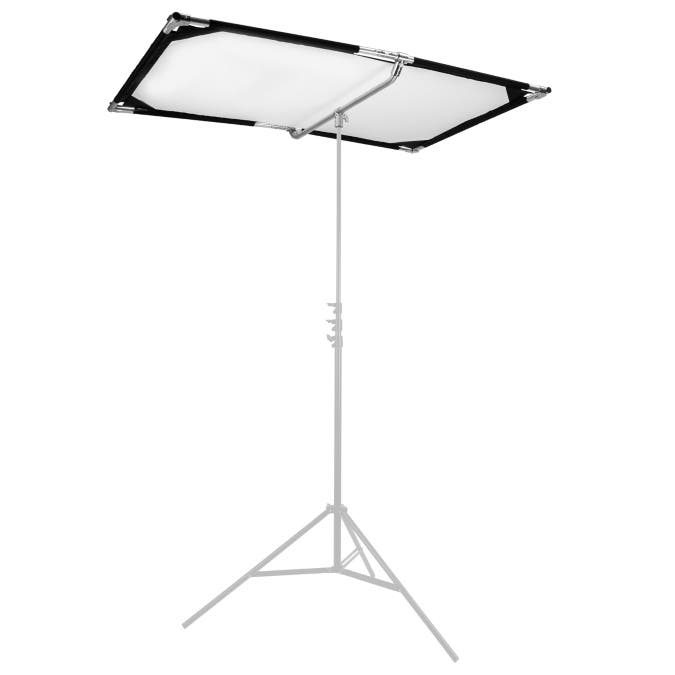
Light modifiers are cheaper than studio lights and are a great way to adjust sunlight. For example, you can use a reflector to change the sunlight’s direction and project it onto the subject. A single light modifier, such as the Glow Sun Scrim, can convert harsh midday sunlight into a softer, more diffused illumination that suits your production better.
Reflectors can also act as a secondary light source and illuminate the subject from a different direction to create a fill light, side light, or backlight.
Consider reversible bounce fabrics, such as the Wescott Scrim Jim Cine Bounce Fabric, provides both a silver and a white material. This allows you to create a cool tone or a neutral one using the same product. This kind of versatility will help you keep the cost at a minimum without compromising the lighting design.
Seek products that are portable, lightweight, and multifunctional. For instance, you may like the Glow Reflector Panel Kit, which includes reversible gold/silver fabric and reversible black/white fabric for optimal contrast, color temperature, and brightness.
Get Creative with Available Light Sources
Lighting may emphasize parts of the scene or details, the viewer’s perspective over what happens in the scene, differences between characters, atmosphere, and plot. There is a lot to consider when designing lighting. That’s why it is particularly important to do this part well when working on a budget. Limitations may come in the form of insufficient light sources, crew to maneuver them, or space to deploy everything.
So, instead of designing the standard 3-point lighting with three light sources, consider using sunlight, a bounce board, and a practical light. If you can’t change filming hours to have sunlight coming from the right direction, consider using a black fabric. It can block a light source completely and help you eliminate unwanted practical lights or sunlight coming from an unwanted direction (e.g., block sunlight that comes from behind the subject and reflect it as a key light using a reflector positioned in front of the subject).
Alternatively, adapt the scene to the available light sources. For instance, move the main subject within the scene in such a way that a key light illuminates it from the lateral, opposite to the camera, such as near a window or a lamp. You will maximize the available light and create a beautiful separation between the subject and the background at the same time.

As a rule, try to visit the shooting location before the shooting. Rule as many parameters as possible (e.g., same season, time of the day, day of the week, etc.). Also, bring the camera with you and take a few shots that match your shot list. It will help you better understand the available light and have time to prepare for it. Look for any practical lights or other items that may be of help, such as white walls to bounce light, mirrors or silver surfaces to reflect it, and dark surfaces to absorb it.
Trust LED Lights
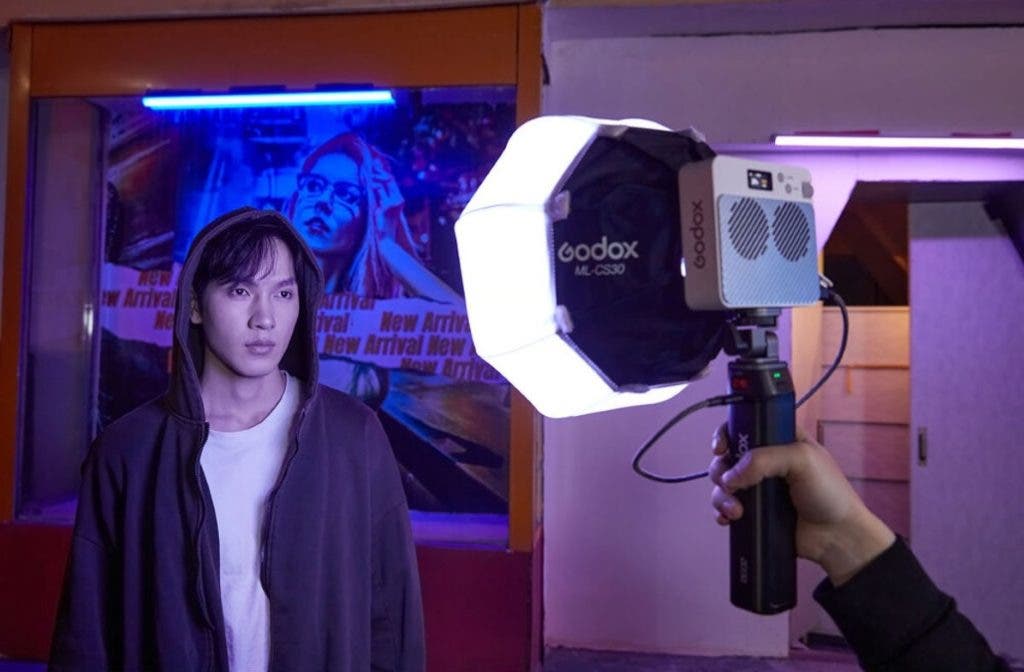
LED lights are continuous light sources, versatile and easy to use. Furthermore, they are affordable. You can find lightweight, compact, portable LED lights that provide powerful illumination and gain full control over the lighting. For instance, the small Godox ML100R produces 2360 lux at 3.3′ (5600K), offers high-precision dimming, and an extended CCT range from 1800K to 10,000K. With just one light source you can produce light of any color and intensity. It even features 14 built-in cinematic presets to create the exact light scenario you want by pressing a single button.
In addition to full-on adaptability, LED lights ease your workflow, too. They can be controlled remotely, are long-lasting and low energy (i.e., run on batteries and can be plugged into regular sockets), and don’t emit much heat.
You can put them anywhere around the subject: hung on a wall, mounted on a light pole, or handheld by your assistant. The amazing Westcott Ice Light 3, for example, features nine mounting points. It delivers up to 600 Lux at 3.3′ and full RGBWW control with 3.6M colors. You can adjust settings using the onboard buttons, an OLED display, or a mobile app and direct the light with slide-and-lock barn doors. It also includes over 40 customizable RGB and bi-color effects for full creative control.

As you can see, LED lights are so easy to set up and operate, that you will need fewer people to manage lighting. They are the ultimate DIY lighting gear.
Final Thoughts
A low budget shouldn’t stop you from creating amazing productions and putting your cinematography knowledge to good use. You have sunlight on your side and plenty of affordable lights and light modifiers to work with. Although the workflow may be a bit longer in the beginning, soon enough, it will become second nature, and you’ll focus solely on the creative part. Take time to plan, scout for a location, visit the place, analyze the available light and light sources, and make a shot list. Once you have all the information, it will be much easier to come up with lighting techniques that enhance your production without increasing the costs.