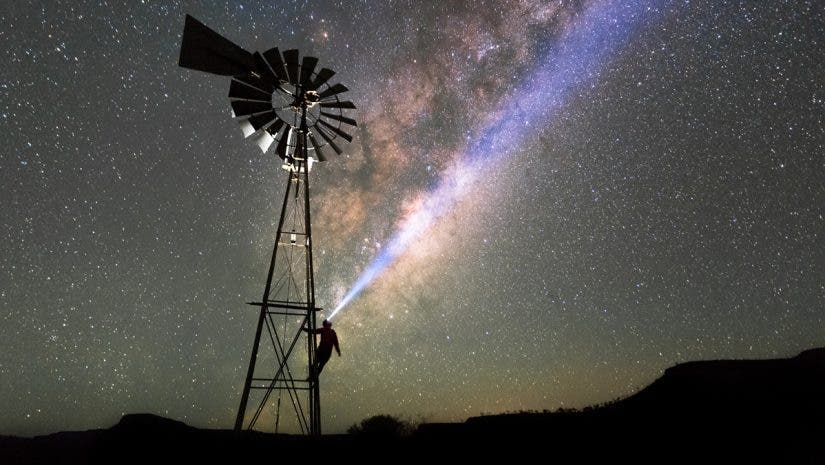
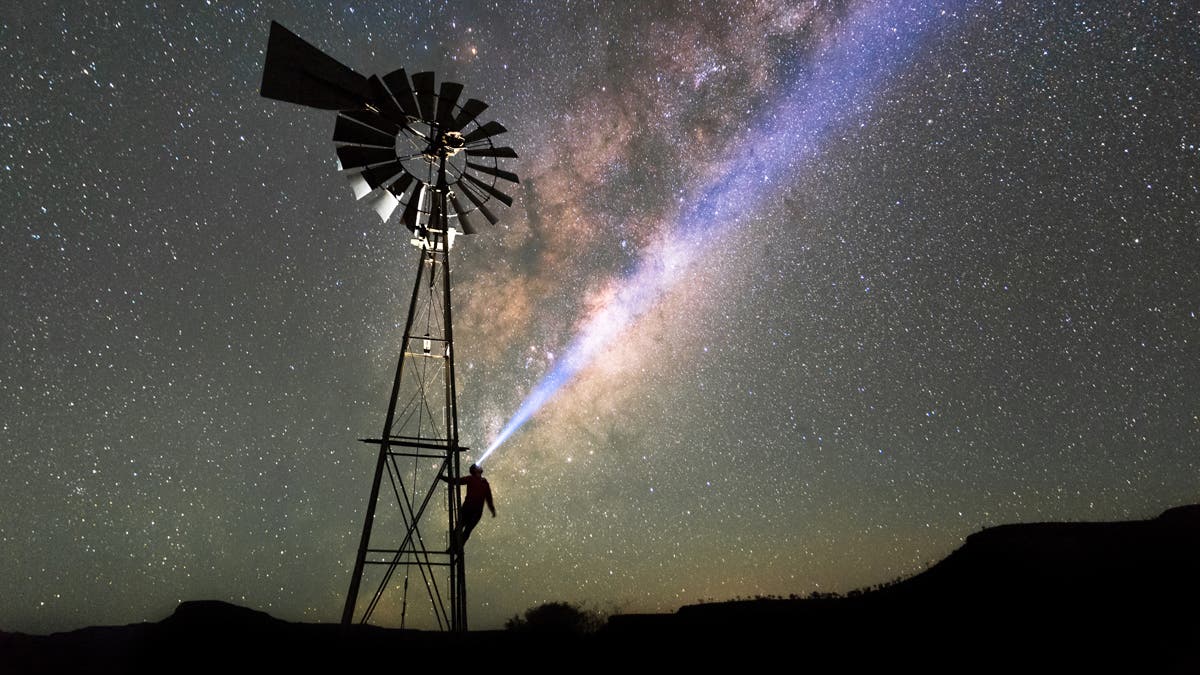
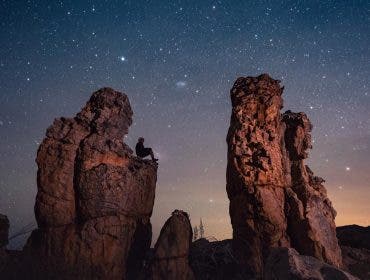
Milky Way photography is a genre of astrophotography that focuses on capturing images of the night sky. More specifically, the core of our own galaxy. This usually requires a creator to actively seek out special places outside the city. Places that are TRULY dark, as capturing the heavens in this way involves taking long-exposure shots to gather sufficient light from the stars and the galactic core. This pursuit has fostered my deeper appreciation for our planet and its place in the universe.
Success in this art form depends on patience, planning, and familiarity with your camera gear and settings. Additionally, you will need interest and understanding of the science of movements and positioning of the galaxy as it crosses the night sky. Mastering post-processing in software such as Lightroom is equally essential for enhancing these breathtaking scenes.

The night sky and silence do not breed loneliness but a greater sense of belonging.
Let’s explore the key elements of Milky Way photography that can help you capture stunning images.
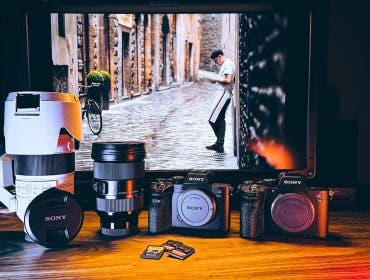
Camera gear for Milky Way photography
The following is required:
Camera (Specifications)
A higher megapixel count usually leads to more detail in images. However, a camera’s sensor performance in low light at high ISO settings is also crucial, as high ISOs cause noise in your pictures. While advancements in AI have significantly improved noise reduction in post-processing, choose a camera that handles noise better at high ISO levels, such as ISO 3200 or ISO 6400, without losing much detail from the image. Understanding ISO variance, invariance, and its effects on exposure adjustments while editing is key to good night photography. However, they are a little complex and deserve a topic on their own; I recommend learning about them before selecting a camera and familiarising yourself with the concepts before shooting.
A Wide-Angle Lens
If you enjoy expansive views and aim to capture the Milky Way above a landscape, opt for a wide-angle lens with a focal range between 10mm and 35mm. A 10mm may introduce barrel distortion, so look for a lens with zero or negligible distortion. It’s vital to consider a wider aperture, such as f1.4, f1.8, or f2.8. This is my preference because I like featuring the earth in the foreground to create context and a sense of vastness to the sky beyond. Austin Jackson takes a deep dive into wide-angle lenses for astrophotography in this article.
A Telephoto Lens
Some photographers use telephoto lenses solely to capture the night sky, which is also a reasonable option to the exclusion of an earthly or human element in the foreground. Using a 70-200mm lens, techniques such as taking multiple shots at low ISOs and merging them to create a high-quality composite image with impressive detail are often employed.
Shutter Release
All cameras will have some shake when you manually depress the shutter button, so there are workarounds. Modern cameras often have built-in intervalometers for time lapses, eliminating the need for separate shutter release cables. If your camera doesn’t have this feature, then a simple shutter release cable works well. For single exposures, you can use your camera’s timer instead.
A Tripod
A sturdy tripod is needed for long exposures. Night photography is impossible without a tripod, so do not fool yourself.
Lights and Headlamps
This is necessary for both visibility during your setup and for light-painting your foreground. Light-painting is a personal style choice, the purpose of which is to selectively illuminate parts of your scene. For personal visibility while working at night, I prefer a lamp with a soft red light over a bright white, because it’s easier on the eyes. However, for light painting the scene, I choose a white LED light.
A Microfiber Cloth
This is handy when the lens gets foggy in cold conditions.
BONUS: Check out this article Why You Should Invest in a Star Tracker in 2025
Timing and Planning
Capturing the Milky Way with city light pollution is challenging, so the ideal locations for Milky Way photography are typically far from urban areas. Learn when the Milky Way’s galactic core is visible in your region. For example, “Milky Way Season” is between February and October in the Southern Hemisphere. While photographing the Milky Way, include interesting elements in your composition. These could be man-made structures like buildings or natural features like rock formations or trees. Elements such as these help us showcase the planet in a broader context of the vast universe. Scout for a location during the day ahead of time.
It’s essential to consider the lunar cycle. Ideally, you want to shoot when there’s little or no moonlight, as it can brighten your scene, overshadowing the beauty and details of the Milky Way. Therefore, aim to take your photos before the moon rises or after it sets, and note the time of moonrise and moonset shifts daily.
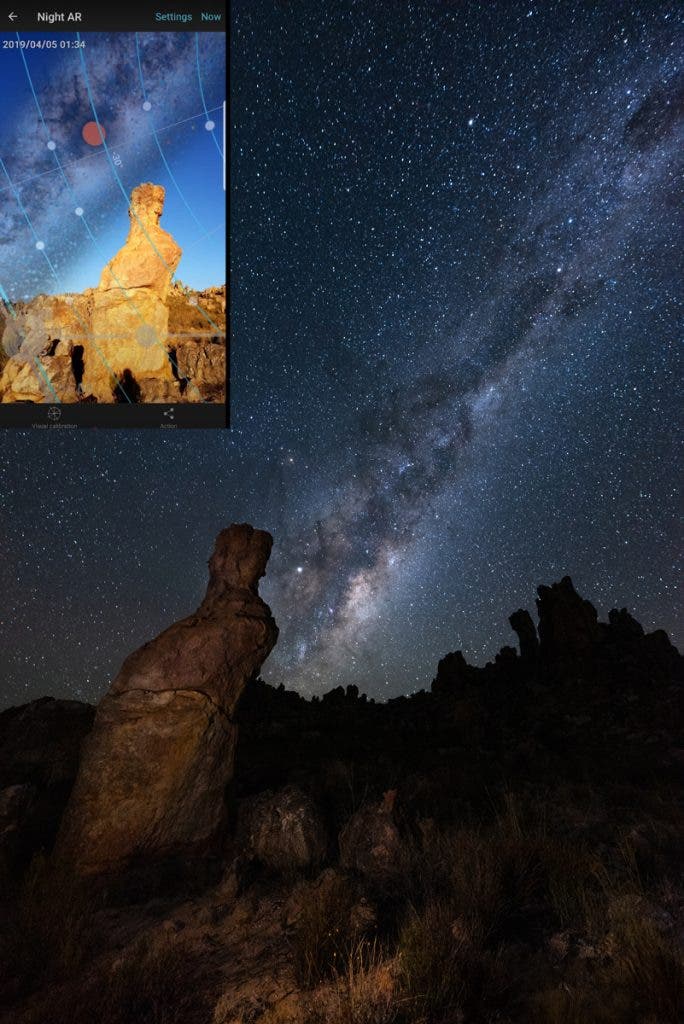
PhotoPills is a popular app for photographers that offers an augmented reality view of the night sky, showing when and where the Milky Way will rise. While scouting a location during the day, you can use the app to visualize your final image.
Milky Way Photography Camera Settings
There is no one-size-fits-all setting, and the exposure time depends on the focal length and sensor size.
Aperture
As wide as possible. This means the lowest f-value available on your lens.
Shutter Speed
Ideally, you want stars to be captured as points or dots in the night sky. However, due to the Earth’s constant rotation, a long exposure can reveal the movement of the stars, resulting in star trails. When using a telephoto lens aimed at the sky, a long exposure such as 15 – 20 seconds or more will create these trails, necessitating a faster shutter speed for crisp points of starlight. In contrast, with a wide-angle lens, a slower shutter speed results in minimal star movement depending on the focal length.
The shutter speed also depends on the sensor’s size. A full-frame sensor size has a wider field of view, and with a wide focal length, such as 16mm, you can have a slower shutter speed than the same focal length on a crop sensor.
An obsolete rule exclusively used by photographers in the past was the rule of 500. For a 17mm focal length, for example, 500/17mm is 29 seconds. This rule is applicable, though, to full-frame 35mm sensors. By contrast, with a crop sensor of, say, 24mm, the rule was to divide the full-frame sensor size by the crop (e.g., 35mm by 24mm, which is 1.46) and then divide 500 by the selected focal length multiplied by the calculated crop ratio.
For example, 500/(17*1.46) is 21 seconds.
The more accurate rule considering the megapixels is the NPF rule, where
N = aperture
P = pixel density
F = focal length
The formula to calculate shutter speed in seconds is (35 x aperture + 30 x pixel pitch) ÷ focal length where pixel pitch = (the camera sensor’s physical width in millimeters ÷ number of pixels in width) x 1000 to measure it in microns.
However, I use PhotoPill apps to calculate the shutter speed in variations to avoid all the mathematics on location. For a Sony a7III, at 17mm with f2.8 as an aperture value, the NPF rule comes down to 7.71s for pin-accurate stars and 15.42s for slight movement, as opposed to a 29-second shutter speed with the 500 Rule. See the image below.

Best ISO for Milky Way Photography
Based on the reviews I read and practice, I use ISO values high enough to give me proper exposure but low enough to keep noise levels manageable in post-processing. Noise, however, is unavoidable. My ISOs usually vary between 3200 to 6400. Considering the example above for pin sharp stars at 7.71 seconds, a higher ISO of 6400 might be required. To avoid this, you may want to use ISO 3200 with a longer exposure of 15.42 seconds, as suggested by the app, to create minimal star trails. This underscores the importance of understanding ISO variance and invariance, as mentioned earlier.
Where to Focus for Milky Way Photography
A simple way is to select a faraway object in your foreground or a specific bright star and manually focus on it. You can do this using your camera’s LCD screen.
A more technical way is to use your lens’s hyperfocal distance. Again, I use the PhotoPills app to determine my lens’ hyperfocal distance based on the camera sensor size, focal length, and aperture value. I focus on any object at the hyperfocal distance and switch the lens to manual focus so that the camera doesn’t try to automatically refocus every time I take a photo. See the example below.

White Balance
While white balance can be adjusted later in post-processing for raw images, I prefer using a white balance of 4900 for a sky with cool temperatures and bluer skies, as my personal preference. Never put your white balance on auto, especially if you are shooting time lapses, because the camera might auto-select different white balances in the different photos, which will be a nightmare for post-processing.
Light Painting
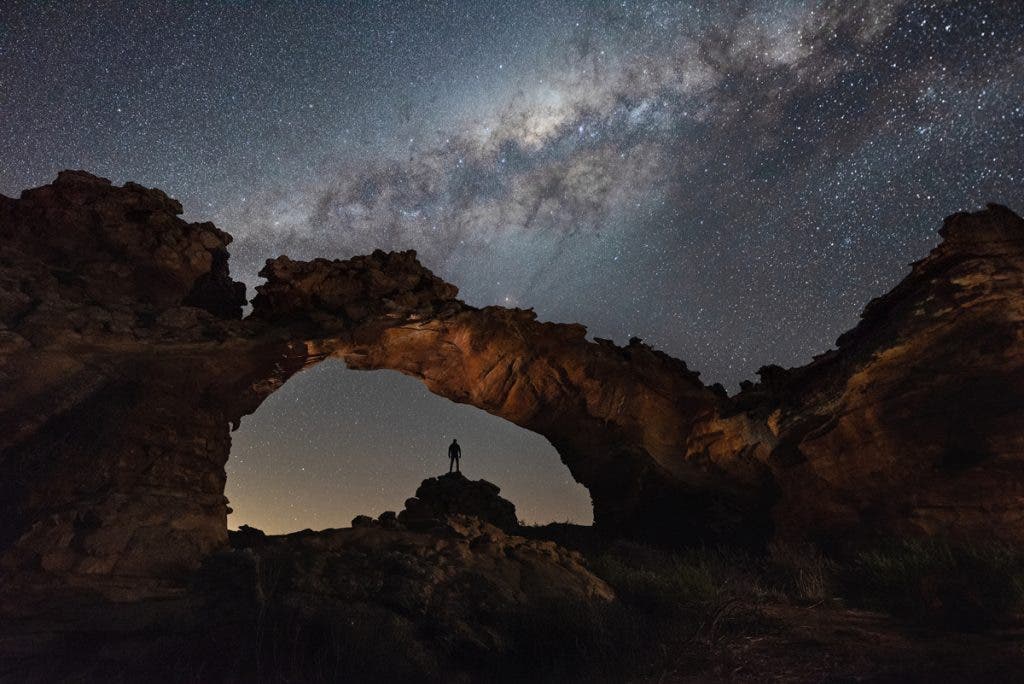
I like to include a human in my composition, and I recommend taking at least one person with you for safety and assistance. Instead of direct light on the subject, which might be harsh, I usually bounce the light off my hand to achieve softer lighting or diffuse the light using handy tissue papers, if not proper, diffusers.
The image below is a composite of three images, which I combined with layers using Photoshop in post-processing.
- First, I asked my friend to stand on the rock and captured a photo of the scene without any light painting.
- Second, I moved to the opposite side of the arch, and my friend, who was no longer in view, pressed the camera’s shutter while I quickly illuminated the middle of the arch for a second or two. It took us several tries to achieve the desired lighting effect.
- In the third shot, I stood behind the camera and gently highlighted the foreground and the arch facing my side.
The Universe is the Limit
Skilled Milky Way photography is the culmination of artistry, scientific knowledge, and technical and processing skills. It is vastly rewarding, rendering the enormous effort, investment, and travel well worth your while. Sometimes, an entire trek and a full night awake reward you with just one image, but bringing these images home has an appeal for both the photographer and viewer that transports us quite literally beyond our realm.
All photos by Muji
