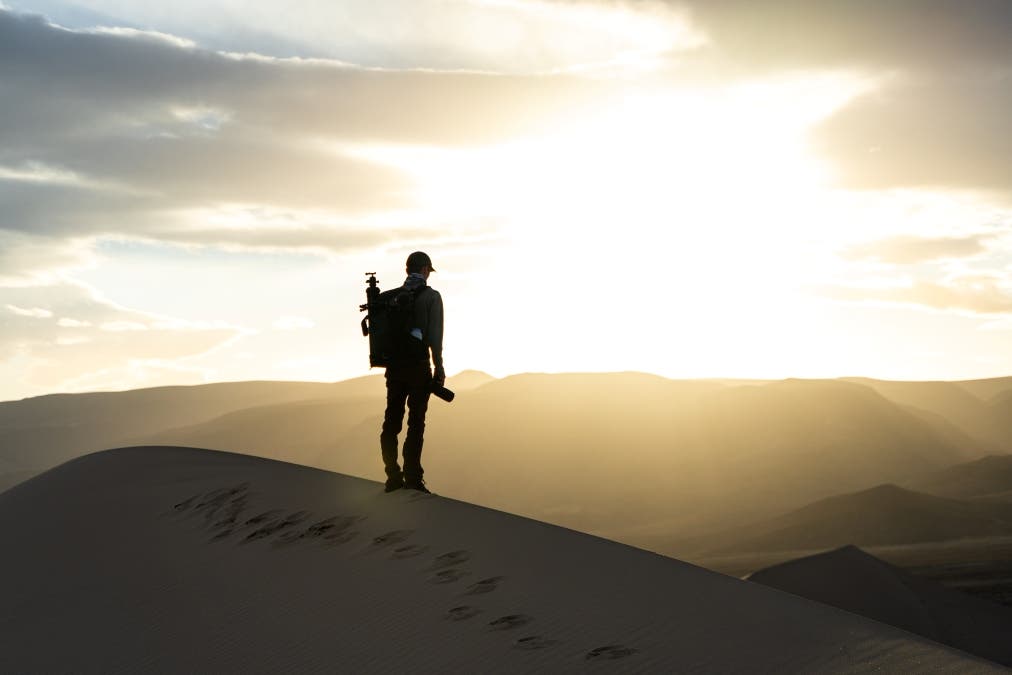
The best natural light photographers know that light is everything in the scene. Light helps to shape the subject and create dimension in the scene. It also adds visual interest by spotlighting certain parts of the image and casting shadows. Whether you’re an avid portrait photographer or someone who enjoys photographing landscapes, shooting backlit scenes is a skill you should master to aid your creativity when the opportunity to shoot into the sun presents itself. In this article, we’ll be covering everything you need to know about shooting backlit scenes.
What is Backlight?
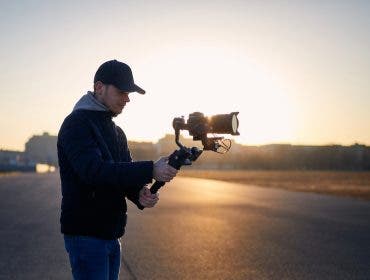
Typically, when someone refers to backlight in outdoor photography, they’re talking about shooting into the sun. This means that your camera is pointed towards the sun with your subject between your camera and the sun. When shooting directly into the sun, there are numerous challenges you’ll face as a photographer. Some of these are very high dynamic range and dialing in the perfect exposure.
Benefits of Shooting Backlit Scenes
Backlit scenes offer photographers numerous benefits when captured correctly. For portrait photographers, shooting with the sunlight behind the subject can illuminate the outline of your model and create soft, shaded light across the face of the subject. In landscape photography, backlit scenes can oftentimes create a glow or enhance the atmosphere in the frame, helping to show off the dimension in the scene.
How to Properly Expose Backlit Scenes
Exposing backlit scenes is challenging because the sun is so bright, while anything in shade is so dark. This extreme dynamic range between highlights and shadows in the scene can prove challenging for even the most experienced of photographers.
For portraits, I’d recommend underexposing the subject by about one stop. Most modern DSLR or Mirrorless cameras will be able to easily bring up the shadows in post, and this can help you to maintain a little of the highlight detail. The backlight will still likely be blown out, but this oftentimes is appealing to the eye when paired with a lens with a low aperture that can produce background bokeh.
For landscapes, you will generally want to avoid blown-out highlights as much as possible. A small blown-out spot around the sun is okay, but try to avoid having a completely blown-out sky. In order to do this in a single shot, you’d have to underexpose the image substantially, meaning the shadows in your image may be very dark and could lose detail when brought back in post-processing. Ideally, you can use a tripod and do a high-dynamic-range blend, where you’ll take numerous exposures (typically 3, 5, or 7) with different shutter speeds that will result in images that are both over and underexposed. These images can easily be blended later in post-processing to give you details in both the highlights and shadows in the image.

Merging an HDR image stack in Lightroom Classic.
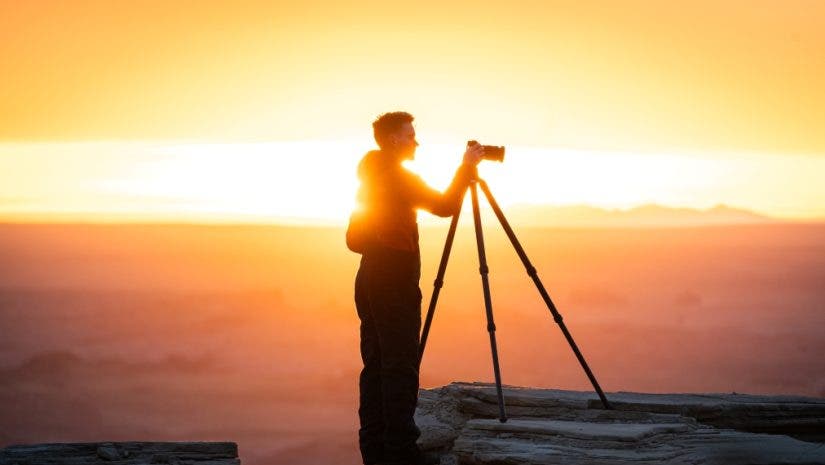
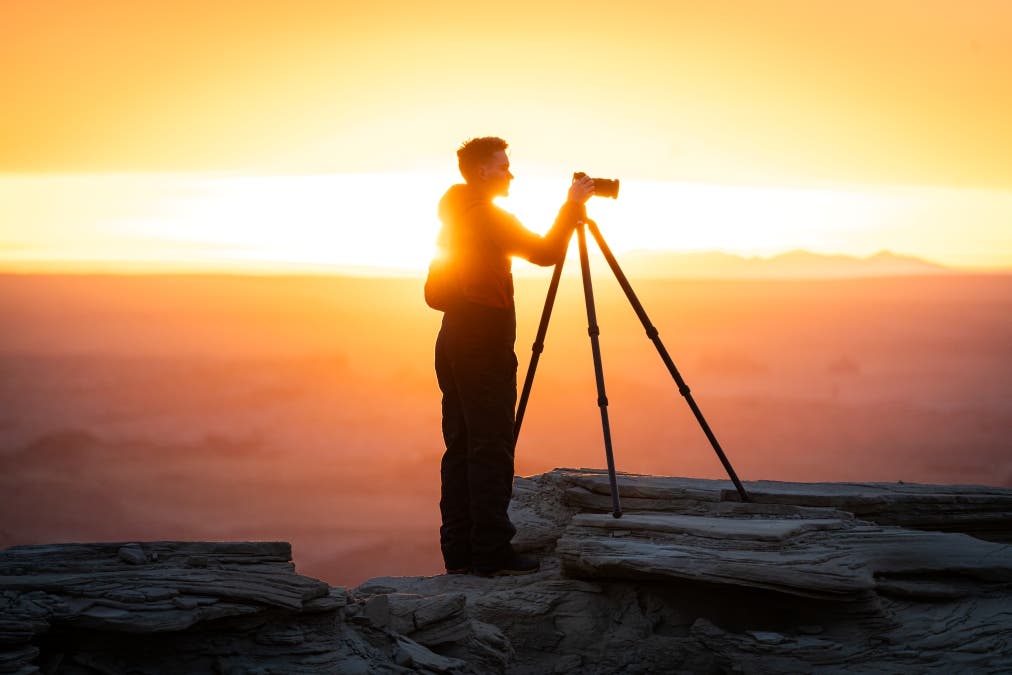
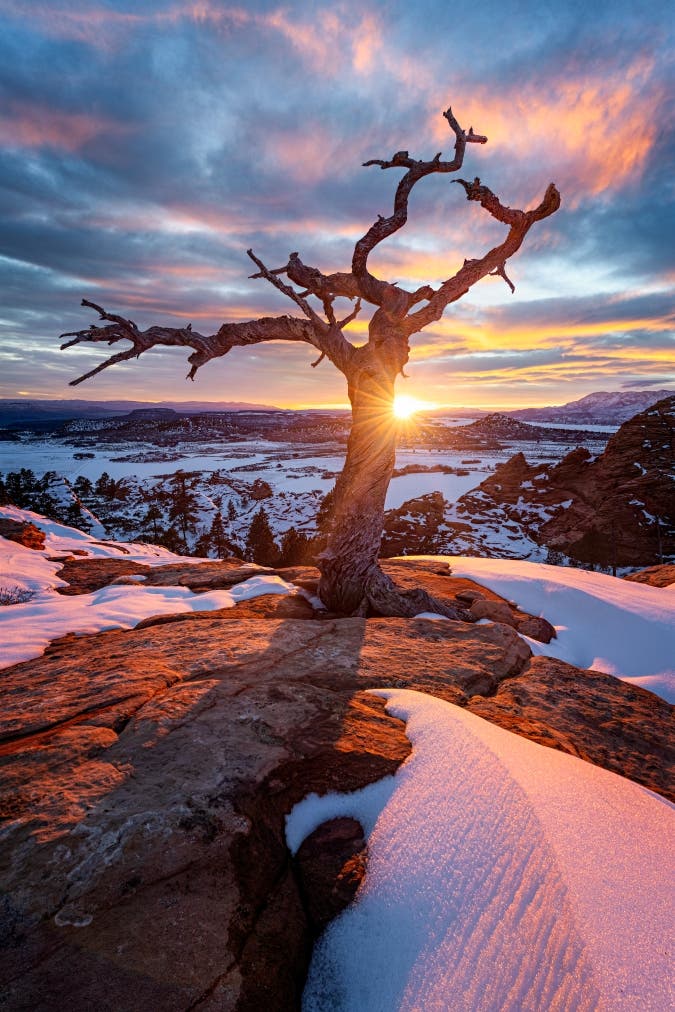
How to Create a Sun Star
A sun star or sun flare is a popular technique that many photographers use when shooting into the sun, especially in landscape photography. To create a sun star, there are two crucial elements you must consider. First, you’ll achieve the best results when you stop the aperture down. When the aperture blades of your lens close down, it creates more pronounced stars from light sources. Second, you’ll achieve a stronger star by partially obscuring your view of the sun. The sun must still be hitting the lens, but having it right on the edge of the horizon, your subject, or anything else in the frame will produce the strongest results.
Tips for Processing Backlit Images
Once you’ve properly exposed your backlit image in the field, it’s time to dial in the post-processing to finish your masterpiece. This type of image provides unique challenges that can stump even the most experienced of photographers. Here are a few of my favorite tips to dial in your editing.
Increase the Dynamic Range
When editing a backlit image, you will most often want to start by reducing the highlights and increasing the shadows to help add dynamic range to the scene. This allows you to bring back details in the scene by reducing the brightness of the highlights and increasing the brightness of the shadows. If you took an HDR blend, ensure you merge the images and always make sure the sky is brighter than the foreground. Even if you have the details to brighten the foreground further, don’t do it as it will result in an unrealistic-looking image.
Avoid Over-Adjusting Highlights
One of the biggest mistakes you can make when editing your backlit images is to pull down the highlights too far. Bringing down the highlights to retain detail is great, but stop just before you can see the rings of the sun. Once you can see the rings, it appears unrealistic and ruins the glow you had in your image. Plus, the rings of the sun will attract the eye immediately into that part of the image, instead of towards the subject.

Don’t drop the highlights too far; embrace the glow in your scene.
Use Radial Gradients to Enhance Light
Radial gradients are the secret hack to enhancing light in your image, and they work even better when the light source already exists. You can use a gradient to add to the light, shape the light, or even warm or cool the light in your image. This can also help you to separate your subject from the background. For more advanced editors, consider combining this with a subject mask to cast light only behind the subject, adding to the depth in the scene.

Don’t be afraid to shoot into the sun, especially with the modern cameras of today’s world. By utilizing the tips and tricks in this article, you can capture better backlit images the next time you go out. With some patience and practice, shooting into the light may quickly become one of your favorite ways to add impact to your photography.