Flying a drone, an unmanned aircraft, offers a unique perspective and incredible possibilities for capturing footage that is truly incomparable. To achieve this aerial advantage, it is essential to adhere to a comprehensive pre-flight checklist for safety and security. Once your drone is airborne and moving away from the takeoff point, your ability to control it diminishes drastically, leaving you with very limited capacity to modify settings, complete inability to fix a faulty propeller, add filters, or insert memory cards, until it returns home. So, a pre-flight checklist is critical to your success.
Here are 10 must-do steps for every pilot before launching their drone into the sky.
Step 1: Verify Airspace and Legality
The most important thing to have in your pre-flight checklist is the physical location and the legal implications for flying there. Laws vary by country, but generally, you must avoid flying within proximity to airports, government buildings, police stations, military installations, monuments, and hospitals, among other sensitive locations. Drones connect with satellites and are programmed to warn you from flying in these zones unless you have special permissions. They may also prevent you from flying beyond a few meters from your takeoff point or climbing above a certain altitude. Keep in mind that your drone is satellite-tracked, and every flight you take is recorded. Ensuring compliance is crucial for safe and lawful flight operations.
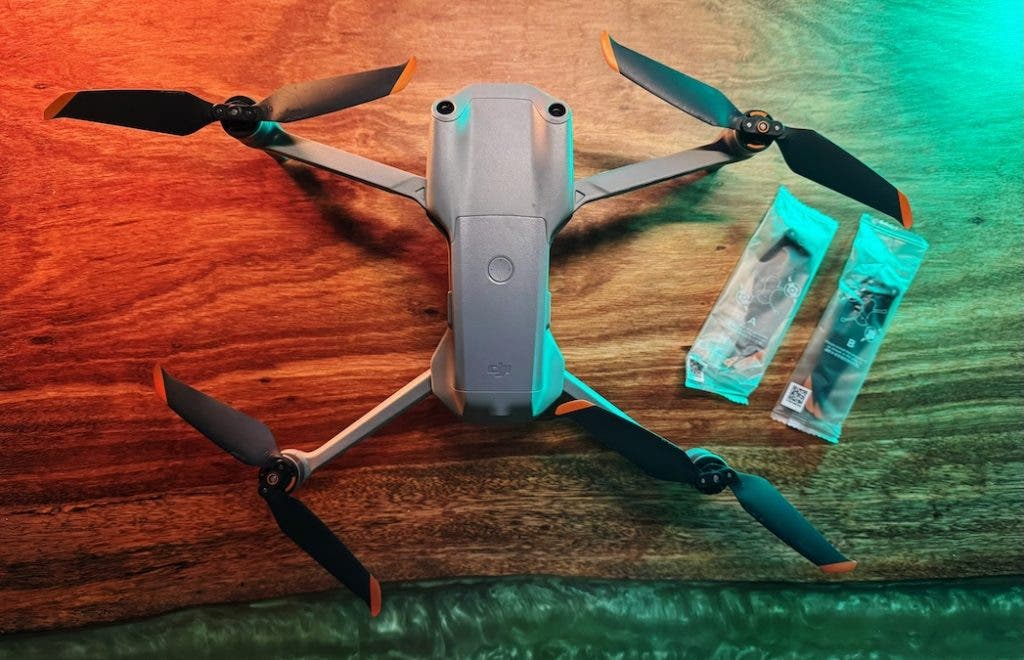
Step 2: Inspect the Drone Hardware
Your pre-flight checklist should always tell you to inspect the physical condition of your aircraft. Even a seemingly minor dent can cause failure in flight or an accident by affecting stability.
- Propellers: Carefully inspect all blades for cracks, bends, or chips. Damage may cause vibrations, leading to blurry video – the “jello effect” – or even catastrophic failure.
- Gimbal and Camera: Make sure the camera lens is clean and free of dust or moisture. You don’t want to spoil your entire footage. Ensure that the gimbal cover has been removed before turning on the drone and that the gimbal moves freely.
- Body and Motors: Inspect the arms and the shell for damage. Gently spin the motors to ensure they turn smoothly without grit or resistance.
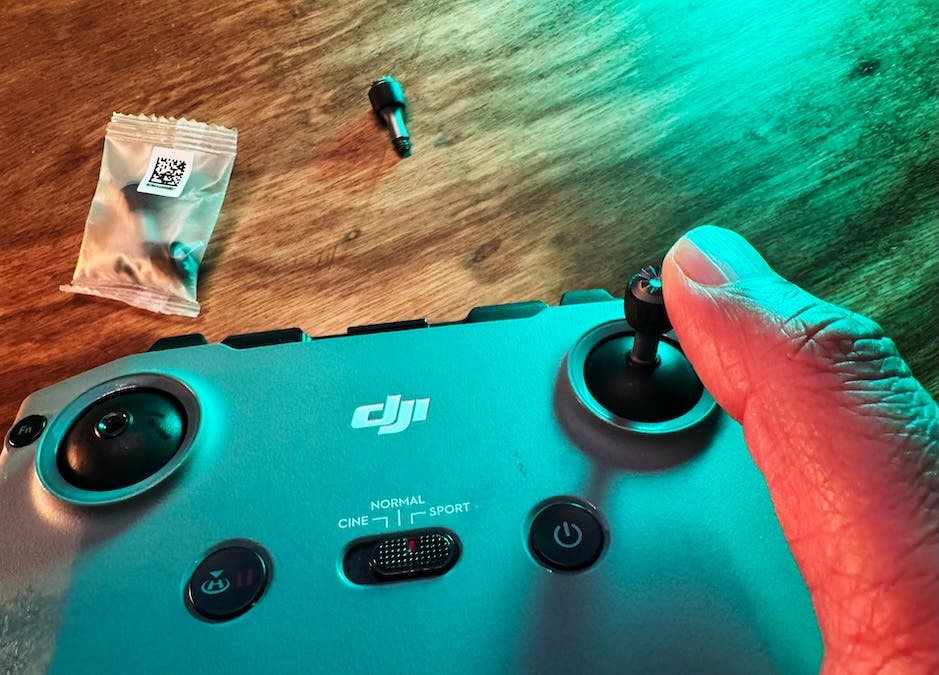
Step 3: Confirm Battery Status and Insertion
I cannot count the number of times my heart has pounded heavily when the drone wants to land where and when it decides to, forcibly. That’s because I didn’t check the tiny battery sign on the remote as indicated in my pre-flight checklist. Or maybe I had ignored the beeping warning sound of a low battery.
- Charge Level: Ensure both the drone battery and the controller/remote are at least 80% charged before flight.
- Secure Seating: Push the drone battery firmly into its slot until you hear the click. Give it a quick tug to verify it won’t vibrate loose.

The video captures my desperate attempt to steer the rapidly falling drone away from the rice paddies, which would have meant its permanent loss. Fortunately, I managed to crash-land it safely on someone’s property, allowing for a successful recovery.
Step 4: Check SD Card and Capacity
Thankfully, some new drones have built-in memory to rescue the day, but I have had incidents where I have simply forgotten the SD or micro SD card at home. All because I forgot to put it in my pre-flight checklist. There is nothing worse than arriving at a location, or flying for a minute, only to realise that you have no space left or the card is missing.
- Available Space: Check the drone app display to confirm you have enough available storage space for your planned flight time.
- Local Copy or the Cache: Even though the resolution is low, I always enable the option to store the live feed from the drone, which is typically in 1080p resolution. This can be stored on your phone or your remote.
Step 5: Get a Solid GPS Lock and Home Point
Your drone must know precisely where it is and where it needs to return if the signal is lost.
- Wait for GPS: Power on the drone and controller, and wait until the app confirms a solid GPS lock. It’s usually indicated by a high number of satellites, such as 12 or more.
- Set Home Point: Confirm the app has correctly recorded the Return-to-Home (RTH) point.
Step 6: Set the RTH Altitude
If the signal is lost, the drone will ascend to its programmed height and then return to the home point. Many drones now feature front and rear sensors, enabling them to navigate around obstacles on their return journey. However, this may not be true for all drones, and it can become a challenge if, for example, you are flying in a densely forested area. Set the RTH altitude higher than the tallest surrounding obstacles (trees or buildings).
Step 7: Calibrate the Compass (If Needed)
If you have been travelling from one location to another, experiencing bumpy rides, or just moving for miles, calibrate your drone as needed.
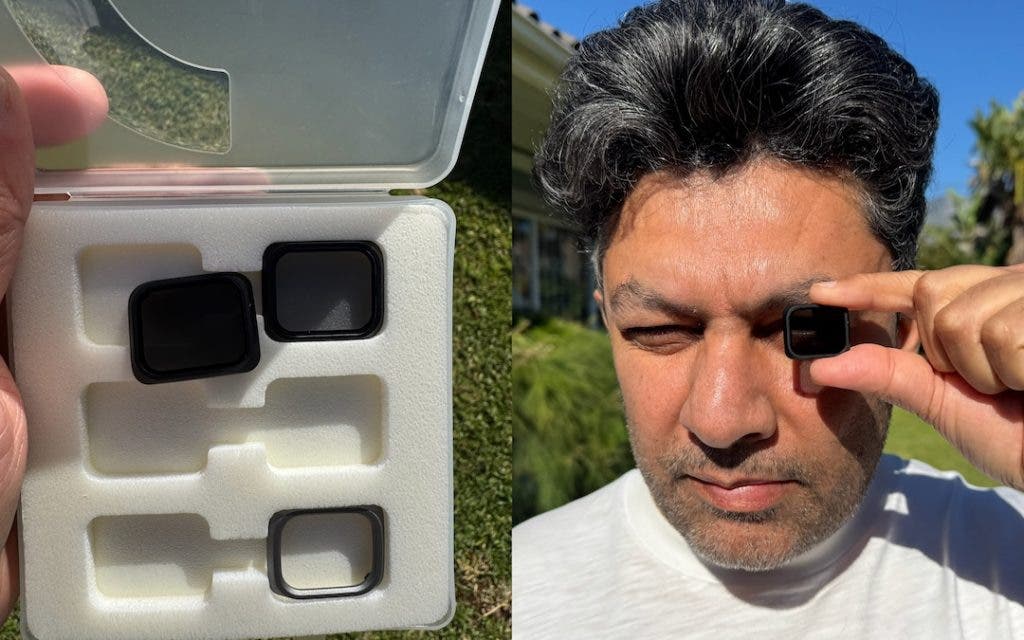
Step 8: Set Camera Exposure and Format
Analysing the light conditions and using the appropriate ND filter is essential before takeoff.
- Manual vs. Auto: Decide if you are shooting in Manual Mode or Auto Mode. Lock in settings like White Balance to prevent jarring colour shifts during video recording.
- ND Filter: Attach the correct ND filter to manage light and maintain that cinematic 180-degree shutter rule for smooth video.
Step 9: Monitor Wind and Weather
All you need is a strong gust of wind to lose your drone or cause it to crash.
- Check Conditions: Use a specialised weather app on your mobile phone, such as windy.com, to check wind speeds at various altitudes.
- Know Your Limit: Know your maximum wind resistance. If the wind is near or exceeds the drone’s published limit, stay grounded.
Step 10: Clear the Launch Zone
Your takeoff and landing zone must be safe and obstacle-free.
- Clear Area: Ensure you have approximately 10 to 15 feet of clear space around the drone, free from long grass, bystanders, and loose debris.
- Use a Pad: Deploy a portable landing pad to protect the camera, sensors, and gimbal from dust, sand, or debris being kicked up by the propellers during takeoff and landing.

The video shows a careless take-off from an environment with obstacles. The drone was positioned for takeoff in shallow water, surrounded by dense bush.
Conclusion
To avoid overlooking crucial steps, always keep a compact, written pre-flight checklist stored in your drone bag. Forgetting something significant on location could lead to a completely wasted excursion. Investing this small amount of effort is highly recommended, as it allows you to concentrate fully on your flight and creative objectives.