See All PostsExplore and develop your passion for photography and learn all about digital camera techniques, top gear, and industry news. Discover the best products, methods, and photography niches.
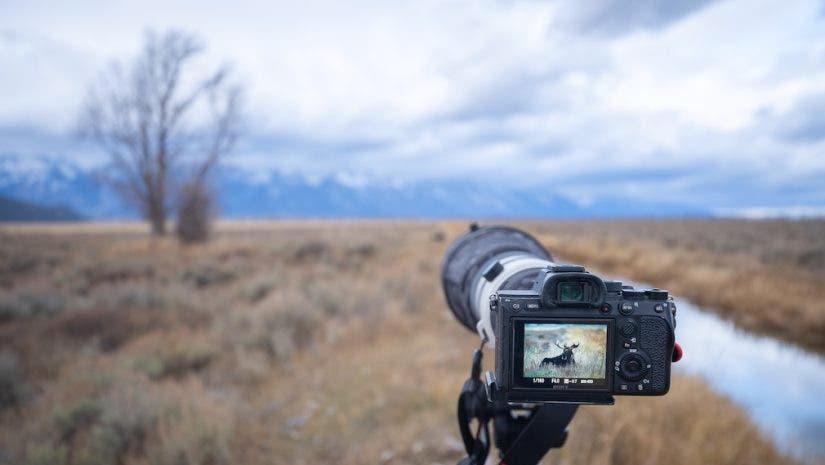
Photography

Photography
Photography

Photography
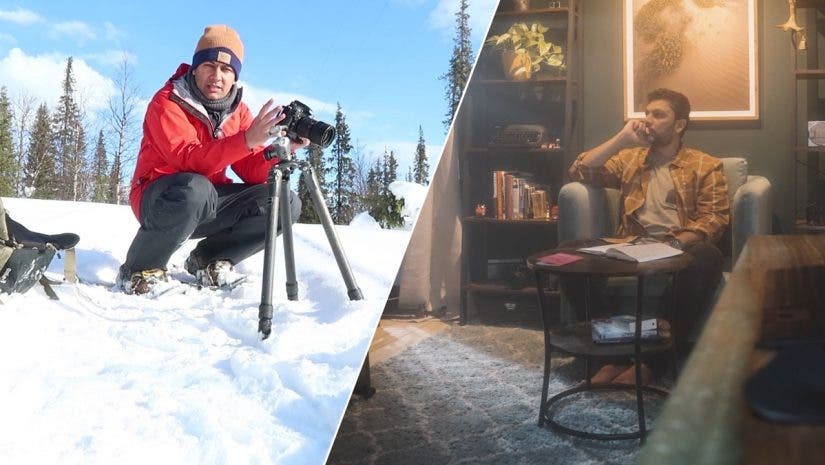
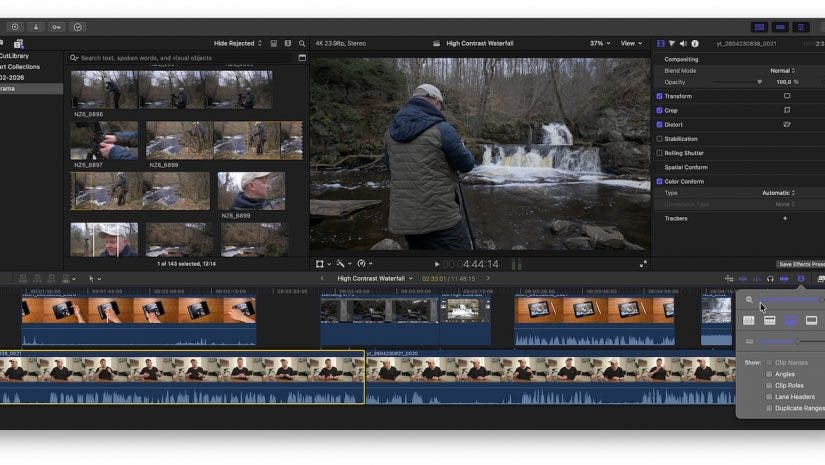
See All PostsFrom filmmaking to live streaming, uncover how to use video to bring stories to life. Unleash your creativity using video tools, gear, techniques, and advice from industry professionals.
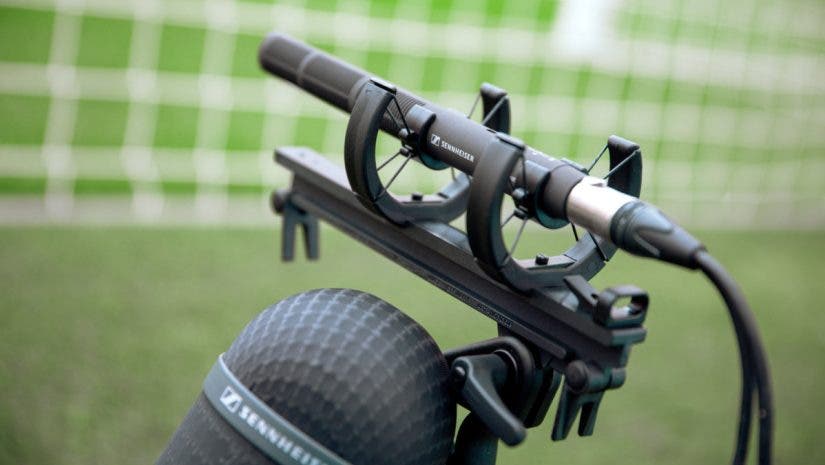
See All PostsCapture professional sound for videos, podcasts, and all recordings with the help of our expert tips. Upgrade your content by investing in new audio devices, apps, and knowledge.
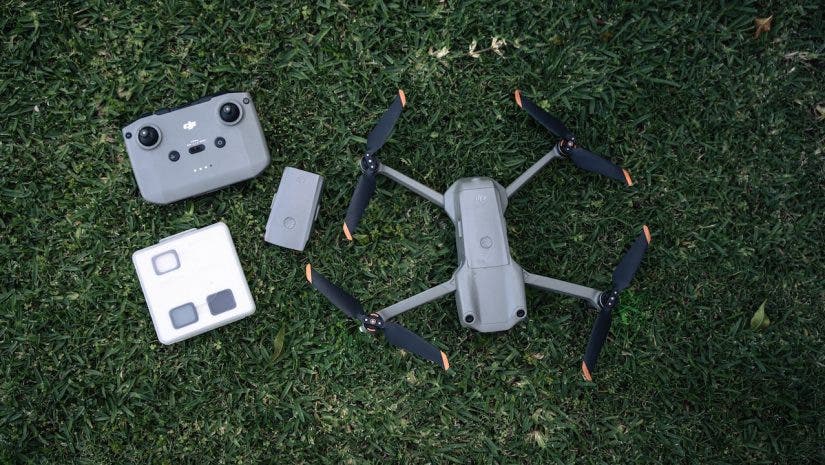
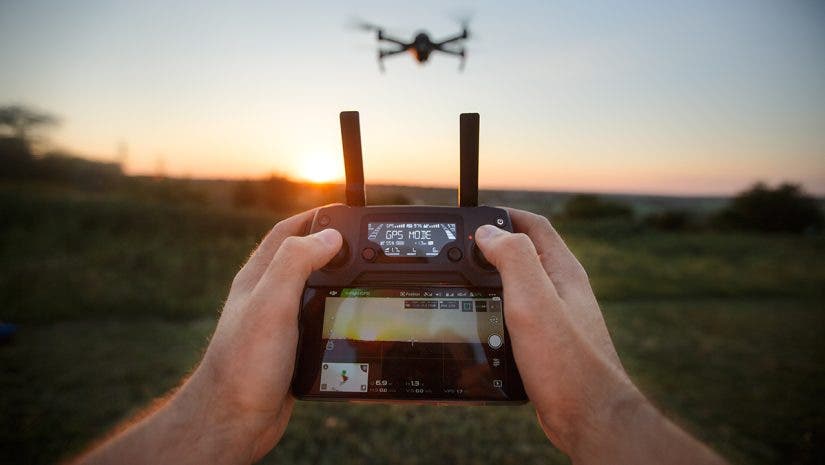
See All PostsDrone lovers know there’s nothing like the experience of capturing a scenic landscape from above. Whether you’re a hobbyist or seasoned pro, check out these resources to take your drone skills to new heights.
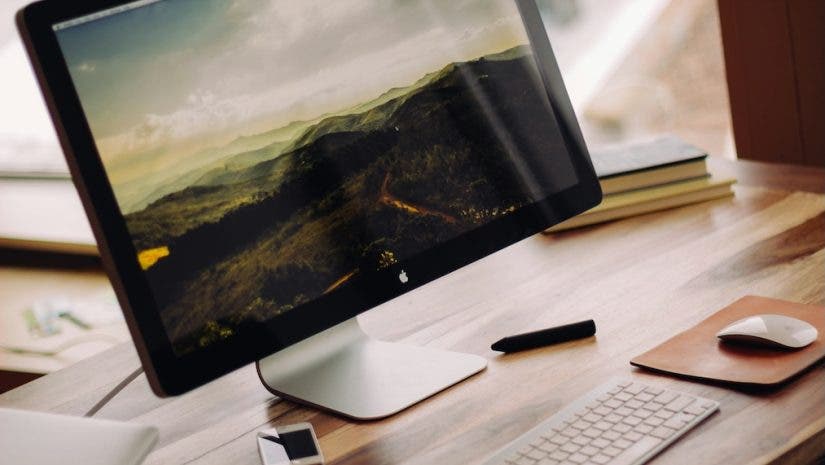
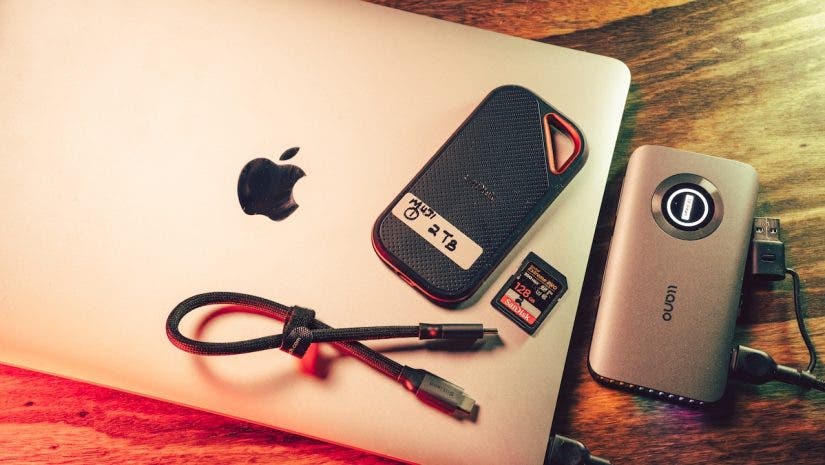
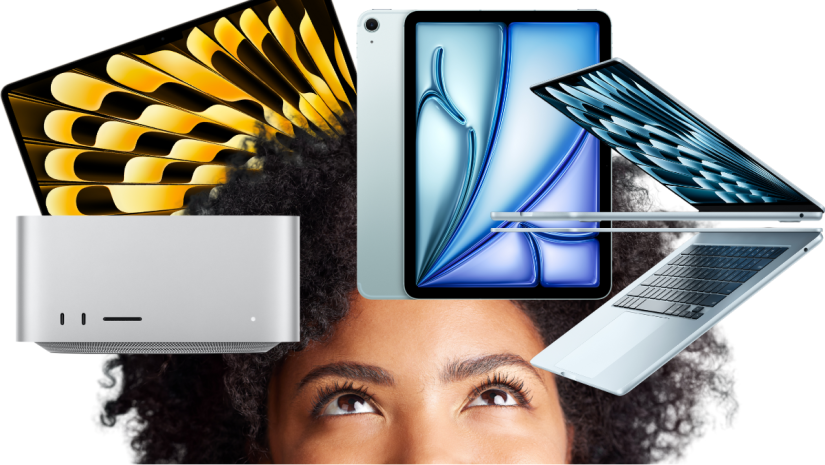
See All PostsFor work or play, the right computer can help power your profession or creativity. Learn the basics of computer equipment and upgrade your station for improved performance.
Computers

Computers
Computers
Computers
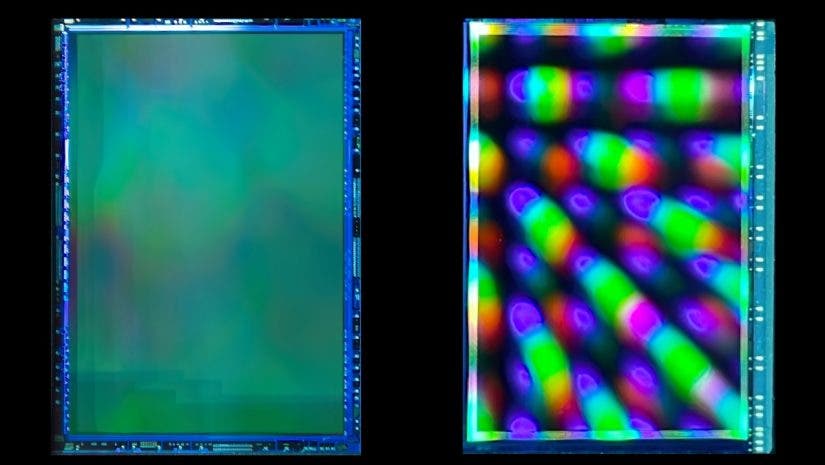
See All PostsIt doesn’t matter if you’re improving your television display or finding the ultimate pair of headphones. Check out what you need to know to improve your tech set-up.
Electronics
Electronics
Electronics
Electronics

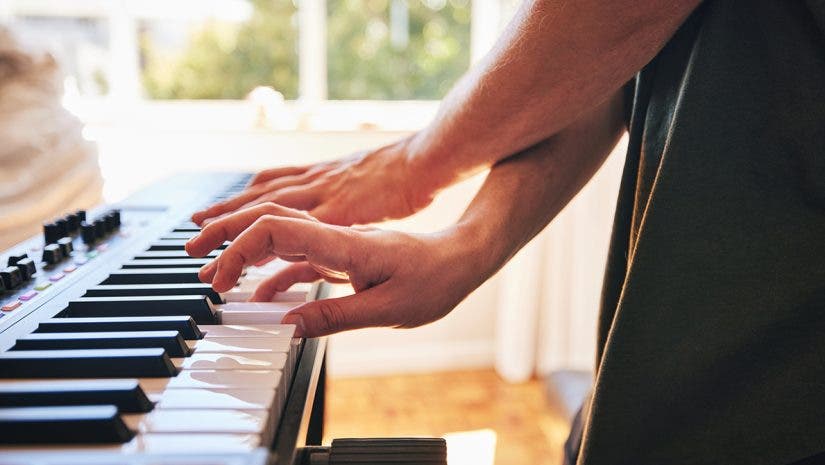
See All PostsFor many, music is a necessity. Whether you’re a DJ, instrumentalist, or casual listener, we have gear lists, helpful tips, and featured artists to help heighten your love of sound.