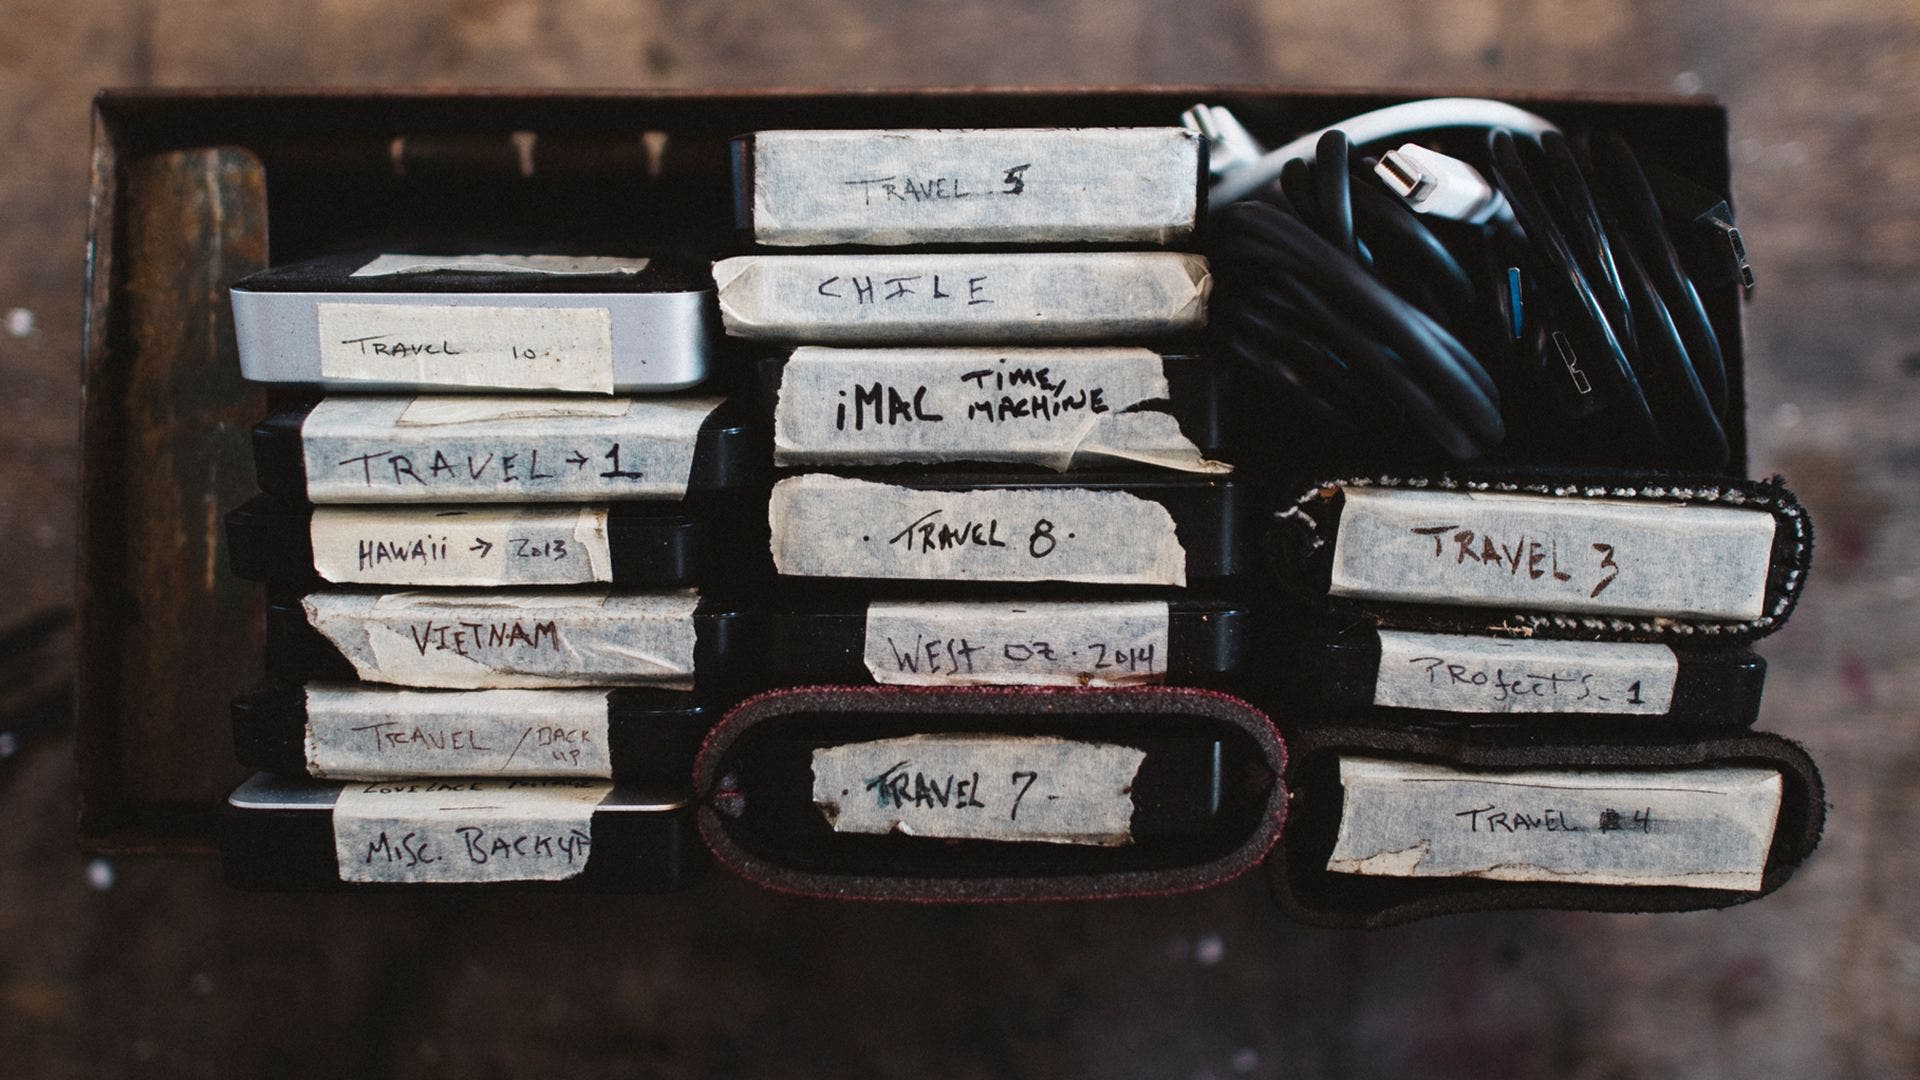
Even before I began seriously pursuing photography, data management was always a nightmare. I eventually learned that there are ways to get a head start on your workflow. Workflows will be different for everyone based on how you work, how much you travel, the medium you use, and your process – but there are a few organizational building blocks everyone can use.
When dealing with your workflow, the two most important practices are: consistency and redundancy. If you’re not consistent in how and when you do backups, there will be gaps in your system, and it’s likely not to work. However, it’s not enough to just be consistent. You must also implement redundancy. Technology is good, but sh*t happens. Your studio could burn down or you could drop a drive, and if you don’t have your work backed up, that massive commercial gig you just shot and were about to deliver to a client is gone. Don’t let that happen.
Ingest
I work off a couple primary systems.
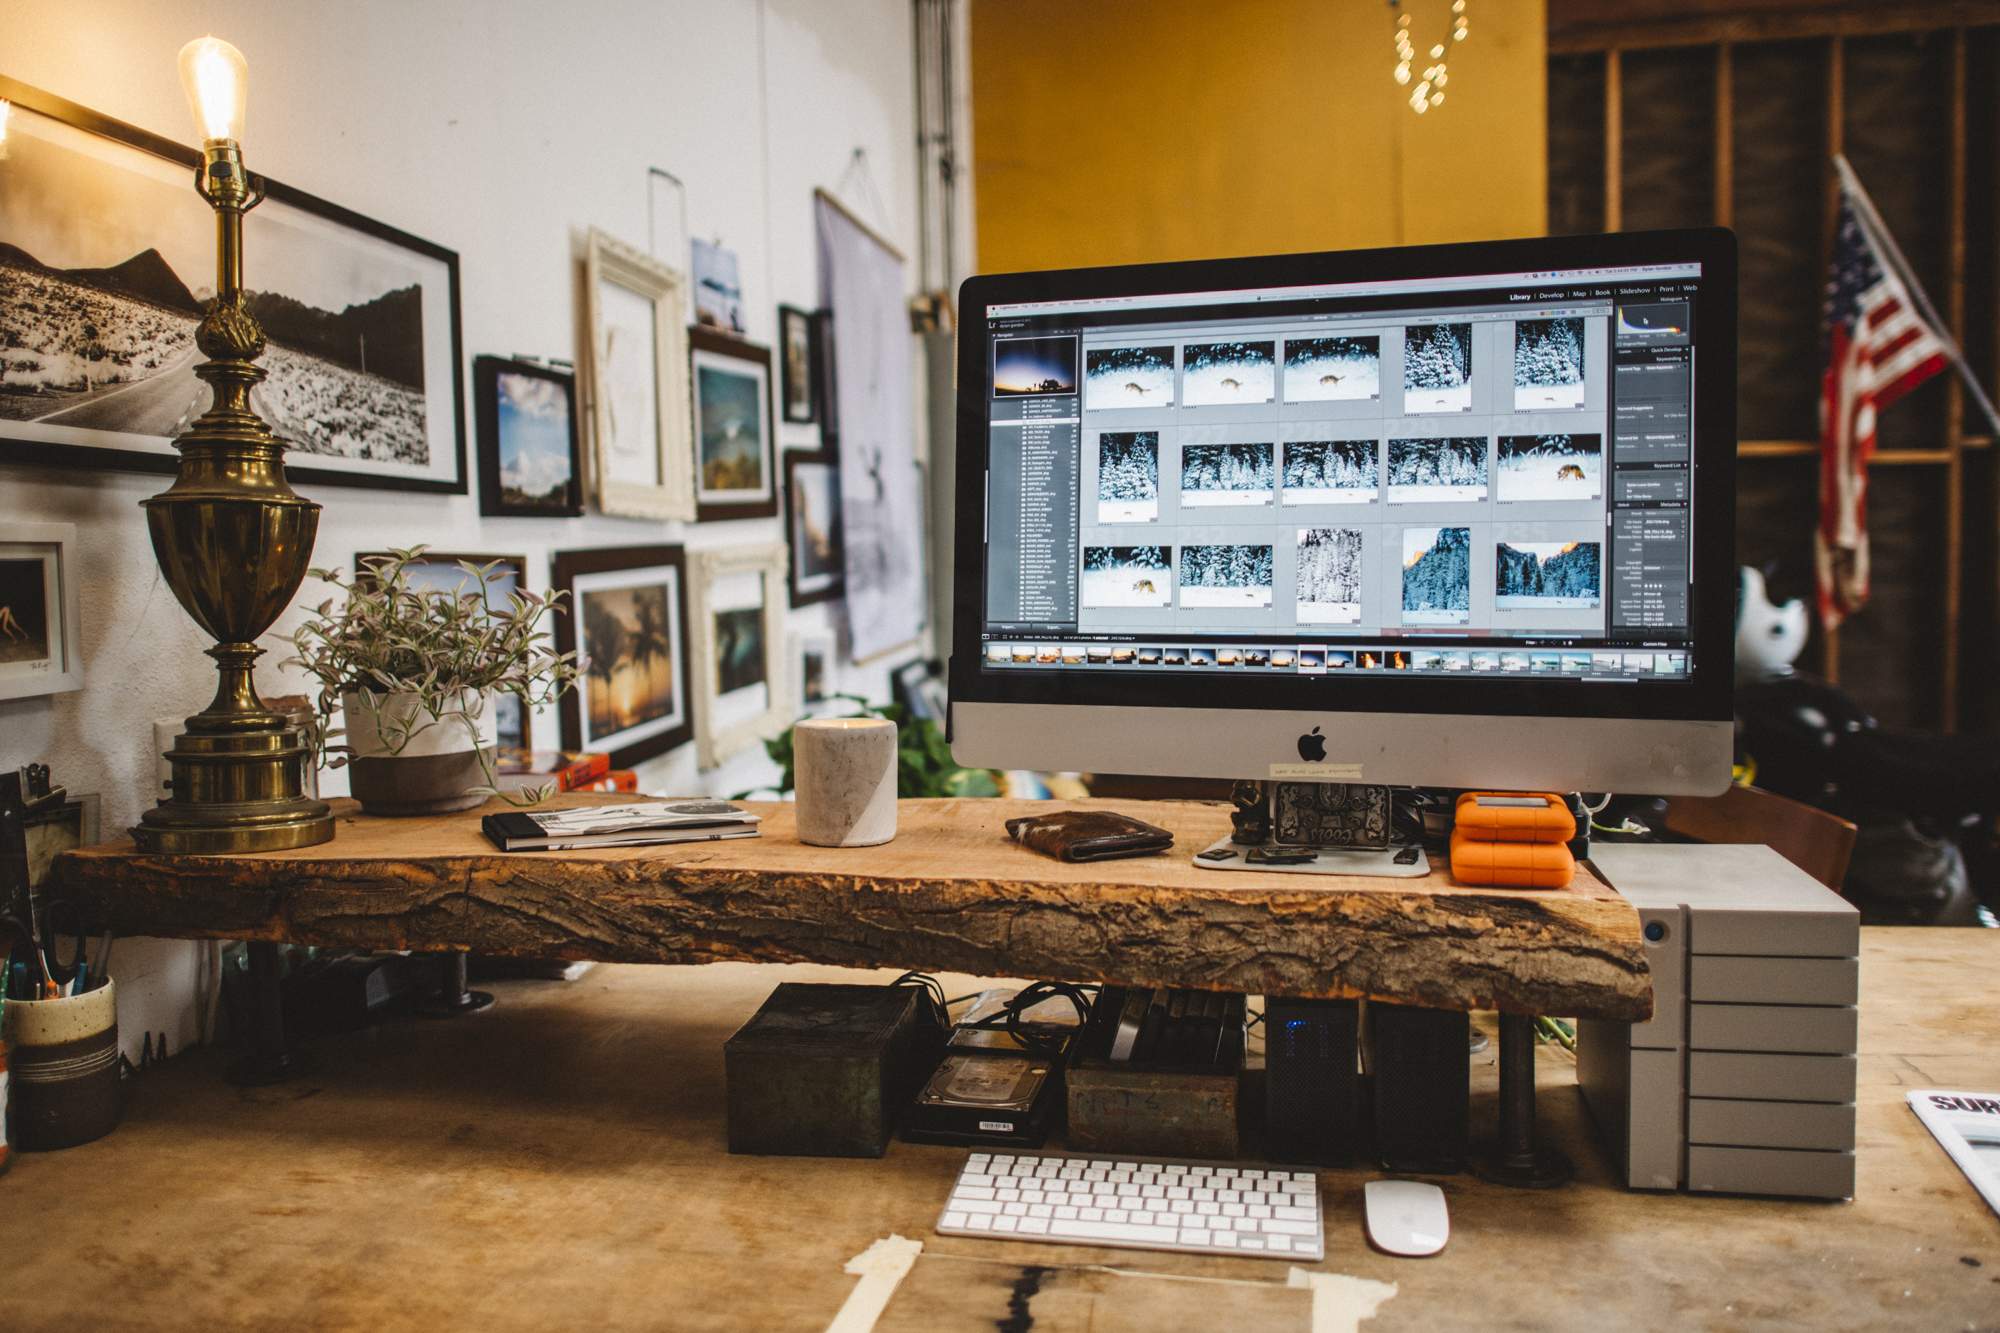
After a shoot (or if on the road, at end of each day) the first thing I do is ingest and back up. I ingest to two locations that are identical and redundant, but I also keep the data on my CF / SD cards until the end of the trip as a third absolute backup. I use Photo Mechanic to do my ingest and backup. I love this app because it’s simple and super fast. It will actually cut down your processing time a ton if you’re currently using Lightroom or Bridge to view and sort your images. The previews are immediate and there are cool labeling options that make your sort super quick. With the ingest feature, you can pull from multiple cards to multiple sources at the same time, which is rad if you’re doing something like this where you have drives daisy chained.
The first ingest is straight to my 1TB SSD Rugged drives, we’ll call them drive A and Drive B. This ensures that I have my data in two spots. From there, I mark and pull my selects and edit them off drive A. Drive B lives separate from Drive A at all times during a trip, just in case a bag gets stolen or lost, you have everything separated to ensure all content is safe.
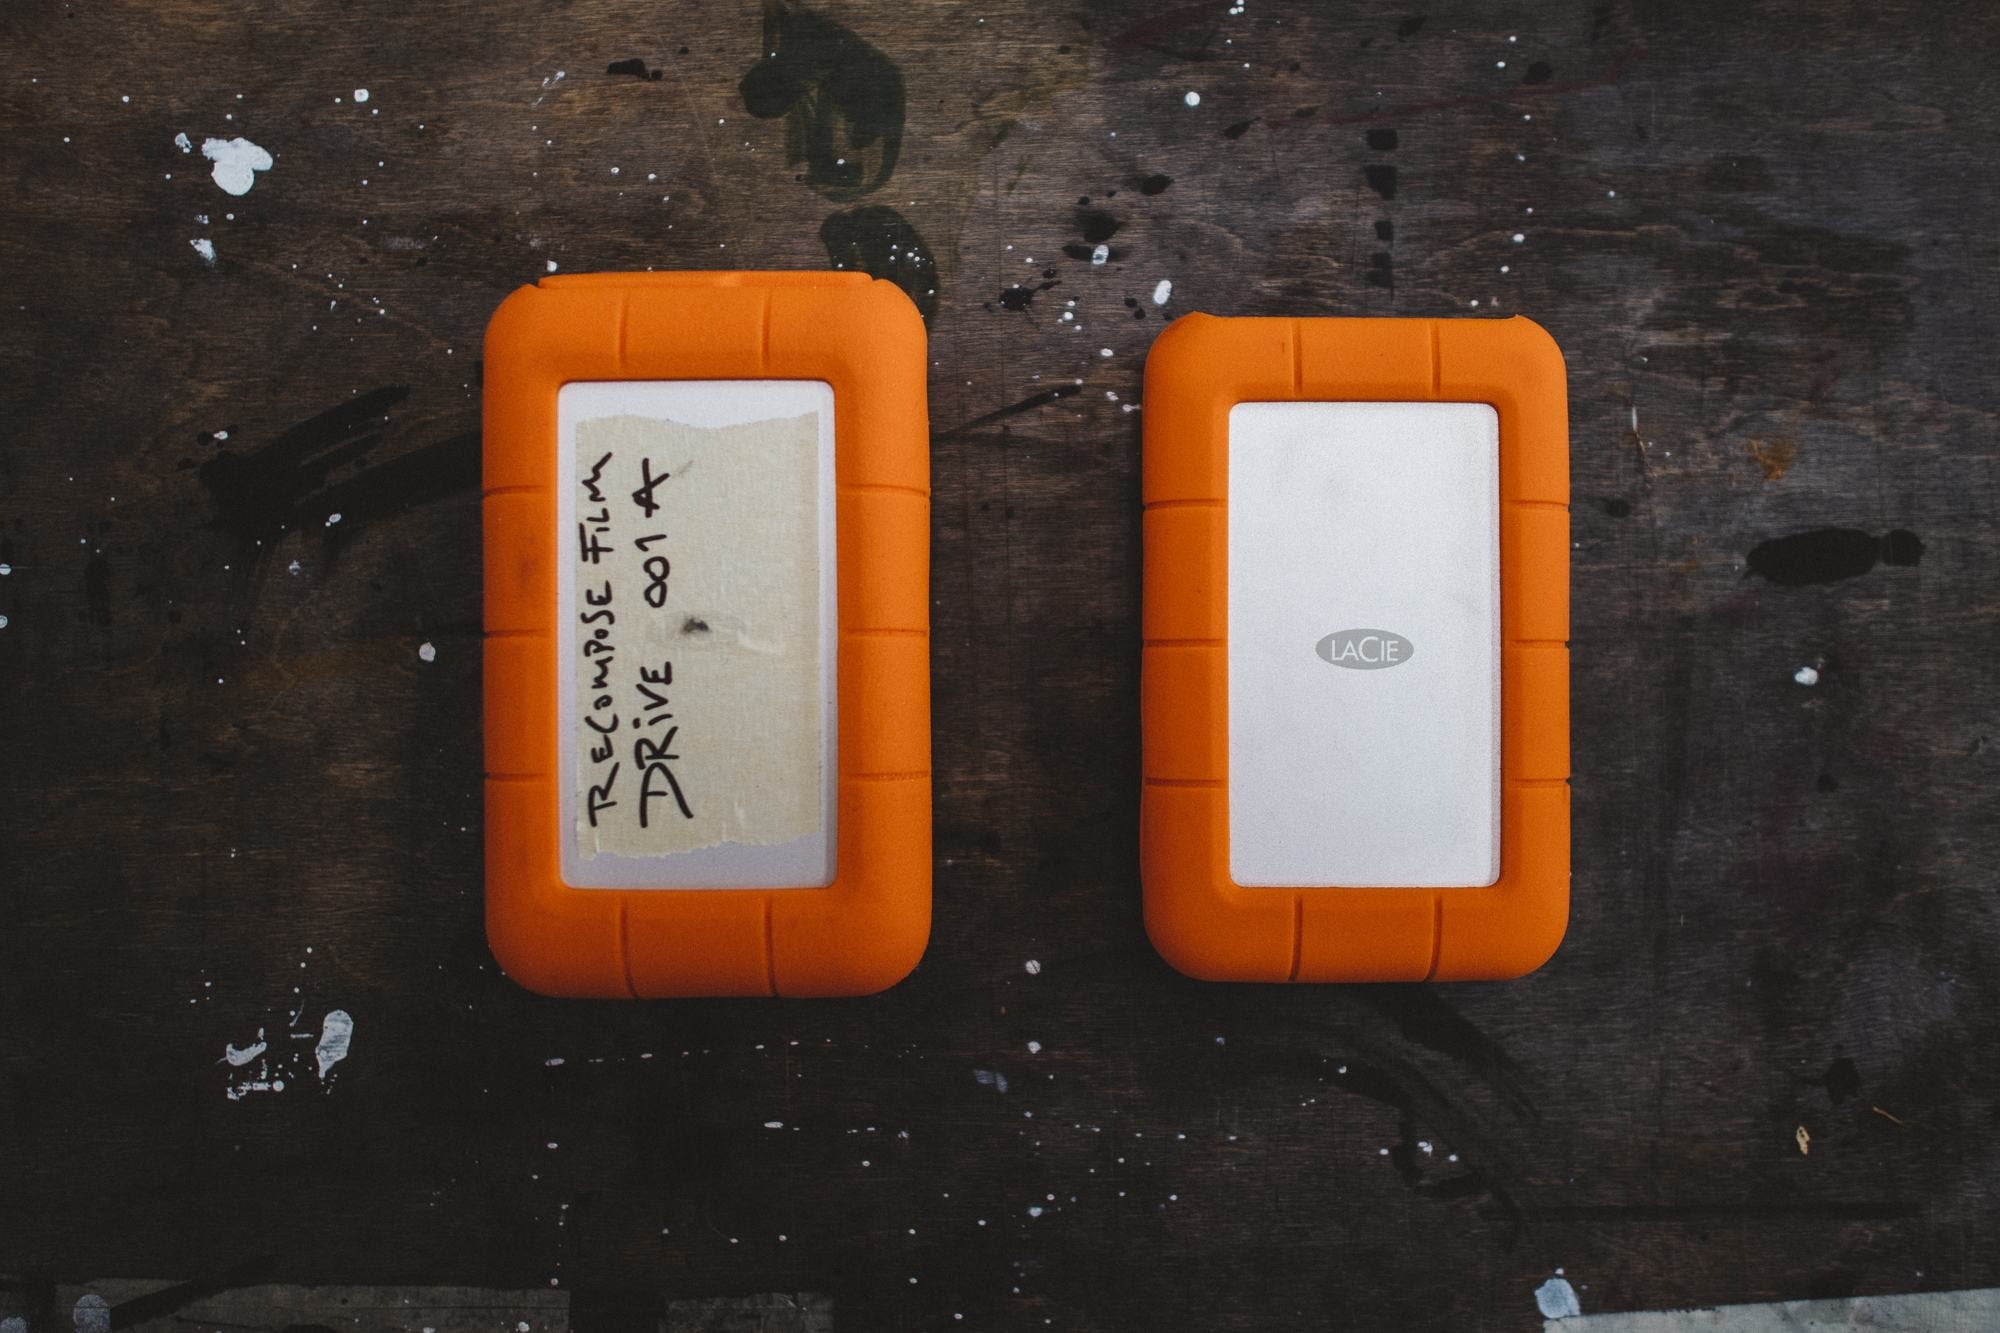
When it comes to my data ingest, I keep my organization as simple as possible. All raw ingests go into simple shoot date folders, followed by job title. For example: DRIVE A // (folder) 20170221_SURFERMAG // _DSC0687.NEF
This way, I can always backtrack to job name or date. I never change image file names because I often use Finder to look for the original files, searching that name. But if you were to add a naming convention to your original files, I would use the same date convention BEFORE the file name. However, do not change the number on the file – ever. For example: 20170221_SURFERMAG_DSC0687.NEF could be the new filename.
After I have everything ingested, I will continue to use DRIVE A as my edit drive if I’m doing field edits. If you don’t need to do any organizing, pull selects or edits while on the road, you leave these drives as they are until you get home.
Studio Backup
Here’s where it starts to get a little wild. You may want to adapt some of this to your own way of doing it, but here’s how I do it.
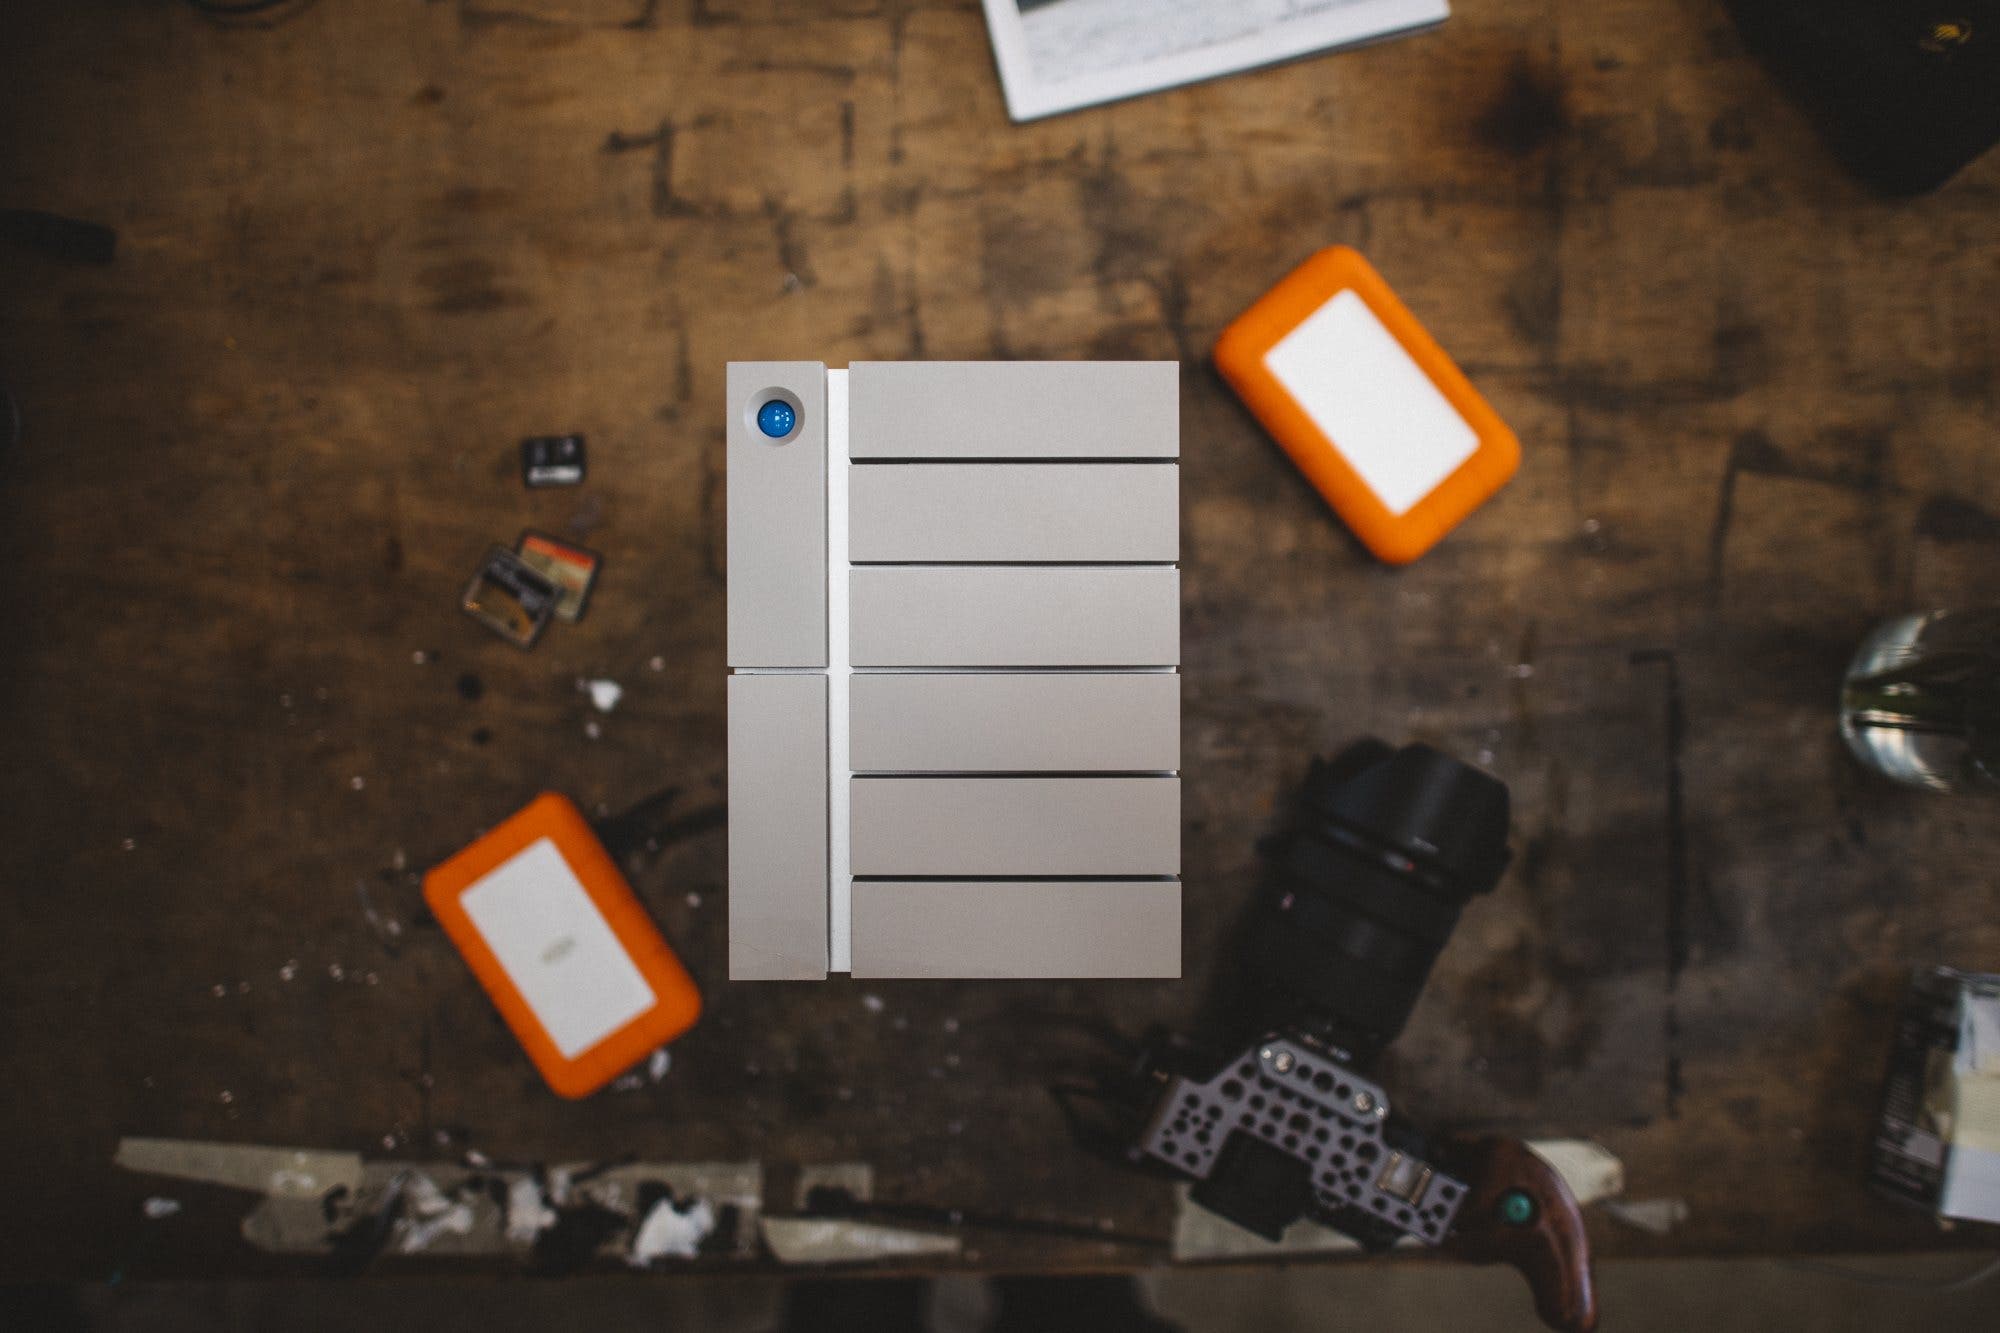
My main MASTER DRIVE at home is a LACIE 6big, this stores all of my RAWS, selects, edits, and full-res master files.
When you open the drive, it is immediately separated into three categories,
“RAWs,” “WORKING FILES,” and “MASTERS.”
RAWS is obvious, that’s my standard ingest folders as we discussed just before. No edits, just raw beauties.
Then, I have under working files, all of my RAWS that I use as edit folders for Lightroom. These folders contain all of my selects from each job and are organized by job title. Masters is where every edited file lives in high-res jpg or DNG. This is every high res image from every job and every shoot, same naming convention as the Selects folders. The one variation is after the job name, I title HR (high res) or LR (low res).
SO back to the backing up.
As soon as I’m back from the job, I take DRIVE A and dump all of the contents to my MASTER DRIVE, separate my working files (the folder of selects I edit from in Lightroom) and the RAW ingest folders to their respected new homes. At the same time as this dump, I am also dropping EVERYTHING to my 2 toasters, as well as any changesI add or make to my MASTER DRIVE.
This is where you have to be disciplined.
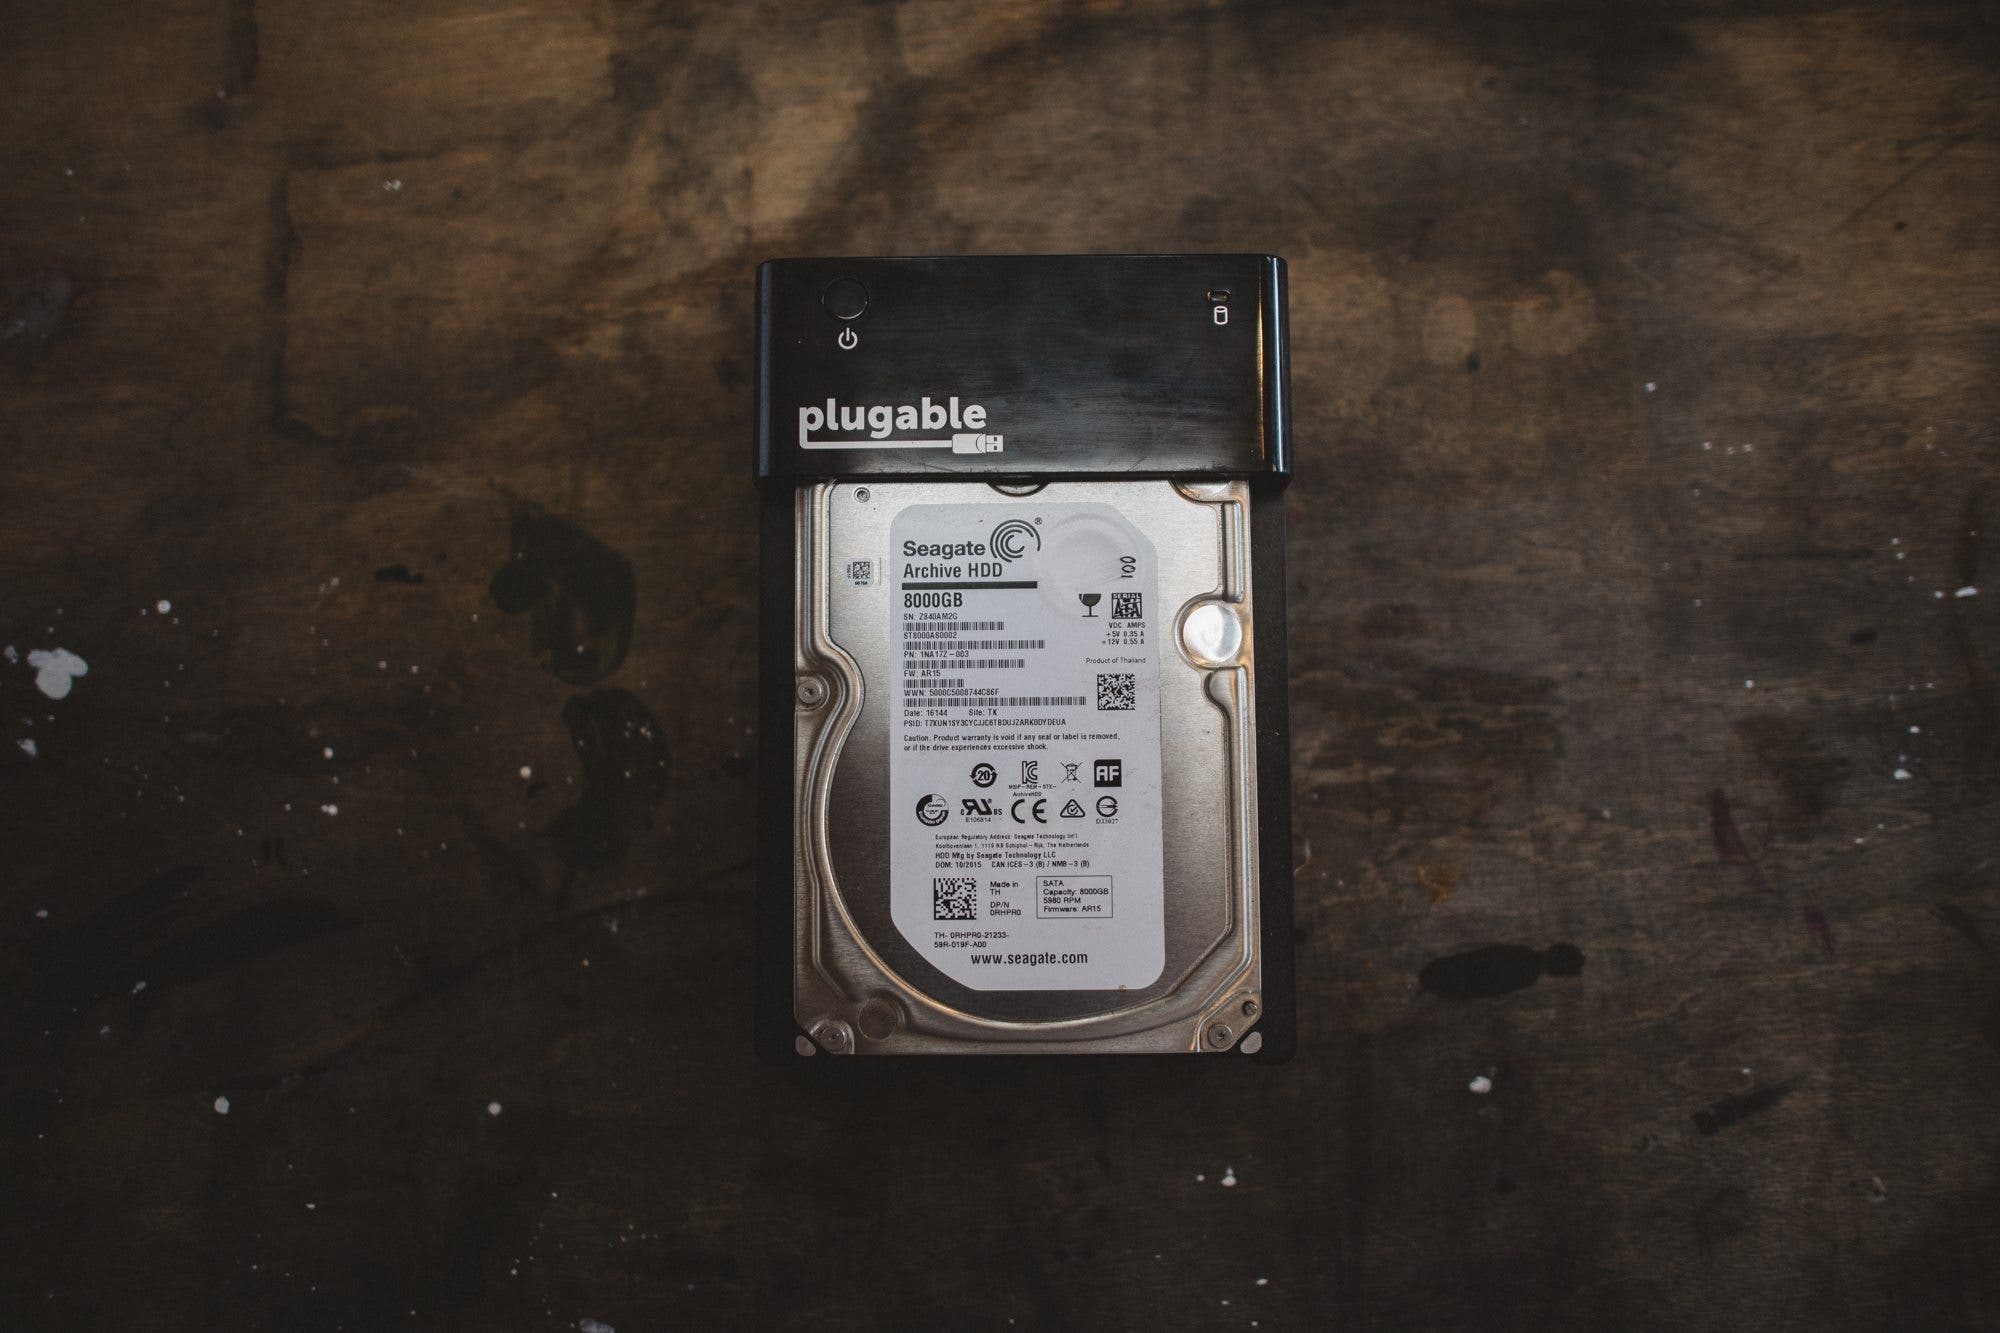
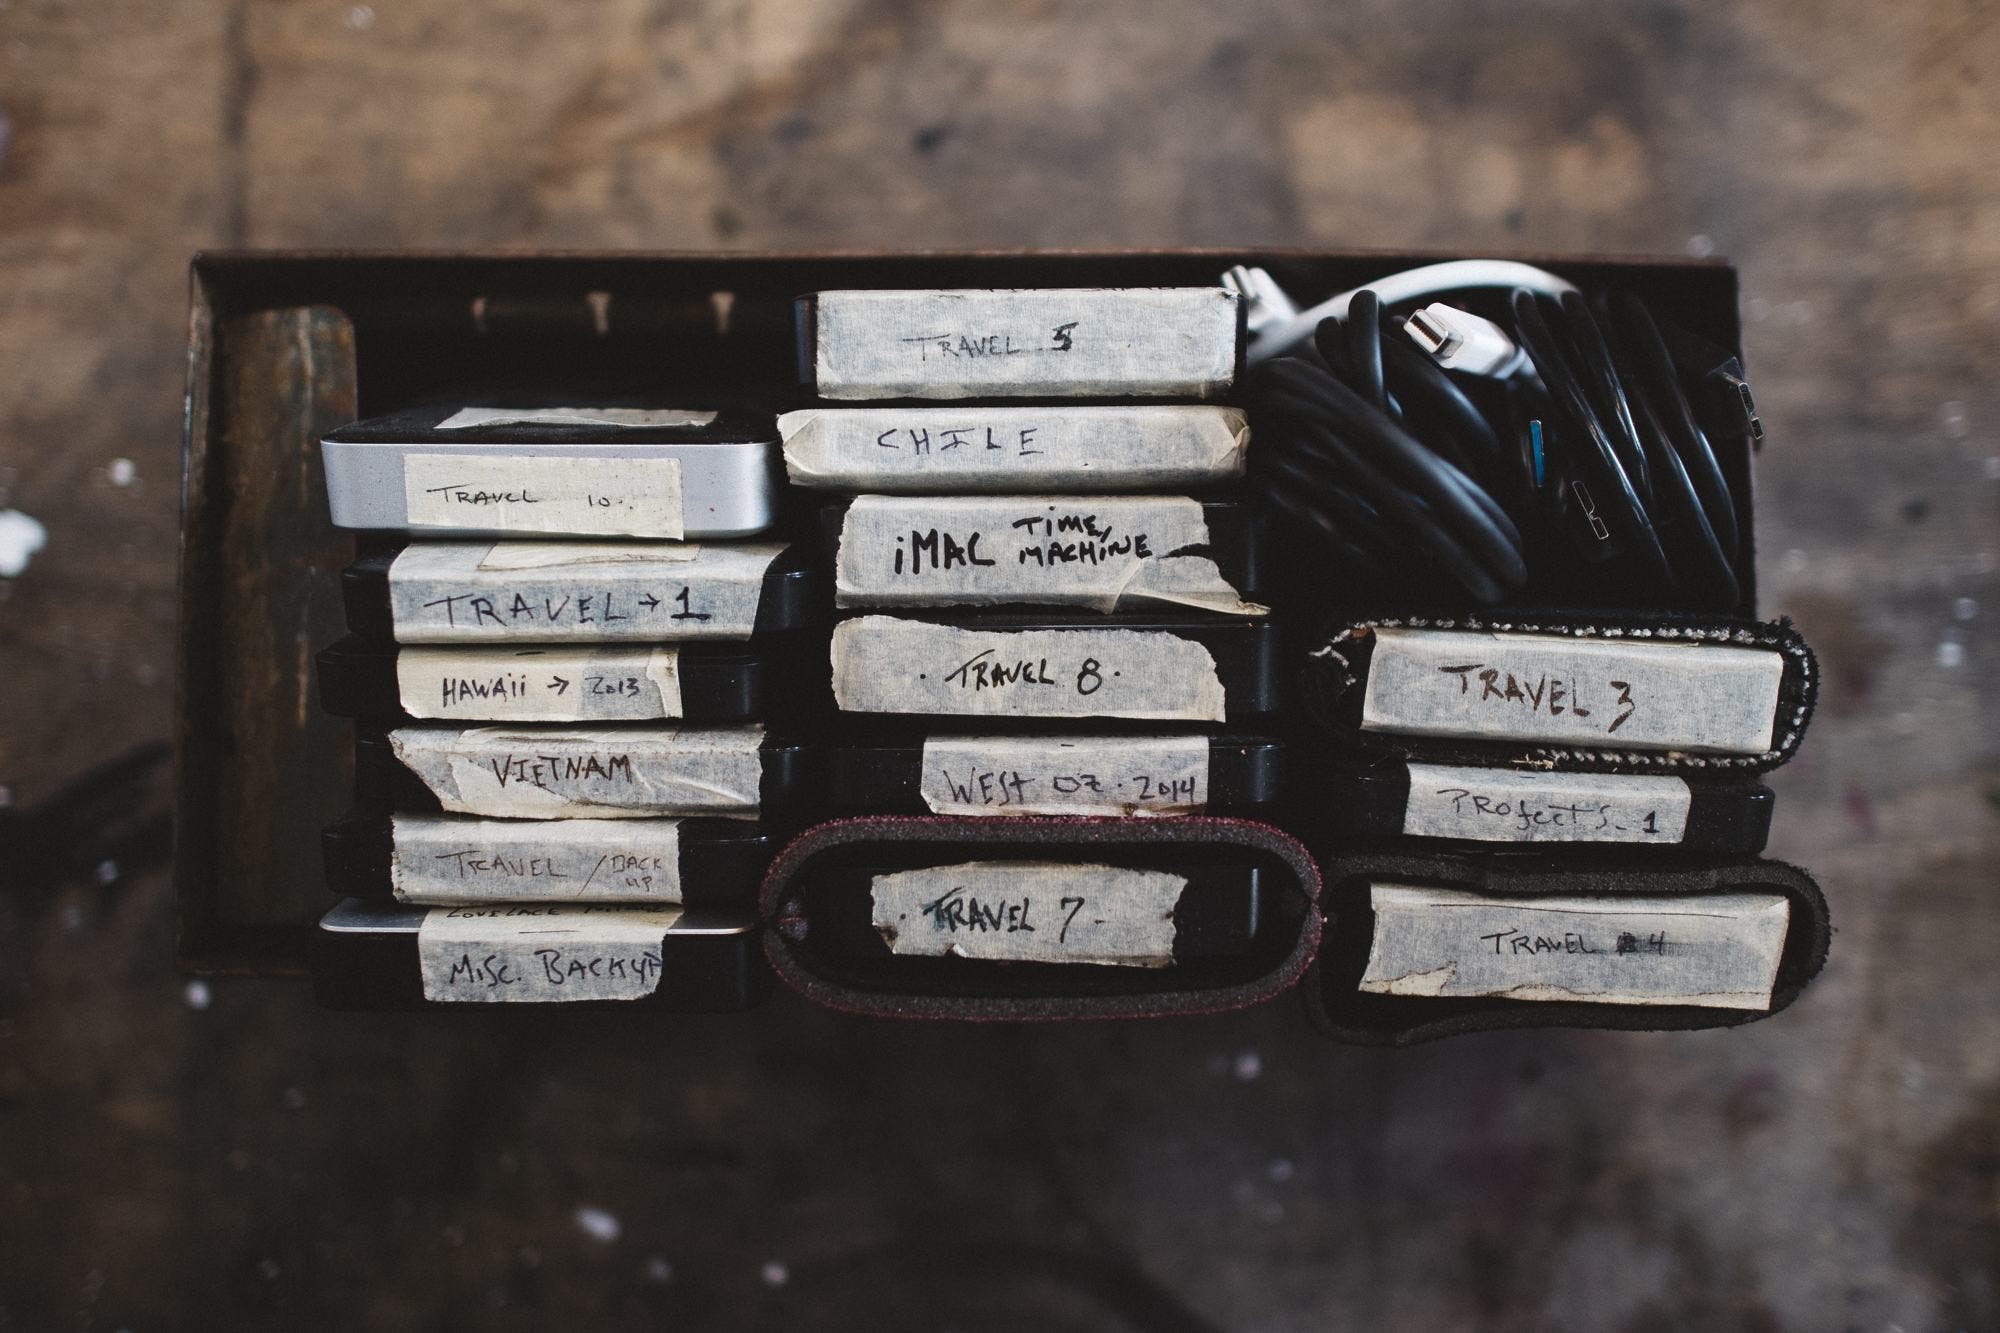 These toaster drives act as my hail-mary insurance. They may seem like excess, but they are your insurance that you have a backup of ABSOLUTELY everything.
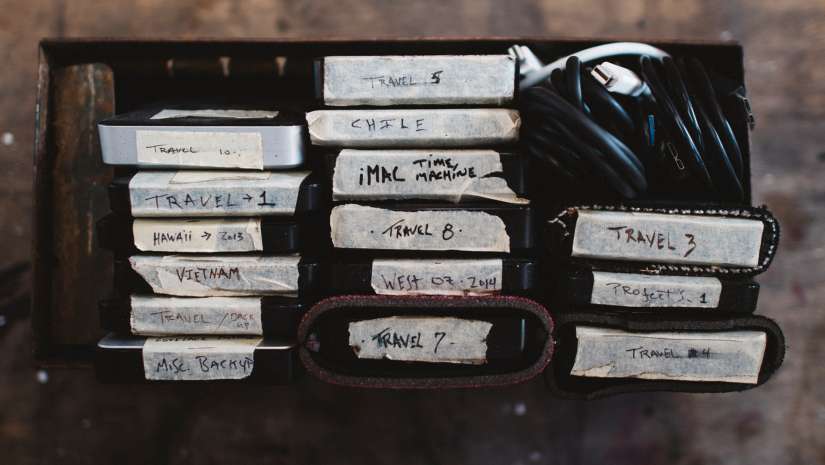
I use the most affordable 8TB Seagate drives I can find and slot them into two Toaster readers. I dump to these drives until they are full, then store one locally and one remotely. It doesn’t matter where the remote one goes, it could be your mom’s house or your friend down the street. It’s an insurance that you can always access when you need.
I label these drives alphabetically and catalog the contents in a Word doc that I can search up in case I need to find something. Drive B is now permanently stored alongside your Toaster B and never touched again unless needed. It’s redundant and crazy, but you’ll never lose a single file or job this way.
Another nice insurance I use is Time Machine. It’s simple and effortless, and I just rotate two drives here that are constantly plugged in to my desktop. This is cool because say you happen to delete a file or folder…you can revert back to when you know you still had it and can find it. I alternate the two drives because it gives you a nice long window of coverage. This is mainly for small mistakes or mishaps that happen in editing. Rule of thumb here is to use drives that are twice the capacity of your computer drive. So say you have a 2TB internal in your desktop, you get two 4TB drives to backup Time Machine.
Keep in mind that this is just how I PERSONALLY do it, you can take any of this and adapt it to your own preferred tools or equipment however you like, but the fundamentals are solid. (Some of this may seem excessive…but that’s kind of the point.)
Finally, if you approach data management correctly, you’ll avoid constantly falling behind or scrambling to keep up with equipment to address your needs. I hope you find this glimpse into my personal workflow helpful. If you have questions feel free to leave me a comment below!