Gimbals and sliders are essential gear for achieving smooth, controlled camera movements that add a floating quality to your footage. Sliders enable repeatable actions, such as straight or sideways glides, and gimbals allow for unique shots like circular orbits that are impossible to capture by hand. In this article, we will learn about a few cinematic moves that can be achieved with these tools. These devices can be long-term investments in your filmmaking career, enabling you to explore more creative shooting options.
Note that this guide works in tandem with our articles on Cinematic Handheld Moves and Cinematic Drone Shots video tips. Be sure to check them out along with their footage, as you may want to combine these techniques to enhance the viewing experience.
Before we discuss gimbal and slider moves, I will briefly touch on:
- Calibration & balance
- Understanding your tools, such as modes of functioning.
Prerequisite: Calibration and Balance
Your tools must be perfectly balanced. This is their essential foundation. Gimbals must be calibrated before use. If your motors are struggling to handle the weight of your gear, your footage will suffer from micro-jitters.
You will need to learn the simple but effective Ninja Walk for smooth operation and best footage while using your device. This includes keeping your knees slightly bent and rolling your feet from heel to toe to dampen vertical bounce. To further stabilize your frame, hold the gimbal with both hands and tuck your elbows firmly into your ribs. Keep your arms slightly flexible, acting like shock absorbers, rather than locking your joints. Watch the practical demonstration below:

Practical demonstration of a ninja walk with a gimbal
Sliders, on the other hand, do not require balancing, but they do have a weight limit. Learn how to control the slider and ensure it is leveled when set.
Prerequisite: Understanding Your Tools
You must understand the various modes on your gimbal and the functioning of the slider.
To achieve Gimbal moves, you need to understand how its motors respond to your physical input. Much like a drone has different flight modes, gimbals utilize specific modes to control which axes are locked or following. Each gimbal brand and model has its own mode system and limitations, so be sure to check the modes before making a purchase.
| Mode | Explanation |
| Pan Follow (PF) | The tilt and roll axes are locked; the camera only follows your left-right horizontal movements. |
| Follow (F) | The roll axis remains locked while the camera follows both your panning (left/right) and tilting (up/down) movements. |
| Lock | All three axes are locked. The camera stays pointed in one fixed direction regardless of how you move the handle. |
| POV (All Follow) | All three axes follow your movements, including the roll. |
Sliders offer various features depending on the manufacturer. These often include unique mechanisms for adjusting speed, setting specific movement points, and proprietary control apps. Manual operation (pushing the slider by hand) is typically possible. Some models support vertical or inclined configurations. Furthermore, some sliders are either sold bundled with their own gimbals or designed to accommodate popular gimbals, such as those in the DJI RS series.
So let’s get to discussing my five top cinematic slider and gimbal moves and why they work.
1. The Slider Reveal (Slider)
In this move, we position the slider horizontally behind a foreground object, such as a tree or pillar, and slide the camera smoothly to uncover your subject. This technique aligns with the Discovery Pan of a cinematic handheld shot, using side-to-side motion to reveal a situation or place.
Why This Move Works: It creates a 3D experience by revealing different layers of the frame.

Execution:
- Position your slider horizontally behind a foreground object, such as a tree, pillar, or doorway.
- Although not mandatory, this object should initially hide your subject, which creates a 3D experience by emphasizing the different layers of the frame.
- Either manually or using the slider app, move the slider from the start to the end.
Pro Tip: If the subject is a human, I find it best to have the subject doing something when the reveal happens. This keeps the audience engaged.
2. The Parallax Orbit (Gimbal)
This move is similar to the Drone Orbit, offering a spectacular way for the viewer to absorb the subject from every angle.
Why This Move Works: It adds immediate depth by allowing the background to roll behind a fixed central subject.

Execution: Walk in a consistent circle around your subject while the gimbal’s Follow Mode keeps the camera locked on center.
Pro Tip: Many beginners make the mistake of using Pan Follow Mode (rather than Follow Mode) for this shot. Pan Follow locks the tilt axis, which is excellent for keeping the horizon level during a horizontal move. However, in an orbit, if you move slightly up or down, or if the surface is uneven, the tilt lock will prevent the camera from adjusting, causing your subject to drift out of the center of the frame vertically.
3. The Dolly Push (Slider)
The goal of this shot is to build tension or draw the viewer into the scene. This is achieved by slowly moving the camera towards the subject, creating a sense of physical immersion. It is the equivalent of the Handheld Subtle Push-In.
Why This Move Works: It provides a perfectly smooth, linear version of the emotional build.

Execution:
- Choose two points A and B on your slider app, or select two points for manual execution.
- Using a forward-facing, mounted slider, move the camera slowly toward the subject in a single continuous motion.
Pro Tip: To achieve a sense of motion, incorporate a blurry foreground element or place objects in the peripheral vision on either side of the scene.
4. The Stabilized Follow (Gimbal)
In this move, you maintain a consistent distance behind your subject, using the gimbal to keep a smooth, floating perspective as they navigate a location. This technique aligns with the Handheld Shadow Follow, acting as the mechanical, more polished alternative to that handheld eyewitness perspective.
Why This Move Works: It draws the audience into a new environment, fostering a sense of companionship and making the viewer feel like a tag-along participant in the story.

Execution:
- Put the gimbal in Follow Mode (F).
- Keep your elbows tucked.
- Use the Ninja Walk.
- Maintain a consistent distance from the subject.
Pro Tips:
- Experiment with different frame rates to create a video with natural motion blur and slow motion.
- Even though the gimbal offers smooth footage, you might need to stabilize the footage further in editing.
5 – Slider – Gimbal Combination
A slider-gimbal combination offers multiple movement possibilities. By mounting a gimbal on a slider, one can leverage both:
- the slider’s capacity for lateral (left/right) and linear (forward/backward) movement, alongside
- the gimbal’s capacity for vertical tilt (up/down) and horizontal pan (left/right).
The following move is similar to a Drone Tilt Reveal, generating a strong sense of momentum and discovery.
Why This Move Works: Smooth, orderly camera movements across multiple axes create an engaging viewing experience.

Execution:
- Determine the start and end points of your scene.
- Program the slider and gimbal moves via the app.
Pro Tip: Focus is important, so make sure that the object at the beginning of the scene and towards the end are both in focus.
6 – Bonus Moves
The creative potential of gimbal and slider movements extends far beyond the basic techniques we have covered, and you will develop your own style and finesse.
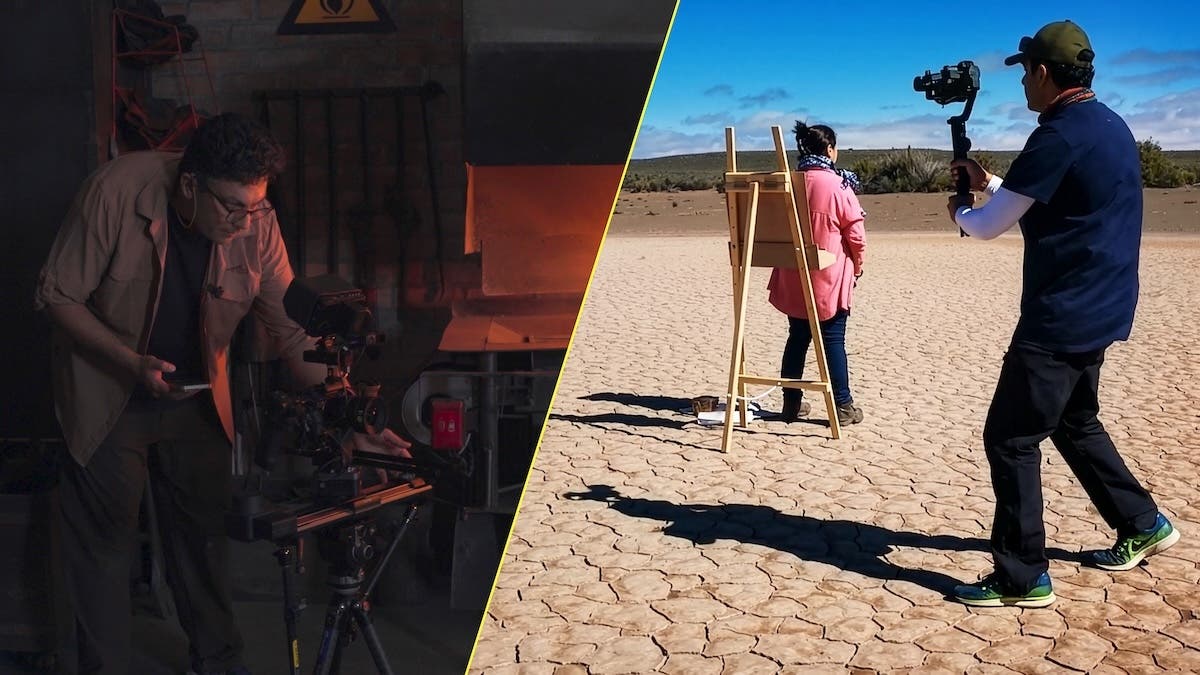
For example, in the gimbal shot below, I used a jump cut to transition the subject from her studio to a forest setting. The gimbal first followed her feet in the studio, then cut to the new forest location, and finally captured her as she set down her bag.

In the slider movements below, excitement was generated through a series of cuts. I repeatedly moved the slider back and forth while changing my shirt in each cut. Similarly, I moved the slider from right to left as I attached different lenses to the camera in succession.

Final Remarks
As a filmmaker, your role is to visualize and execute camera movements that you intuitively feel are necessary for the scene. Achieving an immersive experience for the viewer requires the seamless integration of shooting techniques, lighting, and sound design.
If these mechanical moves feel too robotic for a specific scene, you can find alternative organic options in our companion guide on Cinematic Handheld Moves.