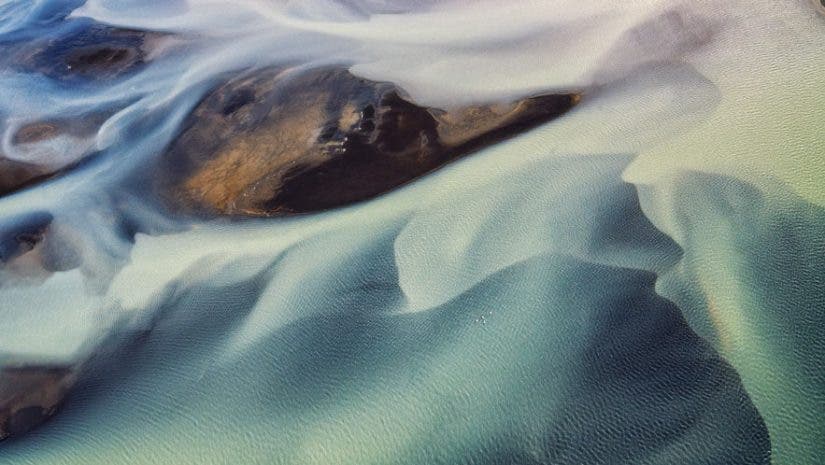
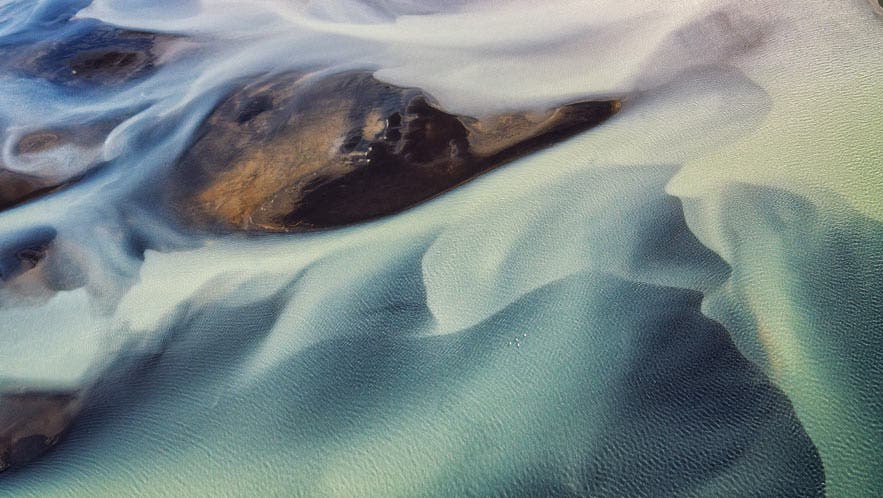
Taking quality images from way up high is not easy, but it doesn’t have to be impossible. Here are a few simple rules and practices to help you achieve amazing aerial shots from the skies, and to master your plane or helicopter photography.
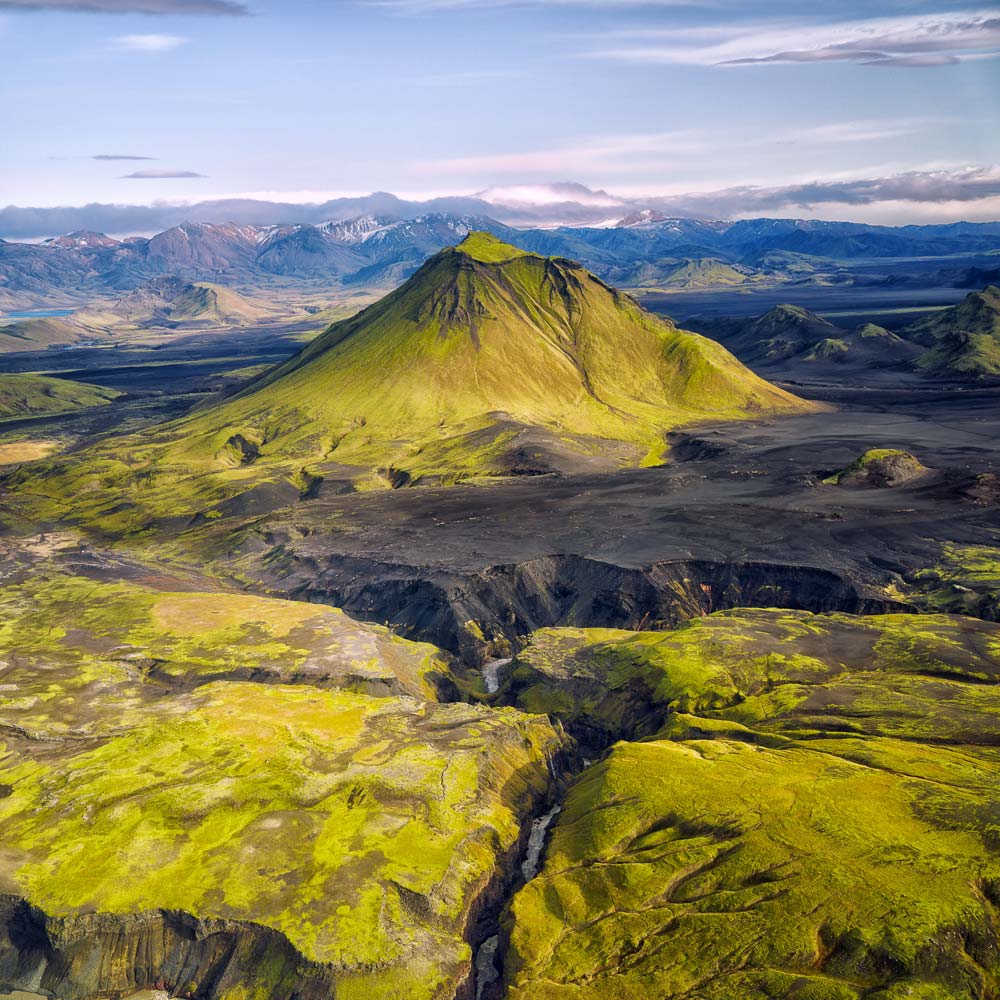
Open the Windows
If possible, charter a plane or helicopter that allows you to open the windows so you don’t have to shoot through glass, and most often, dirty glass. No matter how clean, a thick window will reduce the contrast and sharpness of your images. If it’s impossible to open the window, then put the front element of the lens right up against the glass to minimize glare and the distance light has to travel from outside the plane or helicopter into your camera. Please remember that if you are in an open-door or open-widow vehicle, you have to use a camera strap for safety. Companies will not allow you to board without one.
Here’s a pro tip: If you don’t have a strap, you can use your shoelaces to create a temporary, makeshift strap!
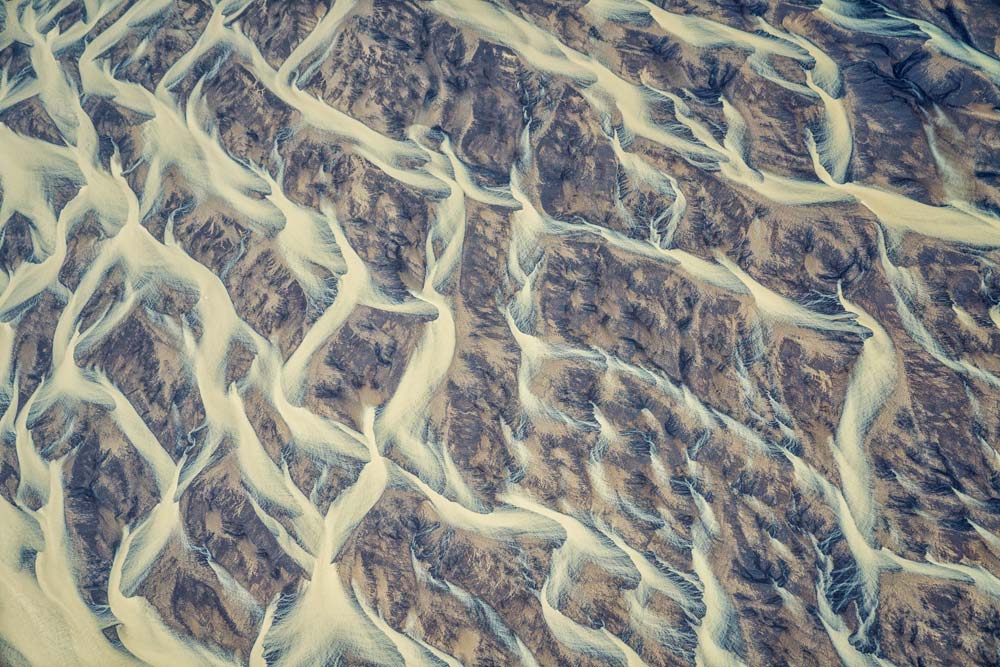
Dress for Success
At high elevations, with the windows open and at fast speeds, the wind entering the vehicle can be very chilly. Make sure you’re dressed properly! Your hands will get the coldest because you’ll be sticking them out of the window to take photos. I like using gloves where I can expose just my index finger and thumb. Also, be careful about baseball caps as they tend to go flying out the windows.
Use a Polarizer
I always recommend having a polarizer attached to the front of your lens when you’re doing helicopter photography. The polarizer will not only help you achieve richer colors, but it will reduce unwanted glare from reflective surfaces, such as water, plants, and buildings. If you can’t open the windows, the polarizer will also help reduce reflections. As you change perspectives and shoot in different directions, you may need to adjust the rotation of the polarizer to optimize its effect.
Bring the Proper Lens
Inside a plane or helicopter, you are confined to a relatively small space, and you won’t be able to take a lot of gear. I usually have a single camera body with a 24-70mm f/2.8 lens attached. This is the perfect lens, because it isn’t so wide that parts of the vehicle encroach into my frame, and it provides just enough telephoto reach to create some intimate compositions. Also, the wide aperture allows me to maintain a high shutter speed, even in less than ideal light.
If you have more room, then I suggest also bringing an ultra-wide lens (e.g., 16-35mm) and/or a medium telephoto (70-200mm). Leave the lens caps and hoods behind. They are just two more pieces of equipment that can fly out of the vehicle. The lens hood also increases the surface area of your lens for the wind to hit and shake your camera.
Keep Up the Shutter Speed
You’ll be moving relatively quickly, and it is very important to maintain high shutter speeds to avoid soft images from motion blur. Please keep in mind that camera or lens stabilization has no effect on the movement of your subject. I like to maintain a shutter speed of at least 1/1000 sec, as a starting point. You may need to increase the shutter speed if you’re closer to the ground (the closer you are to the subject, the quicker the apparent speed), are using a camera with a very high megapixel sensor, or are using a telephoto lens.
I typically shoot in shutter priority mode and auto ISO. Initially, I set the shutter speed to 1/1000 sec. The camera will then try to maintain that speed, first by opening up the aperture as wide as is necessary, then resorting to increasing the ISO. For the first few shots, I examine the images for softness. If they aren’t sharp, then I gradually increase the shutter speed, sometimes needing 1/4000 sec (again, depending on the parameters I outlined above)!
Whenever possible, try to shoot from a high vantage point. You can get amazing and unique perspectives to add to your portfolio.
I hope my advice above helps you master helicopter photography and get better aerial images!