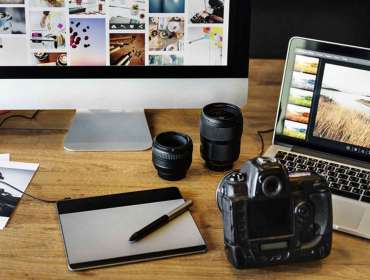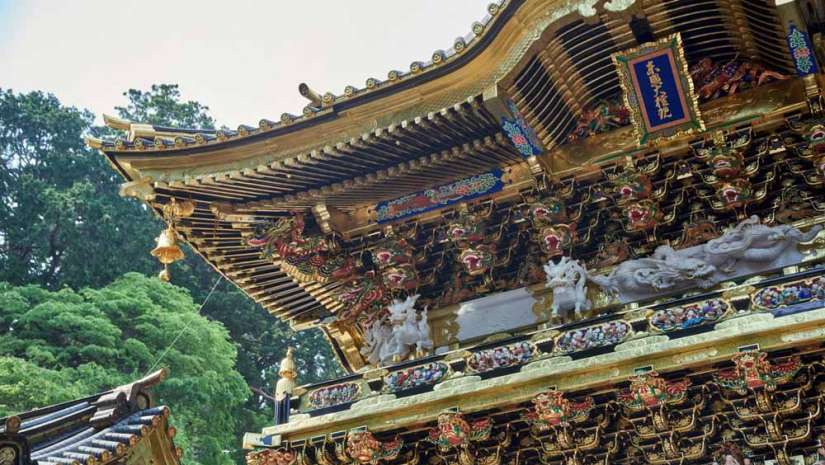
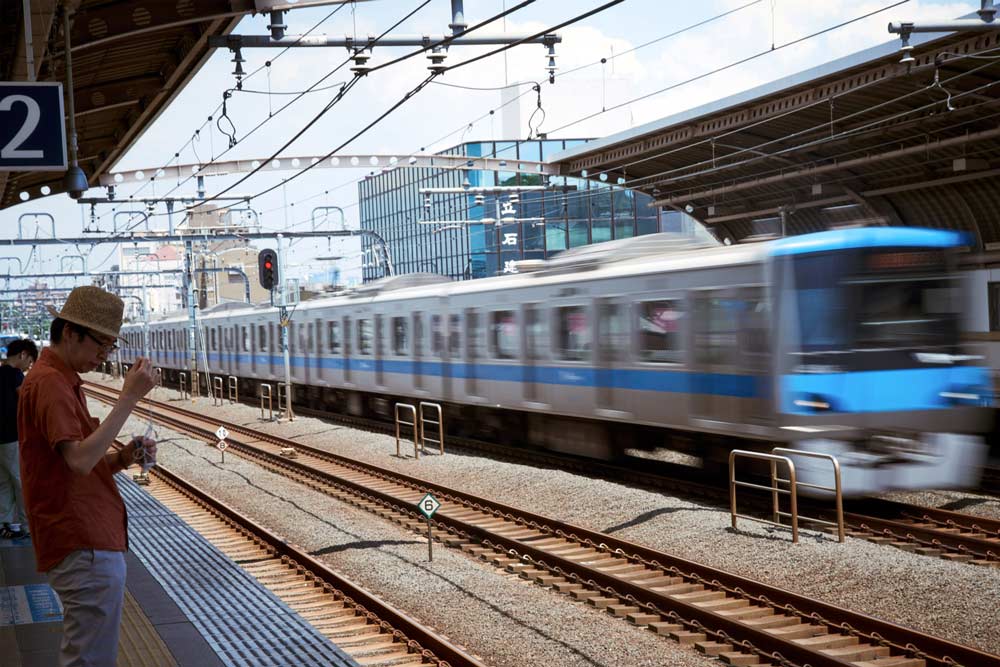
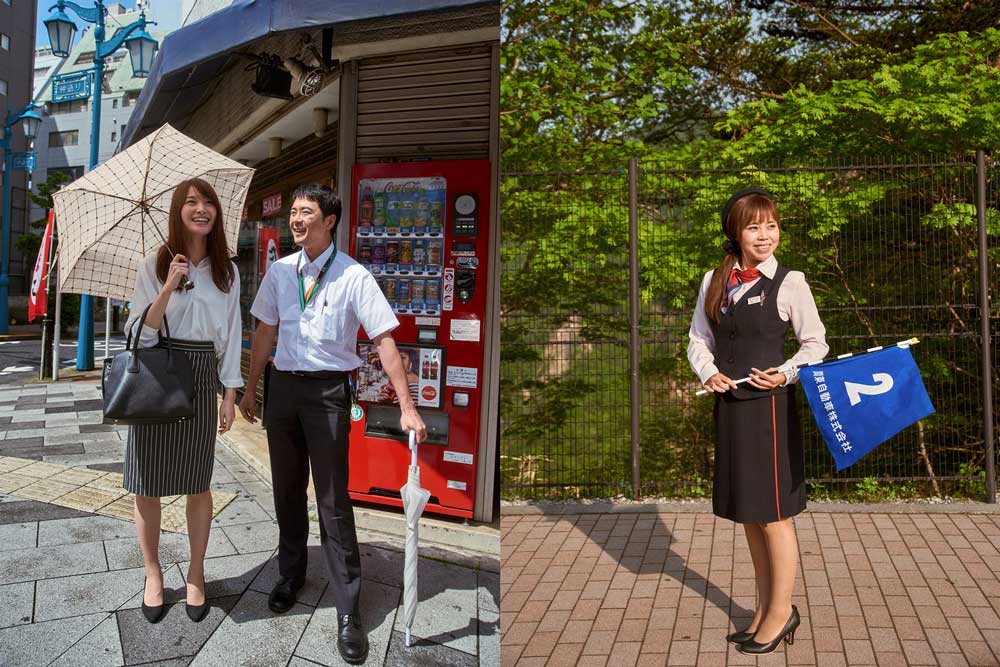
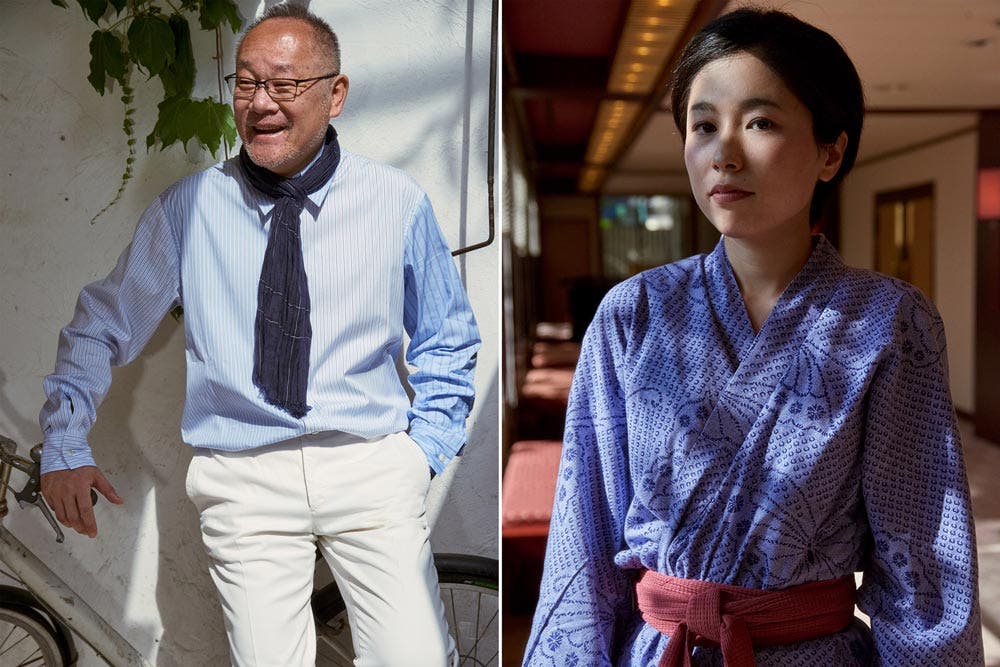
This past year has meant fulfilling a dream of traveling for photography, with the biggest opportunity taking me as far as Japan. In the lead up to my time in Japan, I’ve worked out a system and set of tools, improving it incrementally, successively over each travel gig, until I’ve gotten it compact, yet delivering results of more complicated and elaborate systems.
In this three part series, I’m going to outline the tools and approach that are, for me, the best setup. This is Part 1, gear and organization for travel. Part 2 will show some of the results and give you behind-the-scenes insights into how the work was made. Part 3 will lay out my approach to editing, organizing and backing up images while on the go.

Packing Lights, Packing Light
With gear, my goal as a photographer is to pack for the greatest versatility, with the smallest footprint, and lowest carrying weight possible. I approach my work with a sense of spontaneity and freedom, and try my best to move away from being tethered to, defined and limited by my gear. To this end I work in a way that is streamlined, simple and fast – allowing me to pivot from studio quality control to street-style, run-n-gun work – letting the subject or story I’m trying to tell dictate how the gear is used, and not the other way around.
My go-to light is the Flashpoint Streaklight TTL. This is a strobe that packs similarly to a speedlight in weight and volume, but generates output around 4x their max.
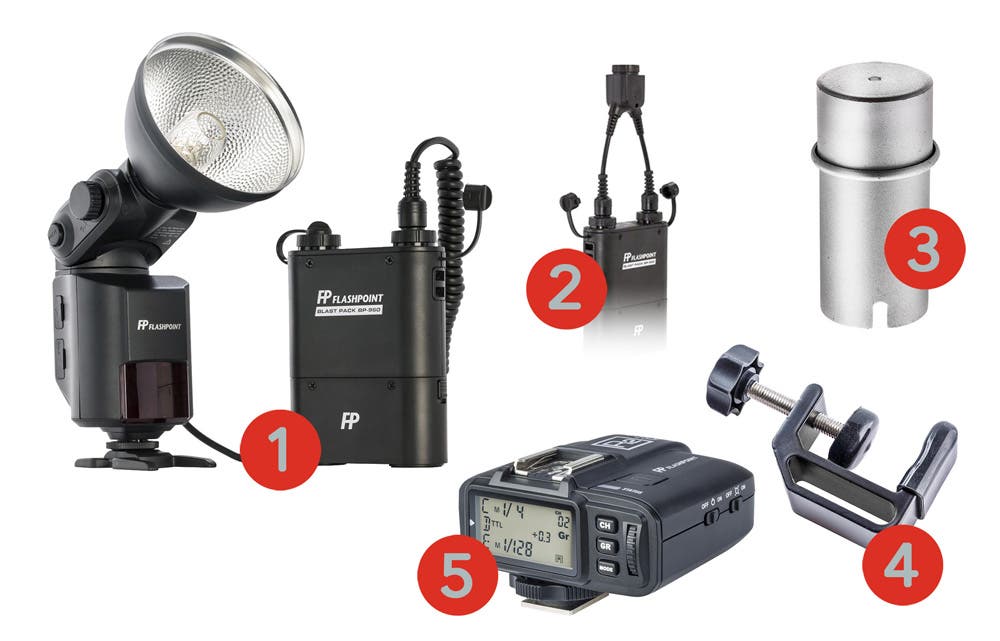
Pictured above, a complete Streaklight system: (1) Streaklight TTL and power pack; (2) Y cable that halves recycle times; (3) protective metal cap for travel; (4) stand clamp for the power supply; (5) the R2 wireless transmitter – only one is needed to control 5 lights, or 5 groups of multiple lights – the Streaklight TTL has a built-in receiver.
Historically, accessing this kind of power on location, while trying to work lighter than a pack & head system, has meant working with a monolight. Even with a relatively low powered monolight – you’re stuck with an exponential growth in weight and size for the tools needed to complete your working setup: a heavy weight stand, a somewhat heavy power supply, or access to location power and the cables needed to run power to your set. The accessory and modifier ecosystem built around monolights approaches studio quality, but sometimes requires a studio’s worth of brackets and support.
At the other end, if you wanted to pack as lightly as possible, you moved toward speedlights, and even though they offer interesting creative potential, you were left wanting in certain circumstances with the “just barely enough” output, slow recycle times, paired with often wonky modifiers. As with monolights, much is made of speedlights’ small size, but when the entire system needed to run them well is taken into account (high speed recyclers, special brackets, multiple lights to make one source), you’re faced with a reality that doesn’t live up to the promise.
The Streaklight system upends all of this, sitting somewhere at the center of a blend of high quality modifiers, great output, light weight, and small size. If you pair a Streaklight with a Glow Bowens bracket, you get access to the kind of modifiers usually reserved for bigger lights – beauty dish, parabolic softbox, and long throw reflector to name a few. Setup is simpler, and more streamlined than what you’d need to cobble together with speedlights, though the packing weight and size is almost the same.
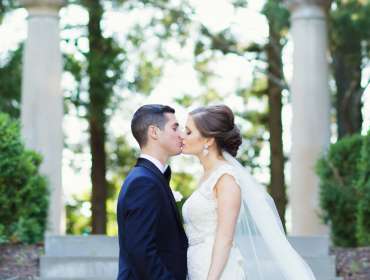
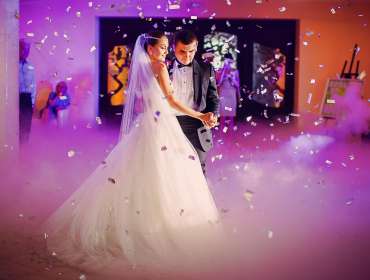
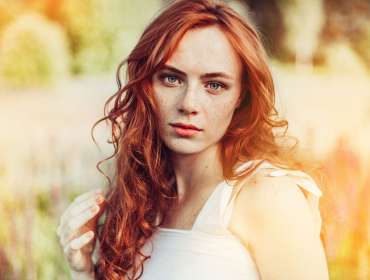
The output is a true 300ws. The included bare reflector provides a clean, hard edge with 28mm effective coverage. To put it another way – it’s an ideal ISO 400 light. In practical terms, from a distance of 8ft, in a modifier, at ISO 400, you will get near instant recycle times, f/8 for upwards of 1500 shots per battery. Paired with a second light, set to lower power for fill, this means you can shoot all day, and often multiple jobs, before having to recharge. The right trigger (the Flashpoint R2 being my preferred choice), also gives you access high speed sync (HSS), mixing your strobe with ambient at shutter speeds up to 1/8000. Catalog fashion and high volume event photography being exceptions, I otherwise think of, treat, and shoot with the Streaklights as the light that will get any job done. Environmental portraiture, on-location action & fitness editorial, from-the-hip creative work? Check all of it.
As with any tool, Streaklights do have shortcomings: their color stability isn’t 100% across all power settings, making them a less than ideal choice for exacting still life work; at power settings higher than 1/16, especially the Manual (non-TTL) version of the lights, they have a long flash duration which means ghosting when blended with ambient light if not in HSS; and HSS is so strenuous, the lights can jump into “thermal protect,” which slows recycle times considerably. There are strategies and workflow solutions for each of these issues, but it’s up to you to decide if the costs associated with the workflow and the output match your style. Unless your work lives & dies by these factors, the strengths of the system, taken as a whole, far outweigh its weaknesses.
Organizing and Carrying
Shown here is much of a four bag system I’ve come to rely on – missing is my stand/umbrella bag (this Hensel is my usual choice for that). You’re going to want to get as much weight off your back as possible, putting as much gear as you can manage inside the roller case, and sit the over-the-shoulder bag ontop of the roller.
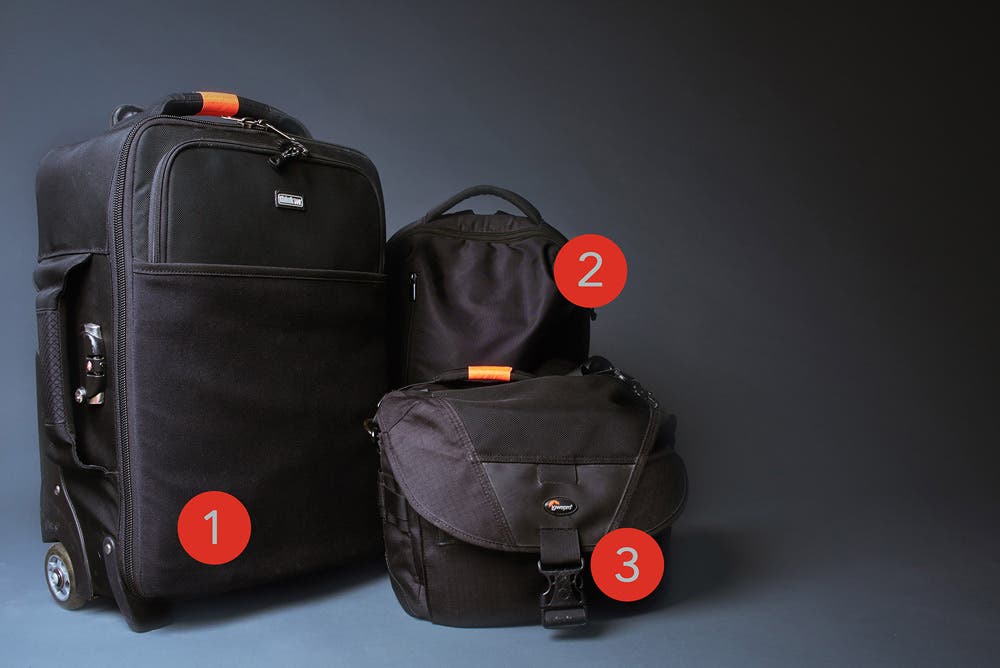
Pictured here: (1) Thinktank Airport Security, (2) Manfrotto backpack, and (3) Lowepro over-the-shoulder bag (model pictured is discontinued but linked below is a similar item).
Not pictured here: long bag for stands and modifiers.
- Thinktank Airport – two camera bodies, lenses and two complete Streaklights, their power supplies, cables and triggers.
- Manfrotto Backpack – Laptop, tethering kit and external drives for backup.
- Small Lowepro shoulder bag that sits on top of the Thinktank – two Bowens S-type brackets, a Chimera speedring as needed, and assorted small essentials.
- Hensel Light stand and modifier bag: I usually pack a heavy weight kit stand with a c-stand arm for my key light, a Manfrotto mini stand to park my fill light on top; for modifiers I’m typically traveling with a Photek Softlighter, the Glow Parapop 38” and sometimes a Chimera Medium softbox. On more ambitious gigs I will switch out the Hensel bag and opt for a larger bag, like this Tenba.
Within the Thinktank I keep several smaller things organized in rugged vinyl mesh zipper pouches. I often organize complete systems in these pouches, based around workflow, so for example, a complete tethering kit will be a tether cable, a powered extension, a small powered USB 3 hub, and a Tetherblock, all in one bag. This means to head out on a job based around tethering, I grab my laptop, an external hard drive, and this pouch without having to check to make sure each component needed is included. Once a job is complete, I return the set of tools back to the same pouch, and it’s ready to grab and go for the next gig. I have similar setups for the Streaklights, so that a pouch might include: a Y doubler power cable (essential for reducing recycle times), a stand clamp for the battery pack, and an R2 trigger with two freshly charged AA batteries (I use this AA battery charger) and two spare. This way each bit of my workflow stays organized between gigs and I avoid wasting time putting it together before a gig. Even more significant, I reduce the likelihood that I’ll get to a gig missing a crucial component I forgot in the rush of last minute packing.
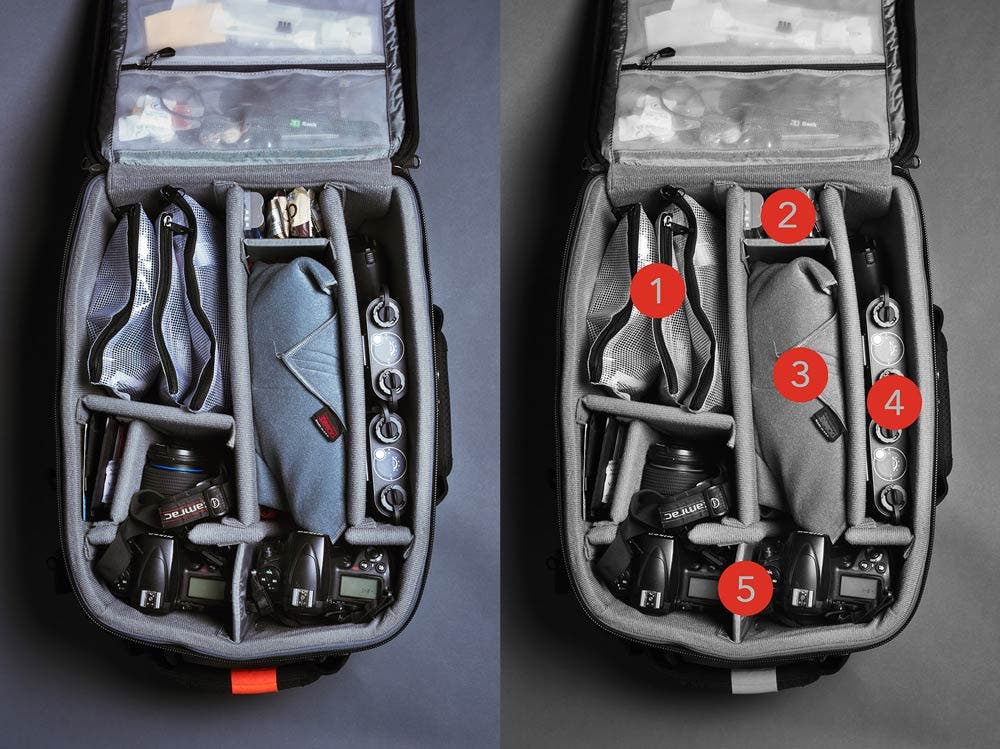
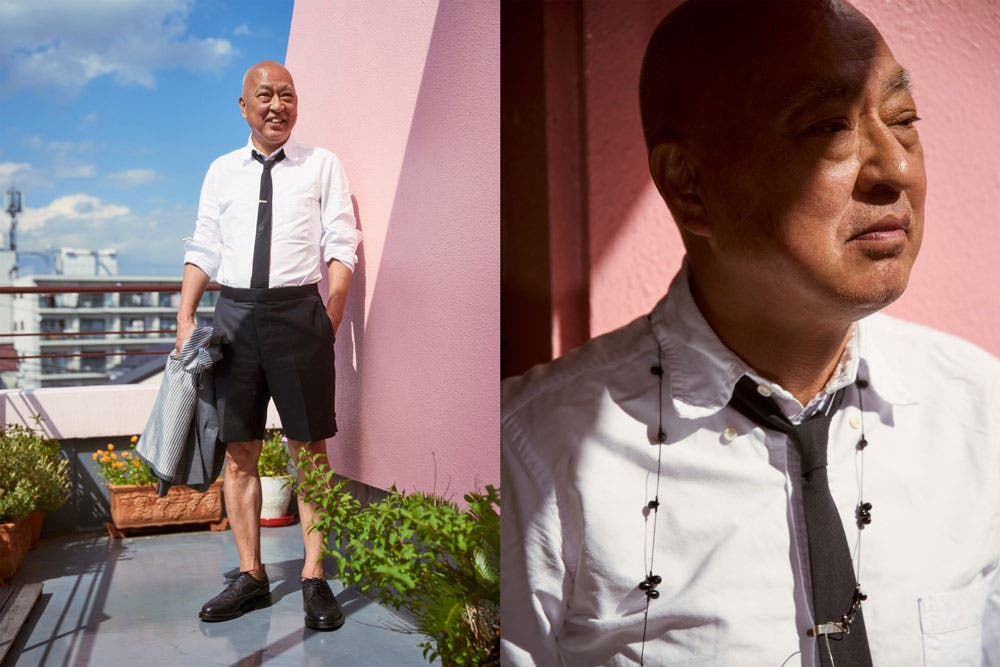
Pictured here are the contents of the Thinktank, they are: (1) rugged nylon mesh pouches – for this gig they are separated with one for radio triggers, one for Streaklight cables and clamps, one for a card reader & small hard drive (like this WD Passport); (2) this area is reserved for recharging – both with spare batteries but also snacks for extra long gigs; (3) two Streaklight TTL heads with metal caps wrapped in Domke lens wraps; (4) two Streaklight power packs with a spare backup battery; (5) a main camera body and a backup – my main is a D810, with a D700 for backup. This entire trip I brought three lenses – Sigma’s 24-105 f/4 ART, old school Nikon 85 f/1.4D and a cheap Nifty Fifty 1.8. I shot the entire trip on the 24-105.
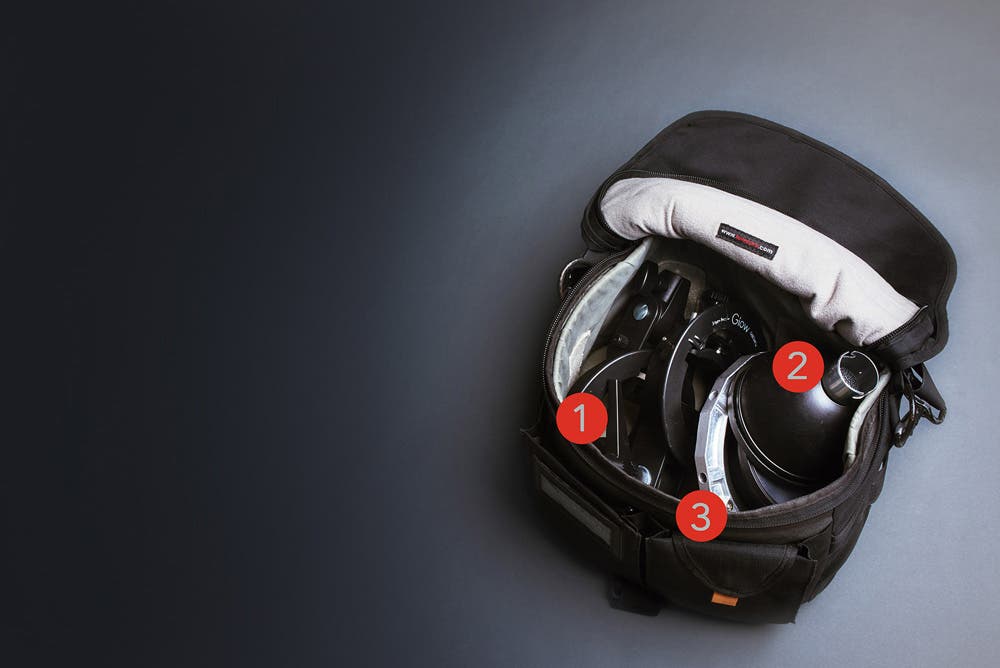
This small, over the shoulder bag transports loose odds’n’ends. Pictured here it contains (1) two Glow S-Type Bowens mounts; (2) standard reflectors for both Streaklights; and (3) a Bowens speedring for Chimera softboxes. Once I’ve arrived on location, this bag is emptied and turns into my “at hand” essentials bag – I carry extra memory cards (32GB CF card, two as primary; 64GB SD card, one as backup), a spare battery, a second lens, and a complete Streaklight setup in this bag, so that I can move unencumbered.
Tethering is not always possible and even counterproductive… and still other times it is absolutely crucial. I tether using Phase One’s Capture One. For the greatest performance in connection stability, I supplement great cables with a powered hub, and a Tetherblock. I find the combination has reduced my tether headaches to near 0. I will go into greater detail about tethering, and the components I recommend to get that job done in part 3.
This system has traveled with me on everything from regional editorial work, west coast gigs in LA, and now to Japan. It requires that I only check one bag (typically I put the small shoulder bag inside a larger stand bag and check that), keeping overhead low. When flying, the crucial gear stays with me, brought onboard in the roller case and backpack, so I will always show up to a gig with the gear required to get the job done. Lastly, once I’ve arrived at the gig and can stash the gear somewhere secure, the system becomes modular, adapting to the scope of shooting on different days – I will often break out a small subset of gear, packing it in the backpack or shoulder bag alone, and head out with that.
In part 2, I’ll share photos and some BTS setups, highlighting the three key approaches you can use with this gear for the most flexible location system I’ve devised.