


more
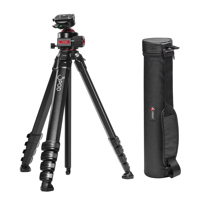
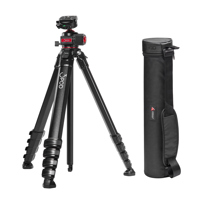
PACKAGE INCLUDES:


See Options
Need help? Ask our experts.
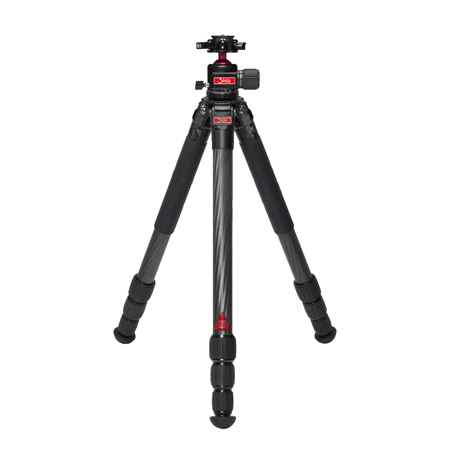
The Everest T3 Compact Tripod is made from 10X Carbon Fiber, which provides superior strength and durability while keeping the tripod lightweight.
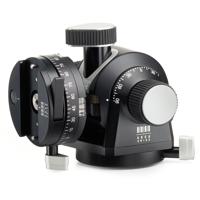
Yes, the Everest T3 comes with an H2 Ball Head, which is part of the 3POD Everest Series. It features an Arca-Type Quick Release for easy and secure camera mounting and adjustment.
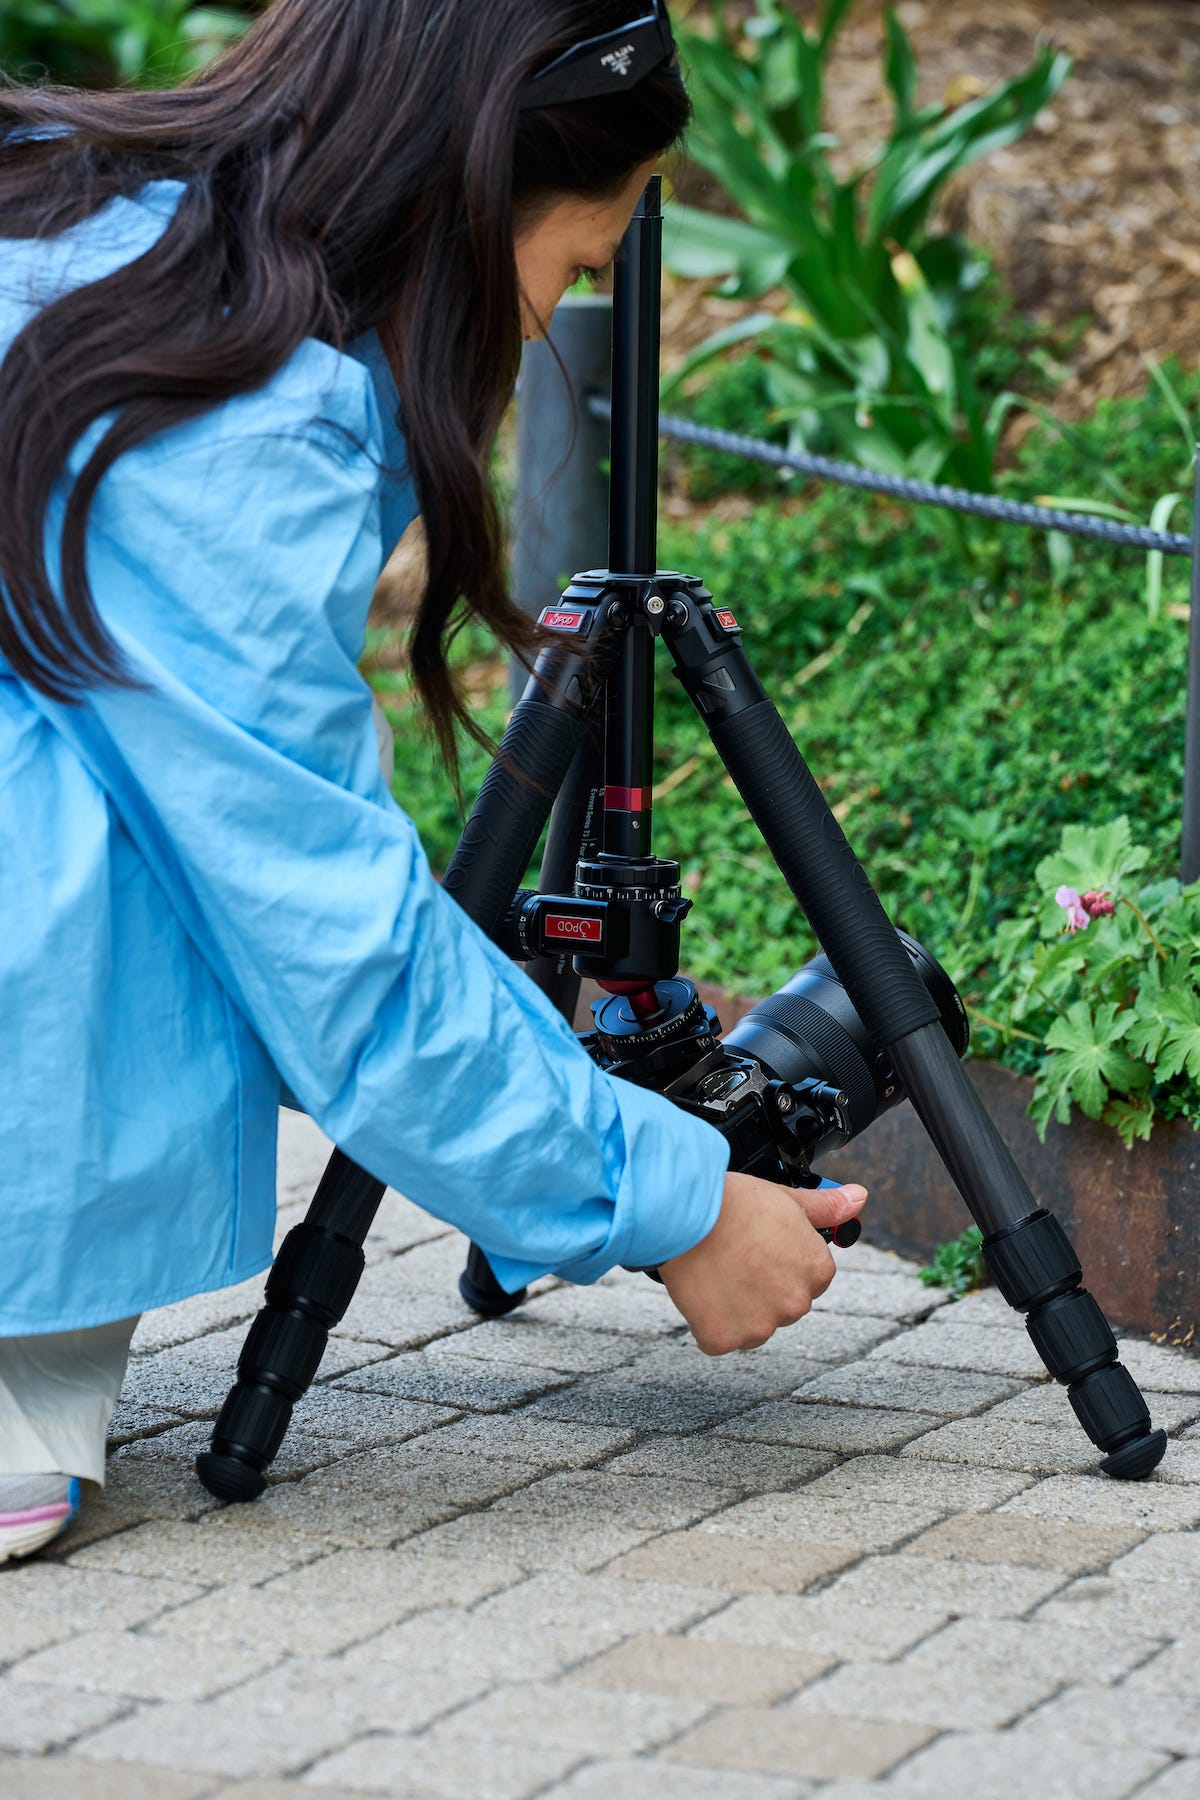
Yes, the center column of the Everest T3 tripod can be adjusted to any height. It can also be removed entirely for low angle shots or reversed for unique shooting perspectives.
The auto-stop leg levers on the Everest T3 tripod allow for easy adjustment of leg angles. Once you set the leg to your desired angle, the lever will automatically snap-lock into place, providing stability and saving setup time.
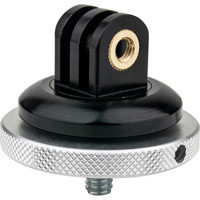
Yes, the Everest T3 tripod features 3/8" and 1/4" screw holes on the top of the tripod platform collar, allowing for easy attachment of accessory items.
Review Summary
2026-01-13T16:56:07
Absolutely perfect. Fluid smooth. Beautiful color. Strong. Very well built. Haven't used it yet but I am very satisfied. I was looking specifically for a latch release for quick set up. The legs unscrew and drop flawlessly. Excellent price. Can't wait to use it.
Laura A.
2026-01-05T04:37:00
I've been using this tripod/head combination for a couple of months now and love it, with one caveat on the head if you shoot with larger lenses. Pros: Sturdy. Easy to set up. Feels solid. Intuitive controls. Attractive. The included case is sturdy, and there is a zipper expansion that allows you to store the tripod with the head still attached. It has and does everything I need a tripod to do, and is built like a tank. Heavy enough to be stable, but not so heavy I can't drag it around with me. The arca swiss style release is super quick, the ball head makes for fast and flexible positioning tweaks, and I love that the tripod includes the sharper posts to stick into the ground. There's a hook to hang your sandbag on the bottom of the center post, and I love the flexibility that the design gives me for camera positioning. It's well thought out and a joy to use. Cons for the Tripod: Like all twist locking tripods, you need to watch out for grit/sand. That's not really a con - it's the nature of the design. This is a great set. Cons for head: Like many ball heads, this one struggles with the weight of heavier lenses. I have the Canon 100-400 in my kit and this head does not hold it securely in position. I shoot with a 2 second delay to reduce hand shake, and sometimes the drift will cause me to I lose my framing, or the motion is just enough to introduce a little softness. With a telephoto, small movements have a big impact, so I need to use another head for the bigger glass. That issue is not unique to this particular ball head - but something to keep in mind with the types of lenses you use or will want to use. I suspected it would be a problem just because of the nature of a ball head, but wanted to confirm here that it is an issue.
Deanna C.
2023-12-28T11:51:08
I got the tripod a few weeks ago and spent a long day using it on the beach. It works very well so far and no problems at all. I did rinse the sand away before collapsing the legs and again at home to avoid salt corrosion. The tripod feels sturdy and works great. No complaints.
SCOTT T.
Accidents happen where life happens. Protect your favorite Adorama products and purchase a protection plan to stay covered from accidental damage, mechanical or electrical failure, and more.
If we can’t fix it, we’ll replace it at no additional cost.
Protect your product from drops, spills, and more.
Enjoy your gear without fear. We have you covered!
When regular use of your product over time results in mechanical or electrical failure.
We will never charge you a deductible after the purchase of a plan.
Our claims process is simple & easy and our customer service team is happy to help.
Adorama Protect powered by Extend is available for purchase to customers in the United States. Not available for purchase Internationally or in U.S. Territories.
Browse our FAQ
10x Carbon Fiber, CNC Aluminum
33 lbs (15kg)
33 lbs (15kg)
1/4" and 3/8" autoswitch camera screw
HyperTwist Lock
23 Degree/55 Degree/83 Degree
Auto stop leg levers angle position without user intervention
1000-1010mm
4
Rubber and Spiked (non-alcoholic)
Max: 53.34'' (1355mm) (without center column)
Min: 13.4" (340mm) (without center column)
Max: 64.17'' (1630mm) (with center column)
19.7" (500mm)
3.2 lbs (1.45kg)
Aluminum, Rubber
Friction Ball Head
3/8" screw tap
Arca
3 Position Lever
33 lbs (15kg)
2
Yes
Yes
Yes
90 Degree
360 Degree
360 Degree
1.5" (38mm)
2.0" (51mm)
2.9 x 3.6 x 3.9" (75 x 92 x 100mm)
13.75 oz (390g)
192223234963 | 192223206250 | 192223206274
LOVE THIS!
By Laura A.
Absolutely perfect. Fluid smooth. Beautiful color. Strong. Very well built. Haven't used it yet but I am very satisfied. I was looking specifically for a latch release for quick set up. The legs unscrew and drop flawlessly. Excellent price. Can't wait to use it.
Fabulous tripod, Great Head with One Caveat.
By Deanna C.
I've been using this tripod/head combination for a couple of months now and love it, with one caveat on the head if you shoot with larger lenses. Pros: Sturdy. Easy to set up. Feels solid. Intuitive controls. Attractive. The included case is sturdy, and there is a zipper expansion that allows you to store the tripod with the head still attached. It has and does everything I need a tripod to do, and is built like a tank. Heavy enough to be stable, but not so heavy I can't drag it around with...
View full Review

Everest – the tripod series with superior strength that gives creators the tools they need to capture their vision with no bounds or restrictions. With 10X Carbon Fiber, and an innovative center column design for compactness and extreme low angle performance, you can shoot your best with Everest. The center column can be removed entirely without losing the head placement. Struggling with leg angles is a thing of the past. With auto-stop leg levers that snap into the next angle position, you can easily set up and assemble no matter the environment. 3Pod Everest T3 has the look and feel of first-class camera support.
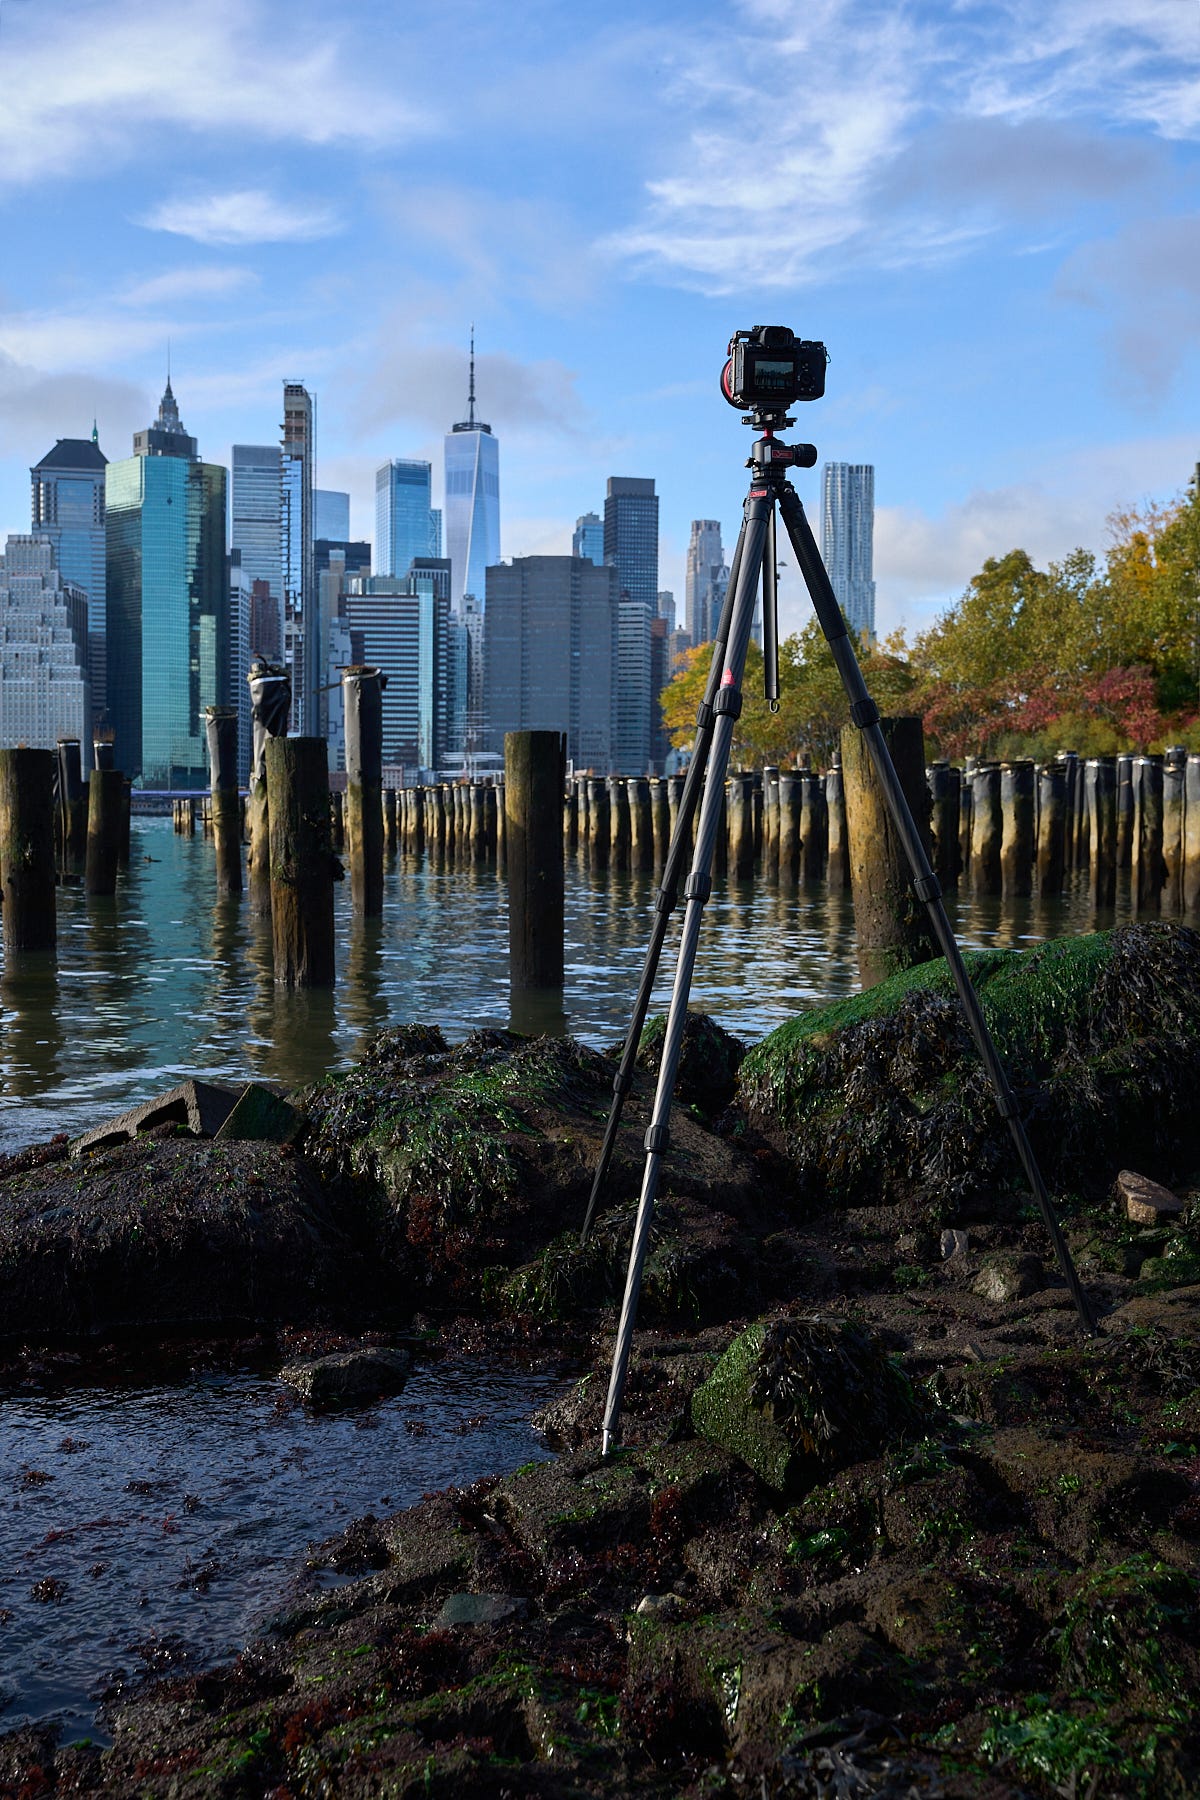
With a touch of CNC precision, this super light tripod can handle a demanding workload in any environment. Travel and location pros and semipro photographers don’t need to compromise on operation or performance. Still photography can be shot in the studio, location, and on any adventure. Climbers, weddings, sports, impulse opportunities, political and newsworthy sets – any place an extra pair of legs might be welcome, Everest is here to support you. Reach your peak with Everest.
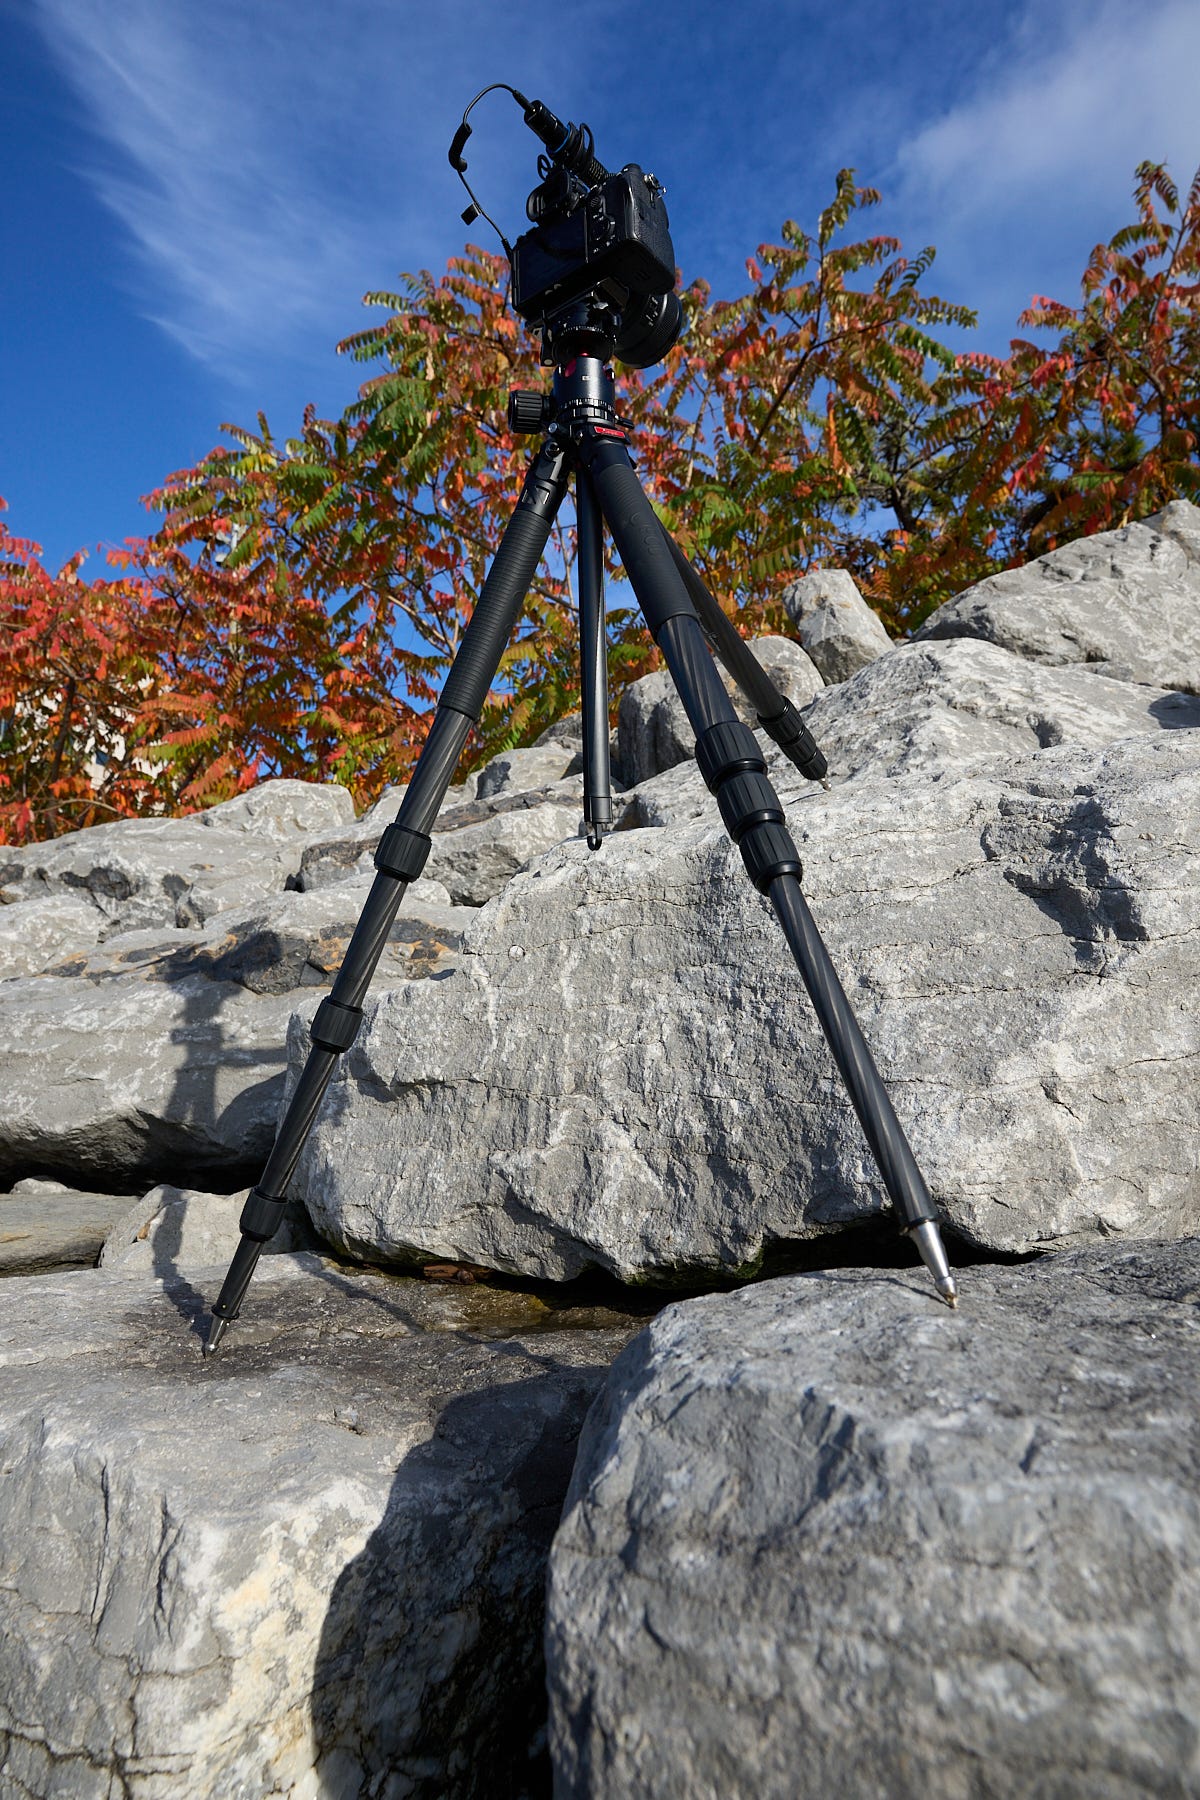
Pull out the Leg Angle Latch all the way to the end, stop and lift the leg to the desired angle for placement. Slowly lower the leg.
The Leg Angle Latch will automatically snap lock to the next angle stop. You can quickly set the leg splay to your specific preference.
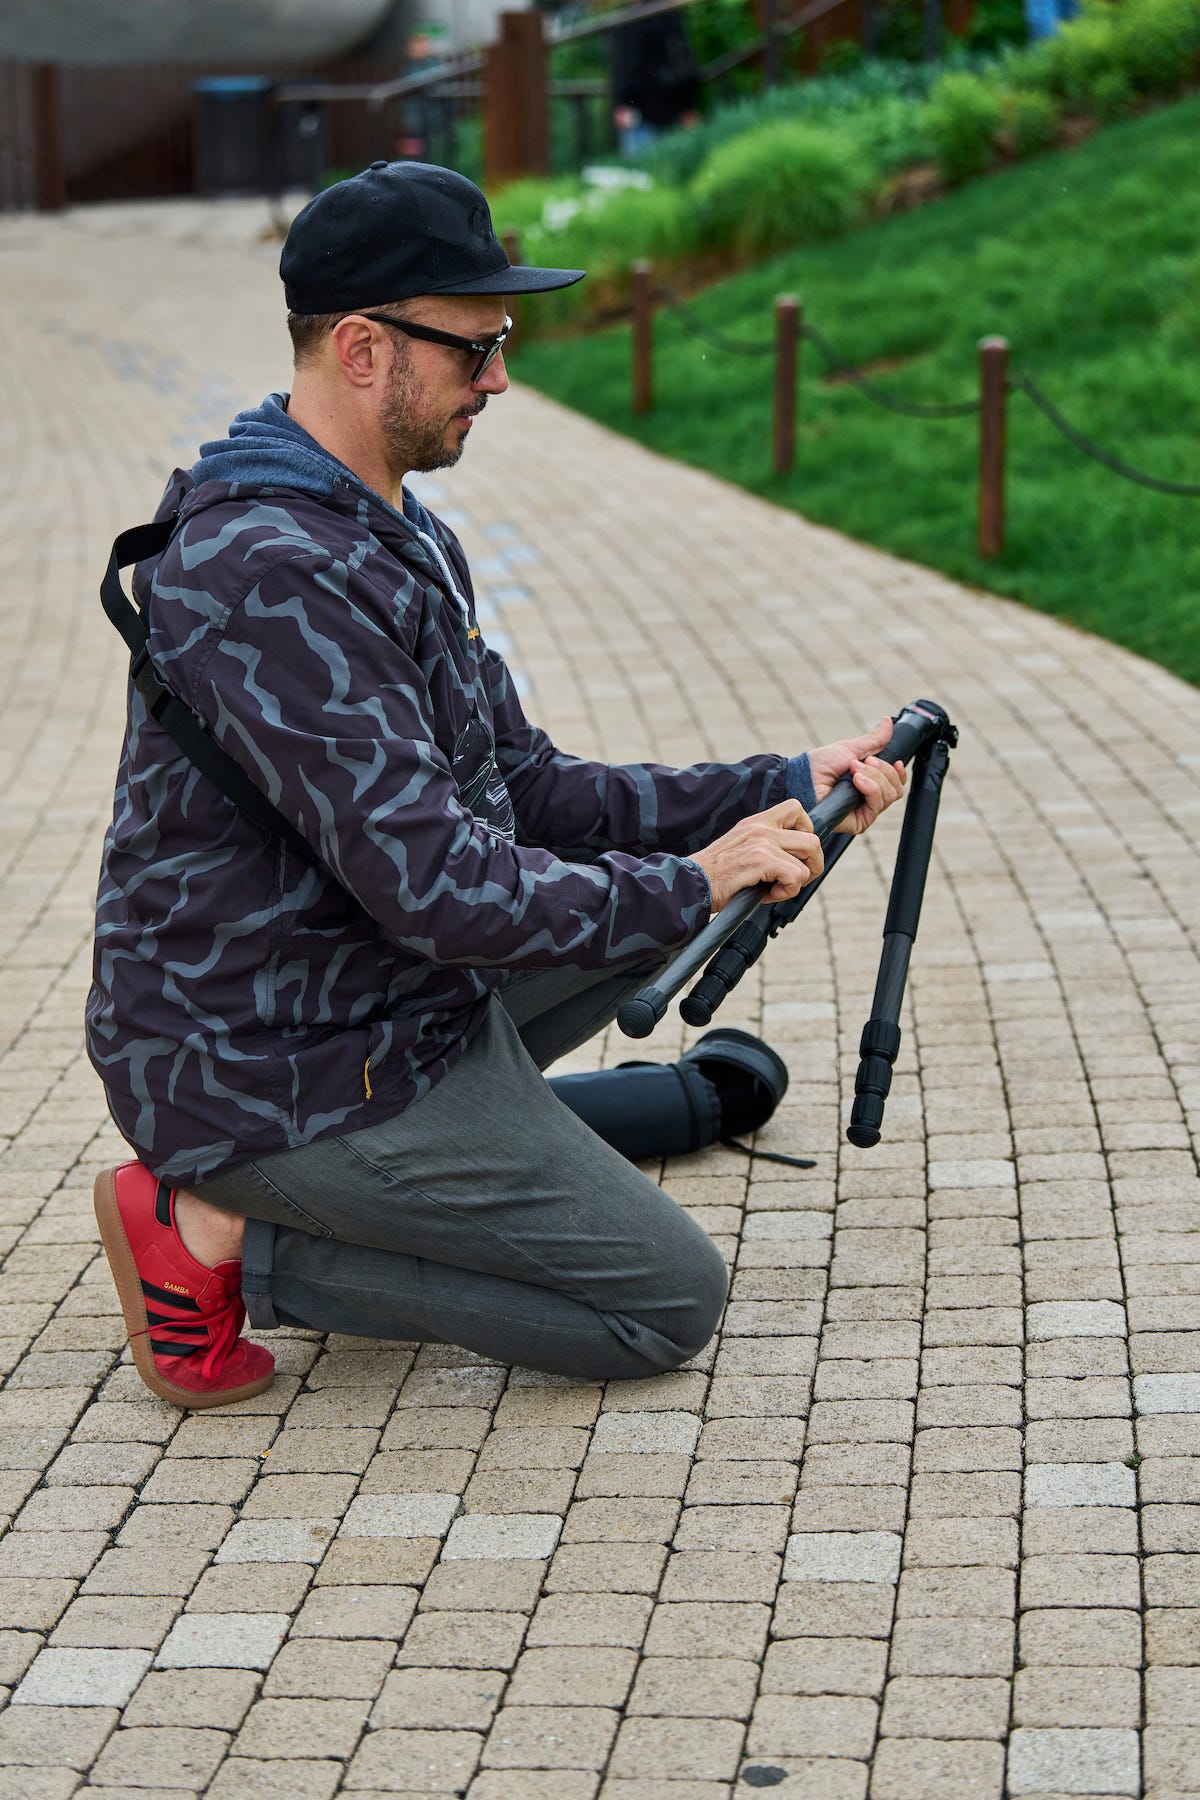
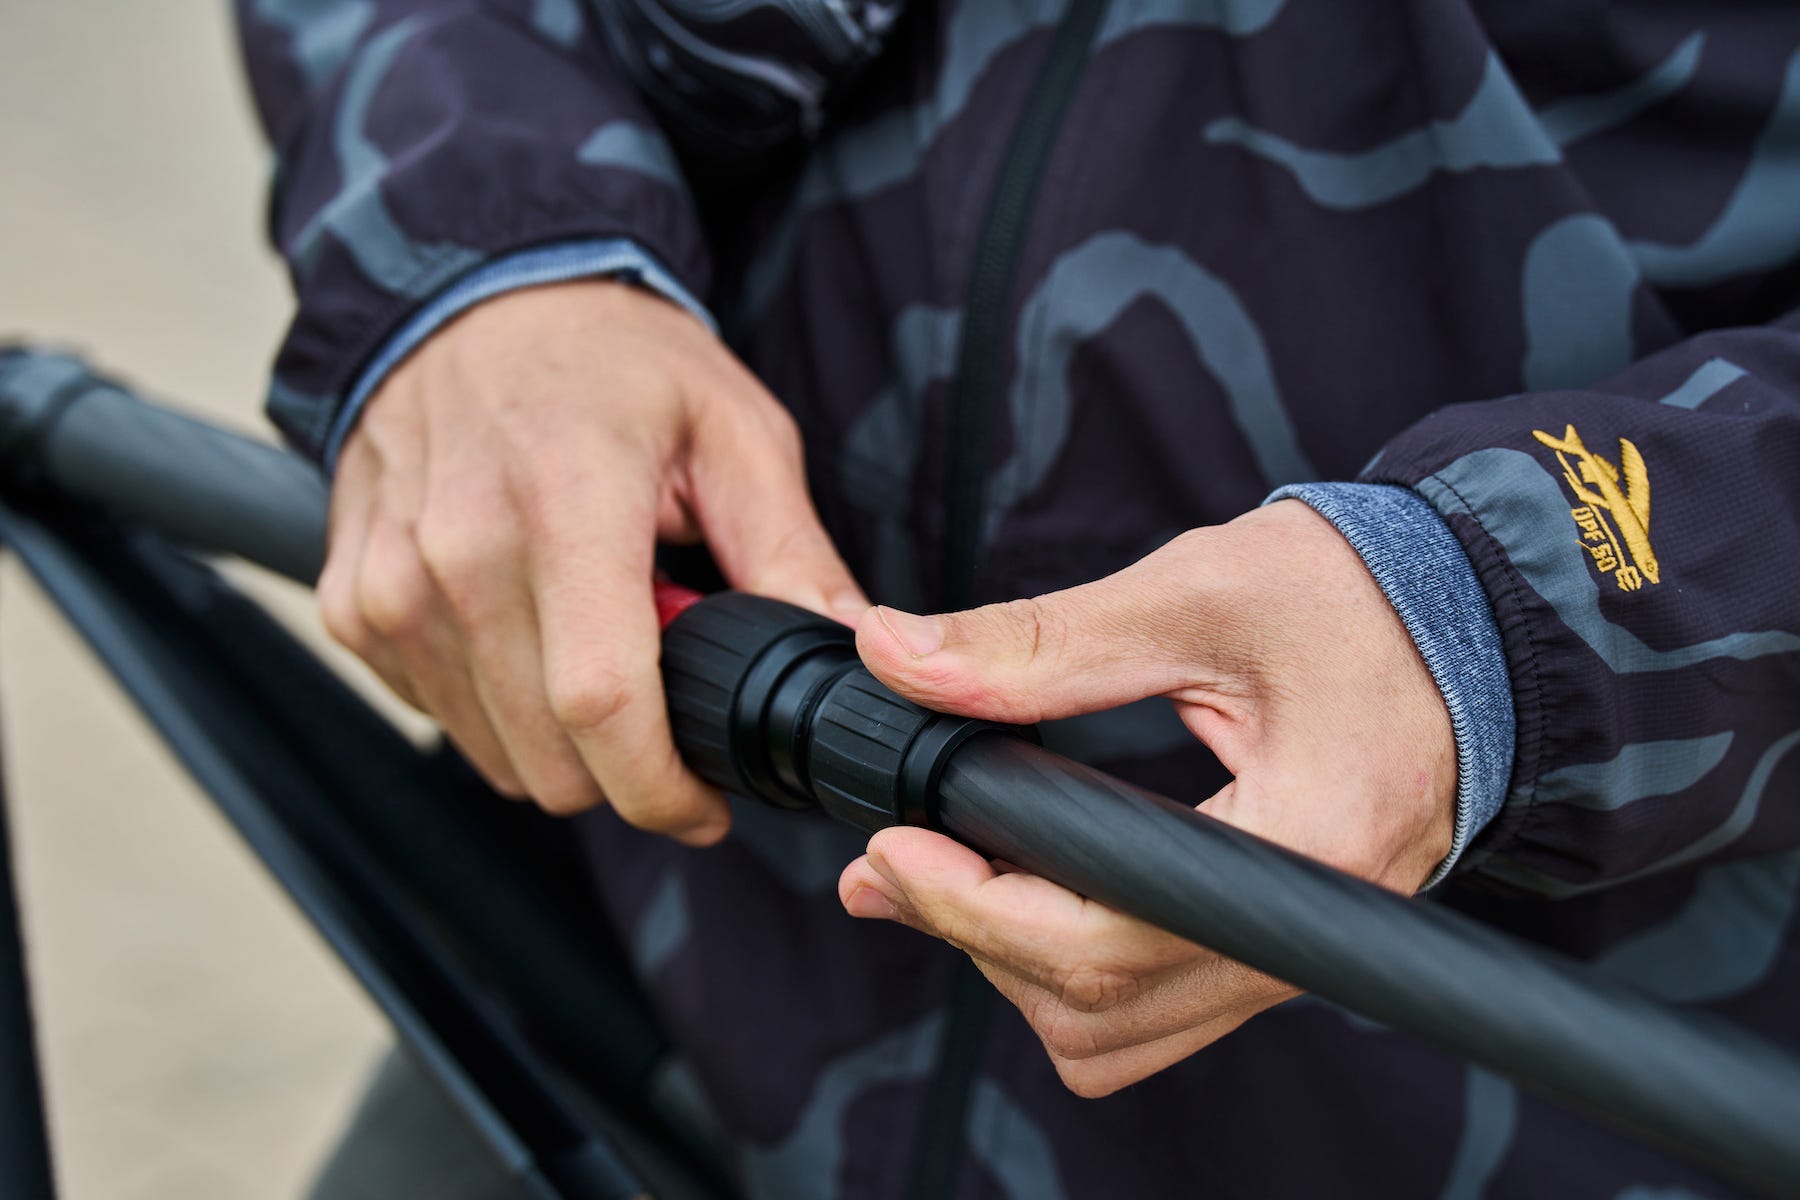
The tripod leg length can be set to any extension. Twist the leg lock clockwise to loosen the grip. Slide the leg to any extension and lock it in place by twisting the leg lock firmly counterclockwise. The mechanism increases the torque as you close the ring to establish a firm, secure hold.
Turn the Center Column Locking Knob counterclockwise to unlock the column. Put the column to the height you want and lock it with a clockwise turn on the Locking Knob. The column doesn’t rotate and can be set to any point on the shaft.
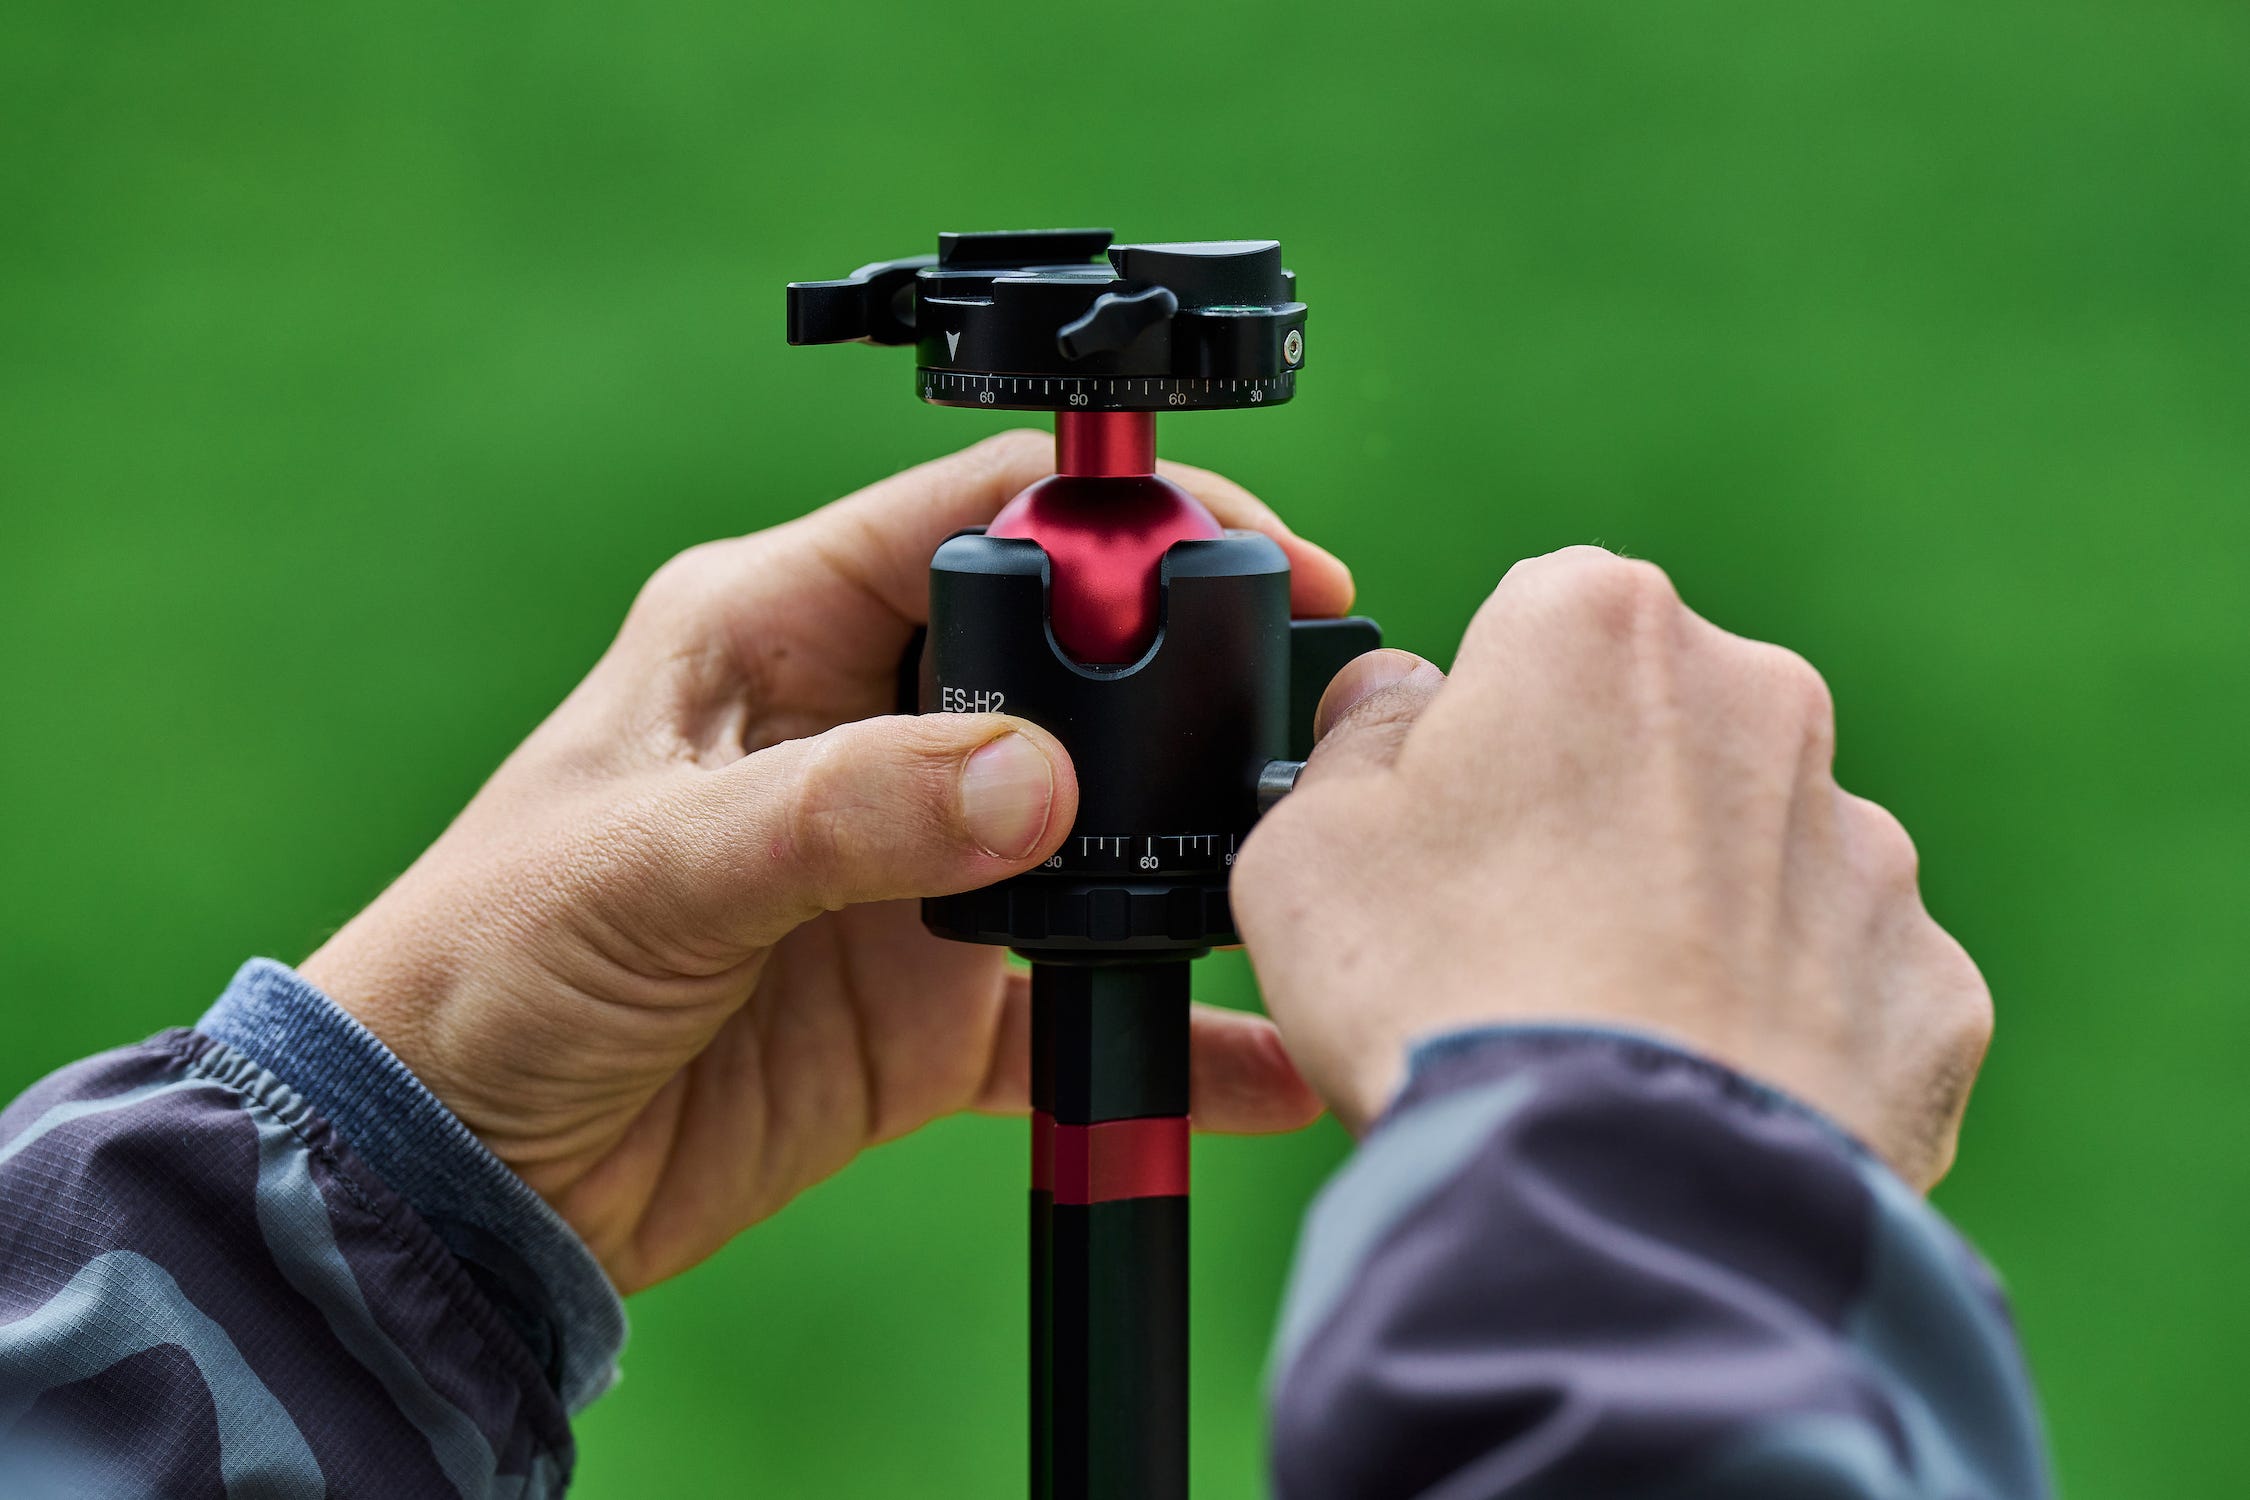
Loosen the Plate Locking Knob to remove the Head Locking Plate. Unscrew the Center Column Locking Knob by turning the mechanism clockwise. The Center Column Locking Knob is located at the bottom end of the Column and has a counterweight hook at its terminus. The Top Camera Platform separates from the Center Column. Draw the column out of the shaped channel.
Separate the Camera Platform portion of the column from the longer part of the Center Column and place it into the tripod center column channel.
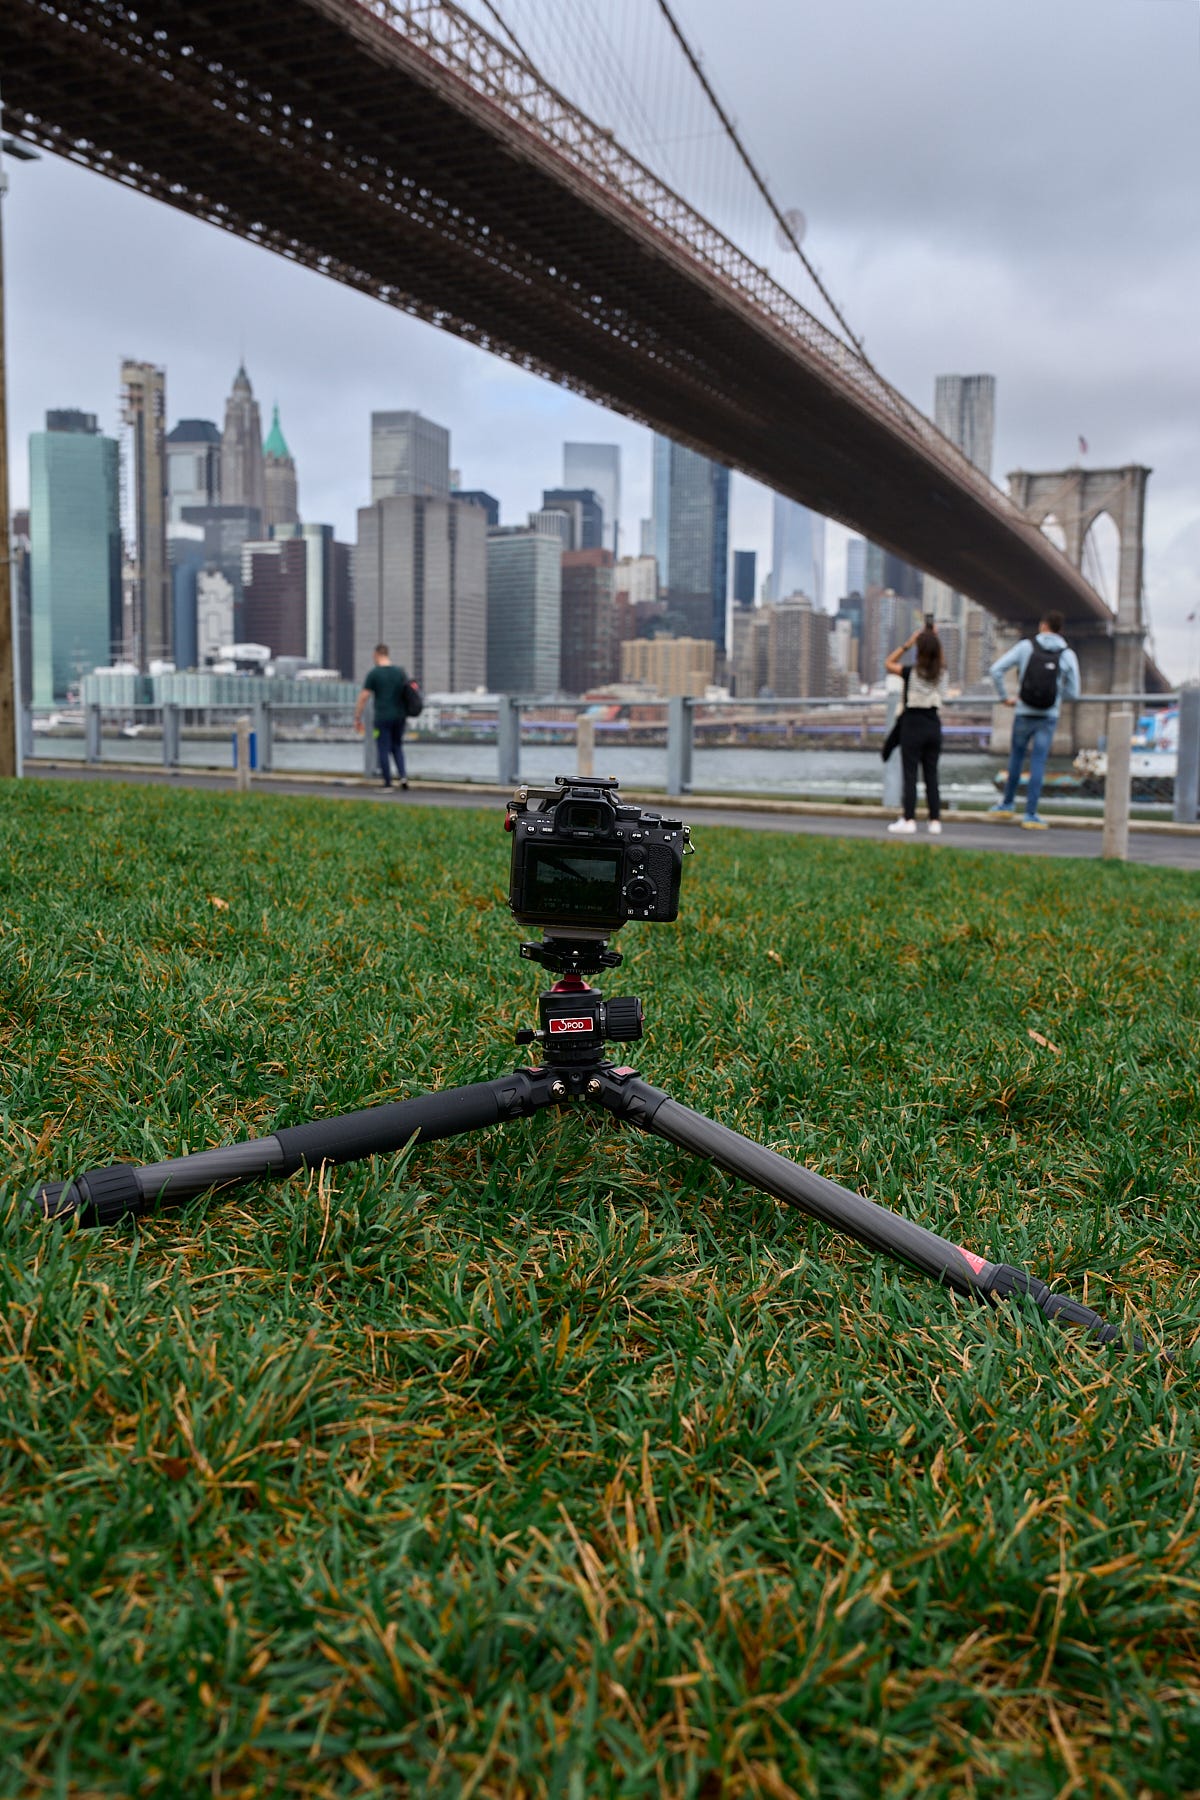
Use the tripod without the Center Column for Low Angle shots without an interfering center column for freedom from leg angle limitation.
Unscrew the Center Column Locking Knob by turning the mechanism clockwise. The Center Column Locking Knob is located at the bottom end of the Column and has a counterweight hook at its terminus. The Top Camera Platform separates from the Center Column. Draw the column out of the shaped channel. Reverse the column so that the head post screw faces downward as you slide the column through the track on the top of the tripod. Replace the Top Camera Platform with the bottom of the Column and affix the column section to the more extended reversed column. The hook is now on the top, and the Head Plate is on the bottom.
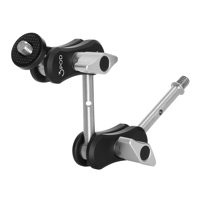
Accessory items can easily attach to the tripod through the 3/8” and ¼” screw holes on the top of the tripod platform collar.
800-815-0702