
Photographing glass is both a joy and a nuisance. It has three wonderful properties that captivate the imagination and have the potential to transform the mundane into the magical. These same properties, however, can also be frustrating aspects of the material.
Learning how to photograph glass is essential for photographers — but it doesn’t have to be a chore!
Working with Transparency and Reflectivity
The first appealing property of glass is its transparency. Who hasn’t been tempted to take photographs through windows, museum dioramas, aquarium glass, and shop displays? Besides shooting from the outside in, there are photo opportunities when you are on the inside looking out—such as when observing a street scene from inside a café or restaurant.
As shutterbugs, we are so taken by our ability to see through glass that we often forget it is there. That is when glass begins to play its tricks on us, luring us into photographic traps. For example, we fail to notice reflections that interfere with our ability to capture what interest us on the other side. Sometimes, we even activate our flash units, forgetting that the bright light will bounce right back at us.

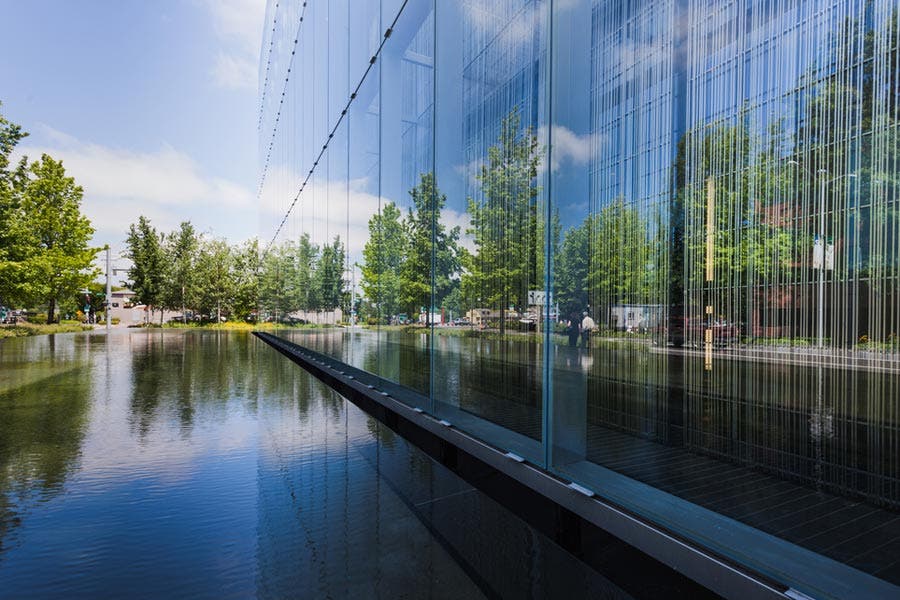
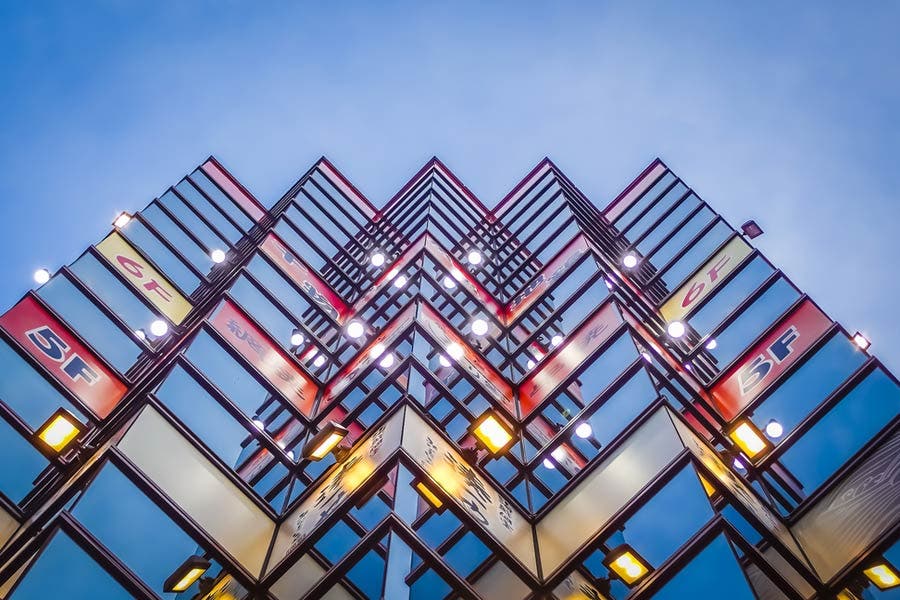
A second enchanting quality of glass is its very reflectivity. While we don’t always notice reflections or want them in our image, they can become subjects in their own right. The sheen of a modern glass office tower can mirror all sorts of interesting city sights, sometimes with abstract twists and distortions. Reflections can also be combined with whatever is on the other side of the glass to create highly individual interpretations of the scene.
How to Avoid Reflection in Glass Photography
Whether you’re in a high rise overlooking Chicago’s Magnificent Mile or you’re on an Amtrak speeding through swaths of the pristine National Forest, you’ll eventually find yourself wanting to photograph a scene through glass.
Trips to museums can be especially frustrating for photographers because most art is protected inside glass display cases. Even worse, museum lighting won’t necessarily help you avoid photo reflections.
Taking pictures through glass without reflections is also a must in real-estate photography. The problem of reflections rears its ugly head when you need to photograph a room’s interior and exterior at the same time. For instance, if you need to capture a beautiful living room with an attractive patio or pool outside.
Photo reflections are notoriously hard to remove with post processing, so it’s best to avoid creating them in the first place. But if you’ve ever tried taking pictures through glass and failed (as many beginner photographers have), you know just how difficult it can be to get your shot!
Clearly, marvelous images can be captured by photographing through glass. But to do glass reflection photography successfully, we have to be objective and take a few simple precautions. Here’s how to avoid reflection in glass photography:
Move Closer to Your Subject
By standing close to the glass surface, you will reduce unwanted reflections that may interfere with your picture. The lens can even touch the glass, preferably with a collapsible rubber lens hood as a buffer.
You can remove most reflections while taking pictures by simply moving closer to the glass. This is the ideal solution for shooting through a window, since it effectively turns the window pane into a second lens protector. But in museums, getting that close to glass cases is generally frowned on — and it may even set off an alarm! So with museums especially, you’ll need to have a few other tricks up your sleeve.
Use a Polarizing Filter
Use a polarizing filter to eliminate reflections or if you have no choice but to shoot at an angle that will retain some reflections. If you want just enough or a little bit of reflection, carefully watch through the lens as you rotate the polarizing filter until you get your desired result. Of course, if the reflections interest you, be sure you are not polarizing them out of the photograph.
Polarizing filters aren’t always an ideal choice. Many windows are already polarized, so using a polarizing filter can introduce bizarre effects. If you’re using a polarizing filter and you notice rainbow-colored striping in your image — or a pattern that looks practically psychedelic — then you’re trying to shoot through a polarized window.
Do Not Use a Flash
The light will only bounce off the glass, leaving a bright glare spot and little else. If a display is dimly lit, stabilize your camera on a tripod or nearby ledge and take as long an exposure as necessary. In museums that don’t allow tripods, just push your ISO up so you can get a sharp image with your camera handheld using a shutter speed of at least 1/60th of a second.
Remember that if you’re taking glass pictures on automatic settings like Portrait Mode, Macro Mode, or Landscape Mode, most cameras may try to engage the flash automatically. Shooting in modes like Aperture Priority, Shutter Speed Priority, and Manual can keep the flash from popping up.
Use a Wide-Angle Lens
This is a good tip for photographing anything that’s behind glass in fairly confined quarters, whether it’s a museum display case, a diorama, a store window, or even an aquarium. A wide-angle lens allows you to take in a broader expanse than other lenses and lets you work at a much closer range.
Using a macro lens capable of achieving a closer focusing distance will also help you achieve this goal. Regardless of the lens you use, remember that you can always crop out reflections or portions of images that don’t suit you later on. Your primary goal while shooting should be to avoid reflections directly on your subject.
Use a Backlight
When the primary lighting source is on the other side of the pane of glass, it’s much easier to avoid reflections. If you’re in a room or situation where you can control the lighting, one of the easiest ways to avoid reflection in glass photography is to turn off any lights behind you. Shifting to a more backlit scene may be all you need to remove reflections.
Regardless of backlighting, you may still be able to see your own reflection in the glass. Wearing dark colors will help you blend into your surroundings if the scene is backlit. In most cases, dark and especially black clothing will eliminate your reflection. Patterned and light-colored clothing will always result in more complex reflections.
Check Exposure Carefully
Whether you are shooting from the inside out or the outside in, there may be a considerable light differential between the two sides of the glass. To get good exposure on both sides of the glass, meter the brightest and darkest areas within the frame. If the difference is several f/stops, you may have to opt for proper exposure on only one side, leaving the other extreme either under or over-exposed.
If you want both extremes well exposed, you can use an HDR computer program to combine three or more separate, bracketed shots taken at different exposures – but your camera has to be on a sturdy tripod so the composition in each shot will remain identical. After you download these three images, the HDR program sandwiches them into one well-exposed image.
Playing with Translucency
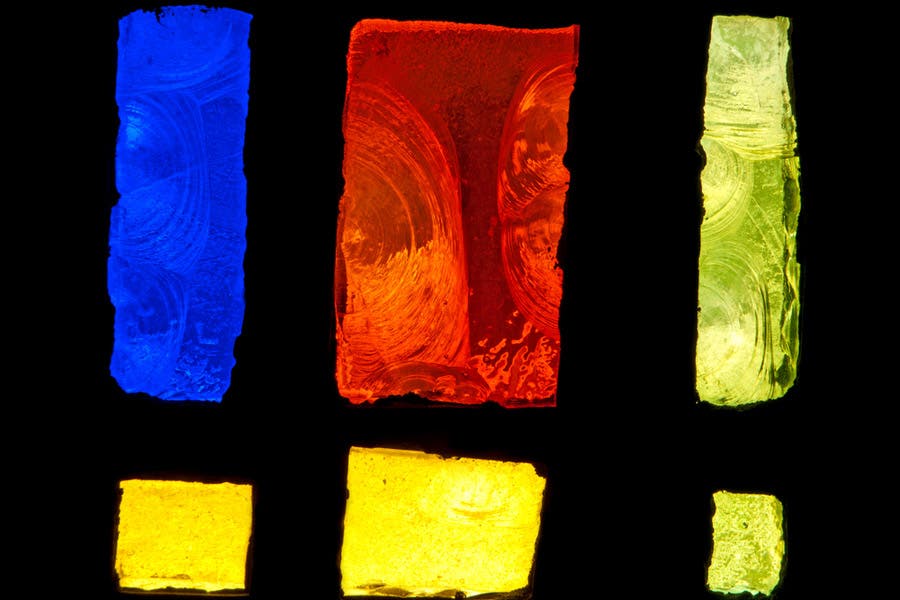
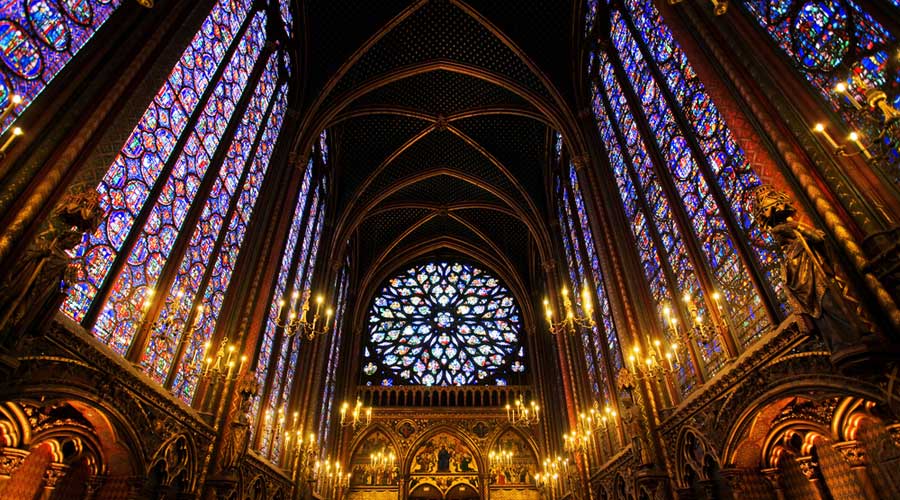
The third property of glass, its translucency, has made it ideal for the inspired creations of stained glass artists through the ages. The magnificent windows of Europe’s medieval cathedrals draw crowds to this day, and stained glass touches abound in architecture around the world.
Fortunately, the gemlike beauty of stained glass is not hard to photograph and there are simple remedies for the problems photographers do encounter:
Watch Where You Aim
When we look at stained glass, we tend to turn spontaneously toward the brightest light and our eyes have the capacity to accommodate the disparity between the highlights and more subdued areas. But if we aim our cameras toward the sun, we’re likely to produce a high-contrast image that may distort the true colors of the stained glass. For better results, turn your camera toward an area of stained glass where the light is more uniform.
Compose Your Photos Thoughtfully
Frame your shots so they make sense of the design of the stained glass. Here is a good place to take overviews, vignettes, and details using the range of your zoom lens from wide-angle to telephoto. These can show the general setting for the stained glass, such as a chapel; as well as telling segments that reveal elements of the design.
Experiment for Good Color Rendition
Those jewel-like colors we love in stained glass may need different exposures for the truest rendition. Since you probably can’t get the ideal exposure for each color you see, take a series of shots at different settings on your white balance menu. When you see the results, you can decide which variation is best for the colors. Or, you may discover some interesting psychedelic effects that enhance your image even if the colors are not exact.
Have fun as you explore the various properties of glass reflection photography with your camera and get comfortable photographing glass of all varieties.

Tips for Creative Glass Photography
Sometimes the subject you intend to photograph is made of glass or a highly reflective surface. In those cases, it pays to learn how to photograph glass effectively. Photographing objects like glass vases, bottles, framed art, and glass sculptures can be incredibly frustrating if you don’t know how to deal with their innate reflections.
Fortunately, there are a few common and easy techniques for photographing glass and other highly reflective objects without reflections.
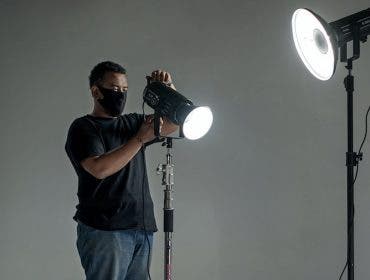
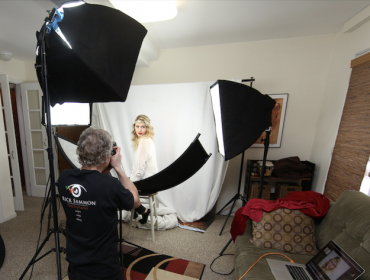
Combine Multiple Exposures
One technique for photographing glass is to take several images and then combine them in Photoshop or Lightroom.
For this method to work, you’ll need to ensure that your subject and your camera don’t move from image to image. Use a tripod and a stable surface for your subject. Use light sources that you can reposition between exposures. Try lighting your subject in a variety of ways. As long as each image features a portion of the subject without reflections, you can combine the frames in post processing to eliminate reflections.
Polarize Your Light
Using a polarizing filter won’t always eliminate reflections. Fortunately, if you’re in a studio setting you can use additional polarizing gear to completely remove all reflections. The trick is to polarize your light source as well as your lens.
Polarizing film is easy to use with many portable light sources like flashes, LED lights, and other compact fixtures. If you’re using larger light sources like softboxes, then you’ll need a big sheet of polarizing film.
If you’ve ever wondered how automotive photographers get such fantastic images of cars without reflections, now you know! Take advantage of this trick the next time you attempt creative glass photography.
Other Helpful Tricks
If all else fails, Dulling Spray is designed to temporarily remove an object’s reflectivity, so if you’re photographing glass soda bottles or other reflective objects, you can coat them with Dulling Spray with no lasting effects.