“Stop! You can’t get any closer,” the man in the orange safety vest called out. It was still pretty dark, but as I squinted at the vest, I noticed the words “Penguin Watch” printed across the chest. That’s when it hit me: my 70-200 mm lens was nowhere near enough for a frame-filling shot of a knee-high yellow-eyed penguin, standing a good 50 or 60 meters away here at Curio Bay, New Zealand. Instead, my only option was to aim for a wider wildlife photography composition and capture an environmental portrait.
Honestly, I’m glad the penguin watchman stopped me. The last thing I want is to disturb a penguin braving the rough waves, making its way to a hidden nest to take over egg-sitting duties so its partner can finally grab some breakfast.
Still, in my head, this was shaping up to be another one of those nature photography sessions where I just couldn’t get as close as I wanted. So what do you do when you can’t fill the frame? How do you make the shot work — or even stronger — when your subject is tiny, and the environment suddenly becomes part of the story?
If you crop so much that the image quality falls apart, the photo just ends up looking like a beginner’s mistake. Instead, I try to work with what I’ve got and shoot with intention. That’s when you come home with professional wildlife photography shots you’re actually proud of.
How to Photograph Small Wildlife Subjects From a Distance
But what do I actually mean by ‘small in the frame’? There aren’t any hard rules, but for me, if the subject takes up less than a quarter of the frame’s width or height, it’s small.
Suddenly, the background, the habitat, and even the sky start to matter a lot more. This is where a shift in mindset can turn what looks like a missed opportunity into a fine art nature photography shot that feels intentional and professional.
Environmental Portraits
Most of us start our wildlife photography journey going for the action shot, but as we develop our skills and eye for a great photograph, our appreciation for environmental portraits grows.
With this stylistic choice, a great photo then becomes about how the subject fits into the bigger scene. I look for ways to use contrast, show scale, create a sense of isolation, or capture a bit of behaviour that hints at the wider ecosystem.
Mastering the “Small in Frame” Composition: Contrast and Simplicity
Honestly, if there isn’t a strong contrast between the subject and its surroundings, a shot with a small subject just falls flat.
Let’s take a look at how this works back with the yellow-eyed penguin back at the petrified forest in Curio Bay, New Zealand.
I have selected three shots that illustrate the importance of contrast and a simple composition.
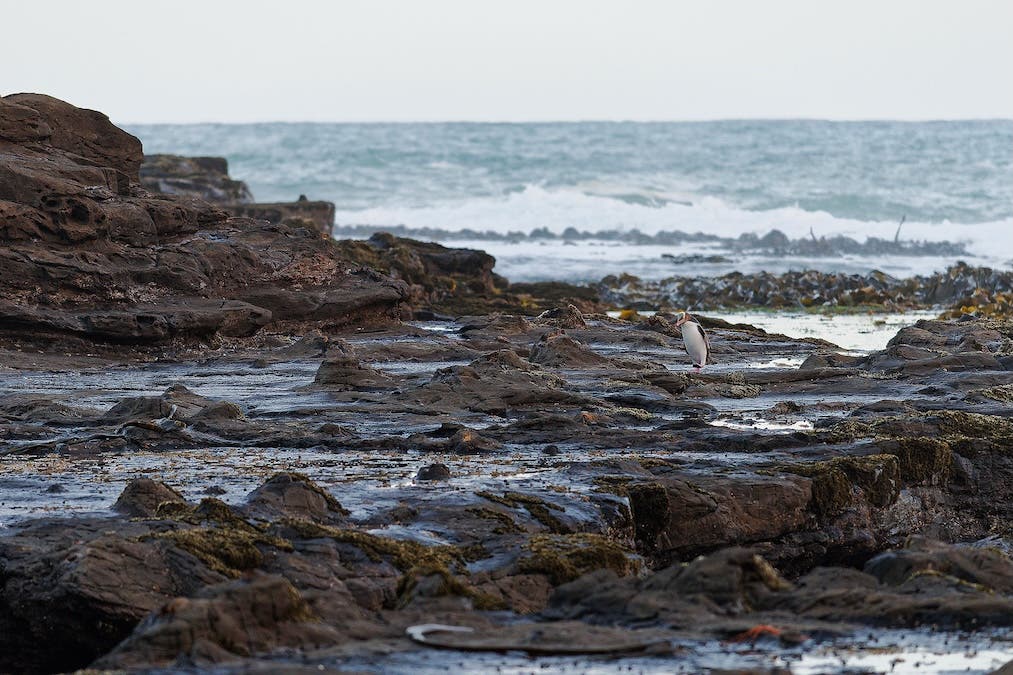
The Cluttered Scene:
In the first shot, the penguin is tiny in the frame, surrounded by sea, seaweed, rocks, and sky. The whole scene feels cluttered, and your eye doesn’t go straight to the penguin. The story gets lost. What’s actually important here? The sea? The rocks? The penguin? There’s just too much happening.
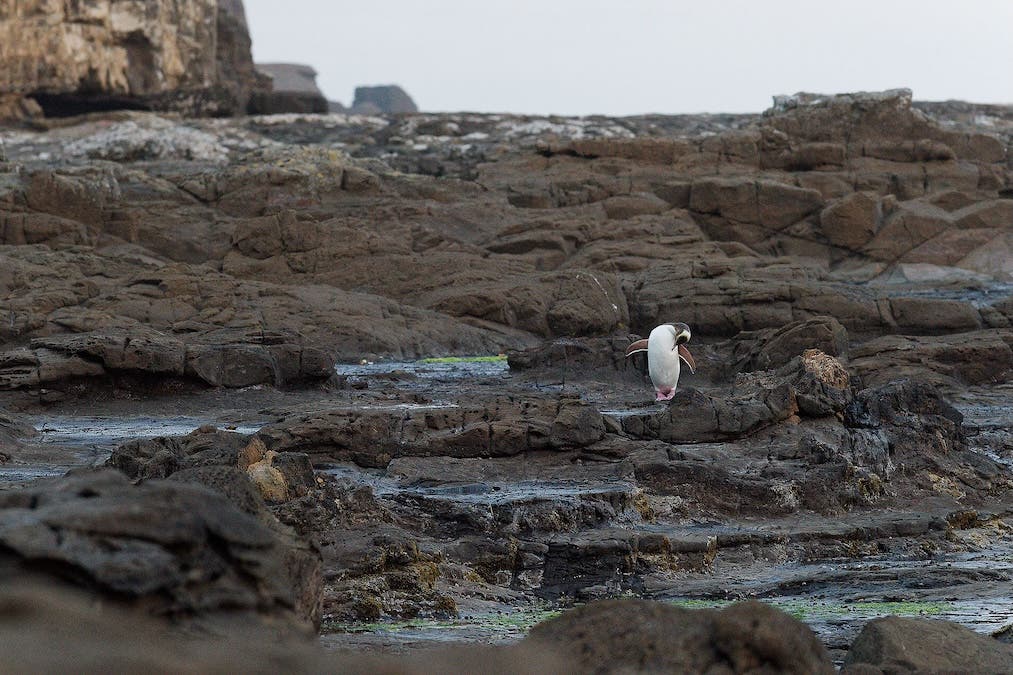
The Clean-Up:
The next image is a step up. The sea and seaweed are gone, and the penguin even gives a little gesture. I cropped it a bit to straighten the horizon. Still, it’s missing that punch.
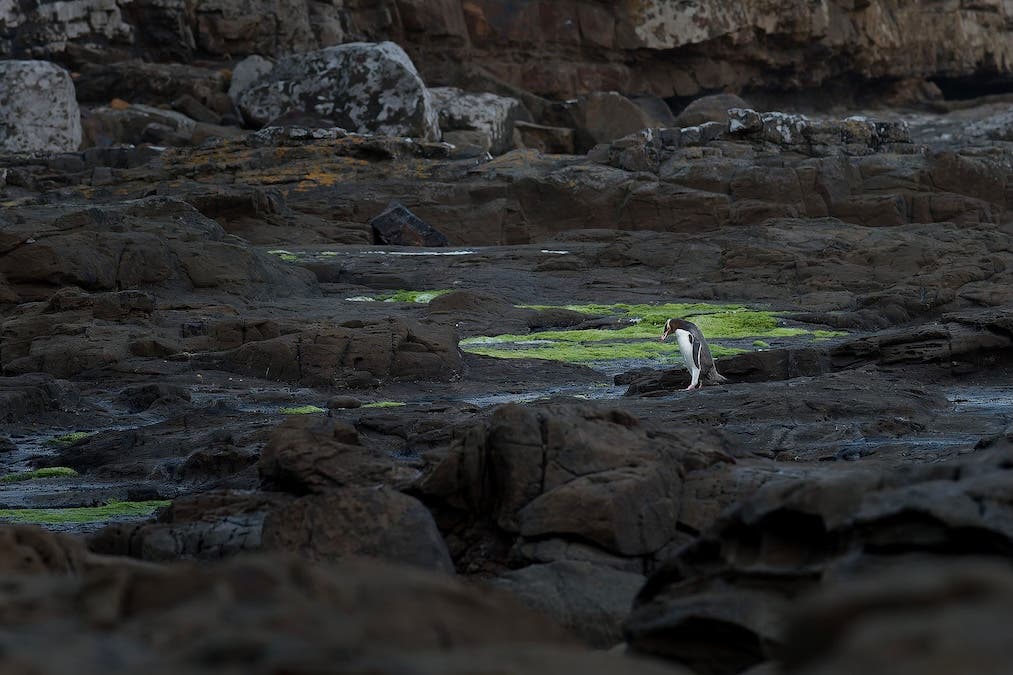
The Winner:
So I waited. Eventually, the penguin wandered past a small patch of green seaweed, which gave a great contrast against its plumage. The background was intense but simple, and I kept the sky out of the frame this time.
By keeping things simple and waiting for the right background, I finally got a shot of the yellow-eyed penguin making its way through a dark, harsh, rocky landscape. The contrast pulls your eye straight to the penguin. There’s space ahead, and the path looks long and tough. If I’d centered the penguin, the journey wouldn’t feel nearly as challenging.
Place the Subject in the Frame Intentionally
Later on the same trip, this time in Kaikoura, I spotted two fur seal pups having a playful scrap. There was a canal of water between us, so getting closer wasn’t an option — even though the pups wouldn’t have minded, and I could still maintain an ethical wildlife photography distance.
Again, the scene was simple — and that’s something I always look for in wildlife photography. The simpler the scene, the clearer the story. Here, it’s just a playful moment between the two pups and a plain rocky background.
By placing them low in the frame, I could show how alone they were out there. But really, it’s the simple background and the context that make the image work.
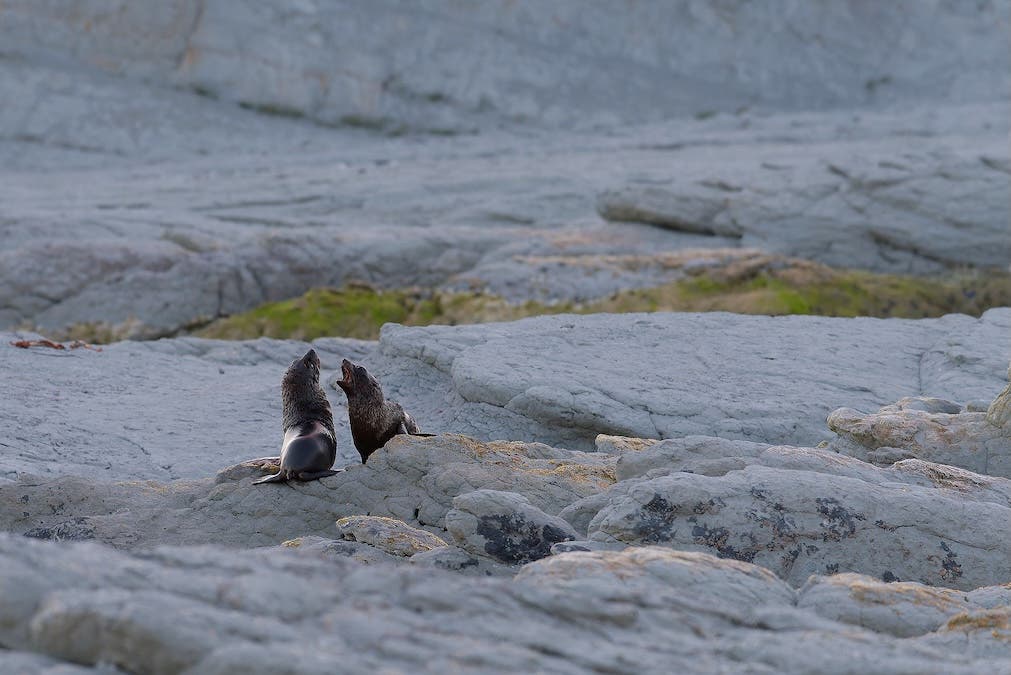
A longer focal length than 200mm would give me less room to compose the story. A 600mm lens gives you incredible reach, but it also compresses the scene and flattens things out. At 200mm, the empty space around the pups becomes negative space, which actually helps show just how isolated they are in that big environment.
Silhouettes: Using Form When You Can’t See Detail
Back in Denmark, driving home from a landscape shoot, I passed through Thy National Park and spotted a small group of cranes calling in duet on a heath dune. Even with a 600 mm lens, there was no way to fill the frame, and sneaking up on cranes in open country is just asking for disappointment.
When the cranes were down on the slopes, they almost disappeared into the landscape. But as soon as they reached the top, their outlines stood out against the sky.
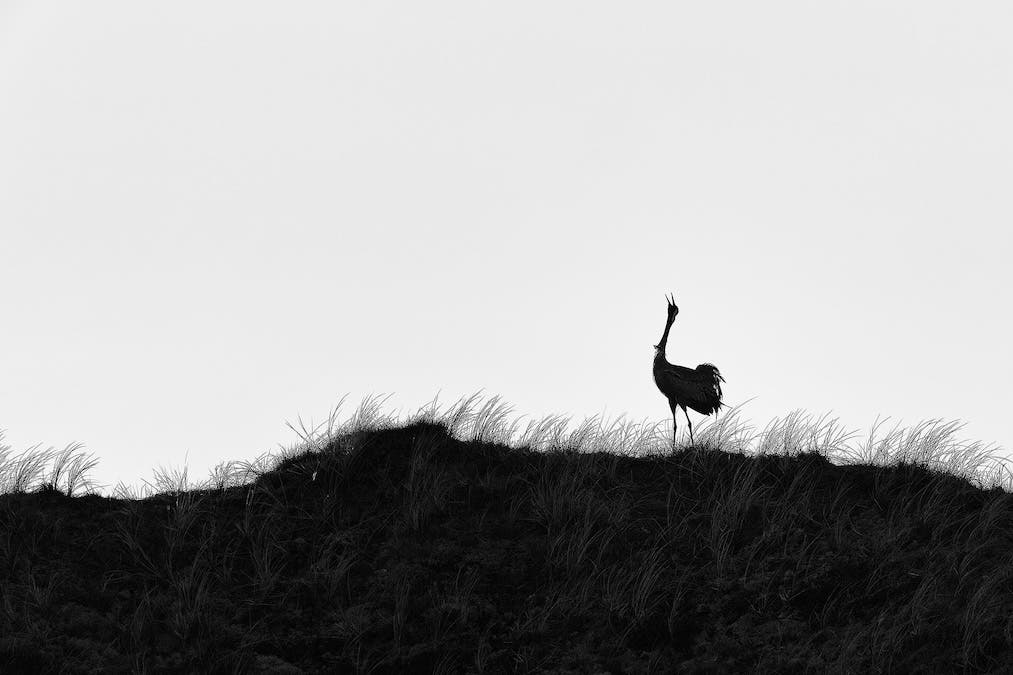
The best light was already gone, so shooting backlit meant high contrast and hardly any color detail – a tradeoff you always get when you shoot into strong light. I just went with it and aimed for a silhouette, making sure there was enough detail to recognize them as cranes. Because there are no texture in the sky and it is almost blown out because of the high contrast, you get a more graphical shot, which I think is presented best in black and white.
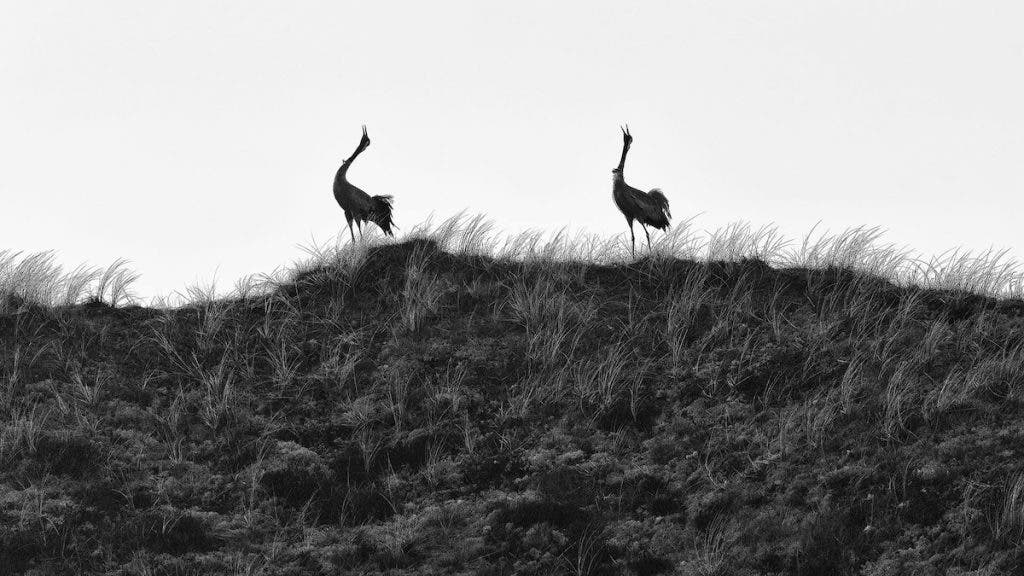
The gesture mattered here; it tells the story. Crane pairs usually call in duets, and I think this shot captures that. But not just any gesture works, especially when they’re far away.
For a silhouette, I needed them turned sideways so their outlines actually looked like cranes. If they’d faced me, you wouldn’t even see the tail feathers, and it would be hard to tell it was a bird at all.
The Special Ingredient That Elevates Photos With Small Subjects
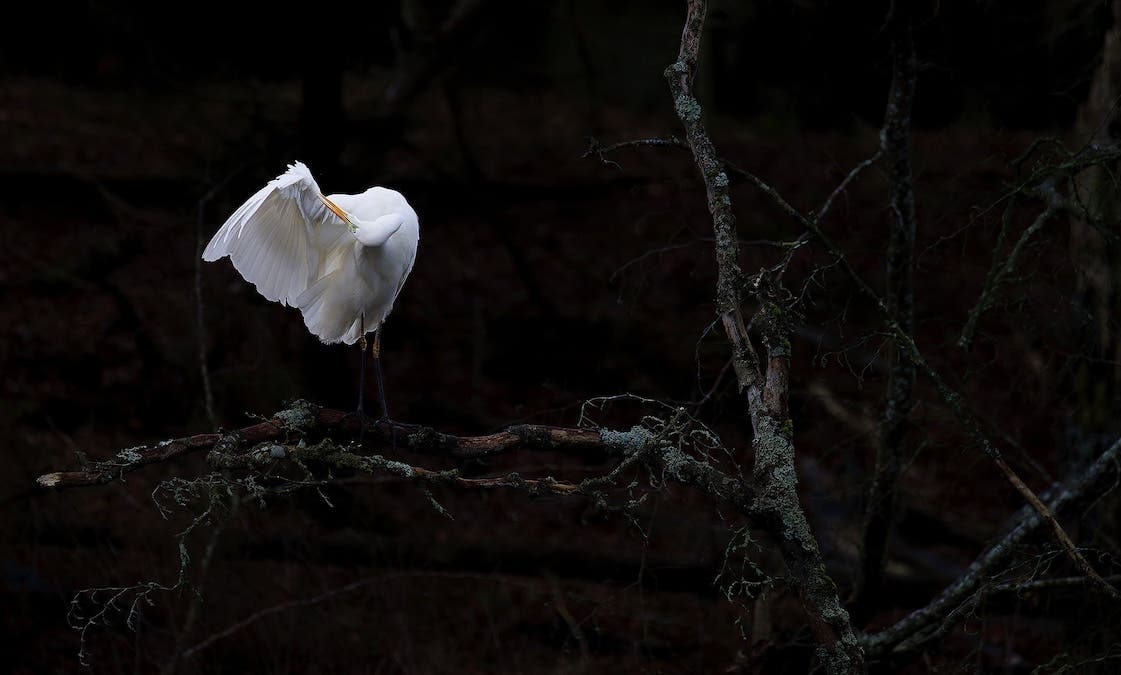
I’ve already talked about how contrast can help a small subject stand out. But there’s another ingredient that takes it even further: backlight.
Backlighting can give your subject a beautiful rim of light, though with small subjects, it’s sometimes hard to notice. Still, there are a few ways backlight can lift your shots when you can’t get that up-close intensity.
Backlighting adds a bit of story to your shots, and if you catch it during golden hour, you’re halfway to something magical.
Three scenarios can work.
- The Rim Light: Look for a glowing outline that separates the subject from a dark background.
- Translucence: Catch the light passing through feathers or fur, creating a “glow” effect.
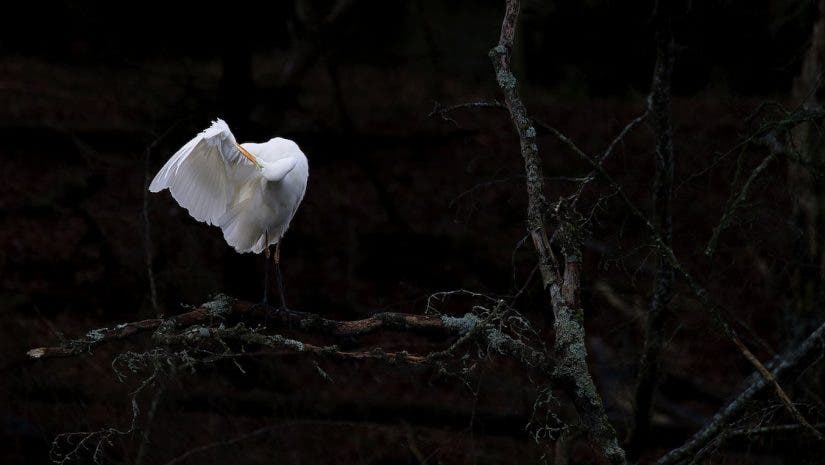
- The Spotlight: Find an animal standing in a natural patch of light while the rest of the landscape sits a few stops darker in the shadows.
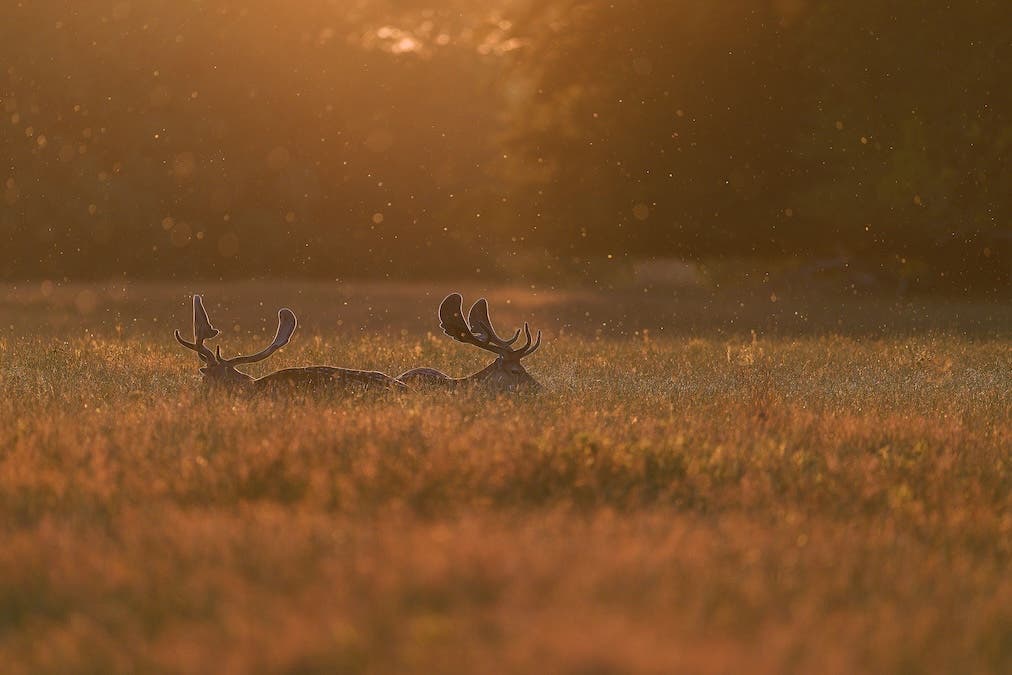
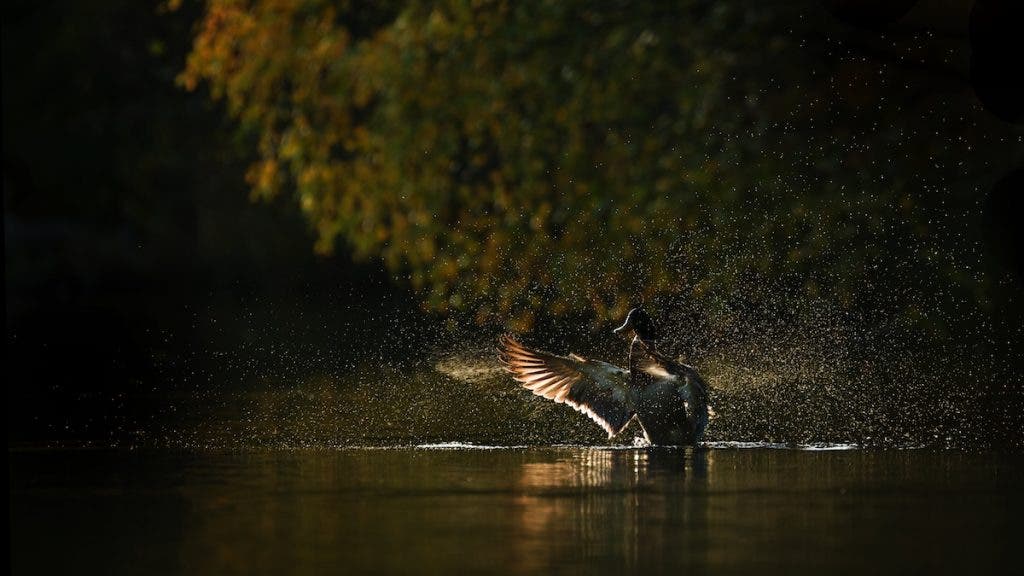
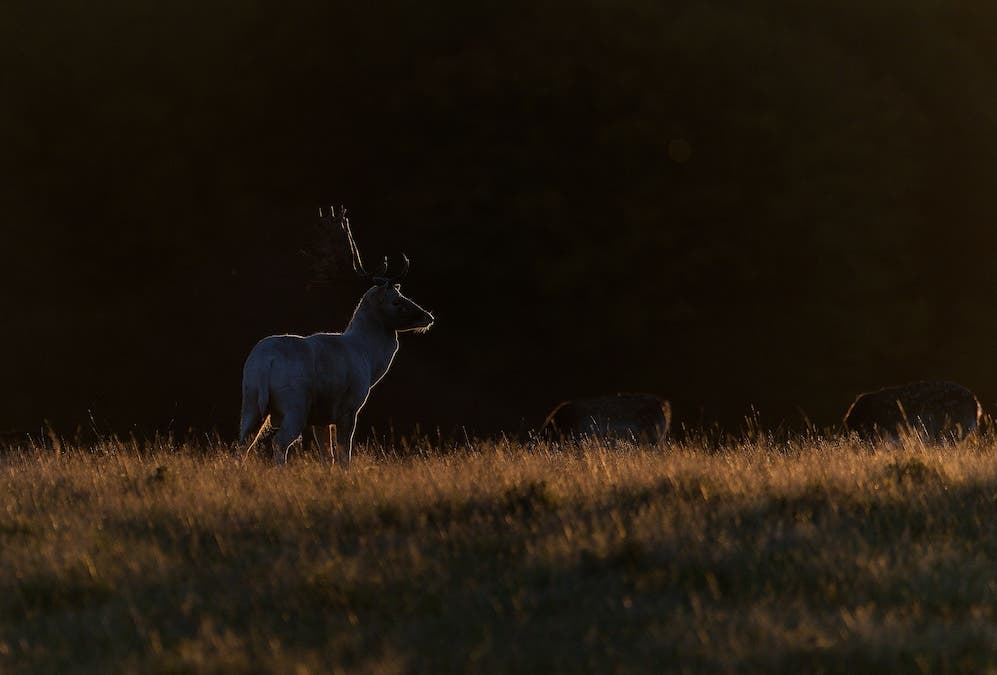
In all these cases, the high contrast pulls your eye right to the subject. You get mood, simplicity, a bit of elegance, and that extra story you only find in beautiful morning or evening light.
Final thoughts
For years, I struggled with the idea that I had to get close for a good shot. I’d come home and crop like crazy, ending up with mediocre, heavily cropped images. Looking back, the real problem was my mindset. I saw every session where I couldn’t get close as a failure, instead of a chance to tell a different kind of story.
Pro Checklist: Storytelling with Small Subjects
- Watch where your subject is heading. Is there a simple background that will make it stand out? Wait for that moment. Contrast is what makes these shots work.
- Place the subject in the lower third of the frame to emphasize a sense of loneliness or the subject’s smallness in the environment.
- Or use the upper third to really push that sense of distance.
- Look for gestures that reveal a bit of behaviour.
- A sideways shot, where you can clearly see the outline, usually works best when the subject is really small in the frame.
- Backlighting can help the viewer spot the subject more easily.
Read more: Getting Closer to Wildlife: Best Practices for Nature Photography