If you want to capture images exactly as YOU envision them, manual mode is essential. Even though other modes like Auto, Shutter Priority, and Aperture Priority are easier, Manual Mode is the only one that ensures the final image looks exactly as you envisioned. While shooting in manual mode may seem like a lot, it’s actually far easier than you think once you understand the basics of aperture, shutter speed, and ISO. In this article, we’ll dive into each part of the exposure triangle to help you capture epic images in full manual.
What is the Exposure Triangle?
The exposure triangle includes three settings: shutter speed, aperture, and ISO. These settings determine a photograph’s exposure (brightness). You can adjust each setting to increase or decrease overall exposure, and each affects the image’s final look. To create a properly exposed image, you must balance all three settings. When you change one setting, you often must adjust another to maintain proper exposure. When you’re using full manual mode, remember you are not only trying to expose the image properly, but also to create a certain look by choosing a specific shutter speed, aperture, and ISO. Now, let’s talk about what each setting does.
Shutter Speed
Simply put, shutter speed is the amount of time your camera’s sensor is exposed to light. This is measured in seconds or a fraction of a second, such as 1/2000 or 5 seconds. The longer the shutter speed, the more light hits your camera’s sensor, resulting in a brighter image.
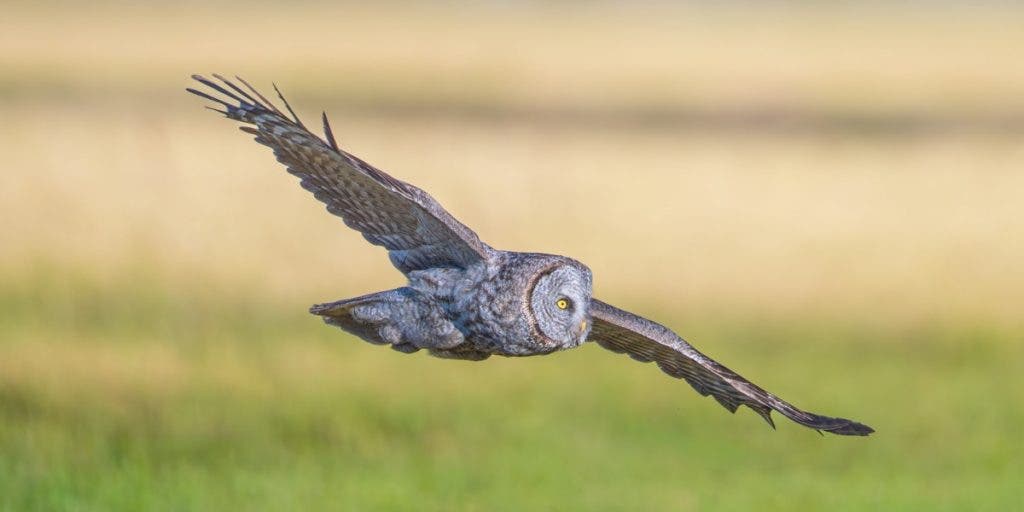
Creatively, shutter speed can freeze motion or create motion blur in your image. For example, a faster shutter speed like 1/2500s could freeze the motion of a flying bird or a football player catching a pass, while a slower shutter speed like 2 seconds would not capture a sharp subject. On the other hand, slower shutter speeds can smooth motion, like turning moving water into something much smoother. When choosing the right shutter speed, consider whether you want to smooth or freeze motion, and which shutter speed will give you the image you want. While a 1/4000s shutter speed could freeze nearly anything, also remember that you gather very little light when shooting at a shutter speed this fast, so it’s important to consider how slow you can go with your shutter speed to maintain a tack-sharp subject.
Aperture
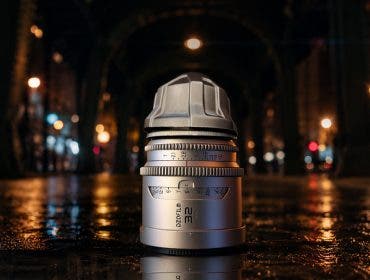
Aperture controls the opening inside of your lens that affects the amount of light that can reach your camera’s sensor. It is measured in f-stops and is commonly shown as f/2.8, f/5.6, f/11, and f/16. The smaller the number, the “wider,” or larger, the aperture. Unlike shutter speed and ISO, which depend on your camera, aperture depends entirely on your lens. When you buy a lens, you’ll usually see the maximum aperture listed next to the focal length. Many types of photography benefit from lenses with larger maximum apertures to gather more light.
Additionally, aperture controls depth of field. Depth of field describes the distance between the closest and farthest in-focus objects in the frame. A wider aperture creates a shallower depth of field, meaning there is more blur in front of and behind your subject. A narrower aperture creates a wider depth of field, keeping more of the scene in focus.
Portrait, sports, and wildlife photographers typically prefer a very wide maximum aperture for two reasons. First, it lets them gather more light to support a fast shutter speed needed to freeze motion. Second, it creates a shallow depth of field that helps their subject stand out from the background. If you’ve ever seen a portrait where the subject is sharp and the background is blurry, it was shot with a wider aperture.
Landscape, travel, and even interior photographers oftentimes prefer a narrower aperture that allows for a wider depth of field. This keeps more of the scene in focus, so both the foreground and background appear sharp.
ISO
On film and older digital cameras, ISO increases the sensor’s sensitivity to light, letting you control exposure by adjusting it. On modern cameras, ISO controls how much the sensor signal is amplified, letting you brighten an image when you lack light. ISO is measured as a number, such as ISO 100, 400, 800, 6400, or 25600. Every camera has a Base ISO, the lowest native ISO setting that produces the highest image quality and most dynamic range. Most cameras default to a base ISO of 100, though some use 64, 125, or 200. While ISO controls exposure and can help produce a brighter image when you lack shutter speed or aperture, your images will generally have more digital noise (grain) and can reduce sharpness and dynamic range. Often, full-frame sensors and newer cameras handle higher ISOs better and can be pushed further before you see significant quality loss.
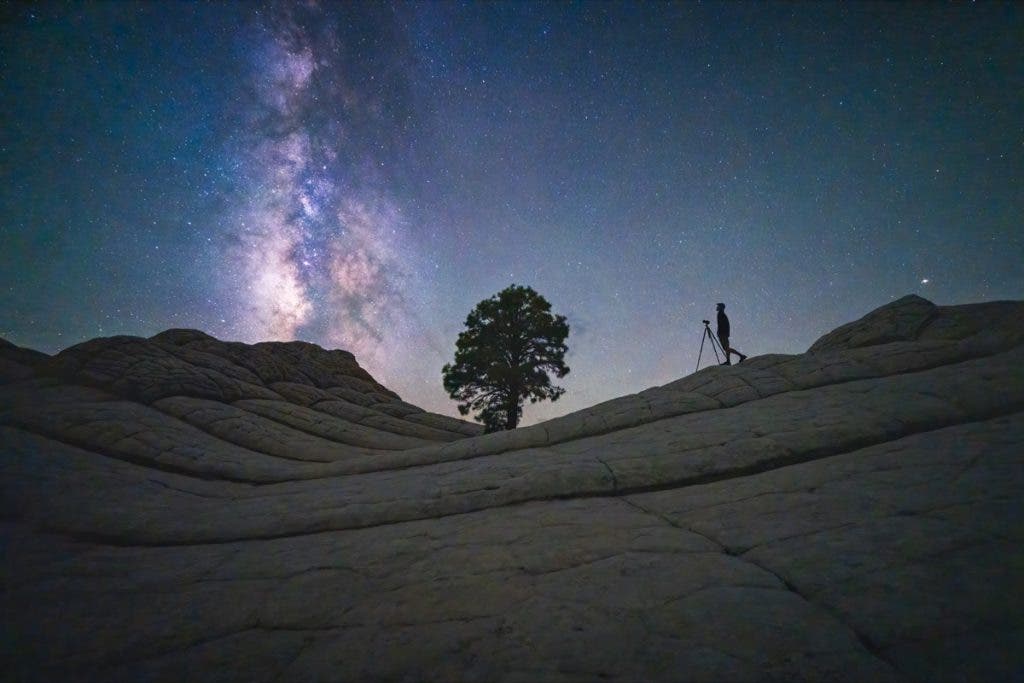
It is always ideal to shoot at your camera’s base ISO for the highest image quality, but you will need to use ISO from time to time. For example, wildlife and sports photographers may need to use ISO when they are already shooting at their maximum aperture and the slowest shutter speed to freeze motion, but still lack enough light to expose the scene properly. Astrophotographers need to use ISO to amplify the signal because they can’t capture enough light with a wide-open aperture and a slow shutter speed to properly expose the night sky. You shouldn’t be afraid to use ISO, but always try to gather enough light with aperture and shutter speed first before tapping into ISO.
Balancing the Settings
Now that you understand what each setting in the exposure triangle does, it’s time to combine them for perfectly exposed images.
How to Properly Expose Images
Before we go any further, you need to know how to properly expose your images. If you’re shooting in JPEG, expose the image as close as possible to how you want the final image to look. RAW shooters have a few different ways to expose their photos.
For portrait, sports, and wildlife photography, it’s typically best to expose for the subject, not worrying about other areas of the photo becoming too dark or too bright. Use your camera’s meter or live view to ensure your subject is bright enough to see, but not so bright that anything in the scene is totally white.
For landscape and travel photography, it’s usually recommended to avoid blowing out the highlights. Use a technique called Expose to the Right and make the exposure as bright as possible without blowing out the highlights. The shadows will typically look very dark, but you can bring them up in post-processing much more easily than you can bring down overexposed highlights. For sunsets and sunrises, you can try High Dynamic Range (HDR) Blending.

Adjusting each setting controls the overall exposure, which is easy to see on the back of the camera screen. As you increase one, decrease another to balance the exposure.
How to Pick the Perfect Settings
If you’re using a DSLR, use Live View or the camera’s meter to determine your exposure. Mirrorless shooters should be able to see how the exposure changes as they adjust the settings in real time by default. I recommend starting at your camera’s base ISO (usually 100), then adjusting shutter speed and aperture from there. We can increase the ISO later, but try to get all the light you need from aperture and shutter speed first. Think about what’s important for the type of photo you’re trying to take. Is depth of field a factor that needs to be considered? Adjust aperture first. If you want a sharp subject or a scene that requires motion blur, adjust shutter speed first. Below are a few simple workflows to follow based on some of the most common types of photography.
Portrait
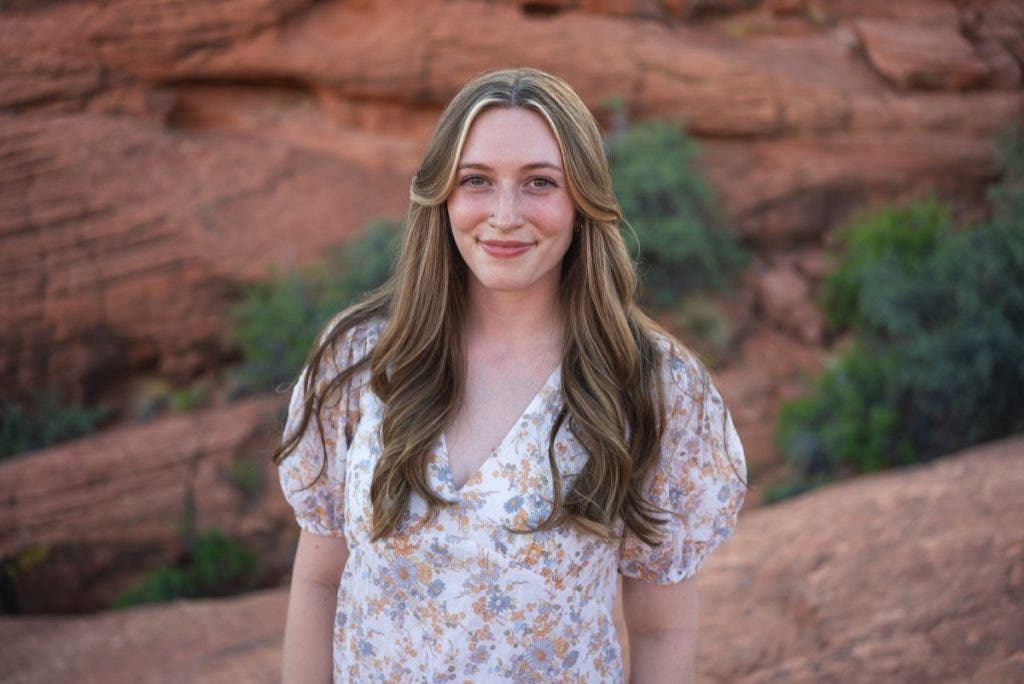
Start with your aperture open as far as your lens allows. While there are some times when you’d want to stop the aperture down, the best place to start as a beginner is wide open. Frame up your subject and open up the shutter speed until you have enough light. Depending on the ambient lighting, this shutter speed will vary. If you’re shooting non-moving subjects, 1/80s and faster should be fast enough to freeze motion, while moving subjects may require 1/500s and faster. If you lower your shutter speed to these values and still need more light, increase your ISO until you achieve proper exposure.
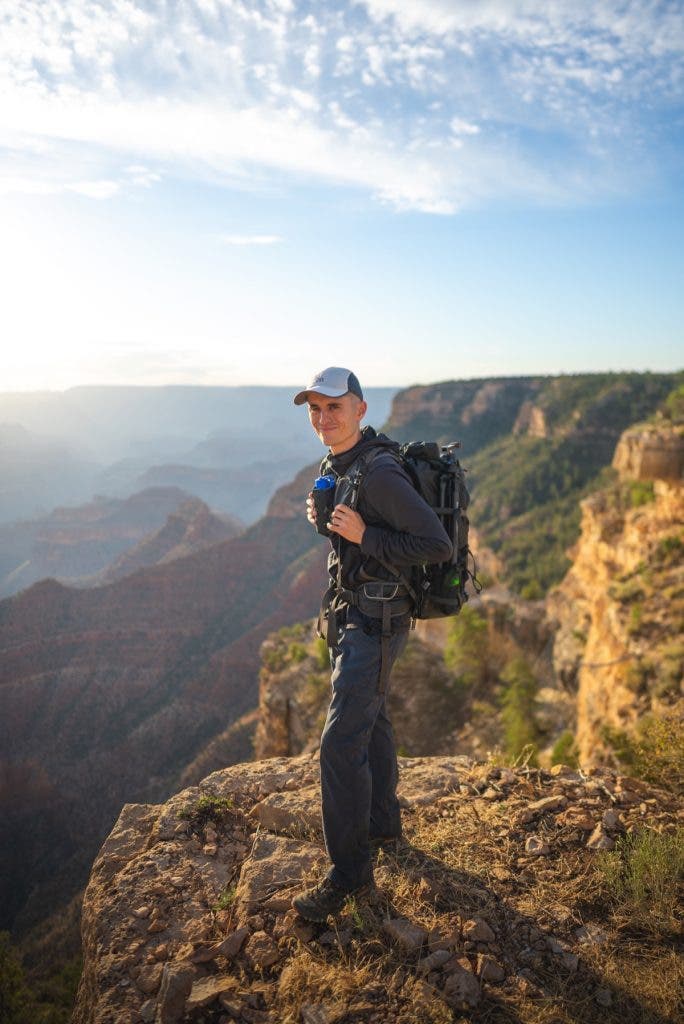
24mm | f/1.4 | 1/2000s | ISO 100. After setting my ISO to 100 and aperture to wide open (f/1.4 on this lens), I changed the shutter speed until my image was properly exposed. With the sun hitting the scene, 1/2000s was the perfect choice. Photo by Austin James Jackson.
Wildlife & Sports
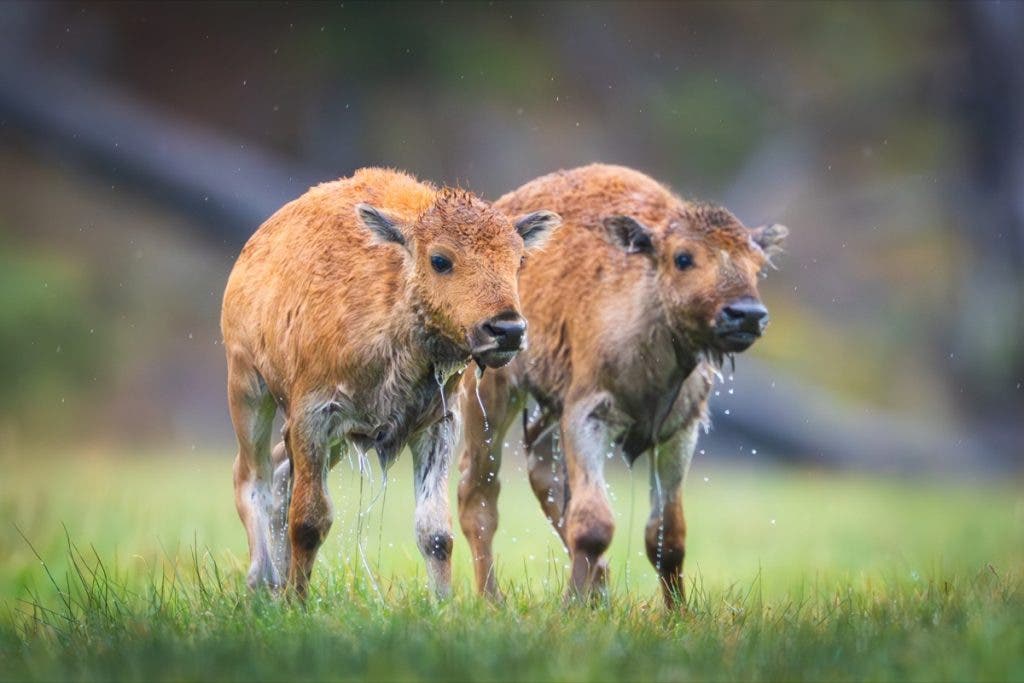
Similar to portraits, open your aperture as far as you can. Sports and wildlife photography often involve subjects you can’t control, so a faster shutter speed is crucial to freeze motion. For slow-moving wildlife, try to aim for a minimum shutter speed of 1/500s, while faster-moving wildlife like flying birds may require a shutter speed up to 1/2000s. Sports shutter speed also depends on how fast the action is moving, but 1/2000s should be safe. Use trial and error to find the slowest shutter speed that still keeps the image sharp, since this lets you gather more light and get a cleaner image. After selecting a shutter speed, increase the ISO to expose the image properly.
Landscape/Travel
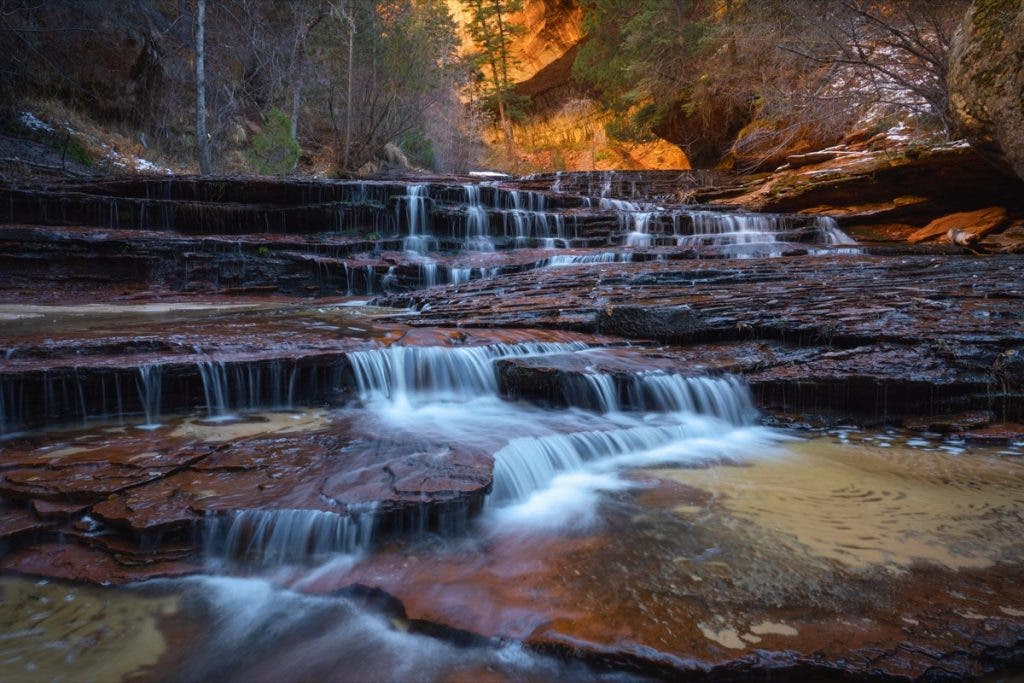
Properly exposing a landscape photograph is more challenging than many other genres because you’ll have to decide whether aperture or shutter speed matters more to the image. If nothing is moving in the scene, you can use any shutter speed to gather enough light, so set the aperture to your desired spot. f/8 is usually a good choice that balances lens sharpness with depth of field. If something is moving in the scene, use shutter speed to blur or freeze the motion; this should be the first setting you adjust. Then set your aperture, and finally ISO.
Practice Makes Perfect
The best way to learn manual mode is by practicing. It can be a challenge to go out on your first shoot and feel like you totally understand how it works, so I recommend trying manual mode at home or in your backyard to see how the settings interact. Remember, unlike many of the camera’s automatic modes, which focus only on maintaining proper exposure, manual mode can help you unlock a particular look for your image while still maintaining proper exposure. And finally, remember that with practice, manual mode will soon become second nature.