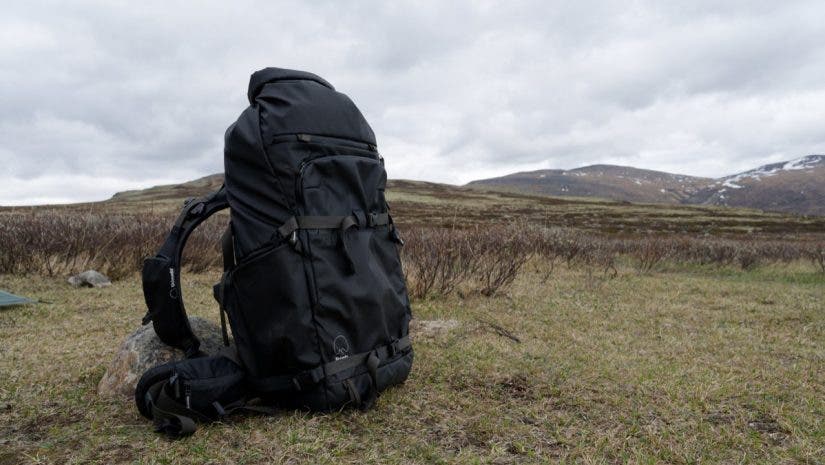
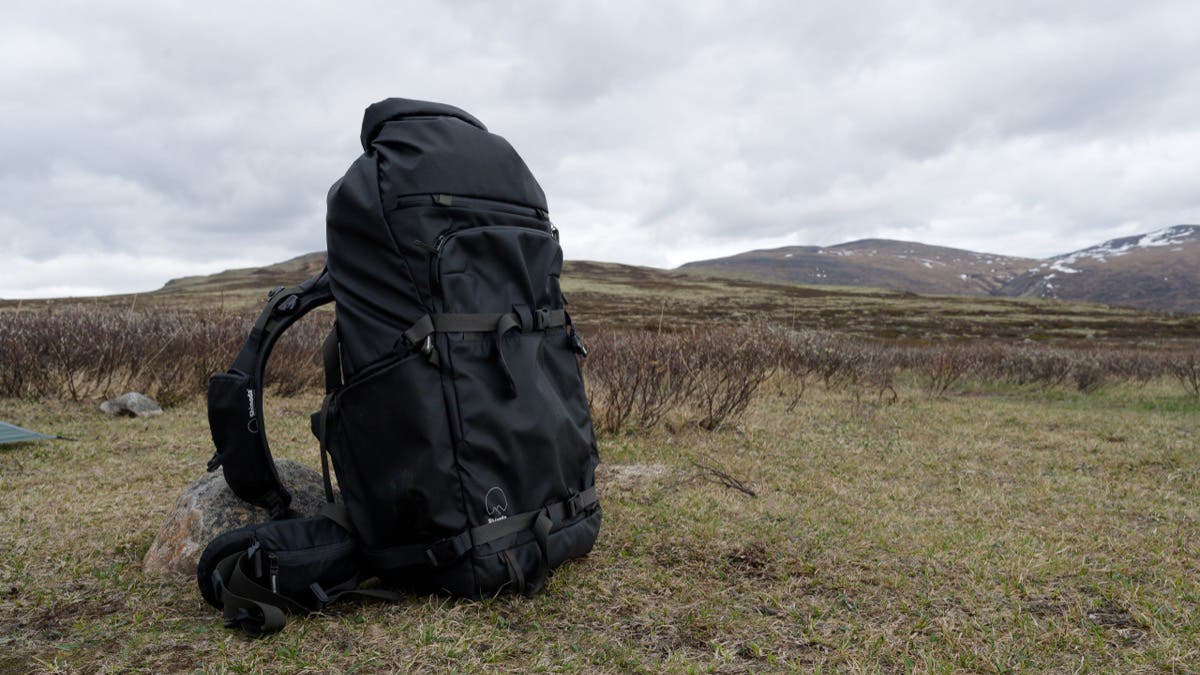
After 1½ hours of uphill walking, I don’t know whether I was soaked from the outside or the inside. Was it the rain that began just as I closed the car door, or was it from sweating from carrying the 20kg of photography gear, tent, sleeping bag, food, cooking gear, and other necessary gear I packed into the Shimoda Action X70 HD 70L backpack for a 3-day mini-expedition to Dovrefjell in Norway?
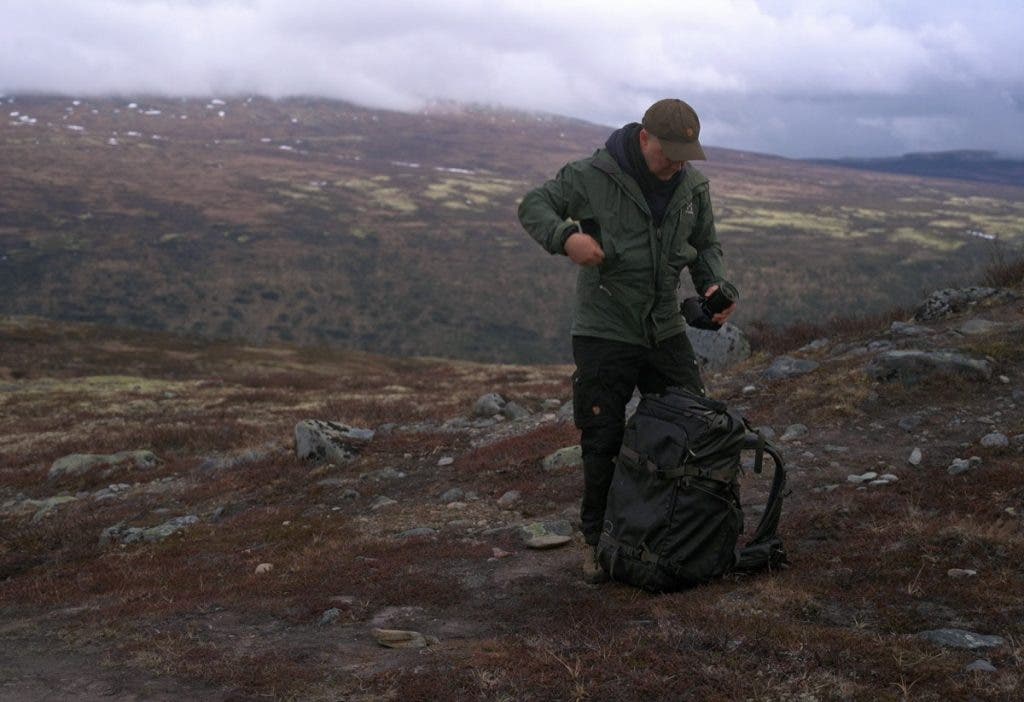
My main purpose was to photograph muskoxen during the trip, but it also provided the perfect opportunity to test the Shimoda Action X70 HD in the field. It was an exhaustive project, involving heavy wildlife photography gear and camping equipment, so a large backpack able to accommodate the entire load without killing me in the process or worse, damaging my camera and lens, was a necessity.
The Shimoda Action X70 HD 70 appealed to me for its generous volume, reinforced structure, and, foremost, its adaptability to my changing needs. I would have to carry roughly 25% of my body weight during long treks, and some of it would be sensitive photo gear. Efficiency was a must, and the Action X70 HD promised me full control over how I pack my gear, quick access to what’s essential for a wildlife photographer, and all the support I would need to pull off this difficult photo session. Nice in theory, but how about in practice?
Packing the Action X70 HD for a Norwegian Field Trip
The Action X70 HD (by the way, HD stands for heavy-duty, a promising title) is designed to incorporate a DV Core Unit. This unit is a special insert that accommodates cameras, lenses, and other important photography gear. The inserts come in many forms, so you can organize your gear as you like. Additionally, Shimoda recently added three new insert sizes: Large, Extra Large, and XXL. You can buy them separately from the backpack and switch between them as needed. This is a customization I greatly appreciate as I don’t take the same gear to all my photo trips.
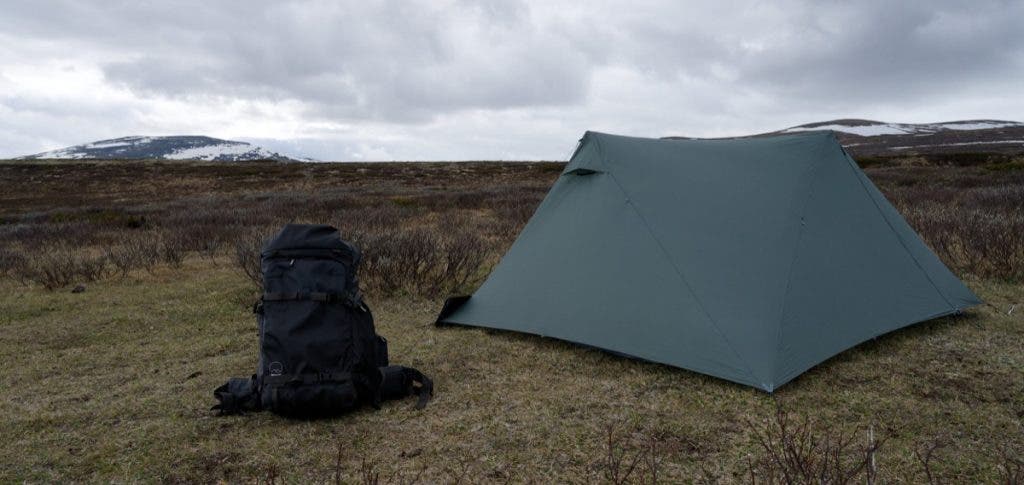
On this wildlife photography expedition, I required space for a 600mm lens mounted on the camera. The only core unit able to accommodate this combo was the XXL insert. My Nikon Z8 with the Nikon Z 600 f/4 TC attached takes up the entire left side of the DV Core Unit. On the right side, I had the vlogging setup (Nikon Z6II + Z 24-70 f/4 and my external microphone), plus an ultralight tent, sleeping bag, and extra woolen clothes. Once I got the tent up and dumped a lot of the gear, the bag had a lot of space.
In addition to storing the combo safely, the XXL insert lets you take the camera with the attached 600mm lens out via the rear of the backpack and the top when the upper compartment is unused. However, I maxed out every available inch of the bag.
Large Side Pockets
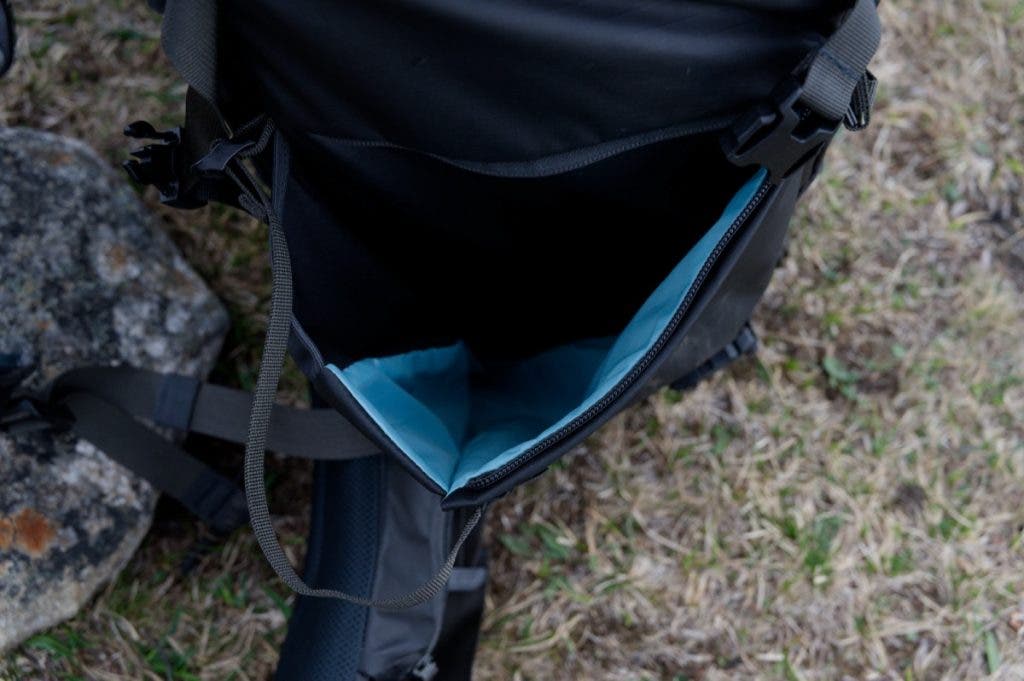
The two side pockets are huge. They are the biggest I’ve ever seen on a backpack, and I loved them instantly. They fit tripods, 2-liter water bottles, and other large pieces of equipment you need on your trip. I used one of them for my tripod and one for an extra water bottle. That’s because I didn’t bring a second tripod, and my 650ml Nalgene drinking bottle was in an even better, more accessible place.
Well Designed, Inside and Out
Shimoda did a very good job of designing exterior accessories for this bag. There are straps and loops for everything, from skis to ice axes. If you don’t bring skis and ice axes, you are free to use them for anything else. For instance, I mounted the foam pad, ground sheet, and sleeping pad on the outside of the bag. You can mount a climbing or biking helmet on the exterior, too, as the bag has a designated helmet holder.
There are two very conveniently placed, reasonably sized zippered pockets on the shoulder straps, which I used to store my drinking bottle and my phone. There are two additional pockets on the waist belt that I used to store fast-access items, such as extra batteries and snacks.
I like to have my stuff organized during long treks and easy access to the essentials: camera and lens combo, batteries, phone, water, snacks, sunglasses, binoculars, and the list goes on. A good pocket system also helps with weight distribution and makes things easier for my back and shoulders.
The generous front pocket lets you carry a laptop, but I wanted to be as offline as possible on my mini-expedition, so I used it to stuff a jacket, sitting mat, and extra clothes.
With everything packed, I tightened the compression straps and concluded that packing the Action X70 HD was surprisingly easy.
On the Move Impressions
During this trip, I carried my 20kg backpack for roughly 15 km fully loaded and 30km with only the camera gear, snacks, and water (roughly 8 kilos). It quickly became clear to me that I was enjoying having everything important at hand. Lifting and putting down the heavy backpack was not something I intended to do very often. However, even when I was putting it down in the muddy terrain of the Norwegian mountains, I was confident my things would be all right.
The Action X70 HD isn’t called HD for nothing. It’s stable and rugged, featuring a padded, reinforced base panel that can tackle any surface. The open top is wired so it can sit upright whilst you’re searching for things inside. It comes with a rain cover but holds up pretty well in light rain on its own, too. It really is prepared for anything you throw in its direction.
Custom Adjustments for Comfort
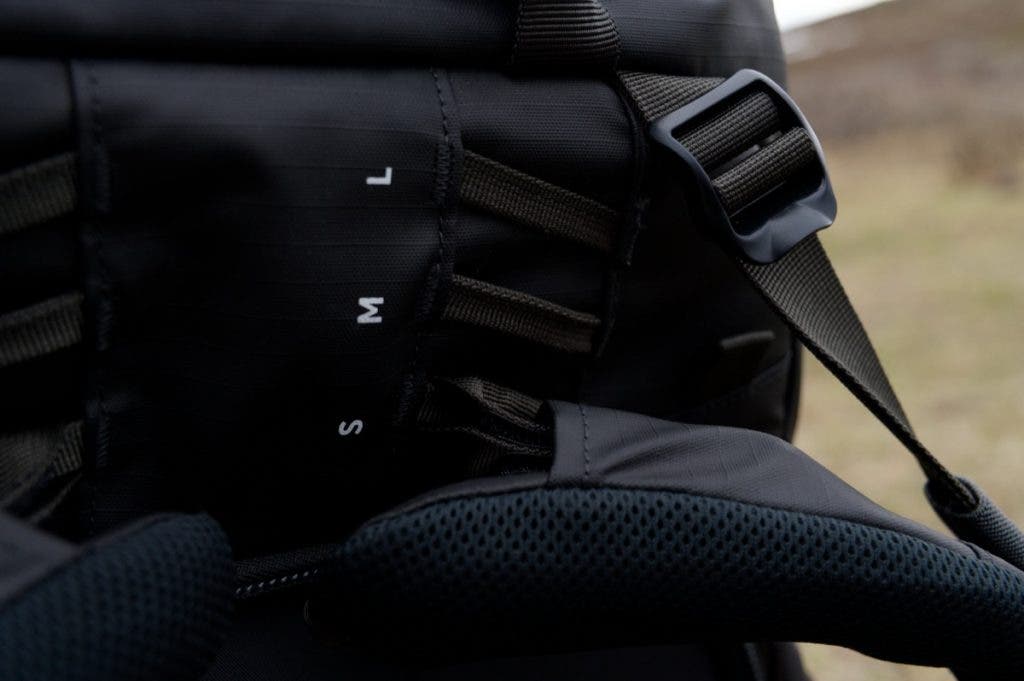
However, there was something I was enjoying even more than having everything within reach. I liked the ability to adjust the bag for my torso height. You have around 10cm of vertical adjustment divided into four size options. I’m 170cm tall, so I set the shoulder straps to S, which makes the entire bag sit a little higher on my back. Paired with the waist belt, the adjustment resulted in less pressure on my shoulders and improved posture. A poorly fitting backpack with 20kg of gear is a recipe for back injury and the end of your expedition.
Shimoda also provides an additional Booster Kit that adjusts the backpack to fit people with taller or broader torsos, for whom the 10 cm isn’t enough. It wasn’t the case for me, but this is a useful feature to know about. On expeditions like this, it’s important to feel comfortable, preserve your energy, and avoid injuries.
In addition, the waist belt is stiff, padded, and supportive, but also adjustable to fit your body. The straps are made with high-density EVA and are very comfortable. So is the padding on the back. Overall, it’s a comfortable bag, and I enjoyed carrying it around.
Notes to Myself for Future Trips with the Action X70 HD
Fitting the XXL insert left me with less space in the upper compartment, so I had to compress everything and use the space I did have to the max. I couldn’t even fold the roll-top 3 times, which is necessary for it to be completely waterproof. As a result, I couldn’t use the top access feature.
Also, after almost 2 hours in the rain, I discovered that my extra clothes in the top compartment were wet, but I also realized I hadn’t put the rain cover on; Go figure.
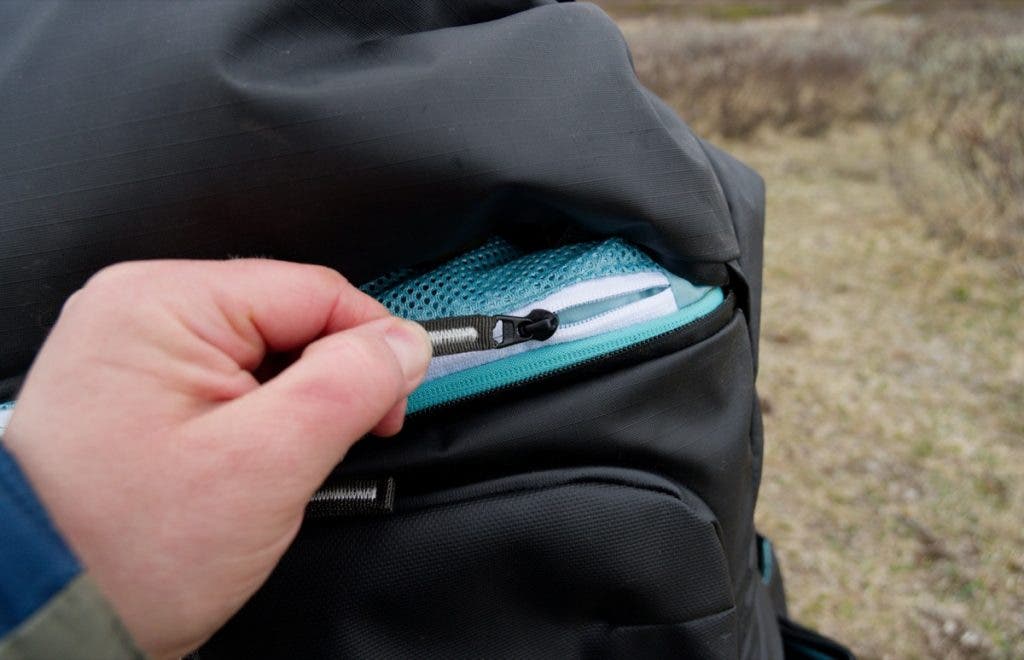
I also need to make better use of the two zippered rooms in the top compartments, based on what you need quick access to and what you don’t. You can access one of them through an outer zipper from the front of the backpack. But if you put things in the other zipped pocket that you need on the go, you have to access them through the top opening instead. It is not a design fault; it’s just my own lack of awareness when I put the car keys and passport in the easy-access zippered pocket, and the extra memory card in the one hard-to-access inner pocket.
Which Insert to Choose?
Another aspect I’ll consider for future trips is the choice of insert. For my 600mm lens, getting the XXL insert was a no-brainer. However, for smaller lenses, the XL or even the L insert may be enough.
A smaller-sized insert leaves you with more room in the main compartment. That is in addition to what you have in the top compartment. Thus, with a smaller insert, it’s up to you to keep your things organized in the remaining space.
The insert range is broad and I may be tempted to purchase multiple inserts. However, I’ll try to keep my gear to a minimum. I want the smallest-size insert that fits my gear to avoid adding extra weight. Also, to have as much space as possible for the rest of my things. For reference, the Action X70 HD weighs 2.8kg on its own. Add the XXL core unit, and I get an additional 1.48kg. The XL insert weighs 1.39kg and the L insert, 1.2kg. On long treks, every gram matters.
Untested Features
I noticed a couple more features that I didn’t use on this trip but will prove helpful in the future. One of them is the option to remove the waist belt. It will come in handy if I ever need to fly with my Action X70 HD. The other two are the back handles. These handles help you lift the heavy bag easily when loading it into a car, for example. They also remind you to place the bag with the rear side up. Which is important because that’s where the photo gear is stored.
Final Thoughts
After spending some time in the Norwegian wilderness with the Shimoda Action X70 HD backpack, I’m very satisfied with it. It had no problem handling the terrain and weather conditions, accommodated all the gear I needed to bring, and allowed me to have a comfortable trek. I loved the accessories and found a use for most of them, whether or not they had the designated functionality. Foremost, I greatly appreciated the customization options for both my gear and my body. A wildlife photography expedition is a much more physical endeavor than one would imagine, and I need equipment that’s efficient, comfortable, lightweight, and easy to use. The Action X70 HD proved to be the perfect partner.