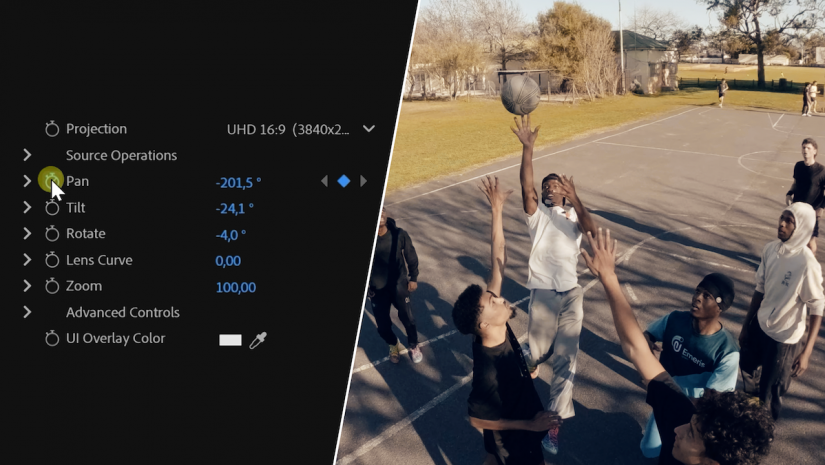
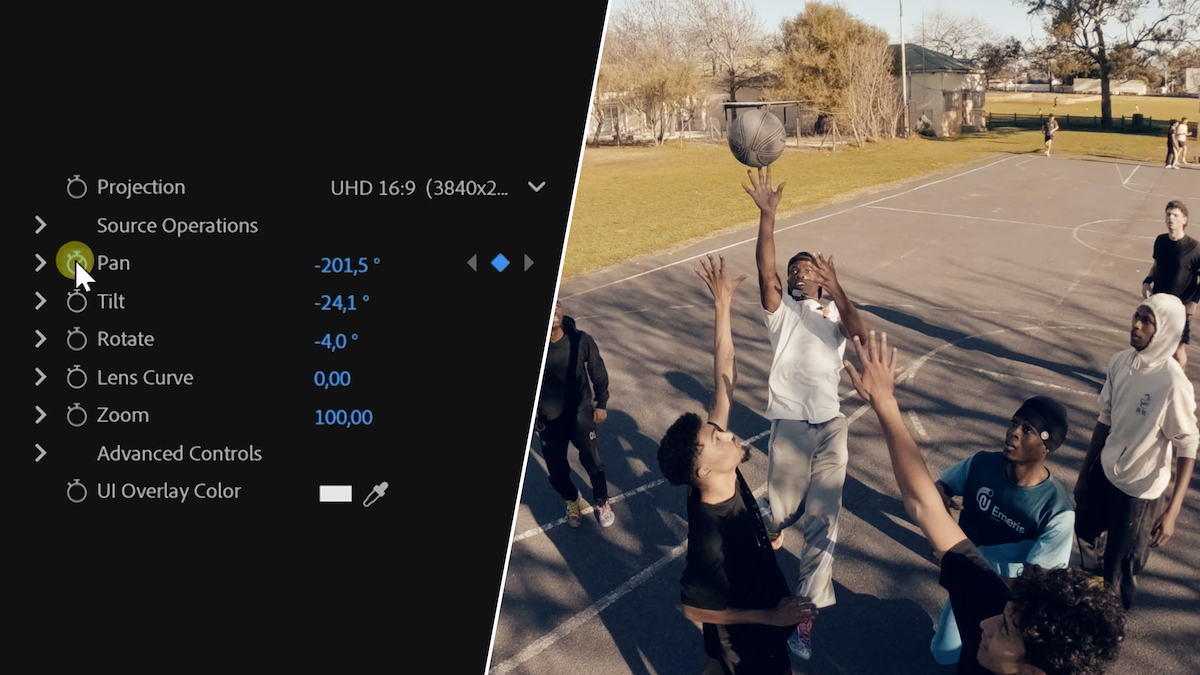
The magic of cinematic storytelling with a 360-degree camera, like the GoPro MAX 2, lies in the “shoot now, edit later” philosophy. You capture the entire spherical environment in real time, giving you the freedom to defer your directorial decisions to later at your desk.
In this article, using video examples, we will learn how to edit 360-degree camera footage. I will be using Adobe Premiere Pro for this demonstration, but the fundamental editing concepts apply universally across brands and software such as DaVinci Resolve, or mobile apps like Insta360, DJI Mimo, or GoPro Quik.
This is how the article is structured:
- Foundational concepts and the editing process applicable to any 360 footage.
- Workflow for exporting any 360 footage for Adobe Premiere Pro and DaVinci Resolve.
Foundational Concept for 360 Editing
1. Resolution Guidelines: Why 8K and 5.6K Matter
When you shoot a standard video, for example, 4K, and want to export it in 4K as well, zooming in or out during editing will cause resolution to be lost, as pixels are stretched, making the video “soft”.
To zoom in and out while maintaining good resolution while editing, consider shooting at higher resolutions, such as 5.6K or 8K, with a 360 camera. This allows you to capture vast amounts of visual data, providing flexibility to zoom in, crop, and reframe your shots for a 4K or 1080p timeline, without losing image quality.
Since higher resolution requires more data and faster write speeds on your microSD card, I suggest choosing a reliable card. I personally use a 256 GB SanDisk Extreme microSD card.
2. Mastering Frame Rates for 360 Video
If you are shooting a standard video, for example, walking around a city, documenting a landscape, or doing a standard vlog, I would suggest sticking to normal, cinematic frame rates like 24, 25, or 30 frames per second (fps). This gives your footage a natural motion blur that the human eye is accustomed to seeing in films.
When using 360 cameras for action sequences, I suggest shooting at a higher frame rate (60 fps, 90 fpts, 100 fps, or 120 fps) to capture more data. This will allow you to slow down footage in the editing process on a 24 fps, 25 fps, or 30 fps timeline without trading off image quality.

The video was shot in 90 fps and slowed down in the edit on a 30 fps timeline
3. The Editing Timeline
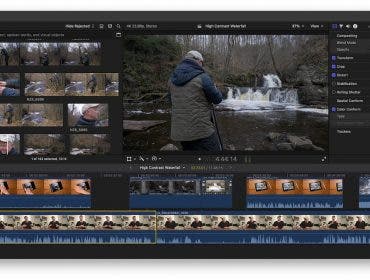
The timeline is where you cut and edit your film. It is the sequential workspace where your video clips, audio tracks, and effects are arranged in chronological order.
4. Pan, Tilt, Zoom, and Rotate
When editing spherical footage, you need to navigate inside the 360-degree view. This means you can select which angle of the footage the viewer sees. For that, you have controls to move the frame up, down, sideways, zoom, or rotate.
- Pan: The act of moving the camera’s view horizontally. You are panning left or right across the scene to follow a subject or reveal a new part of the landscape.
- Tilt: This refers to moving the camera’s view up or down. You tilt up to look at the sky or tall architecture, and you tilt down to look at the ground or your subject’s feet.
- Zoom: This involves bringing the subject closer (zooming in) or revealing more of the surrounding environment (zooming out). In 360 editing, zooming out often creates that famous “tiny planet” or fish-eye effect.
- Rotate: This means spinning the horizon line on its axis. Rotating is particularly useful for leveling out uneven footage captured on the go, or for creating dynamic, rolling transitions.

The concepts of Timeline, Panning, Tilting, Zooming, and Rotating apply to all 360 editing software and brands
5. The Magic of Keyframes
The use of keyframes is arguably the single most important tool in 360 video editing.
Simply speaking, a keyframe tells your editing software: “At this exact second in the timeline, I want the camera to look at this specific angle.”
For example, you might place a keyframe at the start of a clip where the camera is looking forward. Then, a few seconds later, you create another keyframe and pan the camera 180 degrees to look behind you. The software automatically calculates the distance between the two keyframes and creates a smooth, continuous panning transition between point A and point B.

Learn how to apply keyframes to edit your 360 footage
The Step-by-Step Desktop Workflow of Exporting 360 Footage for Adobe Premiere Pro or DaVinci Resolve
Now that you understand the concepts, here is the standard desktop workflow for converting raw 360 files into a format compatible with Adobe Premiere Pro and DaVinci Resolve.

Use this workflow if you want to edit in Adobe Premiere Pro or DaVinci Resolve; we are using GoPro Player as an example
1. Review and Export from the Player
Before importing anything into Premiere Pro/DaVinci Resolve, you must process the raw files, as these software programs cannot read them directly. Open your desktop application, such as the GoPro Player. Here, you can review your spherical files and prepare them for export.
2. Choose Your Export Settings
In the exporter, select your resolution and codec.
You have several codec options (depending on the brand of the software):
- H.264 / HEVC (H.265): These are highly compressed formats. They keep file sizes relatively small.
- CineForm / CineForm 10-bit: These are professional, visually lossless formats. While the file sizes will be massive, these codecs are highly optimized for editing software. If you are doing heavy color work, a 10-bit format will give you superior color depth.
3. Import to Premiere Pro or DaVinci Resolve
Once your footage is exported into a readable, high-quality file, import it into Adobe Premiere Pro/DaVinci Resolve and drag it onto your standard timeline (e.g., a 1080p or 4K sequence).
4. Apply the GoPro Reframe Plugin
Navigate to your Effects panel and locate the GoPro Reframe plugin (a free plugin provided by GoPro). Drag this effect directly onto your video clip in the timeline.
5. Direct Your Masterpiece
With the plugin effect applied, open your Effect Controls panel and select the GoPro Reframe effect. You will now see the editing options we discussed: Pan, Tilt, Zoom, and Rotate.
Mobile Editing: The App Alternative
If you are a creator on the go, a tourist, or simply someone without access to a computer, the same keyframing concepts apply to mobile apps. Applications like the GoPro Quik app allow you to load your 360 footage directly on your smartphone, edit and export it for social media.
Color Grading 360 Footage
Finally, let’s talk about color. Modern 360 cameras can shoot in standard, vibrant color profiles or in “Log” (logarithmic) profiles.
Standard profiles bake the contrast and saturation directly into the file. If you shoot this way, my advice is simple: do not over-edit it. Heavily altering standard 360 footage often results in visual artifacts, broken skies, and unnatural skin tones.
Log footage, however, captures a very flat, desaturated image. This is designed specifically for filmmakers who want maximum dynamic range and the ability to apply creative LUTs or specific cinematic color grades. If you are willing to spend time, shooting in Log gives you significantly more control over shadows and highlights without destroying the image.
For me, GoPro Max 2’s log footage was the best quality; I prefer that to GoPro Max 2’s built-in neutral and vibrant color options.

A 10-bit 8K resolution from a GoPro Max 2 color grade
Final Remarks
Editing 360 video is ultimately an exercise in retroactive directing. The 360 camera technology unlocks an entirely new way of filmmaking. Ensure that the transition between angles is smooth, providing a more immersive experience for the viewer than traditional two-dimensional camera angles. Once the video part is done, use music, sound effects, and graphics, which play a significant role in creating an engaging story.