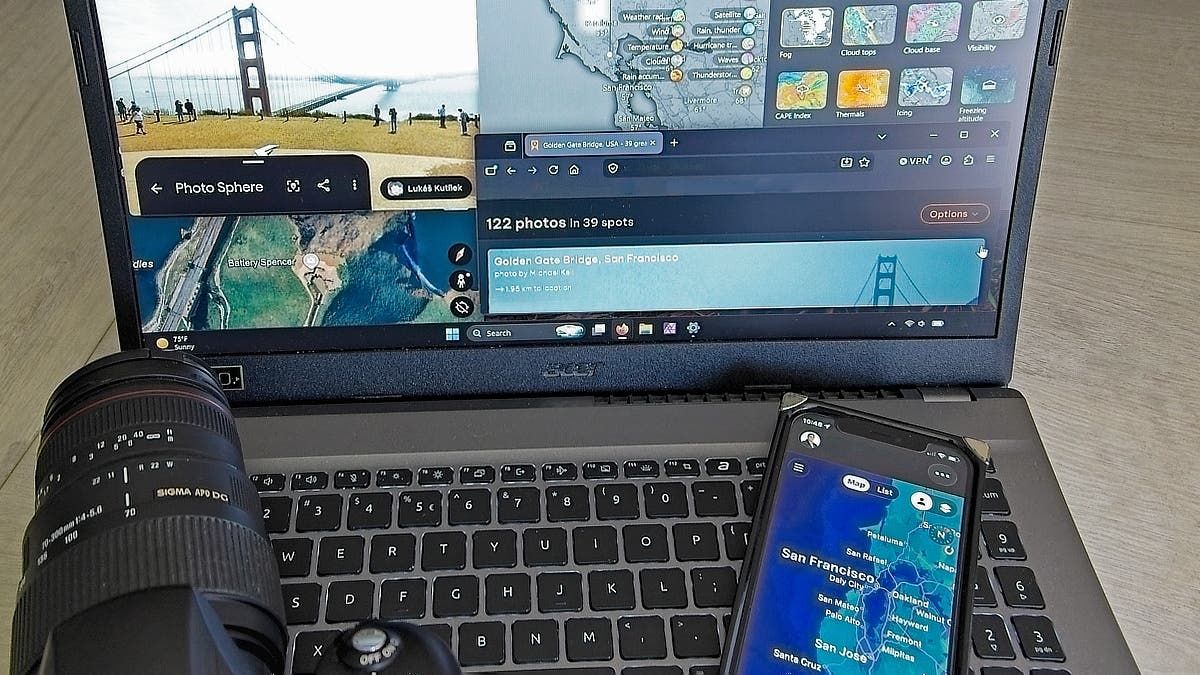
Digital location scouting gives photographers the freedom to quickly scout large areas without making major time commitments, worrying about time of day, or spending a dime on travel. Traditional location scouting relies on driving or walking around a lot, but there’s a better way.
Cyber scouting uses Internet resources like Google Earth, PhotoPills, and ShadeMap to your advantage. Viewing overhead imagery, exploring street-level perspectives, checking access information, getting lighting timelines, and having weather condition updates gives you a head start before you ever arrive at a location.
How Digital Location Scouting Works

Digital photo scouting works by helping you find locations, giving you detailed views before you visit, and helping you plan time of day, seasons, and weather. Whether you have a spot in mind or are searching for specific location types in a given area, digital location scouting gives you an advantage.
Researching in advance helps you prepare before the shoot for just about every genre, including landscape, travel, urban, street, and portrait photography. My workflow for digital location scouting is to:
- Crowdsource location ideas
- Get the big picture
- Nail down timing and lighting conditions
- Make a plan before I go
Research What Other Photographers Have Found
You aren’t in school anymore; you can “cheat” off of everyone else. Dig around and look at popular photo-sharing sites using location tags to see what everyone else is shooting. It helps you find new angles on old locations, hidden viewpoints, seasonal changes, and discover new-to-you spots.
Remember that the most popular spots often have big crowds, and this stage of research is more of a general idea generator than a set of directions. Blogs, travel guides, and trip reports do offer nice insights into access, safety, and extra information like costs, however.
Best apps for seeing what other photographers found
- Flickr: One of the largest photo-sharing communities, the Flickr map is a great way to get ideas for photo locations.
- Reddit: Check location-based subreddits and don’t be afraid to ask for tips when you are traveling to a location.
- YouTube VR: My favorite weird photo-scouting tip for touristy areas is to check out virtual-reality tours. Dust off that Meta Quest or SteamVR and head over to YouTube’s Virtual Reality side for 360-degree walkthroughs of interesting locations around the world. I find so many spots this way that are overlooked in online guides.
- Instagram: Search is horrible on Instagram, but location tags are still helpful to access the vast number of shots out there.
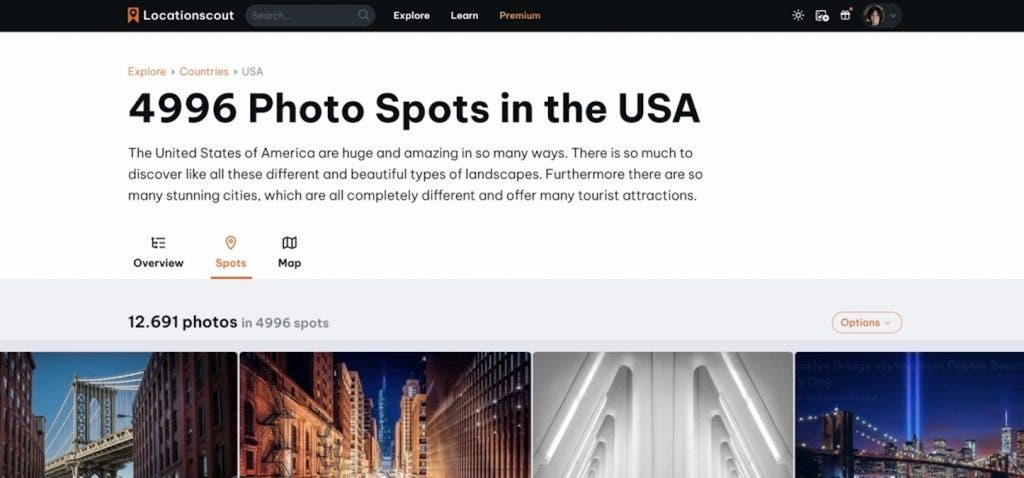
- LocationScout.net: More formal than Flickr and Reddit, LocationScout is moderately curated, and users submit a wealth of information about shooting locations and conditions.
Start With a Broad Location Scan
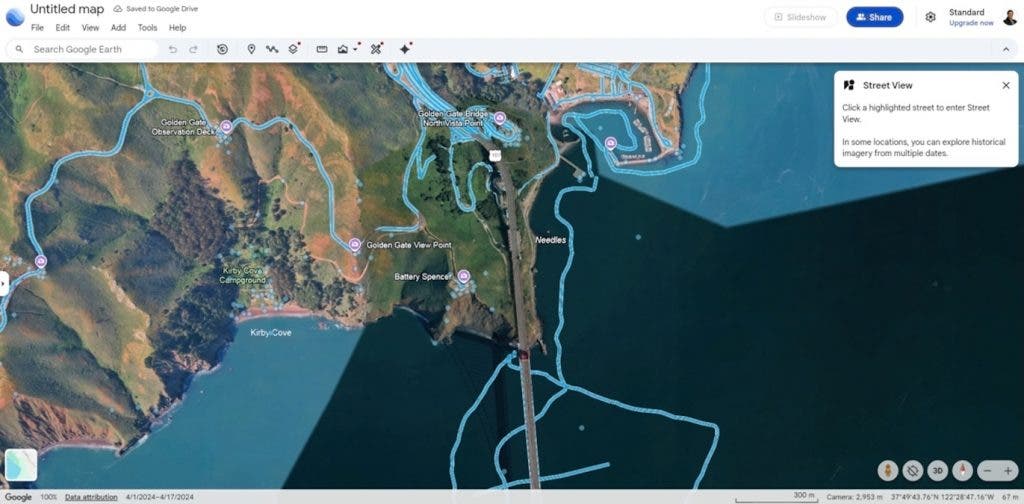
Whether checking out a hot photo spot mentioned in a travel guide or hunting a great aurora viewpoint, when I’m digital scouting photo locations, I start with the big picture and then narrow it down. Satellite imagery, terrain, and aerial photos give me a good overview of an area and access points. It helps me find things like water features, open fields, buildings with rooftop access, and abandoned buildings. Then I can narrow down areas using street view images.
For example, if I’m traveling to a new, darker-sky area that’s several hours away, I don’t want to physically scout locations at night on a tight schedule. I can use satellite imagery to identify areas most likely to offer a good field of vision in the direction I need before I go. Then, I use street-level imagery to get a good sense of parking (such as whether there are narrow road shoulders or a church where I can park), identify any private property to avoid, and check for obstructions like power lines.
Best apps for broad scan photo scouting
- Google Earth: Using Google Earth instead of Google Maps gives you multiple images of the same location at different times. Remember to check how recent images are, especially for street-level images. If street-level views aren’t available, look for 360 photo bubbles at points of interest.
- Skywatch: Offers free and paid plans, but there are plenty of free views. This includes aerial shots as recent as a month old in many cases.
- Mapillary: Similar interface to Google Earth, but with far more detailed satellite images, although they may be older. Great for better overviews of roads and trails in areas Google Maps street shots don’t cover, such as wildlife refuges and other rural areas.
- Local tax assessor websites: Admittedly, this sounds a little creepy on the surface. However, if you need to know who owns property and check boundaries, the local tax assessor website usually lets you search by address or on a map. It’s very helpful for avoiding trespassing and finding out who to ask for access permission.
Study Light, Time, and Conditions
Once you have a location mapped, it’s time to plan when to be there. After all, getting to a location only to find it’s in shadows 3 hours before sunset or that the moon is dead center in the Milky Way core that night can destroy your shooting plans. There are some amazing digital tools to help you be in the right place at the right time to get the shot.
What I check first depends on the shot I want. For example, when I need the sun, moon, or stars to be just right, I review sky maps and apps that show me where and when those celestial bodies will appear. I also check their positions relative to foreground objects. Likewise, if I need foggy conditions, I check a powerful weather app.
Regardless of the situation, I almost always check shade, cloud, wind, and fog condition forecasts ahead of time. Then I do it again right before leaving for a shoot.
Best apps and programs for light and timing your photo shoot
- ShadeMap: Checking sunrise and sunset times isn’t enough to ensure good light at a given location. ShadeMap (free and paid options available) shows how trees, buildings, and elevation affect lighting at a location on specific days and times. It’s saved my bacon more times than I can count.
- Stellarium: An amazing free program that shows you stars and heavenly body positions by date, time, and location. While the horizon imagery is generic, it’s a great place to plan for overall rise/set times and directions. It also clearly shows you when the moon washes out visibility at night.
- PhotoPills: Designed specifically to align sun, moon, and Milky Way with terrestrial objects, including augmented reality overlays. It is a mobile-only app.
- The Photographer’s Ephemeris: Another sun, moon, and starlight app, but this one has basic no-login-required functionality on your desktop in addition to an iOS app (sorry, Android users). It also offers solar and lunar eclipse simulations.
- Sunsethue: Fabulous sunrises and sunsets need clouds at certain heights and densities. Sunsethue gives you detailed information on cloud makeup and predicted results. You can even get alerts for certain conditions.
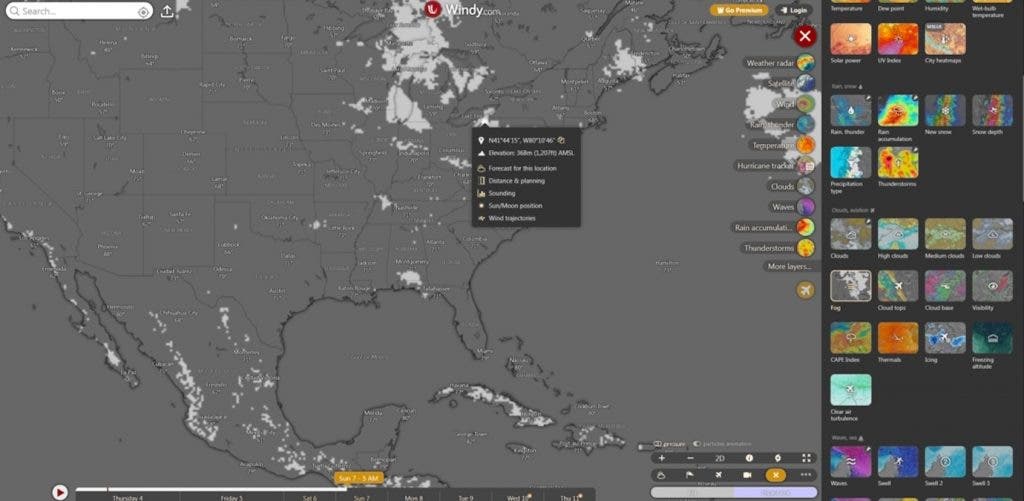
- Windy: Toss out your generic weather app. Windy gives you fog, cloud levels, waves, snow depth, and dozens of other options with multiple forecast models. It’s my absolute favorite for fog and visibility predictions.
Build a Simple Pre-Visit Plan
My final step in digital location scouting is building a shoot day plan. This is when I pick the gear I need, such as zoom or wide lenses. Then I decide between a larger tripod and a shortie tripod for ground-level shots. I also plan out my access map and shoot timeline. Personally, I always add in extra time because I’ve run across many found scenes on the way to my planned shoots over the years.
I use apps like Mapstr to build personal location lists and load all my needed information. Don’t forget to update the information with any extra information you find in the field. No matter how much pre-scouting you’ve done digitally, there will always be something surprising when you get there. Have a backup plan for better results, and be prepared to pivot in case of unexpected on-site challenges.