On a cold winter day in Rawalpindi, Pakistan, a mosque caretaker watches me with growing suspicion. Instead of taking normal photos, I take a single step, aim my 360 camera at the central dome, snap a frame, lower it, and repeat — slowly pacing the entire length of the veranda like a human metronome.
Oblivious to his concern, my mind is locked on the math: 50 shots equals two seconds on a 25 fps timeline. When I tell him I’m shooting a hyperlapse, his bewildered look says it all: I am easily the weirdest photographer to cross his threshold.
If that sounds like technical mumbo-jumbo, watch the behind-the-scenes video below to see how this tedious process unfolds.

Example: A hyperlapse and behind-the-scenes of creating a hyperlapse
WHAT is a hyperlapse: A hyperlapse is a series of images of an object, building, or place, taken by a photographer and played in a sequence into a video. When capturing these images, the photographer does not stand still; they move from one place to another, one step at a time, taking a photo each time they take a step.
WHY hyperlapses: Hyperlapses are a great way of injecting energy into your films. The dynamic movement of images around or towards your subject breaks the flow of the visuals, shifting from cinematic footage to quickly moving images your viewer can clearly recognize.
As a solo filmmaker, I thoroughly enjoy the creative process from shooting to editing my films, but creating a hyperlapse is the single step that takes a toll on my time and energy. The result, however, is always worth it.
Today, we are going to explore what these techniques entail, the inconvenience of doing them the old-fashioned way, and why modern 360 cameras are completely revolutionizing the process.
Difference Between a Time-Lapse and a Hyperlapse
Let’s first clarify the difference between the often confused time-lapse and a hyperlapse:
A time-lapse is a photographic technique in which the camera takes a series of images that can be played in sequence in your films, while the camera remains static. It is either fixed to a tripod or moves slightly on a slider spanning a meter or two. A time-lapse captures the passage of time, compressing slow events like storm clouds or sunset into fast-paced sequences, making it ideal for establishing shots.
In contrast, a hyperlapse combines the passage of time with spatial movement by physically moving the camera between frames, creating energetic visuals that traverse locations quickly, like moving through city streets or toward landmarks.

Difference between a Timelapse and a Hyperlapse
The Toll Of The Traditional Hyperlapse
As a professional photographer, I frequently utilize professional camera bodies and top-tier prime lenses for my primary work. Naturally, my first instinct when learning to shoot hyperlapses was to use these same traditional, high-resolution tools. While they undeniably offer incredible image quality, the process is cumbersome for several reasons:
The Time And Storage Burden
Shooting a hyperlapse with a traditional mirrorless camera is time-consuming and requires a massive amount of storage capacity. Instead of simply pressing record, you are capturing hundreds of raw images.
The reason we capture a ton of images is that a cinematic film is played at 25 frames per second (fps). This means you have to take 25 hyperlapse images to capture 1 second of footage.

A quick overview of the traditional hyperlapse workflow
The Gruelling Post-Production Workflow
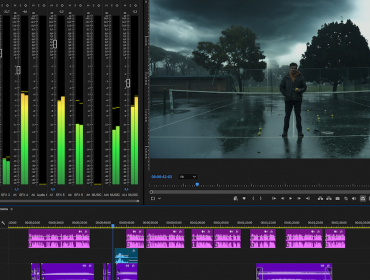
The editing process for a traditional hyperlapse is an exercise in patience. Here is what the typical pipeline looks like:
- Importing: Bringing raw image sequences into your editing suite.
- Processing and Exporting: Processing these files and exporting them into editing software like Premiere Pro.
- Stabilizing: Applying heavy software stabilization to smooth out the inevitable bumps between frames.
- The Pixel Penalty: Because software stabilization works by rotating and zooming in on the frame to hide the jitter, you inherently lose pixels and crop heavily from your original composition.
The Physical and Environmental Challenges
Executing the physical movement is arguably the hardest part. To create a smooth traditional hyperlapse, you have to lock onto a specific focal point in your environment, such as keeping the eye of a statue perfectly centered in your viewfinder while you move in a wide semi-circle around it.
- Human Mechanics: Keeping your arms raised in the exact same position frame after frame is exhausting.
- Crowded Environments: If you try to alleviate arm fatigue by using a tripod and moving it step-by-step, you run into new problems. Moving a tripod through crowded, congested places may be bumpy and uneven. I have even seen photographers using gimbals, but I guess I am getting too old to carry one paired with a heavy camera for an extended period.
- Loss of Focus: Ultimately, the hyperlapse takes so long to execute that it actively diverts your focus and energy from shooting your normal narrative video footage. I have received urgent phone calls and even been stopped by strangers while shooting, who asked me what strange photography I was doing. Talk to someone, and you forget where you were focusing the previous shots.
Enter The 360 Camera: A Seamless Solution
The frustrations of traditional hyperlapse photography have been alleviated by a much more efficient solution: the 360 action camera. I will talk about the GoPro Max 2 because I use one, but the concepts apply to all brands.
Built-In Convenience, Speed and Features
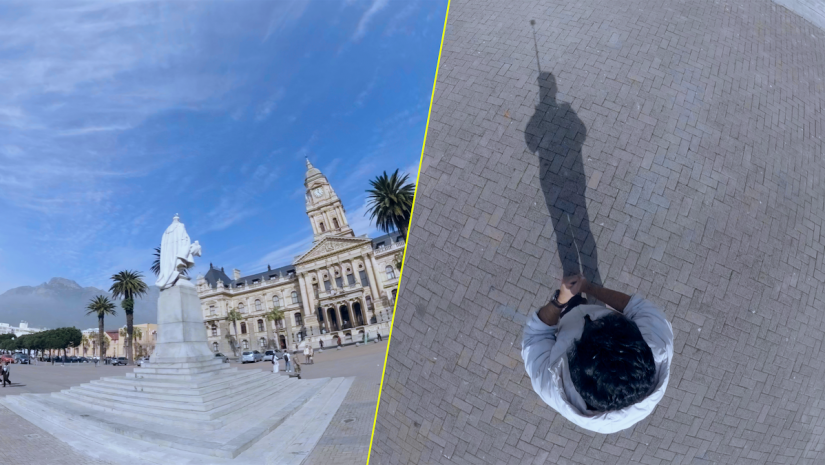
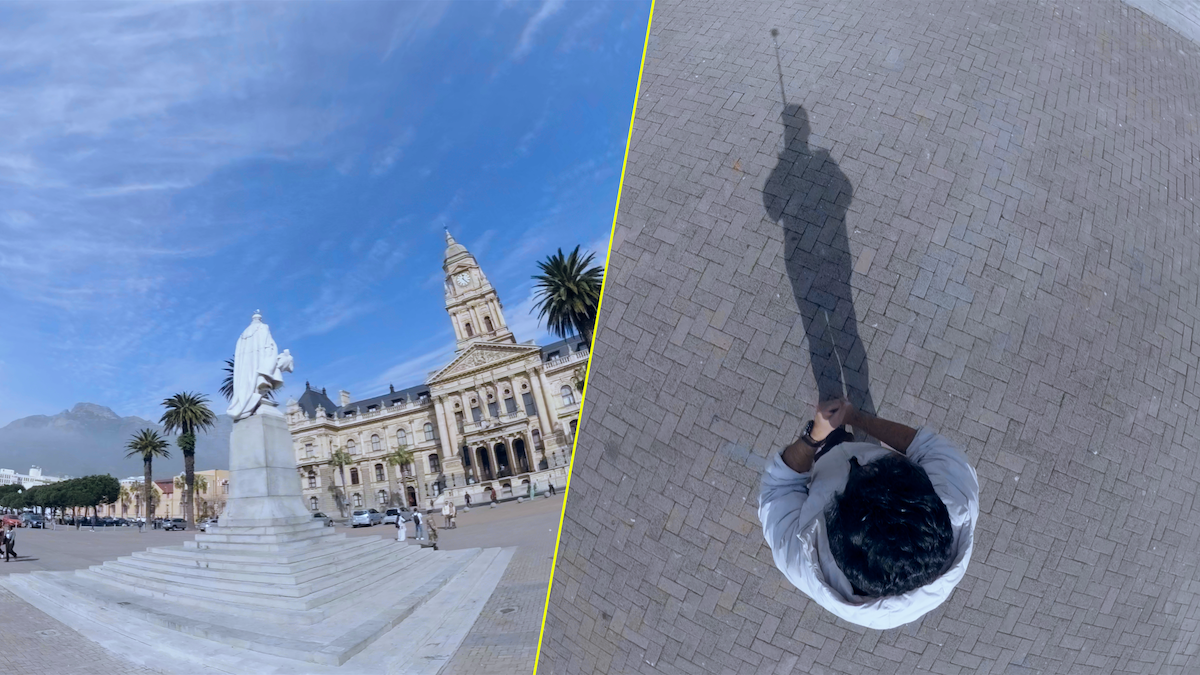
The primary advantage of using a 360 camera is the sheer convenience and the drastically reduced time consumption. Instead of clicking the shutter, moving a foot, realigning a grid on a screen, and clicking again, you simply mount the camera to an “invisible” selfie stick and press record.
Time Warp Options: Modern 360 cameras come with built-in hyperlapse modes that let you select specific speed ramps, such as 10x or 20x, directly in the camera.
Stabilization: Because 360 cameras capture a spherical field of view, their built-in stabilization is highly effective. The internal gyroscope keeps the horizon perfectly level, completely eliminating the bumpy, uneven look of a handheld traditional hyperlapse. Of all the hyperlapses shot with the GoPro Max 2 in this article, I applied stabilization to only one.

Shooting your first hyperlapse with a 360 camera (GoPro Max 2 with 10x speed)
Because your 360 camera will be capturing high-resolution imagery at a high rate, I suggest using a reliable microSD card, such as a SandDisk Extreme Pro.
Note: The Time Warp option on your GoPro Max 2 360 is the equivalent of a hyperlapse. A much fancier term that you can use to impress your friends!
Freedom From the Focal Point
Perhaps the most liberating aspect of shooting a hyperlapse with a 360 camera is that you do not need to manually aim at a certain point while you walk. Because the camera is capturing the entire 360-degree environment simultaneously, it does not matter which way the lenses are physically pointing.
You no longer need to suffer the physical fatigue of constantly raising your arm to keep a statue centered in a tiny viewfinder. You can simply hold the camera comfortably by your side, walk naturally through a congested market or around a landmark, and let the device do the heavy lifting, in all senses.

Creative Freedom with 360: Creating a hyperlapse and changing angles in post-production
The Hidden Superpower: Limitless Reframing in Post
The advantages of the 360 camera extend far beyond the moment of capture. The true magic happens in post-production.
When you shoot a hyperlapse with a traditional camera, you are permanently locked into the angle and focal point you chose on location. If you realize later that the subject would have looked better from a slightly different perspective, there is nothing you can do.
With 360 footage, you have the ultimate creative freedom to reframe your shot. Because the camera captured a full sphere of your environment, you can dynamically pan or tilt it left and right in post-production.

Hyperlapse with GoPro Max 2 at 30x speed, no stabilization applied
Color Grading Your Hyperlapse into the Final Movie
360 cameras, such as the GoPro Max 2, allow you to shoot time warps in 10-bit log footage at either 8K or 5.6K resolution. This capability enables you to color-grade the footage to your preferences and even apply LUTs to seamlessly blend it with the rest of your film. Personally, I prefer the GoPro Max 2’s 10-bit log footage over its built-in color profiles. The log footage is rich enough that color grading does not compromise image quality. If you are serious about filmmaking, consider these options.
Final Remarks
Both options have their pros and cons. Traditional imagery offers more control over camera settings, especially aperture and shutter speed (360 cameras like the Insta 360 do allow changing shutter speed). However, 360 cameras have become serious filmmaking tools in the last decade, with not only improved image quality but also the ability to hold your camera with an invisible selfie stick at angles that might not be possible when shooting hyperlapses with a bigger camera body.
Creating films requires a balance between capturing high-quality imagery and managing your time effectively. While there is still a time and place for the deliberate, methodical art of traditional photography, the demands of video production may require a faster, more agile approach, such as that offered by this new generation of 360 cameras.