When I first started my journey into filmmaking, I treated audio as an afterthought. To record, I would plug in a cheap microphone into my camera without adjusting any settings, or, worse, rely on the built-in mic for vlogging and filming and crank the input gain to maximum. In my mind, louder was better.
When it came time to edit, I had no concept of decibels. I had two very flawed standards for success: I would set my computer speakers to 50% volume, assuming that was how everyone on YouTube listened to their videos. As for the dancing audio bars in my editing software, they were a complete mystery to me. My only rule was to make sure they didn’t hit the red zone. If they weren’t red, it was good.
It was only when I received feedback from my YouTube audience that I realized that audio is half the experience for the viewers and listeners, and I had to start managing audio levels with the same attention I gave to my cinematography.
In this article, we will move beyond the guesswork. We will break down the fundamental science of decibels, learn how to read your software’s meters, and establish a clear, repeatable workflow for managing audio levels.
Understanding the Decibel (dB)
To fix my mistakes, I had to learn the language of sound. In digital audio, we measure volume using dBFS (Decibels relative to Full Scale). A dB (decibel) level is a logarithmic unit used to measure the intensity of sound or the power of a signal. By logarithmic, we mean that the sound intensity is measured on a scale where each 10-decibel increase represents a tenfold increase in actual sound intensity. For example, a sound at 30 decibels is 10 times as intense as one at 20 decibels.
This is how our ears work; we don’t perceive volume in linear steps. In the digital world, an increase of just 3dB actually represents a doubling of the electrical power, while only a 10dB increase is perceived by our brains as twice as loud.
The Anatomy of the Meter in Audio World
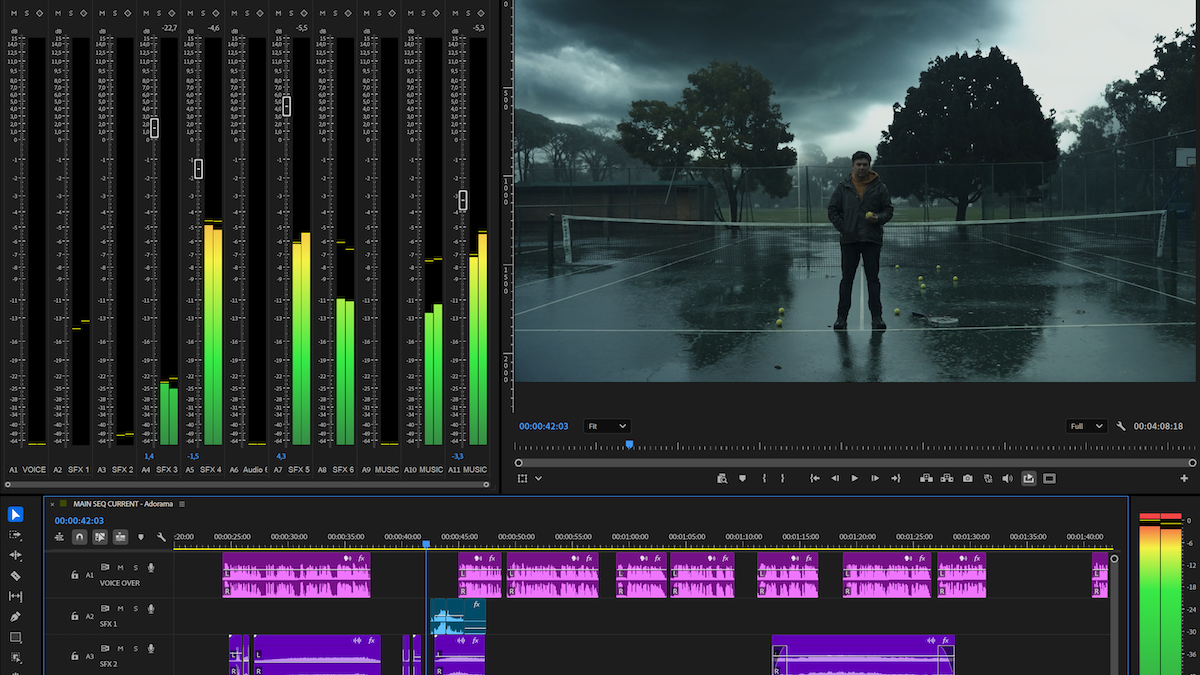
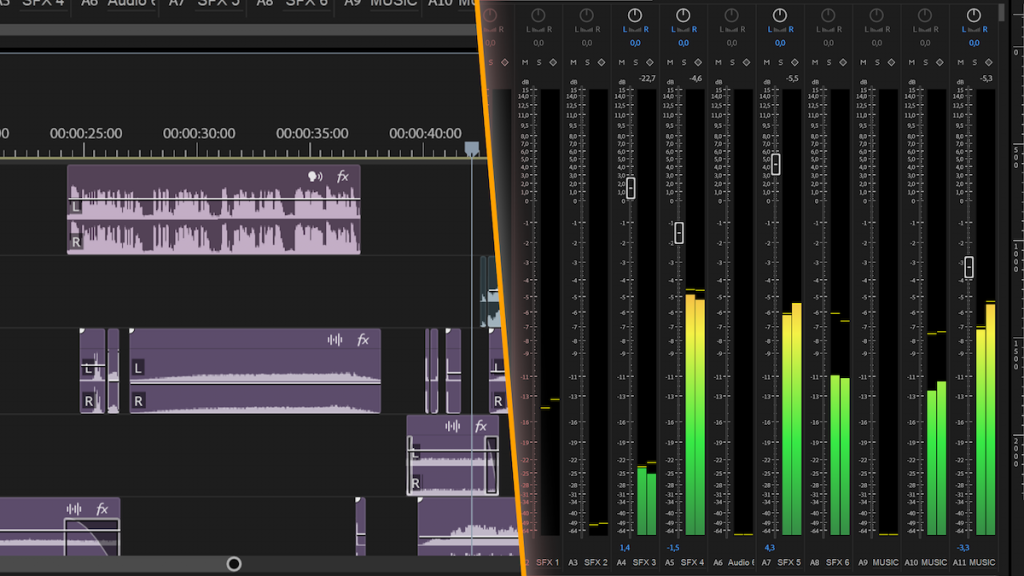
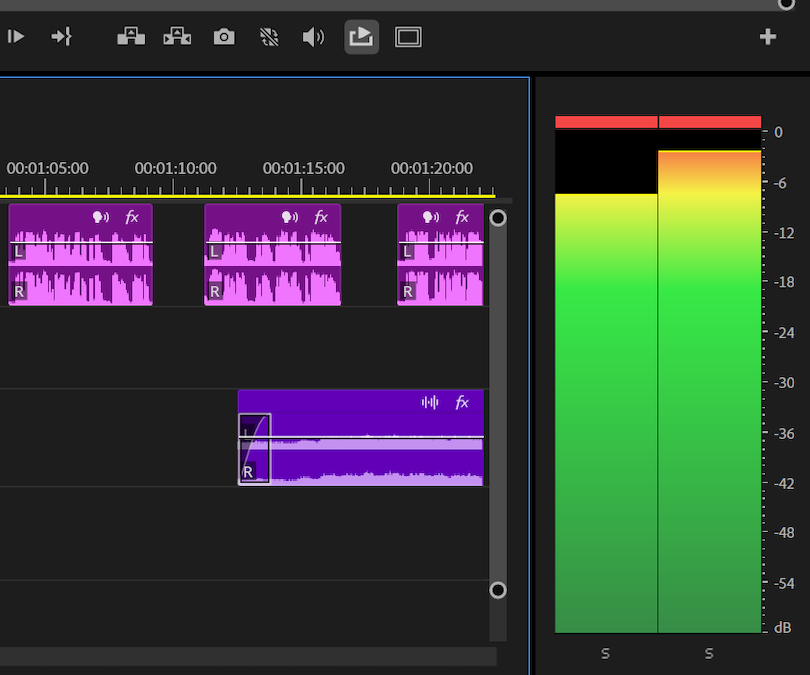
If you have ever been confused by those flickering bars in your editing suite, think of them as a speedometer for your audio. Essentially, they represent the volume of your signal in real-time. Moving forward, we will refer to these bars simply as the meter in this article. In practice, the meter is your primary diagnostic tool for managing audio levels, acting as a visual guide to ensure your sound is consistent from start to finish.
At the very top, the peak of the meter going up and down is 0 dB. This is the absolute ceiling in the digital world for recording and editing. Therefore, you should think of it as a hard physical wall. Consequently, once you reach the maximum value the digital system can represent (0 dB) and a sound wave tries to go higher, the digital system simply clips the sound. In other words, it is a hard cut of the audio.
Ultimately, the meters in your software are your primary defense against poor audio. To make things easier, use the table below to understand what your levels are telling you at a glance.
| Zone | Level Range | Status | What it means |
| The Bottom | Below -30 dB | Noise Floor | The signal is too quiet. Boosting this in post will amplify unwanted background hiss and room noise. |
| The Middle | -12 dB to -6 dB | Sweet Spot | Ideal for dialogue. High enough to avoid noise, low enough to leave headroom for sudden spikes. |
| The Top | -6 dB to 0 dB | Danger Zone | Approaching the limit. Loud shouts/laughs could cause digital clipping. |
| The Ceiling | 0 dB | Digital Cliff | Anything hitting 0 dB will result in permanent, harsh digital distortion that cannot be fixed. |
Peaking and Clipping: The Danger Zone
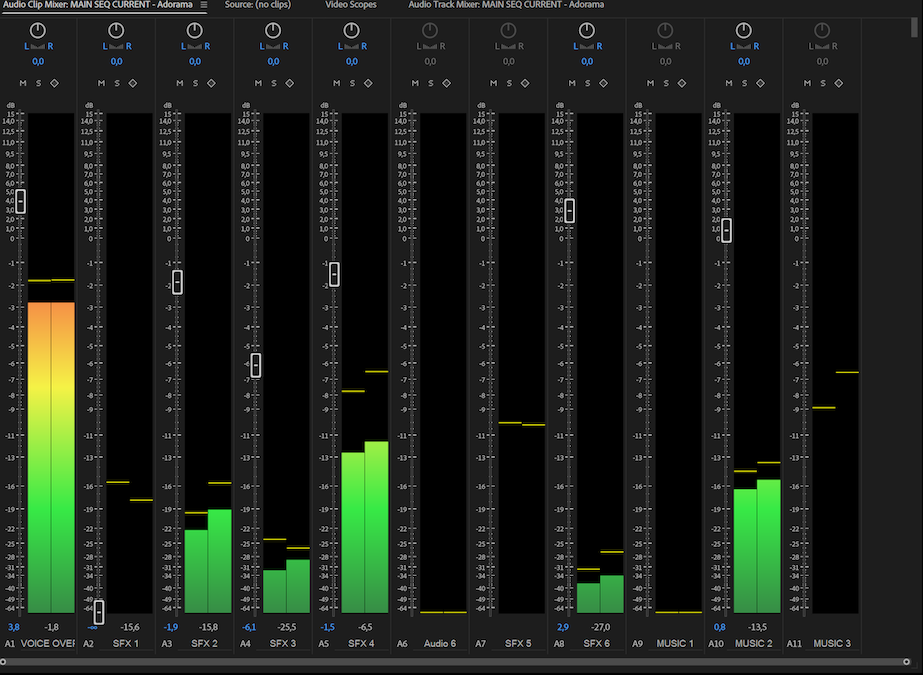
Peaking occurs when your audio hits its highest point in a recording. Ideally, your peaks should sit comfortably within a safe range, leaving room for unexpected sounds.
Clipping, however, occurs when you exceed the 0 dBFS ceiling. When the signal hits that wall, the software can no longer record the waveform, so it literally chops off the peaks. Once you record a clipped signal, no filter or plugin in the world can fix it.
Input Device Selection
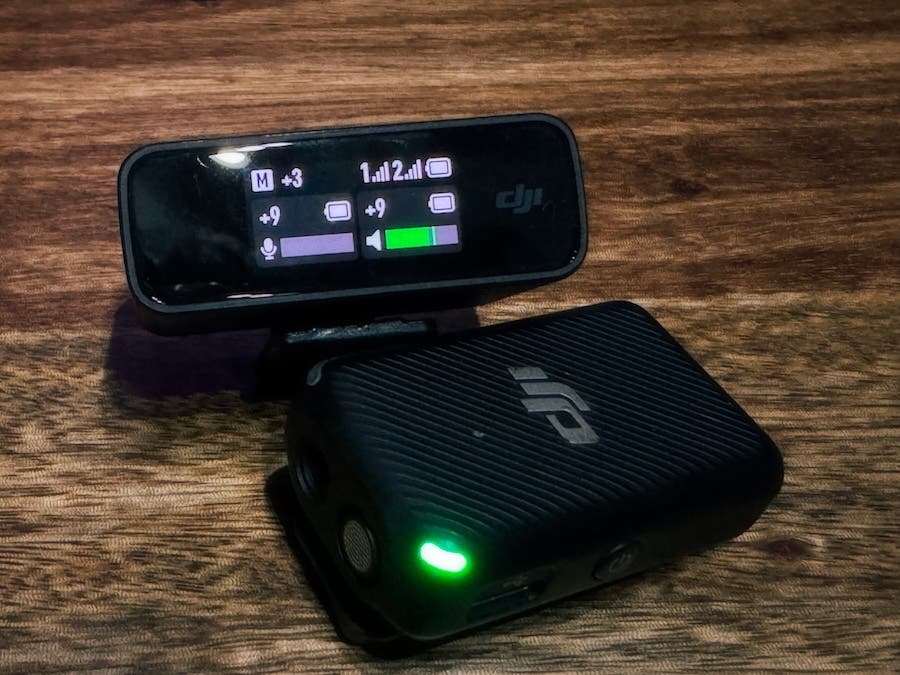
As mentioned in our earlier article (Daniel can insert the link here to the article in which we mentioned recording devices), the audio recording device you choose is only half the battle. And by the way, correctly configuring the device is the first step in managing audio levels before the signal ever touches your software. You must always adjust your gain levels on the device itself to ensure a clean signal before it ever reaches your software.
| Device Type | Best For | Recommended Input dB Range | Strategy Tip |
| Shotgun Mic | Documentaries, Interviews | -12 dB to -6 dB | Always listen to it using headphones during the recording process. Keep the mic as close to the subject as possible to minimize room noise. |
| Lavalier Mic | Close-up dialogue | -12 dB to -6 dB | Ensure the mic is clear of clothing friction. |
| Handheld Recorder | Ambient / Field | -18 dB to -12 dB | Use a deadcat as a wind jammer. |
| Camera Native Mic | Emergency Backup | -20 dB to -15 dB | Keep levels low to avoid boosting the hiss too much later. |
Practical Audio Targets for Editors
Consistency is the key to a professional mix. When you are editing your project, use this table as a guideline for your final mix levels.

Managing Audio Decibel Level: A Practical guide to mixing sound effects, ambient sounds, dialog, and music
| Audio Element | Target Range (dBFS) | Notes |
| Dialogue | -12 dB to -6 dB | Use effects like EQ to improve quality in the editing process |
| Background Music | -25 dB to -18 dB | Lower during dialogue; it’s also called ducking. |
| Sound Effects (SFX) | -15 dB to -10 dB | Listen to the music, dialogue, and SFX together and adjust either one of them. |
| Ambient Sounds | -30 dB to -20 dB | Do not raise them too much. |
Final Remarks
Learning to effectively control sound is an essential part of the process to craft cinematic masterpieces. By consistently managing audio levels throughout your production, you ensure your work is immersive and clear, and your future self will thank you for the results. Also, don’t just watch the bars, listen. If you find yourself constantly reaching for the volume knob on your remote while watching your own edit, your levels are likely too dynamic. Aim for consistency, respect the headroom, and never let your signal hit that red line.