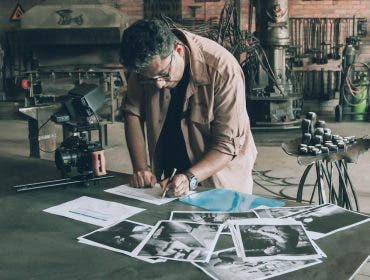
In filmmaking, an editor is responsible for taking the videos recorded by the director and videographer and arranging them into a sequence that aligns with the story or the director’s vision.
In the editing world, the sequence in which these clips are arranged is called a timeline, and the process of switching between camera angles or between two different scenes is known as a cut. The editorial cuts are as much a part of your storytelling as the footage itself, but your filming bears this in mind in the planning phase.
Here is an example of editing cuts in the opening of a short documentary. We see a car driving through the desert from various angles. The camera was positioned in multiple locations on the car’s path. In the editing process, a flow was maintained, and the best parts of each video were cut into the timeline.

Editing cuts must serve the purpose of moving the narrative forward
In the example above, the cuts are called Standard Cuts; they are quick and instant. Standard Cut is the most basic cut, with no special meaning beyond advancing the story.
Why Are Cuts Important in Video Editing?
With the help of music and sound effects, a cut can transition from one shot to another, evoking certain emotions based on where you are in the story. Cuts also help hide mistakes; for example, if you are recording an interview with two cameras, a camera angle can be cut from one to another if the person being interviewed pauses with “mmm” and “aaam” or stops to clear his throat.
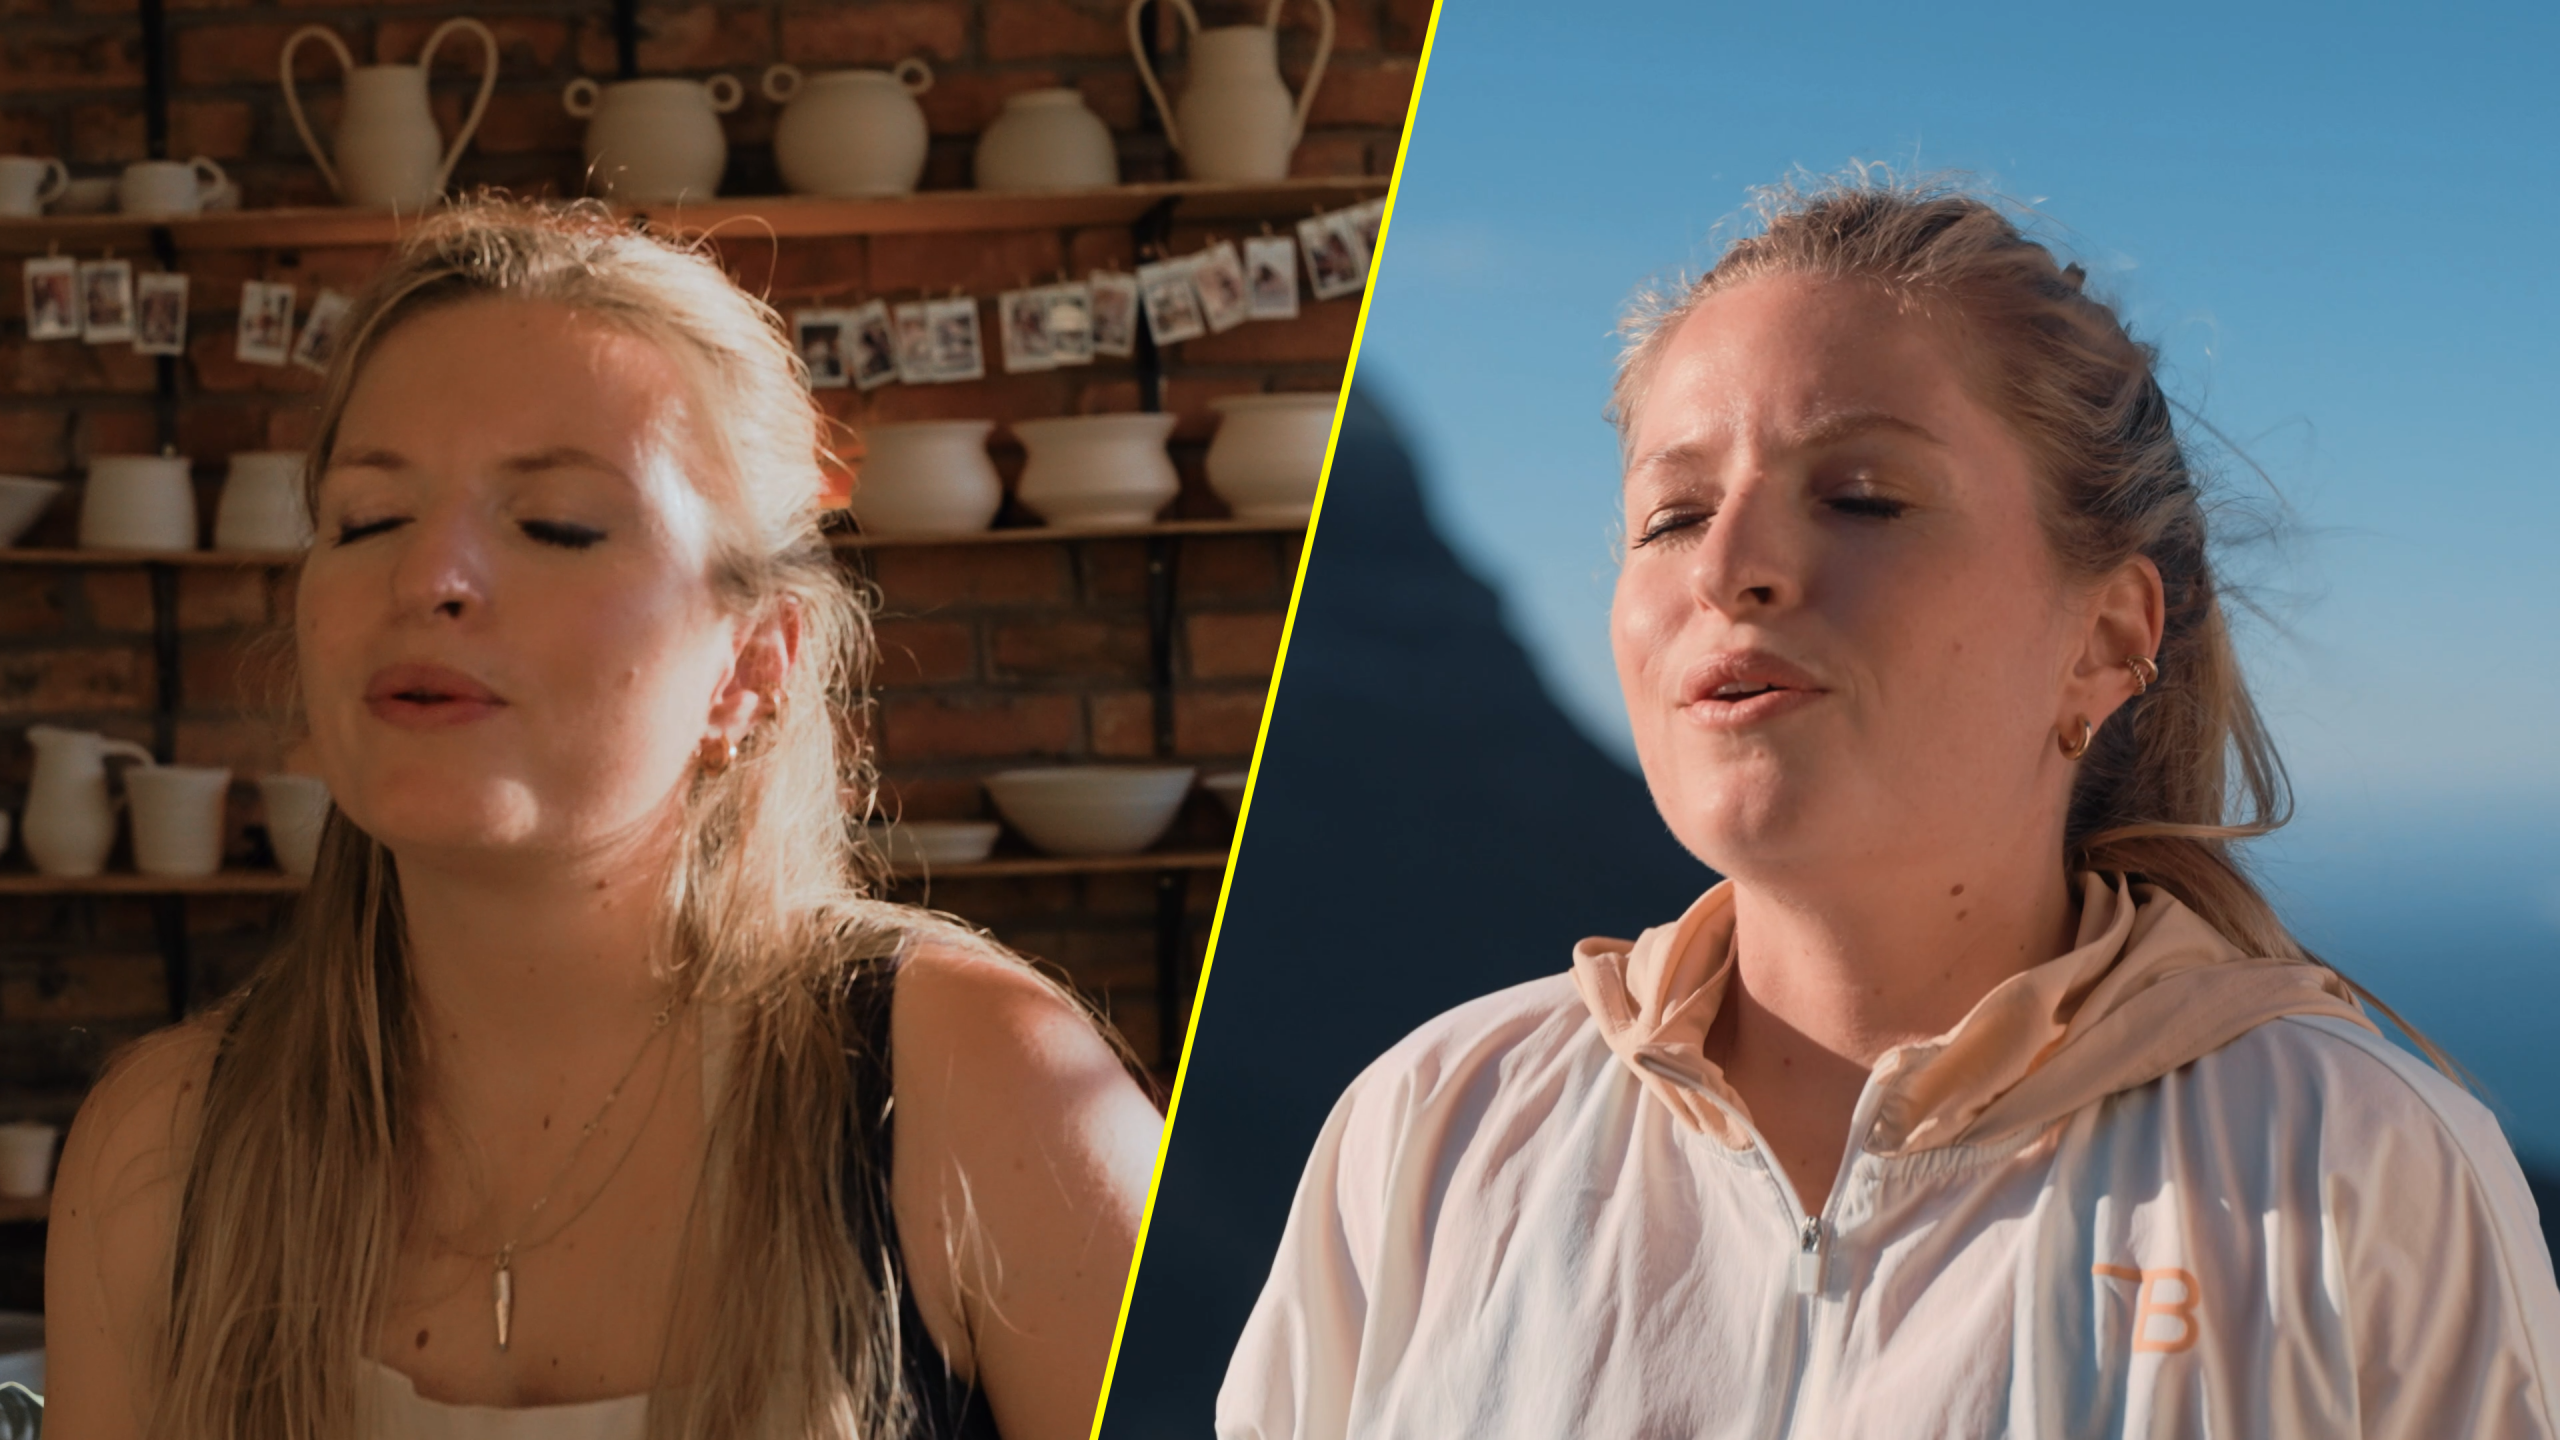
Here’s a simple cut that shows the transition from a potter’s studio to nature. This happens when she tells the audience that touching clay grounds her. Also note the position of her body, and the camera angle exactly matches between the two cuts. The cut creates a moment of awe.

A cut helps invoke emotions and also hides mistakes
Now that we know what cuts are and how they help the film’s momentum, let’s discuss a few cuts I use in my editing process.
1. The Jump Cut: Time Jump
The Jump Cut disrupts the film’s continuity. It involves cutting between two shots of the same scene but at different points in time, causing a jump from one situation to another.
Have a look at the examples below, where I unpack my camera bag, but the cuts jump from one action to the next without showing the movement of my arms or what happens in between. Also see the jump from a messy studio to a clean one in an instant.

Editing cuts is simple; knowing when to do them requires planning and practice
When to use a Jump Cut:
- To show the passage of time.
- To change the audience experience from one situation to another.
Editing Tips:
- Create nervous energy by using sound effects.
- Introduce it when the viewer least expects it.
2. The Match Cut
A Match Cut joins two different shots together that share a similar shape, color, or movement. For example, in the ceramics video we saw above, the potter’s body shape and position are exactly matched in the two clips, linking the narration from one scene to the next.

When to use a Match Cut:
- To create a visual transition between two vastly different locations or time periods.
- To create a link between two objects or ideas.
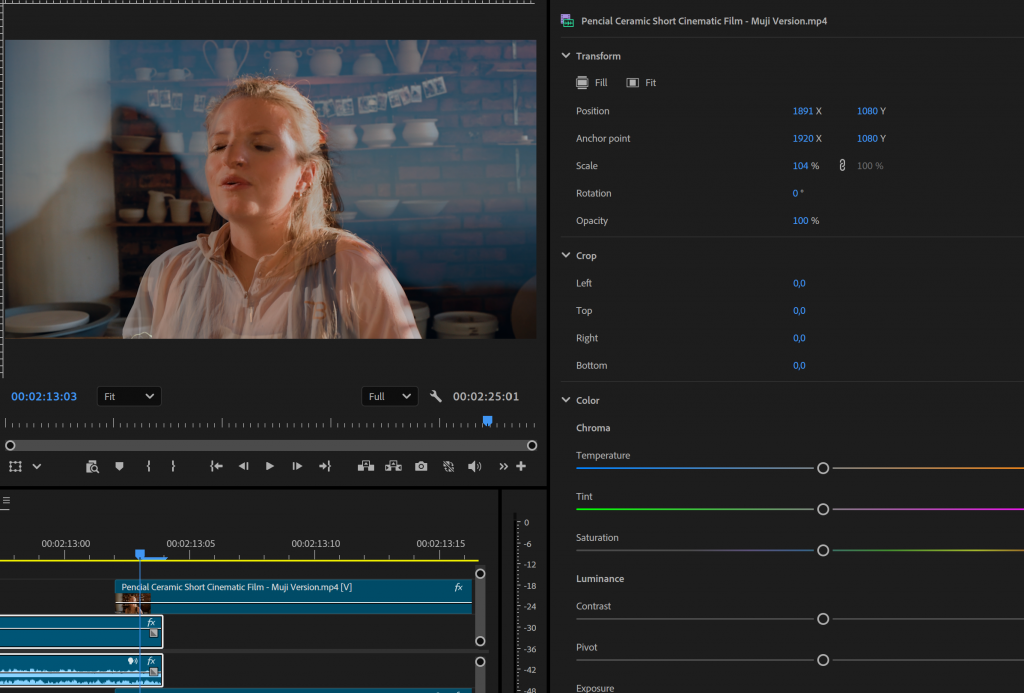
Editing Tips:
- Clips in which shapes are meant to match, overlay the first frame of the second clip above on the second last frame of the first clip in the editing timeline. Set the opacity of the second video (i.e., the top video) to 50%. If the shapes in the two shots do not align, scale one up or down and adjust its X and Y positions to align the shapes manually.
3. The Cutaway
A Cutaway is a shot that briefly interrupts the main action or what a person is saying by showing something relevant to the storyline. I primarily use cutaways in my vlogs or documentaries to supplement what is being described in the film.
When to use a Cutaway:
- To cut away to an object or a situation when the character is talking about it.
- To hide mistakes in an interview
Editing Tips:
- Do not cut away from your main subject for too long; keep the shots changing and always bring the story back to the subject by showing their face.

Cutaways complement what is being said or described by your subject.
4. The Cut on Action
Editing cuts on action is the secret sauce of making a long sequence feel smooth, and even short. Cut on Action is achieved by cutting right in the middle of a character’s movement. For example, pouring coffee into a cup, you start wide and end with a close-up.
When to use a Cut on Action:
- Whenever a character is performing a physical task.
Editing Tips:
- Cut during the motion, the brain is so busy following the action that it ignores the edit itself. This is the most effective way to maintain invisible continuity and keep the pacing fluid.
- The action in the second clip must not be a jump of time; there must be continuity between the two shots.

Cut-on-action edits must be considered in the pre-production phase.
5. Sync Cut
A Sync Cut is also known as editing on the beat. In a sync cut, the scene changes with the chosen music, beat to beat.
When to use a Sync Cut:
- To show the progression of a task being performed using jump cuts on a beat.
- To depict an action sequence.
Editing Tips:
- Try to skip a beat and do not use too long a sequence of sync cuts in one video; it becomes predictable that the scene will change on the next beat.

Sync Cuts are best suited for fast-paced action videos
Final Remarks
Editing is not only about the visuals you choose to display, but also about their timing. Cuts are only one way to influence your audience’s emotions. The editing process also involves music, dialogue, color grading, and sound effects; to make your cuts more impactful, ensure that all these elements are in harmony with each other in your editing timeline.
Happy cutting!