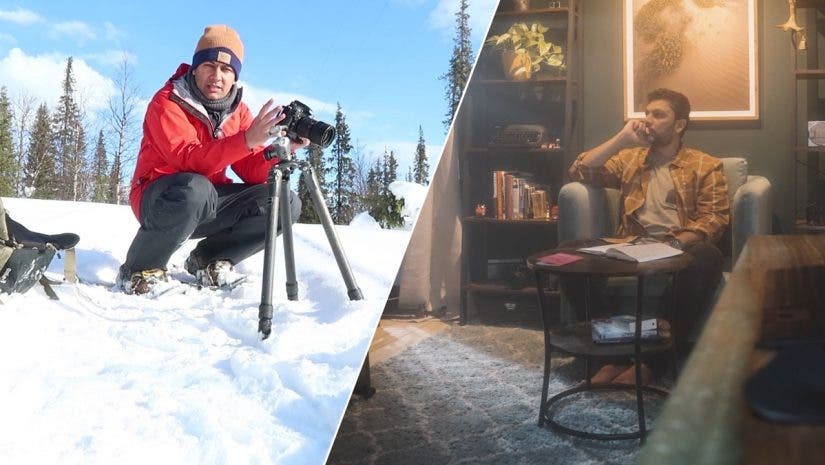
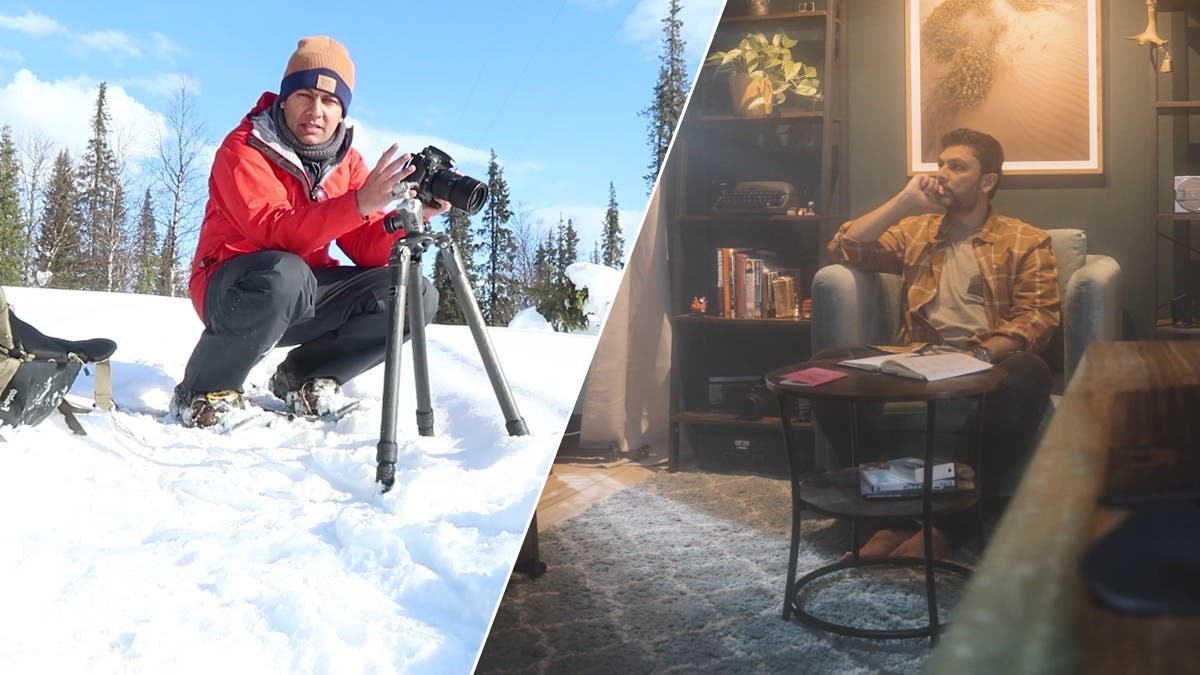
It was a cold day in 2015 on Blouberg Beach in Cape Town. I was looking at the back screen of my camera to shoot seascapes when I had an epiphany: “What if I record this scene and show what my compositions and settings are? ” So I pressed the record button and later shared that clip with my camera club members. Someone shared a YouTube vlog by Casey Neistat, suggesting I should make videos like his. Here began my journey in solo filmmaking.
I immediately got hooked on the video techniques of the king of modern-day solo filmmaking, Casey. I held this preconceived idea that I needed a budget to have someone record me, or at least a great studio vibe, fancy lighting, and complicated audio equipment if I wanted to self-record. But now, I was enamored by the ability to record my own work with a cellphone and a mini tripod, a basic point-and-shoot or mirrorless camera, or even a small action camera.
But why did I want to record myself? The simple answer was storytelling.
I realized that the tools are just there to help us. With that in mind, in this article, I will share how to film yourself as a solo creator.
Gear for Solo Filmmaking
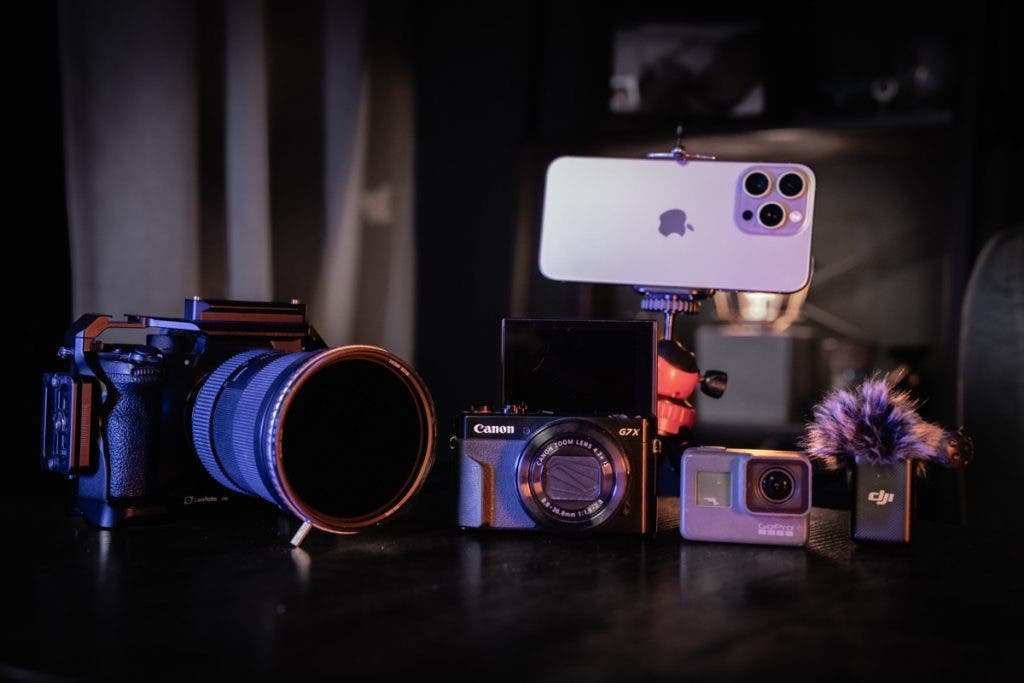
The following tables show various options. You can buy either a single device or multiple devices to record yourself from various angles.
| Gear | Description | Advantage |
| HD/4K Cellphone | Your everyday smartphone with decent video capabilities. | Always in your pocket; incredibly fast to set up and start recording spontaneously. |
| Action Camera | Small, rugged cameras like a GoPro or DJI Osmo Action. | Waterproof and easy to mount anywhere (trees, cars, chests). |
| 360 Camera | Cameras that capture a full 360-degree view. | Allows you to “frame” your shot in post-production; you never miss the action. |
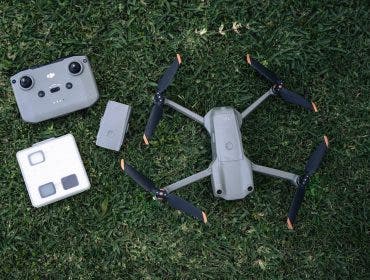
| Drone | Small folding drones | Provides epic, sweeping establishing shots that add instant production value. |
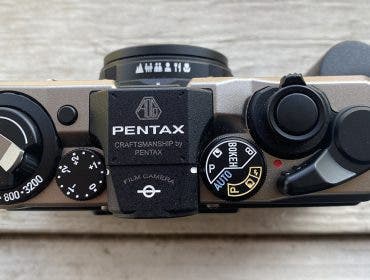
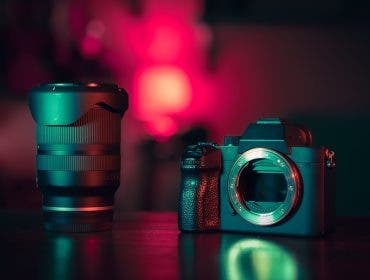
| Point-and-shoot or Mirrorless Camera | With flip-out screens, you can frame the shot if pointing towards yourself. | Both come with auto-focus systems. Mirrorless bodies allow for interchangeable lenses. |
| Lav/Lapel Mic | Wireless magnetic mics (like RODE or DJI). | Crisp audio directly from your chest, even if you walk far away from the camera. |
| Shotgun Mic | Directional mic mounted on top of the camera. | Great for run-and-gun vlogging where you need good audio of whatever the camera is pointing at. |
| Small Studio Lights | Circular LED ring lights or small panels. | Flattering, consistent lighting for indoor setups. |
| Mini LED Lights | Pocket-sized lights (like Aputure AL-MC). | Perfect for injecting a pop of light in dark environments or adding color accents. |
| Gorilla/Flexible Tripod | Tripods with bendable legs. | Can wrap around branches, fences, or poles to get unique angles anywhere. |
| Travel/Desk Tripod | Compact, sturdy tripods. | Essential for stable, locked-off shots and setting up cinematic frames. |
Face and Eye Auto-Focus
If you decide to invest in a camera and a lens, an auto-focus function is essential. This ensures your face stays sharp across various scenes. Additionally, opt for a camera with a flip screen or a front-facing display for easy self-framing while recording. Basically, you want to see yourself.
How do I Choose the Right Lens for Solo Filmmaking?
I suggest investing in a versatile zoom lens like a 24-70mm, or equivalent, for a solo creator. At 24mm, it’s wide enough to hold the camera at arm’s length and record yourself while showing the environment surrounding you. At 70mm, you can set it on a tripod to capture compressed, cinematic b-roll or tight portraits.
The Solo Filmmaking Setup: Crafting Your Visual Narrative
Depending on the story you want to tell, you can choose a specific setup or combine them.
Option 1: Phone + Mini Tripod + Lav Mic. The ultimate minimalist setup. Perfect for run-and-gun storytelling where agility is more important than cinematic perfection.
Option 2: Action Camera/360 Camera + Mini Tripod + Audio. Best for high-energy, rugged adventures where a larger camera would get in the way or risk getting damaged.
Option 3: Mirrorless/Point-and-Shoot Camera + Travel Tripod. The standard for high-quality vlogs and educational tutorials. It provides a polished, professional look.
Option 4: The Multi-Cam Combo. A composite of various recording devices enabling you to select the options most suited to your desired outcome. Imagine recording yourself walking on the beach with an action camera on a handheld tripod, while your main camera body is set up to record a video or time-lapse of the sunset, and later you send a drone up for an aerial perspective of yourself and the surroundings. Three cameras working simultaneously give you an incredibly dynamic, multi-angle story from a single solo creator.
The Blueprint: How to Record Yourself
To record yourself effectively, you have to think like both the director and the talent. This means understanding how footage comes together in the edit.
Understanding A-Roll vs. B-Roll
- A-Roll is your primary subjective narrative. It is the main footage that drives the story forward. Usually, you talk directly to the camera, explaining what you are doing or giving a tutorial.
- B-Roll is the supplementary footage. For example, your A-Roll is you saying, “The hike was incredibly steep,” while your B-Roll is a shot of you hiking up the mountain.
Thinking in terms of A and B roll allows you to “show, not just tell,” keeping the viewer visually engaged.
Mental Preparation
- Study the greats: Watch how other creators vlog and transition between scenes.
- Overcome the awkwardness: Imagine the lens is a close friend. It feels weird at first, but once you start editing and seeing yourself as a viewer, it makes sense.
- Patience is key: Be prepared to do as many takes as you need to get the delivery right.
- Think in the third person: When you watch a solo film, it seems as if the camera just happened to be there as the creator walked past. In reality, it requires planning. Set up the camera, walk back, walk into the frame, walk out of the frame, then go retrieve your camera.
Recording Scenarios
Here is how these concepts look in the real world:
Scenario 1: A Hiking Film

I hiked up a mountain to see a rock formation. Here’s what I did (watch the video for explanation):
- A-Roll:
- Hid a lav mic under my jacket for on-screen commentary.
- Recorded moments with my cellphone.
- Held my action camera at arm’s length for my honest reaction.
- Used my main camera on a tripod for talking to the audience. Relied on auto-focus.
- B-Roll:
- Set my mirrorless camera on a tripod and then walked past it several times.
- Switched to a handheld to film my boots on the rocks.
- Used an action camera strapped to my chest or head, or held it in my mouth with a gum holder.
- Used the drone to capture dynamic environmental shots.
Scenario 2: The On-Location Photographer Vlog

I am out shooting landscapes; the aim is to show my viewers the journey and the final photo. Here is my method (watch the video for the final cuts and commentary):
- B-Roll
- Set up a GoPro on a GorillaPod, attached to a tree, for a wide-angle time-lapse.
- Used a tripod for my mirrorless camera to record myself from the side as I work.
- Launched my drone for sweeping the landscape,
- Changed the angles of both the GoPro and main camera periodically.
- Recorded footage of my composition and close-ups of its various elements.
- A-Roll
- Talked into my point-and-shoot Canon G7X using a flip screen to frame myself handheld, and on a travel tripod to explain my process.
You don’t always include everything in the video, but that doesn’t mean you discard it. The footage is precious and will/can be used later.
Scenario 3: A Day in the Life

Recording the mundane can be beautiful. But it needs patience. I wanted to show my morning coffee routine. Here’s what I did (watch the video for explanation):
- Decided the sequence of events.
- B-Roll:
- For every step in the sequence, set up the camera and record it.
- Recorded the same action from multiple angles or in different focal lengths.
- Recorded slow-motion video where appropriate.
Additional Tips for the Solo Creator
- It’s a mindset: Realize that setting up these shots takes time. You are the director, the crew, and the main character. Factor in extra time for your shoots.
- Master your gear: Learn your equipment ahead of time so you aren’t fumbling in the field.
- Go with the flow: Have a story in mind, but be open to adapting on the go. Shoot as much B-roll as you can; you’ll thank yourself in the edit.
- Embrace the waffle: It’s okay to ramble in front of the camera. No one is watching you record. You can always chop out the bad parts and choose the best clips later.
- Keep spirits high: Be willing to laugh at yourself if you mess up a line. Don’t let poor delivery frustrate you.
- Talk to a friend: Speak to the lens as if you are explaining something to a close buddy.
- Ignore the onlookers: Act as if no one is watching. People passing by don’t have time to worry about what you are doing; the world is used to seeing people with cameras by now.
Final Remarks
Recording and sharing your personal journey or story is a creative challenge that evolves over time. Instead of aiming for perfection in your first video, focus on starting small. As you create shorter videos, you will discover your unique style and improve with repetition.
Ultimately, we record ourselves to inspire, educate, or convey a message. So, approach your storytelling with intention, purpose, and a sense of adventure.