In run-and-gun filmmaking or documentary work, shooting certain angles in tight corners or busy areas is almost impossible without proper planning, a camera rig assembled for the shot, or even a helper like a camera assistant or focus puller. Your creativity is also limited by your setup’s weight and the restrictions it imposes on movement. While traditional setups with gimbals, jibs, or custom camera rigs have advantages, a simple 360 camera on a stick can produce results that would otherwise be impossible.
In this article, I share 5 moves that I created not just for fun, but to accomplish practical tasks in my latest short films. By cleverly attaching a strap to your subject or simply waving a selfie stick, you can capture exciting angles and reframe them in post-production. My first piece of advice is to let your creativity run wild. Try, fail, learn, and master your craft.
The Essential Foundation: Mind the Seam
360 cameras have an invisible “seam” where the range of their lenses meet – the vulnerability of this camera. This is where the software merges the 180-degree video feeds from the two lenses into a single spherical image. Objects on the seam may be distorted or cut off if they are too close to your camera. To avoid stitching errors like cut-off faces, keep your subjects at least a meter away to prevent distortion or incomplete shapes. Use a carefully aligned selfie stick, and keep your camera’s firmware updated and its internal gyroscope fully calibrated. I ran into issues with certain moves where the objects I wanted to show were on the seam or the stitch line, but mostly I had the option to reframe the view in post-processing to hide deformed objects.

Seam or the Stitch Line of a 360 camera
Angle 1: Using the Virtual Jib
The Virtual Jib allows you to use a steep vertical angle. Using your Invisible 360 selfie stick lets you simulate the sweeping, multi-level motion of a heavy crane or jib while staying completely still in a physically restricted footprint.
Why This Move Works: It is a unique way to let the viewer observe the subject and their movements from above.
Example: I stood in a narrow street outside an artisan’s shop where an artisan was tinning copper utensils. As you will see, the only spot in the crowded area where I could shoot was a corner outside his shop. Achieving the vertical jib angle with a normal camera would have been impossible without getting in the artisan’s way, standing on a stool or a ladder next to his fireplace and constantly adjusting zoom and recomposing as I shifted position.
Execution:
- Placement: Stand in the available space and position the 360 camera high above your subject for an overhead view.
- The Plunge: Experiment by lowering the camera straight onto the point of interest. Also, catch your subject from different low side angles. I would suggest using a high frame rate like 50fps, 60fps, 100fps, or 120fps so that you can slow down the plunge.

The Virtual Jib: Filming an artisan from the top using a 360 camera
Angle 2: Using the Invisible Sidecar
The 360 selfie stick functions as an Invisible Sidecar and is incredibly satisfying for fast-paced tracking shots. It starts behind a moving subject, slides alongside them at eye level, and finishes in front of them, all while you ride safely in an adjacent vehicle.
Why This Move Works: This move generates a strong sense of momentum and discovery. Pulling this off with a standard camera requires pre-planning, a dedicated vehicle rig, and the ability to manually compose and pull focus at high speeds. With a 360 camera, you only need a selfie stick. Shooting at a high frame rate, like 100 fps, lets you slow the action for a cinematic feel.
Execution:
- Start Position: Approach your moving subject from behind, lifting the selfie stick straight up at a 90-degree angle.
- The Approach: As you close the distance, slowly lower the selfie stick to the side nearest the subject.
- The Parallel Track: Match the subject’s speed and lower the camera to peer directly into the vehicle. The example below shows the camera tracking alongside the rickshaw’s open side.
- The Overtake: Accelerate past the subject while slowly swinging the selfie stick directly in front of their vehicle, then drive away to complete the transition.

The Invisible Side Car: Shooting a rickshaw on a busy road using a 360 camera
Angle 3: The Threaded Needle
Once again utilizing the Invisible selfie stick, the Threaded Needle is characterized by its ability to push the viewer’s perspective through gaps far too small for a human operator or a traditional camera body to navigate, such as shutter blinds or a grill door.
Why This Move Works: It creates a unique point of view that feels physically impossible.
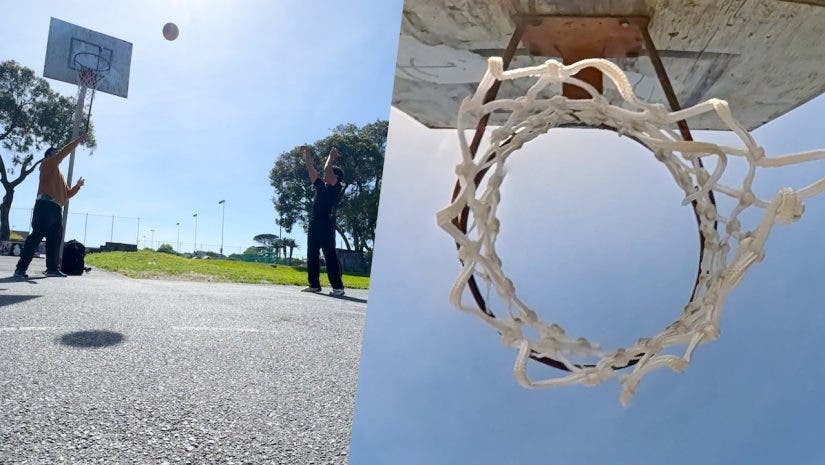
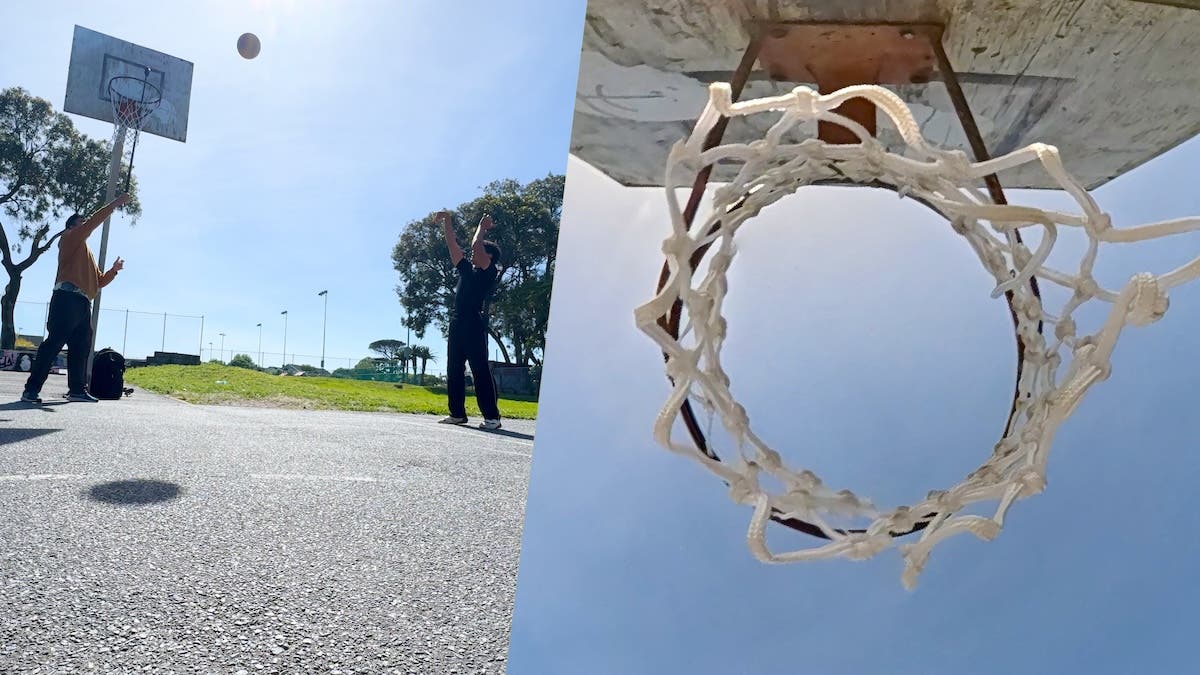
When I experimented with narrow slots like shutter blinds, the close proximity of the edges made the camera seam glaringly visible. I adapted this move to pass through a slightly larger object, a basketball hoop, which solved the stitching overlap issue while maintaining the visual thrill of threading a tight space.
Note: These angles and movements may not make sense when viewed individually. Because I was shooting a short film, I planned a few impossible angles. You can see the whole basketball sequence toward the end of this article.
Execution:
- Initial Placement: Attach the 360 camera to your stick and position it where you want the movement to start.
- The Pass-Through: Push the camera smoothly and directly through the gap.
- The Action: Time your movement with a secondary action to make the clip engaging. In the example below, the camera and the player move in sync; we had to try it a few times to get it right.

The Threaded Needle: Shooting hoops through the basketball net with a 360 camera
Angle 4: The Action POV (The Hand-Mounted Track)
For a truly visceral, in-the-action shot, the Action POV places the viewer directly in the subject’s physical space.
In the example below, I put a strap mount directly on the basketball player’s hand. In the past, I traditionally put an action camera on a player’s chest, but the ability to reframe 360 footage later opened up more creative angles this way.
Why This Move Works: It provides an ultra-immersive perspective right in the heart of the action, capturing the raw energy of the movement.
Execution:
- Initial Placement: Securely attach the 360 camera to the subject’s wrist. Other examples include strapping it to a hockey stick, a fishing rod, a big chainsaw, etc.
- The Action: Step back and let the subject move naturally.
Because the physical camera is whipping around wildly with the player’s hand, rely heavily on your software’s stabilization and keyframing in post-production to keep your primary subject (the ball) centered, and consider slowing down the final release to make the chaotic footage feel deliberate and cinematic.

The Action POV: a 360 camera mounted on a player’s forearm
Angle 5: The Tunnel Pass
The Tunnel Pass is a dynamic ground-level angle that pushes the camera below an object using the selfie stick. In my case, it was through a basketball player’s legs mid-action.
Why This Move Works: Because you can reframe your perspective in the edit, this move injects an incredibly stylized, impossible view into a sports video. Achieving this with a traditional camera would require an expensive low-angle robotic rig, extreme precision, and constant risk of the player tripping over the gear.
Execution:
- Initial Placement: Position the 360 camera on a selfie stick very low to the ground.
- The Push and Pull: Coordinate your timing with the subject and smoothly slide the camera forward and pull it back.

The Tunnel Pass: Shooting lower on the ground with a 360 camera
Final Remarks

A short basketball sequence of 360 impossible-angle moves
Thankfully, some 360 cameras let you swap lenses if they get scratched or break. I scratched my GoPro Max 2’s lenses while shooting The Tunnel Pass angle, but was able to replace them. I am glad it was not my Sony a7s III under the basketball, as this would have been expensive.
These 360 cameras are smaller than mirrorless cameras, but you cannot ignore the technological advances that let tiny, lightweight cameras produce high-quality footage with great stabilization. A small selfie stick and a 360 camera take up little space and add little weight to your kit. Whether you are vlogging or doing serious filmmaking, 360 cameras have revolutionized the industry by letting you get creative with unique, impossible angles from impressive action effects.